Tutorial
Navigator's Guide: Deployment Solution with Configuration Management

Note: This is an early release version of the contents of the Navigator’s Guide book, an offering from the DigitalOcean Solutions Engineers. The goal of the book is to help business customers plan their infrastructure needs, provide working examples along the way, and include technical nuance and the “why” that makes some decisions better than others.
The book and accompanying code will be publicly available in a GitHub repository. Because this is an early release, the book is not yet complete and the repository is not yet public, but stay tuned!
The previous chapter demonstrated how to reduce downtime by adding redundancy at the web frontend layer of your infrastructure. If your service works with files and data, you’ll also need a centralized backend — which should be similarly redundant to avoid being a single point of failure.
Both the frontend and the backend can use a load balanced solution to distribute traffic to multiple servers. This structure provides some unique benefits on the backend, like the ability to update your application code without incurring downtime, supporting things like A/B testing, canary deployments, and blue/green deployments. However, this does add some complexity to your infrastructure as well. You’ll need to consider things like how to maintain the configuration of your load balancers, how to manage your application and the servers it runs on, and how to handle consistency for things like user sessions, file storage, and databases.
Regardless of whether you use DigitalOcean Load Balancers or a self-managed set of load balancers, you need to maintain the consistency of its configuration. Managing the configuration file using a configuration management tool in a self-managed load balancer setup is more hands-on and requires some extra work up front, whereas DigitalOcean Load Balancers are a managed service that handles load balancer redundancy automatically.
For DigitalOcean Load Balancers, the configuration options are curated, but you still need to make sure the settings are correct and consistent. Using a Droplet tag to determine the Load Balancer’s backend is the most direct path to success because it allows you to add and remove Droplets automatically (instead of by individual IP) and means that your configuration can be handled solely by Terraform without Ansible.
If your load balancing requirements were more complex, you may have chosen to use your own load balancer (with HAProxy, as in the previous chapter, or other load balancing software). In this case, you’ll need to deploy a set of multiple load balancer Droplets along with with a DigitalOcean Reserved IP address to ensure redundancy at the load balancing layer.
Our Setup
Data consistency is the main complication you’ll address with your load balancer configuration. When your backend can be served from any one of multiple servers, you need to make sure that each server has access to the same consistent dataset or that a particular session will continue to connect to a particular server.
We will be using this as an opportunity to demonstrate a more powerful use of Configuration Management software. In our example of hosting a website running WordPress, we’ll have to make decisions on how to ensure that every node in our cluster has the proper data. The end users need to have a cohesive experience regardless of which of the nodes are handling the request. An end user may see sporadic results if one node knows of a post or image in our WordPress site, but the other nodes do not.
There are three related components that we’ll review as we walk through the configuration to ensure consistency: user sessions, file storage, and databases.
Understanding the configuration
Actually setting up the cluster once the configuration is done is a relatively short process, but understanding the configuration and the decisions therein is key to being able to apply these patterns to your own infrastructure. Let’s break it down piece by piece.
Load Balancer Configuration
DigitalOcean Load Balancer
As in previous chapters, we’ll use Terraform to manage the Load Balancer configuration. The following entry creates a Load Balancer and supplies the backend Droplet tag, the forwarding rules, the TLS certificate to use, and the health checks that the Load Balancer will use. SSL and other security settings are out of scope for this chapter, but they’re covered in depth in Chapter 13.
Here is the resource block located in the example-code/02-scale/ch05/init_deploy/main.tf file:
...

resource "digitalocean_loadbalancer" "public" {
  name                   = "${var.project}-lb"
  region                 = "${var.region}"
  droplet_tag            = "${digitalocean_tag.backend_tag.id}"
  redirect_http_to_https = true
  depends_on             = ["digitalocean_tag.backend_tag"]

  forwarding_rule {
    entry_port     = 80
    entry_protocol = "http"

    target_port     = 80
    target_protocol = "http"
  }

  healthcheck {
    port                     = 80
    protocol                 = "http"
    path                     = "/"
    check_interval_seconds   = 5
    response_timeout_seconds = 3
    unhealthy_threshold      = 2
    healthy_threshold        = 2
  }
}
Because Load Balancers are a service rather than an immutable resource (like a Droplet), a change to the configuration arguments won’t recreate the entire Load Balancer; it will update in place. For more detail on the supported arguments and output attributes, take a look at the Terraform documentation.
We are using a DigitalOcean Load Balancer to handle the load balancing of the public web traffic to our web servers.
HAProxy Cluster
If you need a more complex configuration, like access to lower-level load balancing settings or support for multiple backend services, you can set up your own load balancer cluster. We’ll continue with the HAProxy example from the previous chapter.
Ansible uses the Jinja2 templating system, which simplifies the process of creating and updating your configuration files. Jinja2 supports the use of variables and control structures that you would find in a programming language, like if statements, loops, math operations, and large library of built-in filters. This summary does not do justice to the templating system within Ansible. We recommend reviewing Ansible’s documentation for more details.
There are a few ways to trigger an update when your configuration changes. If the demand on your site doesn’t fluctuate much, or you know when changes will happen ahead of time, you might not need or want to set up fully automated scaling. Instead, you can run your Ansible playbook manually or set it to run when you push a change to your Terraform deployment scripts to your git repository.
Another option is to use Consul for service discovery, and configure consul-template on your load balancer to automatically refresh the configuration file. This adds additional Droplets to your overall infrastructure, but you can use Consul for other services as well.
We are using an HAProxy Cluster to handle the load balancing of our database cluster.
User Sessions
Sessions Review
When a user visits a site hosted through a load balancer, there’s no guarantee that their next request will be handled by the same backend server. For simple static pages, this won’t be an issue, but if the service needs knowledge of the user’s session (like if they’ve logged in), you’ll need to handle that. There are a few options to address this which can be implemented at different points in your stack.
The method you choose to handle user sessions will depend on your use case. Here are some options:
IP source affinity directs all requests from the same IP address to the same backend. This isn’t the best choice in situations where your users may connect from behind a router using NAT, because they will all have the same IP address.
The load balancer session and application session options are similar. They both configure the load balancer to look at the IP header information to determine which backend to send requests to. Unlike the IP source affinity method, users behind a NAT would be identified as individual users. You can adjust that further by implementing a stick-table on HAProxy load balancers which can be used to configure user identification based on multiple different data points.
File system replication replicates the path in your file system where the sessions are stored, giving all of the backends access to all sessions. One key aspect to consider is the speed at which the replication takes place. Depending on the method, even a moderate amount of lag betwee the backend node with a large number of sessions to replicate can cause issues for end users.
Using a database or in-memory data store are similar. Both require you to create your application in a way that stores user sessions either in a database or an in-memory cache like Redis. Using a database can be convenient because your application will already be set up to connect to it for other data requests. For a highly active site, this can put more overhead on the database itself, but it most uses cases, the additional load is negligible. Using an in-memory cache like Redis or Memcached means you’ll need to create a few more Droplets, but they’re very fast and versatile solutions which you can also use to cache database query responses for performance improvements.
Because WordPress is already configured to use a database for sessions, that’s the solution we’ll use.
File Storage
File Storage Review:
The files that your application uses will need to be consistent; all servers will need to have access to the same set of resources. One good approach to this problem is to decouple the storage functionality from your backend app servers and instead use a separate service for file storage. For static assets, you can use an object storage solution. DigitalOcean Spaces is a highly-available object storage service with built-in redundancy. We talk more about storage options, especially Spaces, in Chapter 7.
Like sessions, you can handle file storage using local file system replication among your application nodes. However, this does add another service to your infrastructure, as well as additional configuration changes.
A simpler solution is to use object storage, like DigitalOcean Spaces, especially because WordPress already has a DigitalOcean Spaces Sync plugin. Because the setup is reduced to installing and configuring a single plugin, that’s the solution we’ll use in this chapter.
Database
Database Review
Much like file storage, your database needs to be accessible to all backend Droplets. How you replicate database inserts and updates across a cluster is essential to a functional clustered database solution.
Additionally, your database should be highly available — that is, it has redundancy and automatic failover. This can be more complicated than just putting it behind a load balancer because the system will need to handle data consistency, like what happens if conflicting updates are made to different nodes.
In our example, we use a MariaDB Galera cluster to handle these issues. Galera handles synchronous replication to every database node, each of which acts as a full primary database server. This means you can read and write to each of the nodes in the cluster and everything is kept in sync. There are other ways to cluster databases involving primary and secondary forms of replication where a specific node is elected as the primary write server.
Each cluster solution has its merits. For our exercise Galera gives us the most benefits because the data consistency is handled automatically and every node in the cluster can serve as a primary server. There is no failover or failback steps necessary.
WordPress relies on its database for almost everything, and a single external database server is a single point of failure. There are a few options for database clusters, and different parts can be mixed and matched based on what works best in your case.
In this chapter, we’ll build a Galera cluster running on MariaDB, which is a fork of MySQL. This will run behind a few HAProxy nodes with an attached DigitalOcean Reserved IP.
You can visit the source repository for this here: https://github.com/DO-Solutions/galera-tf-mod. It sets up TCP routing to the cluster, which has three nodes by default. If we used less than three nodes, a Galera Arbitrator node would be required to avoid split-brain situations and keep the cluster operational. You can increase the number of nodes as well by adding the following line to the module code block in our main terraform file example-code/02-scale/ch05/init_deploy/main.tf. Note that you’ll want to have an odd number of nodes so a cluster can have a majority when performing a quorum vote. An example would be if two nodes think a record should exist and two other nodes thing the record should not exist, an additional node is required to cast the deciding vote.
module "sippin_db" {
...
   db_node_count = "5"
}
Setting Up the WordPress Cluster
In our project, setting up the WordPress cluster only takes a few commands. We’ll be working out of /root/navigators-guide/example-code/02-scale/ch05/init_deploy on the control Droplet, which contains the example code for this chapter.
From that directory, run the initialization script we’ve provided. It will walk you through all the settings and variables you need to set.
./bin/init_config
You can view the code for the initialization script on GitHub. You will see that the script is performing quite a number of functions. What it is really doing is automatically creating the necessary Terraform and Ansible variable files and ensuring there are no known issues present. The first thing the script will do is prompt for a valid DigitalOcean API token. After that, the script will create some unique keys needed for the cluster creation. The next prompt you will see will be to name the project and to select a region. If an SSH key is already configured (as we did in Chapter 4), the script will tell Terraform to use it. If an SSH key is not yet configured, one will be created and added to your DigitalOcean account automatically. Lastly the script will prompt for any needed passwords.
Once the script completes the Terraform plan and Ansible playbook are ready to be executed. This is very similar to the examples in Chapter 4, but there are more resources being created and configured.
If you were to configure everything manually you would need the variables entered for Terraform in the terraform.tvfars file. Ansible has required variables within multiple folders inside the group_vars folder.
The initialization script will print instructions on how to continue with Terraform before exiting, but we’ll walk through it here as well.
First, running terraform plan will create the following items in your DigitalOcean account:
- One Load Balancer, which will provide access to your WordPress site.
- Three Droplets to be used as WordPress web nodes.
- Three Droplets to be used as database nodes.
- Two HAProxy Load Balancer nodes for the database cluster.
- One Reserved IP address for the database load balancer.
terraform plan
Next, parse the plan files and modules to prepare the Terraform deployment using init.
terraform init
Finally, execute the create requests via the DigitalOcean API using apply.
terraform apply
Once Terraform finishes creating all of the infrastructure components, use Ansible to configure them. There are three Ansible roles to execute: one to configure the database servers, one to configure the database load balancers, and one to set up WordPress on all of the web nodes.
You can run all three roles with one command:
ansible-playbook -i /usr/local/bin/terraform-inventory site.yml
Once the playbook finishes, you’ll need to finish the WordPress setup.
Visit the IP address of your Load Balancer in your browser and follow the on-screen instructions to complete your WordPress configuration. Note that Chapter 13 covers how to protect your WordPress installation with HTTPS.
Configuring Spaces
We will be using the DigitalOcean Spaces Sync plugin in order to synchronize media files from the WordPress app servers to object storage. The Space acts as a central location to store any media you choose to upload.
The DigitalOcean Spaces Sync plugin was pre-installed as part of the Ansible playbook. In order to use this plugin, you’ll first need to create a Space using the Control Panel.
Once the Space has been created, create a Spaces access key on the “API” page in the control panel. Upon generating the key, you will see the main key along with the secret. Make note of these, since you will need them to set up the WordPress plugin.
Now, returning to WordPress, visit the Plugins page, and you should see the DigitalOcean Spaces Sync already installed thanks to our Ansible playbook. Click the Activate link to enable this plugin. Once enabled, a new link will appear in your settings named “DigitalOcean Spaces Sync”.
On this settings page, enter your Spaces key, Spaces secret, the Space name (labeled on this settings page as “DO Spaces Container”), and the endpoint. Keep in mind the endpoint will depend on which datacenter you’ve chosen for your Space: for example, NYC3 would be “https://`nyc3`.digitaloceanspaces.com”.
After checking the connection, add the full URL for your Space under “Full URL-path to files:”. For a Space in NYC3, this would be “https://`space-name`.nyc3.digitaloceanspaces.com” (where space-name is the name of your Space). Once this is entered, it’s time to save your settings, and test the plugin by uploading a file.
When you upload a file in the “Media” tab, you should see this automatically sync to your Space. You can check this by viewing the Space’s file listing in your DigitalOcean control panel.
Now, by default, this setup does not use a CDN. In a production environment, we absolutely recommend using a CDN, since this will allow you to serve these media files quickly and reliably for all visitors.
If you add a CDN later, keep in mind that you will need to point the “Full URL path to files” to this new CDN’s address. We are also working on a CDN that integrates with Spaces. This is currently in beta, but please feel free to ask your account manager for access if you are interested.
Verifying the Setup
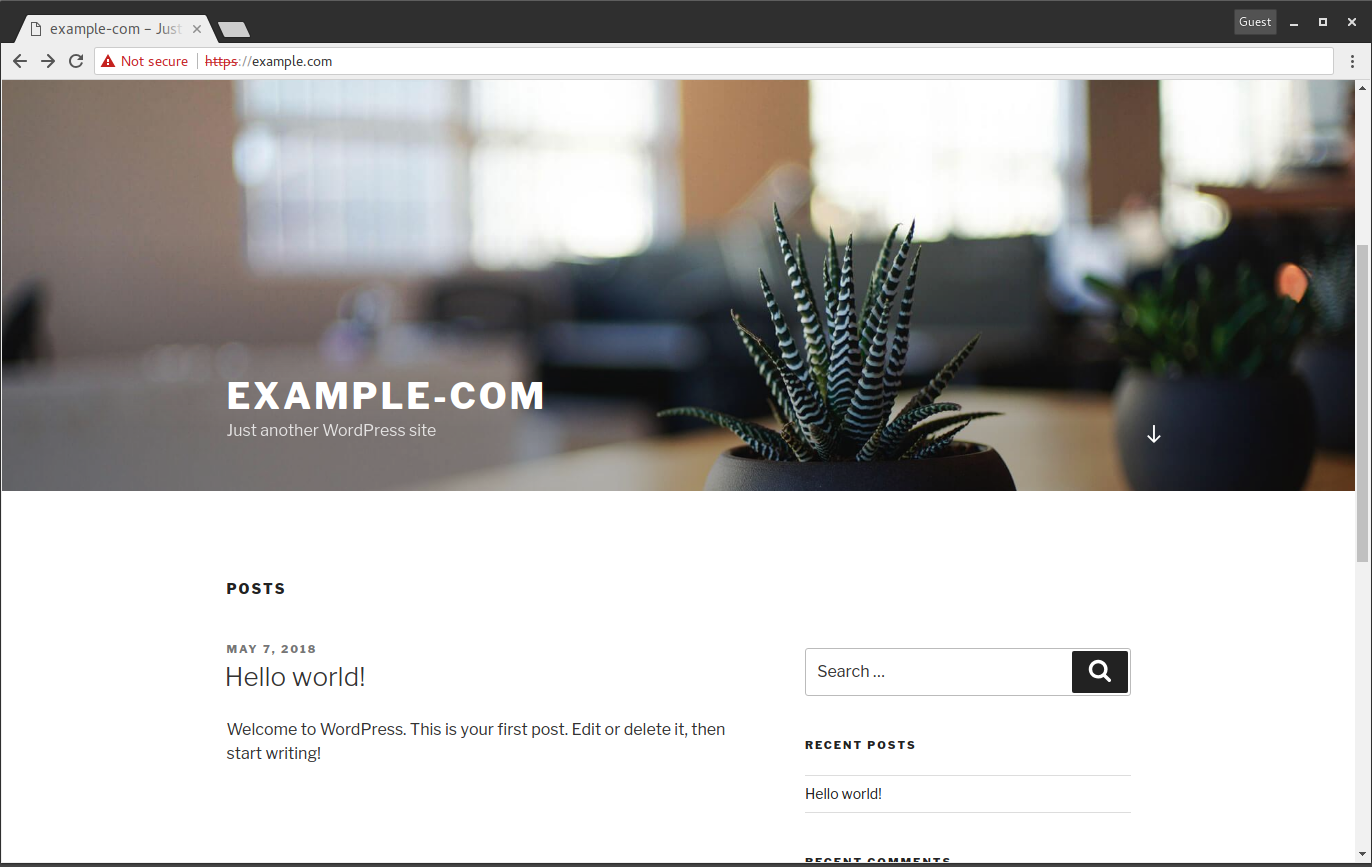
By going to your Load Balancer IP address in your browser, you can see the default WordPress site, similar to this:
The end result is a fully functional WordPress site. You can test by configuring a blog or creating posts. You could power off two of the web servers, one of the HAProxy servers, and one of the database nodes and the website should still be fully functional.
Once you’re done testing, you can remove all of these infrastructure components from your DigitalOcean account with one command. This will remove the entire cluster to clean up the work from this chapter.
terraform destroy
You can re-run apply and then re-run the Ansible playbook to regenerate the cluster.
What’s Next?
We’ve taken our examples of high availability and applied the concept across the entire application stack. The example in this chapter was used to create a fully redundant and scalable WordPress website. This was achieved with leveraging configuration management tools. We’ll explore one way to further automate and improve our deployments in the next chapter. The rest of the book will cover concepts relating to storage, monitoring, and security, but more importantly how they apply to your business and what to consider when planning out your infrastructure.
Thanks for learning with the DigitalOcean Community. Check out our offerings for compute, storage, networking, and managed databases.
Tutorial Series: The Navigator's Guide to DigitalOcean
This is an early release version of the contents of the Navigator’s Guide book, an offering from the DigitalOcean Solutions Engineers. The goal of the book is to help business customers plan their infrastructure needs, provide working examples along the way, and include technical nuance and the “why” that makes some decisions better than others.
author
author
editor
staff technical writer
hi! i write do.co/docs now, but i used to be the senior tech editor publishing tutorials here in the community.
This textbox defaults to using Markdown to format your answer.
You can type !ref in this text area to quickly search our full set of tutorials, documentation & marketplace offerings and insert the link!


Get our biweekly newsletter
Sign up for Infrastructure as a Newsletter.

Hollie's Hub for Good
Working on improving health and education, reducing inequality, and spurring economic growth? We'd like to help.

Become a contributor
Get paid to write technical tutorials and select a tech-focused charity to receive a matching donation.
