How to Manage the Spaces CDN Cache
Validated on 19 Mar 2020 • Last edited on 17 Jun 2025
Spaces Object Storage is an S3-compatible object storage service. Spaces buckets let you store and serve large amounts of data, and the built-in CDN minimizes page load times and improves performance.
After you enable the Spaces CDN, the CDN’s edge servers will begin caching and serving the contents of the Spaces bucket.
Each request with a unique URL, including the URL’s query string, is treated as a unique asset and has its own cache. Requests with identical URLs will return the same cached value. For example, the caches for the following two URLs are separate because the query strings are different:
Example Spaces CDN URLs with different query strings
spacename.nyc3.cdn.digitaloceanspaces.com/examplefile.jpg?query=examplequery
spacename.nyc3.cdn.digitaloceanspaces.com/examplefile.jpg?query=differentquery
This URL is based on the datacenter you created your bucket in, followed by digitaloceanspaces.com. For nyc3, for example, use spacename.nyc3.digitaloceanspaces.com/....
There are two ways you can control the CDN cache:
-
Set the edge cache TTL. The edge cache TTL determines how long the CDN’s edge servers keep a particular copy of your files before getting the current version from the origin. A longer TTL gives better performance with the tradeoff that users won’t see updated content until the existing content expires.
You may want to set a longer TTL for static content and content that is not changed often. You may want to use a shorter TTL for dynamic content and content that changes frequently. You may also want to set a longer edge cache TTL if you anticipate a large increase in traffic.
-
Purge the cache. Purging files from the CDN cache makes all edge servers immediately clear their versions of those files and request the current version from buckets.
You may want to purge files to quickly correct errors, fully remove deleted content, or deploy urgent fixes.
Set the Edge Cache TTL
You can set the default edge cache TTL for the entire bucket and customize the TTL for specific files.
Change the Bucket’s Default Edge Cache TTL
The edge cache TTL for Spaces is set to 1 hour by default. You can change this when you first enable the CDN and modify it at any time after.
To change a bucket’s edge cache TTL from the control panel, navigate to the bucket’s detail page by clicking the name of the bucket. From there, click the Settings tab. In the CDN (Content Delivery Network) section, click Edit to open the options.
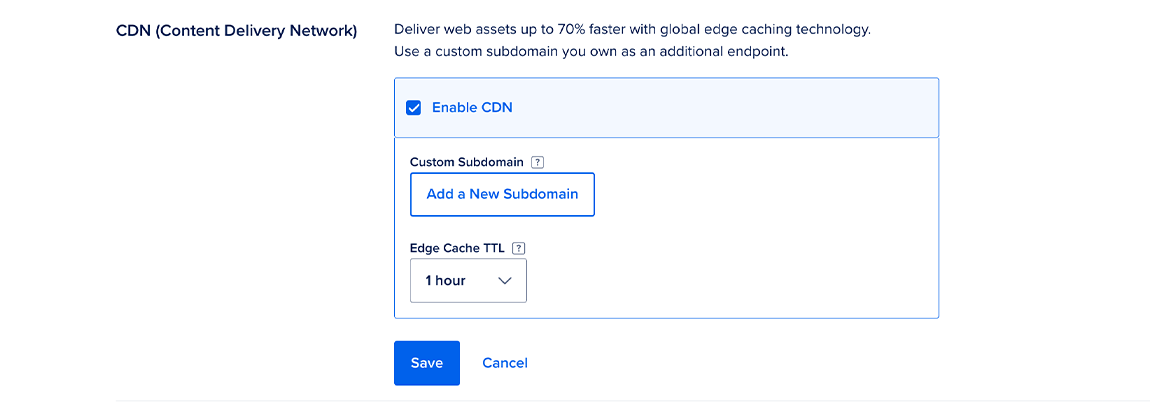
In the Edge Cache TTL drop-down menu, choose a time. The options are:
- 1 minute
- 10 minutes
- 1 hour (the default)
- 1 day
- 1 week
After you make your choice, click Save.
Customize the Edge Cache TTL for Specific Files
If you want the TTL for specific files to differ from the default of the bucket, you can add a custom key-value pair to the file’s metadata.
From the file’s More menu (or, after selecting multiple files, from the Actions menu), choose Manage Metadata. Click Add Custom Pairing, and enter max-age as the Key and the TTL you want in seconds as the Value. Then, click Save.
Purge Files from the Cache
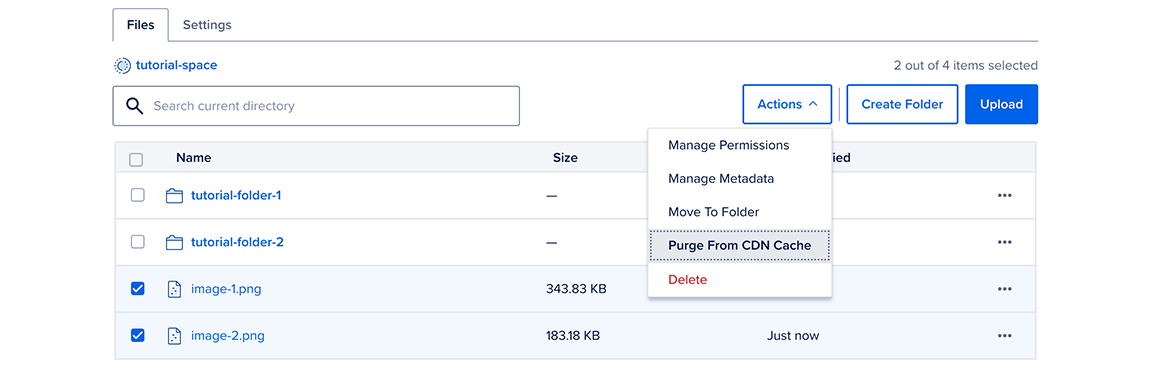
You can purge individual files, recursively purge folders, or purge the entire contents of a bucket using the same method. From the control panel, navigate to the bucket’s detail page by clicking the name of the bucket. This will bring you to the Files tab.
To purge a single item from the cache, open its More menu and select Purge from CDN Cache. To purge multiple items, select the items you want to purge, then open the Action menu and select Purge from CDN Cache. You can select the full contents of the Space by clicking the checkbox in the header, to the left of the Name column.
Either way, you’ll see a prompt to confirm the purge:
Click Purge Item/Selected/Space from CDN Cache. (The text will vary depending on if you’ve selected a single item, multiple items, or the entire contents of the bucket.) Clicking this button will send the invalidation request to the CDN edge servers.
For an alternative way to recursively purge folder contents or the entire bucket from the CDN cache, navigate to the bucket’s Settings tab. In the CDN (Content Delivery Network) section, click Purge Cache.
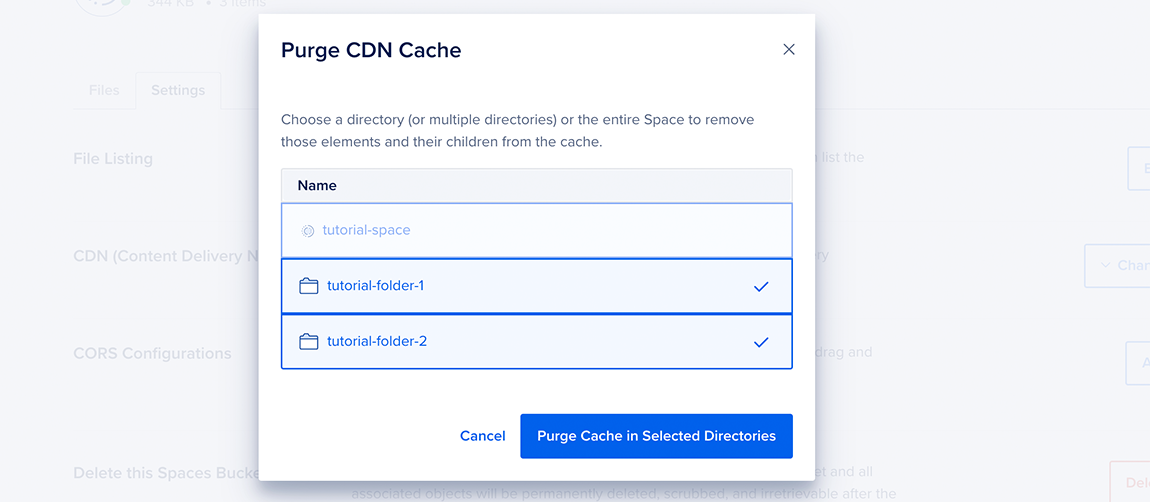
Here, you can choose a single directory or the entire bucket to remove the files they contain from the cache. After you make your selection, click Purge Selected Directories to send the invalidation request to the edge servers.