Sr Technical Content Strategist and Team Lead
")
Introduction
SSH (Secure Shell) is the standard way to log into remote Linux servers over
an encrypted connection. From your Ubuntu workstation or any client, run
ssh username@server_ip, accept the host key on first connect, then
authenticate with a password or—preferably—an SSH key pair.
This guide covers client usage, enabling OpenSSH on Ubuntu 24.04 LTS and
26.04 LTS, key-based login, sshd configuration, and common errors. For the
full protocol picture, see
SSH Essentials: Working with SSH Servers, Clients, and Keys.
Deploy your frontend applications from GitHub using DigitalOcean App Platform. Let DigitalOcean focus on scaling your app.
Version note: Commands below were validated on Ubuntu 22.04 LTS,
24.04 LTS (Noble Numbat), and 26.04 LTS (Resolute Raccoon). On current
LTS releases the systemd unit is ssh.service (manage it with
systemctl … ssh). OpenSSH on 24.04 and 26.04 reads drop-in files under
/etc/ssh/sshd_config.d/ before values in the main sshd_config. Cloud images
(including DigitalOcean Droplets)
often ship with openssh-server already installed and your SSH public key
injected at create time.
Key takeaways
- Connect from any client with
ssh user@host; use-pfor a non-default port and-ito pick a specific private key. - On Ubuntu, install the server with
sudo apt install openssh-server, thensudo systemctl enable --now ssh. - On 24.04 and 26.04, put custom
sshdsettings in/etc/ssh/sshd_config.d/so they are not overwritten on package updates. - Run
sudo sshd -tbeforesudo systemctl reload sshto catch config syntax errors and avoid locking yourself out. - Prefer
ssh-keygen -t ed25519over RSA for new keys; copy the public key withssh-copy-id. - Allow SSH through UFW with
sudo ufw allow OpenSSHwhen the firewall is active. - After keys work, set
PasswordAuthentication noandPermitRootLogin nofor production servers. - Use the Droplet web Console for emergency access if SSH misconfiguration blocks your session.
Quick start: SSH into a remote server in 5 steps
-
Open your terminal.
- On Linux/macOS: use Terminal.
- On Windows: PowerShell, WSL, or Git Bash.
-
Run the SSH command:
ssh username@your_server_ip -
Review and accept the host fingerprint when prompted on first connect.
-
Authenticate with your password or SSH key.
-
Disconnect with
exit.
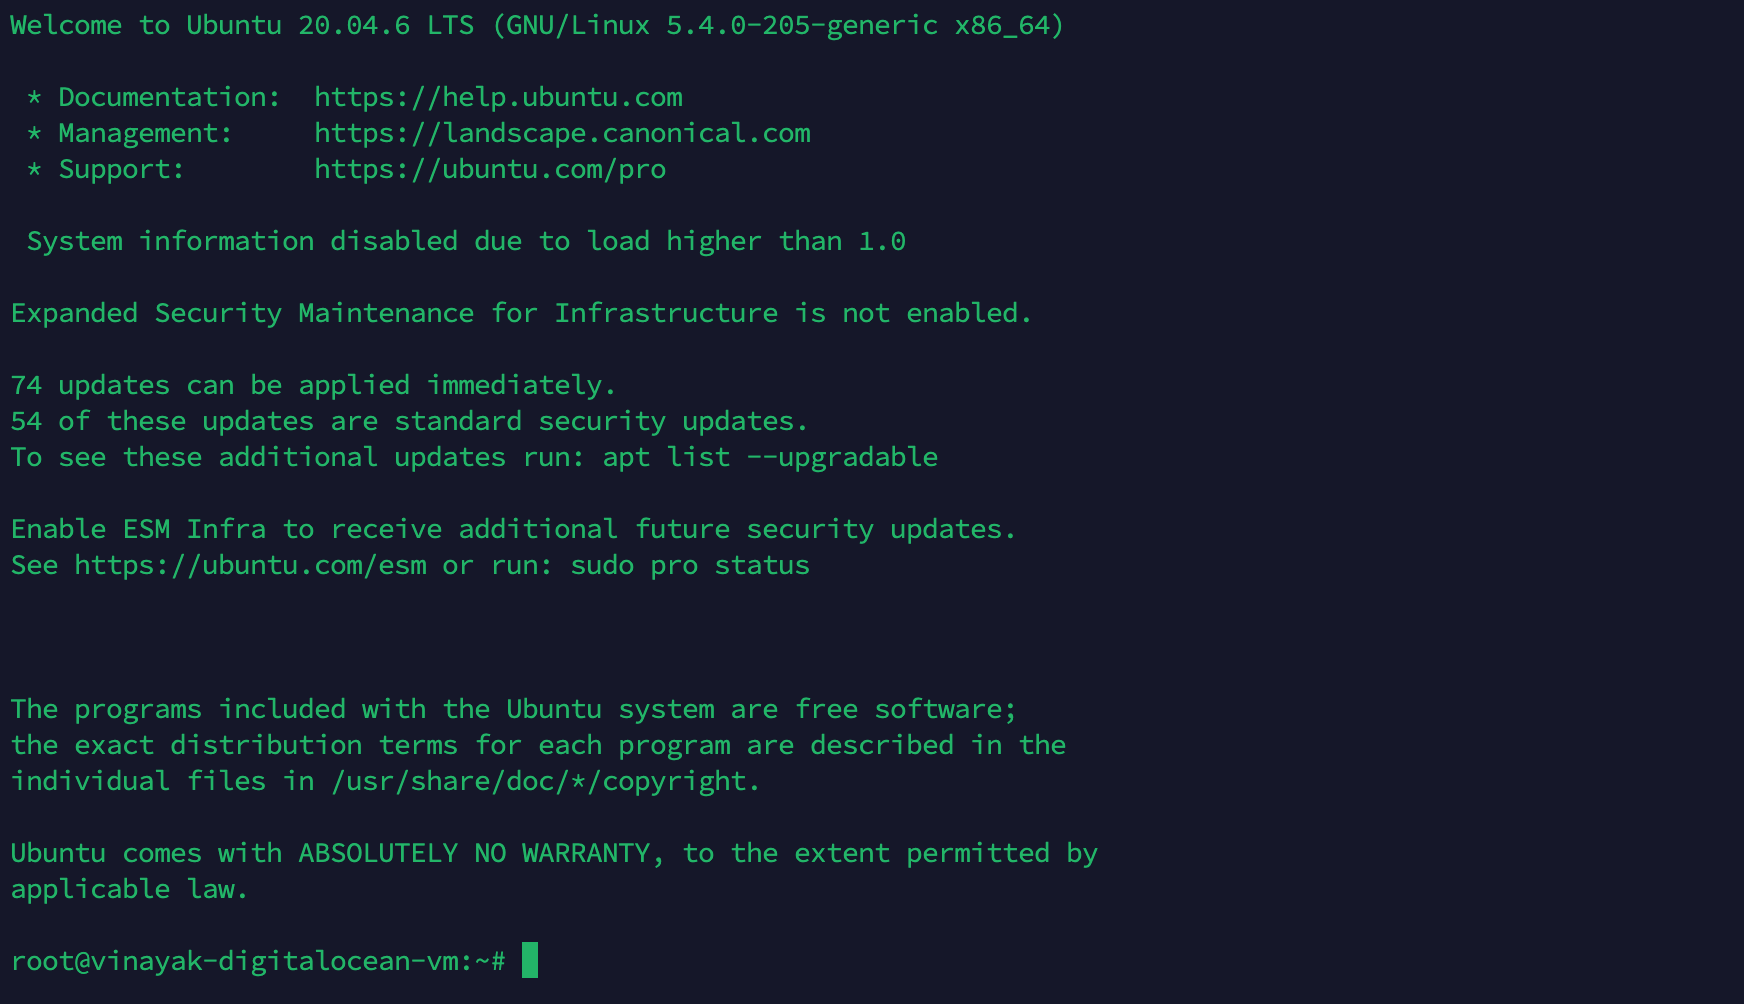 Successful SSH connection using Termius, showing Ubuntu welcome screen and shell prompt
Enable SSH on Ubuntu 24.04 and 26.04 LTS
Ubuntu Server cloud images usually include OpenSSH. Ubuntu Desktop often does not—you install it yourself. The steps are the same on 22.04, 24.04, and 26.04; differences are called out where they matter.
Install and start the OpenSSH server
On the machine you want to reach remotely:
sudo apt update
sudo apt install openssh-server
sudo systemctl enable --now ssh
Confirm the service is listening:
sudo systemctl status ssh
ss -tlnp | grep ':22'
Expected state: active (running) and port 22 in LISTEN.
Open the firewall (UFW)
On Ubuntu, UFW may be inactive on local installs but is commonly enabled on servers. If UFW is active, allow SSH before connecting from another host:
sudo ufw allow OpenSSH
sudo ufw status
The OpenSSH application profile maps to port 22. For a custom port, allow that
port explicitly (see
How To Set Up a Firewall with UFW on Ubuntu).
Ubuntu version differences at a glance
| Topic | Ubuntu 22.04 LTS | Ubuntu 24.04 / 26.04 LTS |
|---|---|---|
| systemd unit | ssh.service |
ssh.service |
| Config drop-ins | Include /etc/ssh/sshd_config.d/*.conf |
Same; preferred place for custom rules |
| Typical OpenSSH | 8.9.x | 9.6.x (24.04), 10.x (26.04) |
Default PermitRootLogin |
often prohibit-password |
prohibit-password (key-only root) |
| Desktop: SSH server preinstalled | No | No |
| DO Droplet: SSH on first boot | Usually yes, with your SSH key | Usually yes, with your SSH key |
Official reference: OpenSSH server (Ubuntu Server documentation).
For first-time VPS hardening, follow Initial Server Setup with Ubuntu after SSH works.
Core syntax
To connect to a remote system, use the ssh command.
On Windows, install OpenSSH (built into current Windows 10/11), use
WSL,
or Git for Windows for a bash environment that
includes ssh. See
Microsoft’s OpenSSH documentation
for PowerShell setup.
On macOS and Linux, ssh is available in the terminal by default.
Basic form:
ssh remote_host
Replace remote_host with an IP address or domain name. If your username on the
remote system differs from your local username, specify it:
ssh remote_username@remote_host
After you connect, you may be prompted for a password unless key-based auth is configured. End the session with:
exit
How does SSH work?
SSH connects a client (ssh) to a server (sshd).
On most Ubuntu systems, sshd starts automatically once openssh-server is
installed. If the service is stopped, start it with:
sudo systemctl start ssh
If you cannot reach the host over the network, use your provider’s out-of-band console. On DigitalOcean, open the Droplet Access tab and launch the web Console—useful when SSH keys or firewall rules block normal login.
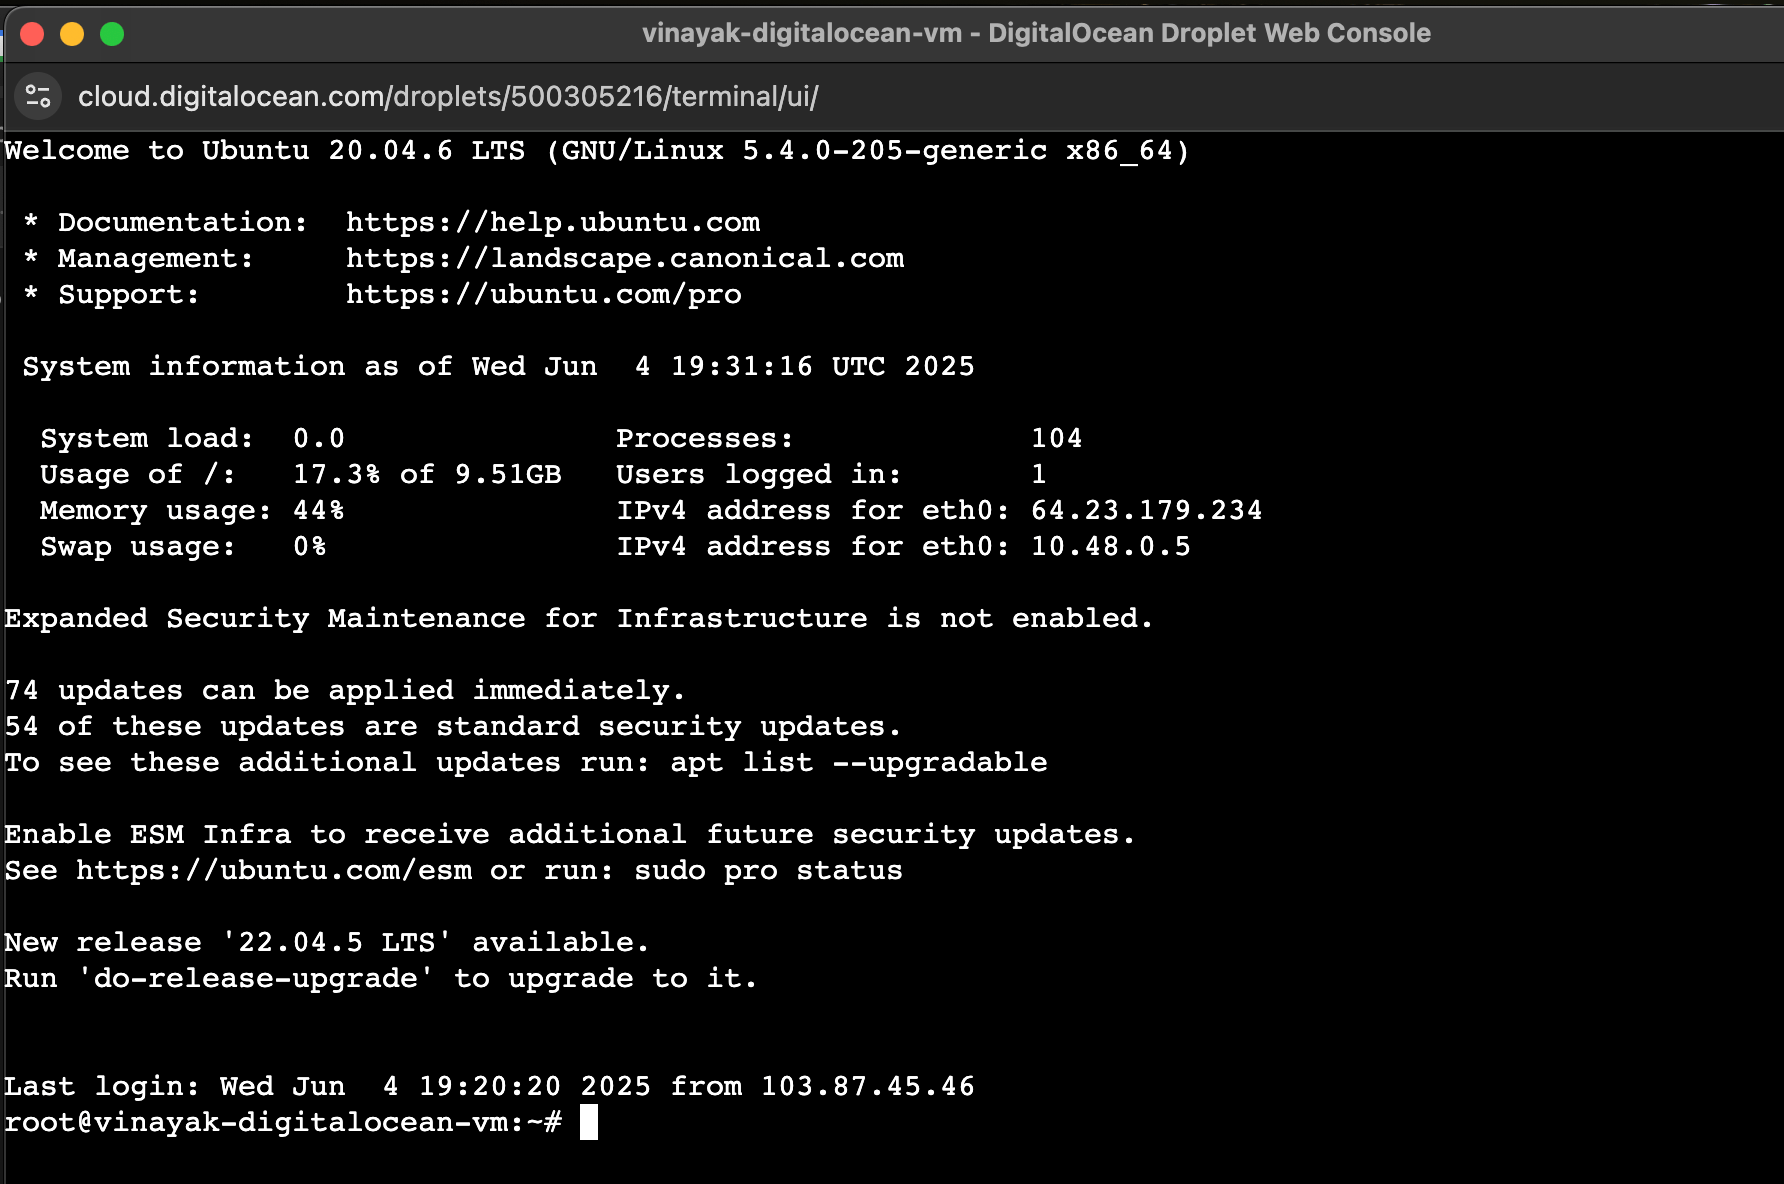 Access your server through DigitalOcean’s browser-based Console, ideal for emergency access without an SSH client.
For encryption and handshake details, read Understanding the SSH Encryption and Connection Process.
How to configure SSH on Ubuntu
Server settings live in /etc/ssh/sshd_config. On Ubuntu 24.04 and
26.04, the first line is typically:
Include /etc/ssh/sshd_config.d/*.conf
OpenSSH applies the first value it finds for most directives. Store custom
changes in a drop-in such as /etc/ssh/sshd_config.d/99-custom.conf instead of
editing the main file when possible.
Back up before editing:
sudo cp /etc/ssh/sshd_config /etc/ssh/sshd_config.bak.$(date +%F)
Common directives to review:
Port 22
Leave at 22 unless you have a documented reason to change it. Nonstandard ports reduce noise from automated scans but are not a substitute for keys and firewall rules.
PermitRootLogin prohibit-password
On current Ubuntu LTS releases, direct root password login is usually
disabled; root may still log in with a key. For production, set
PermitRootLogin no after you have a sudo user with key access.
PubkeyAuthentication yes
PasswordAuthentication yes
KbdInteractiveAuthentication no
Older guides reference ChallengeResponseAuthentication; on OpenSSH 8.4+ use
KbdInteractiveAuthentication instead.
LogLevel INFO
Raise to DEBUG temporarily when diagnosing auth failures (revert afterward).
After edits, test and reload:
sudo sshd -t
sudo systemctl reload ssh
Keep a second terminal session open while testing so you can revert if something breaks.
How to use ~/.ssh/config for multiple connections
~/.ssh/config for multiple connectionsCreate or edit ~/.ssh/config on your local machine:
Host dev-server
    HostName 192.168.1.10
    User devuser
    Port 2222
    IdentityFile ~/.ssh/dev_key
Connect with:
ssh dev-server
This helps when you manage several keys, users, or ports. See How to Configure SSH Key-Based Authentication on a Linux Server for a full walkthrough.
How to log in with SSH keys
Password login works for testing; key-based authentication is faster and resists brute-force attacks.
How key-based authentication works
You generate a private key (stays on your computer) and a public key
(copied to the server). The server challenges the client to prove it holds the
private key matching the public key in ~/.ssh/authorized_keys.
Create SSH keys on Ubuntu 24.04 / 26.04
Generate keys on the machine you connect from (your laptop or workstation):
ssh-keygen -t ed25519
Press Enter to accept the default path (~/.ssh/id_ed25519). Optionally set a
passphrase for the private key.
For legacy systems that do not support Ed25519, use RSA:
ssh-keygen -t rsa -b 4096
Check permissions:
ls -l ~/.ssh/
Private keys should be mode 600; authorized_keys on the server should be
600 and the .ssh directory 700.
Copy your public key to the server
If password login still works:
ssh-copy-id username@remote_host
On DigitalOcean, you can also add keys at Droplet creation or in the control panel—see How to Add SSH Keys to Droplets.
Client-side options
Useful flags when connecting:
Non-default port (must match Port in sshd_config):
ssh -p port_number remote_username@remote_host
Changing the SSH port adds obscurity, not strong security. Pair key-based auth,
PermitRootLogin no, and firewall rules for meaningful protection.
Run one remote command:
ssh remote_host "command_to_run"
X11 forwarding (if enabled in sshd_config on both sides):
ssh -X remote_host
Verbose debugging:
ssh -vvv remote_username@remote_host
Common SSH errors and troubleshooting
| Error | Possible cause | What to try |
|---|---|---|
| Connection refused | sshd not running or port blocked |
sudo systemctl start ssh; sudo ufw allow OpenSSH |
| Permission denied (publickey) | Missing key or wrong permissions | chmod 700 ~/.ssh; chmod 600 ~/.ssh/authorized_keys |
| Connection timed out | Firewall, wrong IP, or network | ping / traceroute; check cloud firewall and UFW |
| Host key verification failed | Server rebuilt or IP reused | ssh-keygen -R hostname_or_ip |
| Too many authentication failures | SSH agent offers too many keys | ssh -o IdentitiesOnly=yes -i ~/.ssh/id_ed25519 user@host |
Advanced issues
| Error | Possible cause | Advanced fix |
|---|---|---|
| Connection closed by remote host | MaxAuthTries, idle timeout |
Check sshd_config; sudo journalctl -u ssh |
Bad owner or permissions on .ssh |
Loose permissions | chmod 700 ~/.ssh; chmod 600 private keys |
| Authentication refused | Password and keys both disabled | Ensure PubkeyAuthentication yes or restore password auth temporarily |
| Cannot resolve hostname | DNS typo | Use IP or fix /etc/hosts |
On the server, watch live logs:
sudo journalctl -fu ssh
Disable password authentication
After key login works, disable password-only auth.
Confirm your public key is in ~/.ssh/authorized_keys before disabling
passwords. Keep the web Console available until you verify key login.
Create or edit a drop-in on Ubuntu 24.04 / 26.04:
sudo nano /etc/ssh/sshd_config.d/99-disable-password.conf
Add:
PasswordAuthentication no
KbdInteractiveAuthentication no
PubkeyAuthentication yes
Validate and reload:
sudo sshd -t
sudo systemctl reload ssh
Test from a new terminal before closing your existing session.
SSH security best practices
- Use Ed25519 or 4096-bit RSA keys; avoid password-only login on public servers.
- Set
PermitRootLogin noafter creating a sudo user. - Keep
openssh-serverupdated (sudo apt upgrade openssh-server). - Restrict SSH with UFW or cloud firewalls to known IPs when possible.
- Consider fail2ban for additional brute-force protection.
- Use SFTP/SCP over SSH for file transfer—see How to Use SFTP.
How to SSH on Windows, Linux, and macOS
Windows: PowerShell, WSL, or Git Bash—all support ssh user@server_ip and
ssh-keygen.
macOS / Linux: Use the built-in terminal; same commands apply.
Generate keys:
ssh-keygen -t ed25519
FAQs
1. How do you use SSH in the Ubuntu terminal?
Open Terminal and run:
ssh username@server_ip
Replace username with your account on the remote host and server_ip with its
public IP or hostname. The first time you connect, type yes to trust the host
key, then enter your password or use an SSH key if configured.
2. How do you set up SSH on Ubuntu Linux?
On the server, install and enable OpenSSH:
sudo apt update
sudo apt install openssh-server
sudo systemctl enable --now ssh
If UFW is active, run sudo ufw allow OpenSSH. On your client, generate
a key with ssh-keygen -t ed25519 and run ssh-copy-id user@server_ip to
install the public key.
3. How do you enable OpenSSH on Ubuntu?
The server package is openssh-server; the client tools are in
openssh-client (often preinstalled). Install the server with apt, start
ssh.service, and confirm with sudo systemctl status ssh. On Ubuntu Desktop
24.04 or 26.04, this step is required before remote login works.
4. How do you check if SSH is enabled on Ubuntu?
sudo systemctl status ssh
Look for active (running). Also verify the port:
ss -tlnp | grep ':22'
From another machine, test with ssh -v user@host or nc -zv host 22.
5. Why is SSH not working on Ubuntu?
Common causes:
openssh-servernot installed (especially on Desktop)—install it withapt.sshdnot running—sudo systemctl start ssh.- Firewall blocking port 22—
sudo ufw allow OpenSSHor open the port in your cloud firewall. - Wrong IP, username, or key—use
ssh -vvvfor details. - Bad
sshd_config—runsudo sshd -t; fix errors before reload.
Use the provider console (DigitalOcean Console tab) if SSH is down but the VM is still running.
Conclusion
SSH remains the default for remote Linux administration because it is
encrypted, lightweight, and works across clouds and local networks. On Ubuntu
24.04 and 26.04, install openssh-server, use sshd_config.d for custom
settings, prefer Ed25519 keys, and test with sshd -t before reloading the
service.
Go deeper with:
- SSH Essentials: Working with SSH Servers, Clients, and Keys
- Understanding the SSH Encryption and Connection Process
- How to Configure SSH Key-Based Authentication on a Linux Server
- How to Use SFTP to Securely Transfer Files
Add SSH keys to new Droplets in one step—see How to Add SSH Keys to Droplets.
Thanks for learning with the DigitalOcean Community. Check out our offerings for compute, storage, networking, and managed databases.
About the author
Anish is a Sr Technical Content Strategist and Team Lead at DigitalOcean with 7+ years of experience as an DevOps SRE at Nutanix and Cloud consultant at AMEX, and technical writing at DOCN, and shipping deep infra and AI inference tutorials that help developers deploy production‑ready applications on DigitalOcean.
Still looking for an answer?
This textbox defaults to using Markdown to format your answer.
You can type !ref in this text area to quickly search our full set of tutorials, documentation & marketplace offerings and insert the link!
The ssh-copy-id was not working on my Mac, so I’d like to share how I got it working.
-
Install ssh-copy-id sudo curl https://raw.github.com/beautifulcode/ssh-copy-id-for-OSX/master/ssh-copy-id.sh -o /usr/local/bin/ssh-copy-id sudo chmod +x /usr/local/bin/ssh-copy-id
-
Copy the public key: ssh-copy-id -i ~/.ssh/id_rsa.pub ‘-p <port number> <username>@<ip address’
- Copy the public key: ssh-copy-id -i ~/.ssh/id_rsa.pub ‘-p portnumber username@ipaddress’ , where portnumber username and ipaddress needs to be filled in
Thank you very much, Mr. Justin. I can install whmsonic from ubuntu from your article.
I did exactly as instructed and it all seemed to work but it changed nothing in regards to having to type in a password. I still have to type one in. Did you miss stating the obvious, like that we still have to make config changes on the server or something?
@forgotmyorange: If you connect with <code>ssh -vv root@your.ip.address</code> it will add debugging output so that you can see what is happening behind the scenes. If it is actually connecting with the key, you should see something like:
<pre> debug1: Authentications that can continue: publickey,password debug1: Next authentication method: publickey debug1: Offering RSA public key: /home/asb/.ssh/id_rsa debug2: we sent a publickey packet, wait for reply debug1: Server accepts key: pkalg ssh-rsa blen 279 </pre>
Hey thanks. It’s the clearest tutorial I found! and your blog looks nice.
I guess you forgot to mention you can disable password authentication after setting up SSH keys, as not to be exposed to brute force attacks.
- Is SSH server included in every Ubuntu desktop machine? how should we enable it? Maybe you’ve written an article before, I’ll search for it.
- Does Ubuntu desktop provides a GUI interface in order to use -X option?
Hey thanks. It’s very helpful tutorial.
I have query regarding to see the server console for the running processes. So, can you please suggest me the command to see the running server console, so that i will be able to see the errors if occurs?
Hi, Thanks, extremely clear guidance. The local system is Cygwin on a WIndows 7 PC, The remote system is Ubuntu.
I still have a problem :
"we sent a publickey packet" - but there is no reply :

debug1: SSH2_MSG_SERVICE_REQUEST sent
debug2: service_accept: ssh-userauth
debug1: SSH2_MSG_SERVICE_ACCEPT received
debug2: key: /home/jbww/.ssh/id_rsa (0x80061bd0),
debug2: key: /home/jbww/.ssh/id_dsa (0x0),
debug2: key: /home/jbww/.ssh/id_ecdsa (0x0),
debug1: Authentications that can continue: publickey,password
debug1: Next authentication method: publickey
debug1: Offering RSA public key: /home/jbww/.ssh/id_rsa
debug2: we sent a publickey packet, wait for reply
debug1: Authentications that can continue: publickey,password
debug1: Trying private key: /home/jbww/.ssh/id_dsa
debug1: Trying private key: /home/jbww/.ssh/id_ecdsa
debug2: we did not send a packet, disable method
debug1: Next authentication method: password
Does anyone have an idea as to what I can try ?
On cPanel based server you can connect it easily.
Follow this video: https://www.youtube.com/watch?v=9Yx1gZKgb5Y
 This work is licensed under a Creative Commons Attribution-NonCommercial- ShareAlike 4.0 International License.
Become a contributor for community
Get paid to write technical tutorials and select a tech-focused charity to receive a matching donation.

DigitalOcean Documentation
Full documentation for every DigitalOcean product.

Resources for startups and AI-native businesses
The Wave has everything you need to know about building a business, from raising funding to marketing your product.
The developer cloud
Scale up as you grow — whether you're running one virtual machine or ten thousand.

Start building today
From GPU-powered inference and Kubernetes to managed databases and storage, get everything you need to build, scale, and deploy intelligent applications.
