By Mason Egger and Brian MacDonald

Introduction
The Windows Subsystem for Linux 2, WSL 2 or WSL for short, is a tool on Microsoft Windows 10 that allows developers to run a Linux environment directly on Windows without any modifications, secondary Virtual Machine software, or dual-boot setups. The WSL natively integrates with most applications on your workstation, allowing for a Linux-like development experience on Windows. The WSL accomplishes this by using Microsoft’s built in virtualization software called Hyper-V to run.
In this tutorial you’ll enable the WSL, install Ubuntu 20.04 onto your workstation using the WSL, and install Microsoft’s new Windows Command Line to access your Ubuntu 20.04 installation. This will provide you with a Linux programming environment that is native to Windows.
Prerequisites
In order to follow along with this guide, you’ll need:
- Personal Computer with Windows 10 installed: The Windows Subsystem for Linux 2 requires Windows 10 version 1903 or higher with build 18362 or higher. For ARM64 systems, version 2004 or higher with build 19041 is required. Builds lower than this will not support the WSL 2.
Warning: If you are installing the WSL on a virtual machine you will need to expose CPU virtualizations flags to the virtual machine. For example, if you are installing the WSL on a virtualized Windows 10 that is running in Hyper-V named MyWSL you will need to run the following command on the virtualization host, not the virtual machine. This is a Windows command so you will need an elevated PowerShell prompt to do this. Replace MyWSL with the name of your VM in Hyper-V:
- Set-VMProcessor -VMName MyWSL -ExposeVirtualizationExtensions $true
If you are not installing the WSL on a virtual machine, you can skip this warning entirely.
Step 1 — Enabling Windows Services for the WSL
The first thing you need to do is enable specific Windows services so that you can run the WSL. These services come with Windows but are turned off by default until you decide you need them. Open up the Start menu and search for PowerShell. You’ll need to right click on PowerShell and click on Run as Administrator.
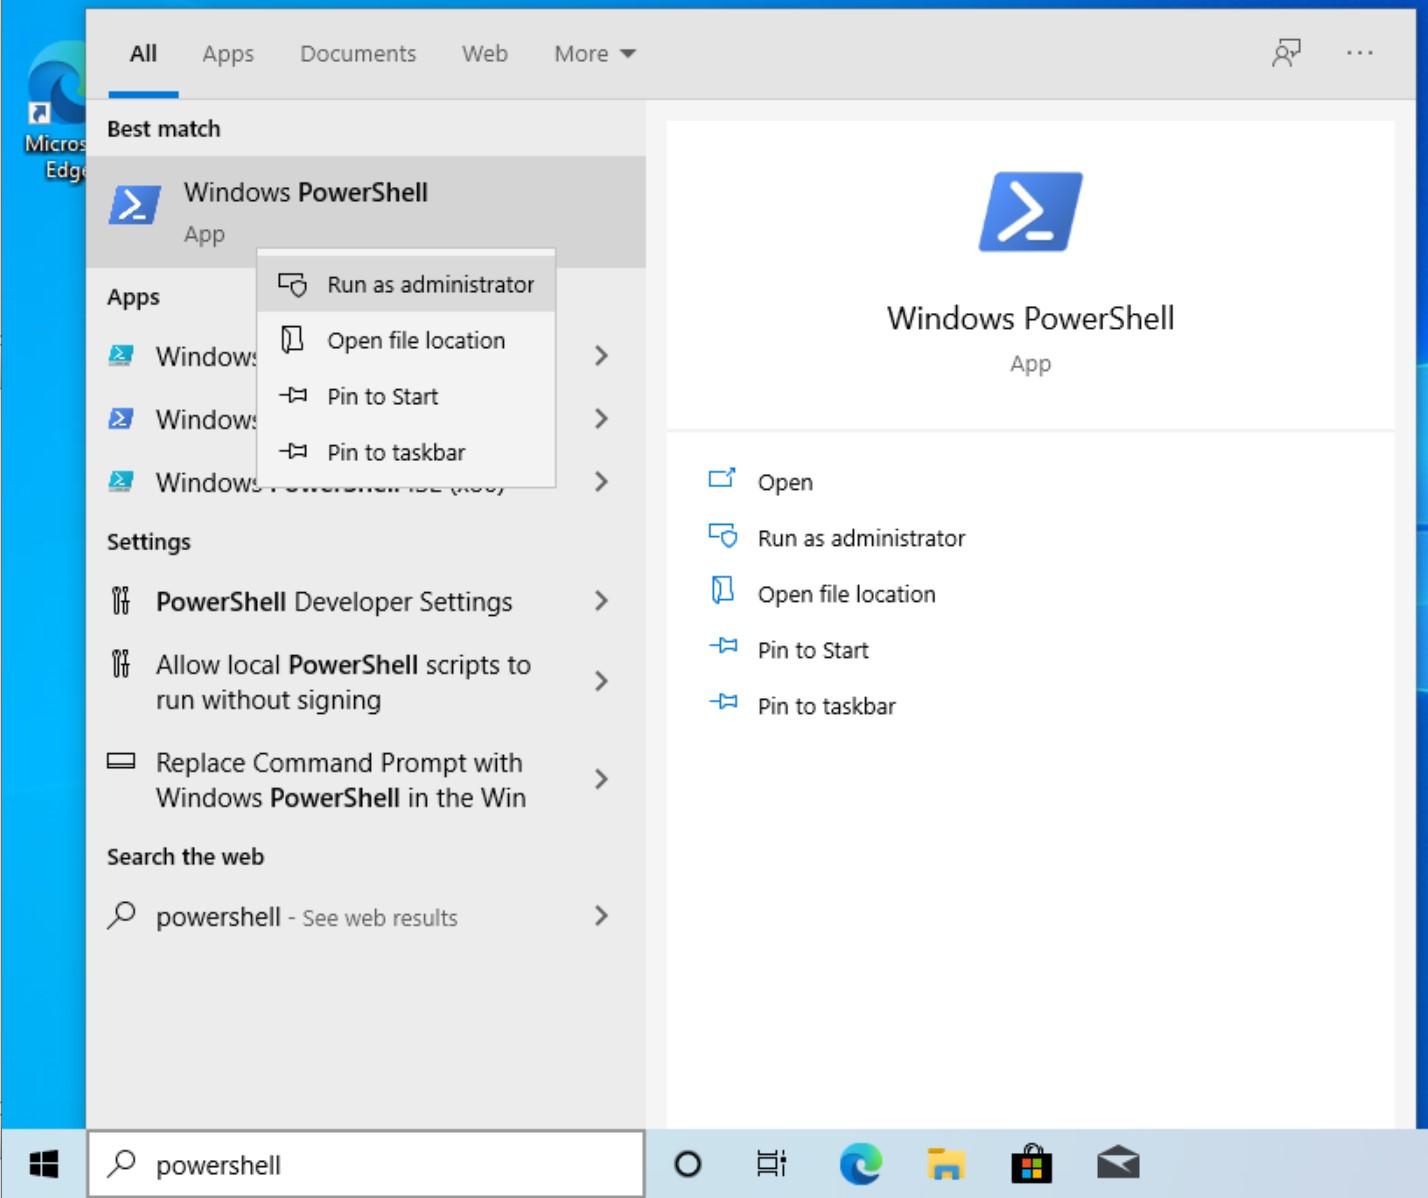
Once you’ve done this, a PowerShell window will open. You’ll use the Windows Deployment Image Servicing and Management tool to enable optional Windows features that are disabled by default. Run the following command to enable the WSL feature:
PS C:\Windows\system32> dism.exe /online /enable-feature /featurename:Microsoft-Windows-Subsystem-Linux /all /norestart
Once you run the command you’ll see output similar to this:
outputDeployment Image Servicing and Management tool
Version: 10.0.19041.844

Image Version: 10.0.19042.985

Enabling feature(s)
[==========================100.0%==========================]
The operation completed successfully.
Next, run the following command in PowerShell to enable Windows’ Virtual Machine Platform. This enables the second generation of the WSL by enabling Hyper-V and allowing Windows’ to install Linux using it.
PS C:\Windows\system32> dism.exe /online /enable-feature /featurename:VirtualMachinePlatform /all /norestart
Once you run the command you’ll see output similar to this:
outputDeployment Image Servicing and Management tool
Version: 10.0.19041.844

Image Version: 10.0.19042.985

Enabling feature(s)
[==========================100.0%==========================]
The operation completed successfully.
Once you have done this you will need to restart Windows for these changes to take place.
After the restart is finished, log back in to your workstation.
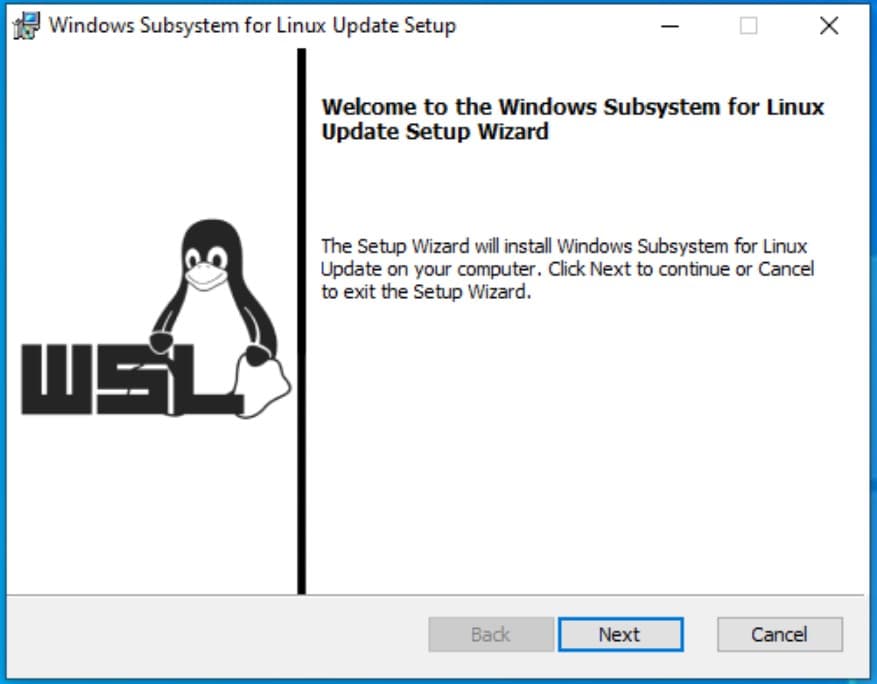
Next you’ll need to download the latest Linux kernel update package from Microsoft and install it.
To install this package, click to download the wsl_update_x64.msi package to your local workstation. Once it is downloaded, run the application and follow the prompts to install it.
Finally, you need to set the default version of the WSL to version 2. Open another PowerShell terminal as an administrator and run the following command:
PS C:\Windows\system32> wsl --set-default-version 2
Once you run the command you’ll see output similar to this:
outputFor information on key differences with WSL 2 please visit https://aka.ms/wsl2
Now that you’ve done this the WSL 2 is enabled and ready to run on your workstation. Next you’ll need to install a Linux-based operating system using the WSL 2.
Step 2 — Installing Ubuntu 20.04 using the WSL
Now that you have the WSL 2 installed, you next need to install a Linux distribution from the Microsoft Store. For this tutorial we will be installing the default Ubuntu option from the store, which happens to be Ubuntu 20.04 at this time. There are many different options to choose from and all should take a nearly identical approach to installation as laid out in this tutorial.
Open your Start menu, search for the Microsoft Store, and open it.

Locate the search bar in the upper right-hand corner and search for Linux.
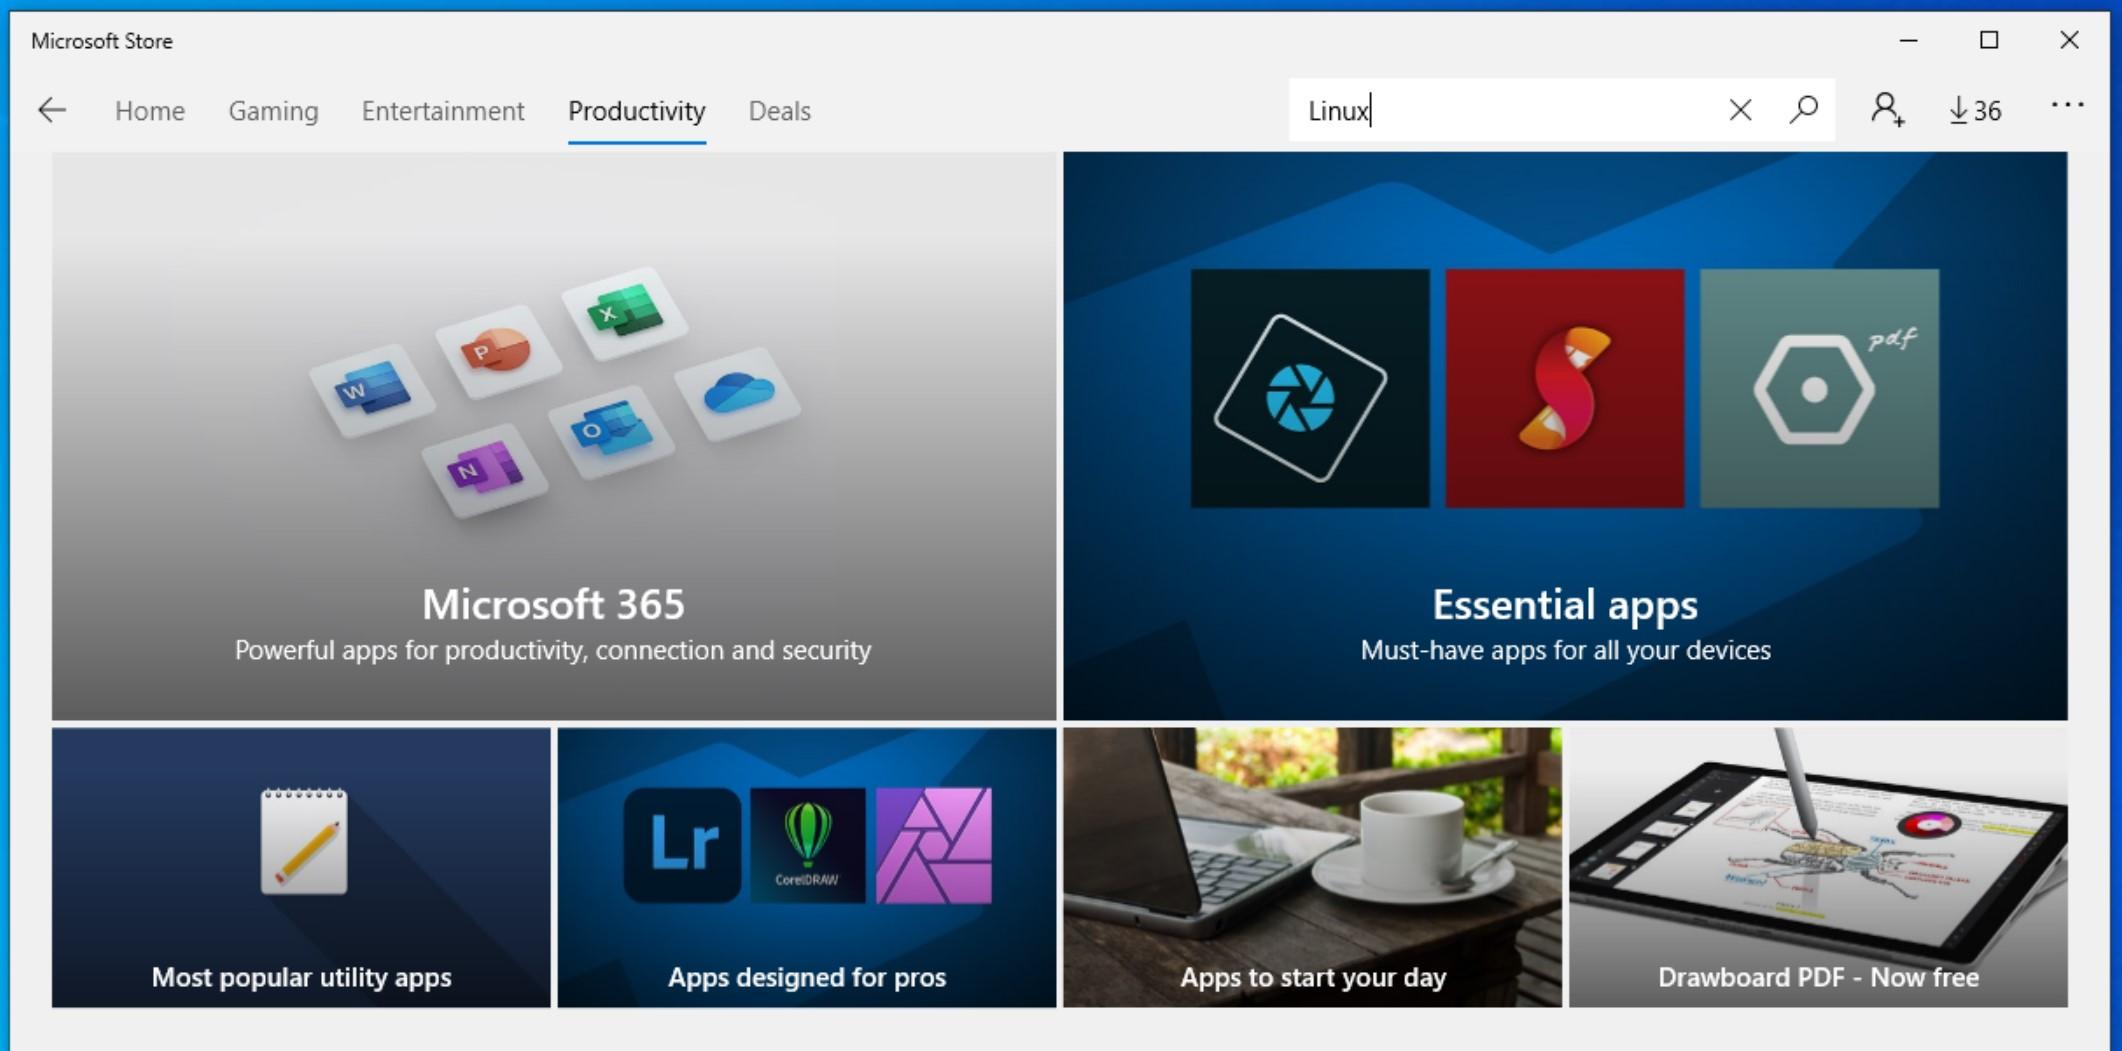
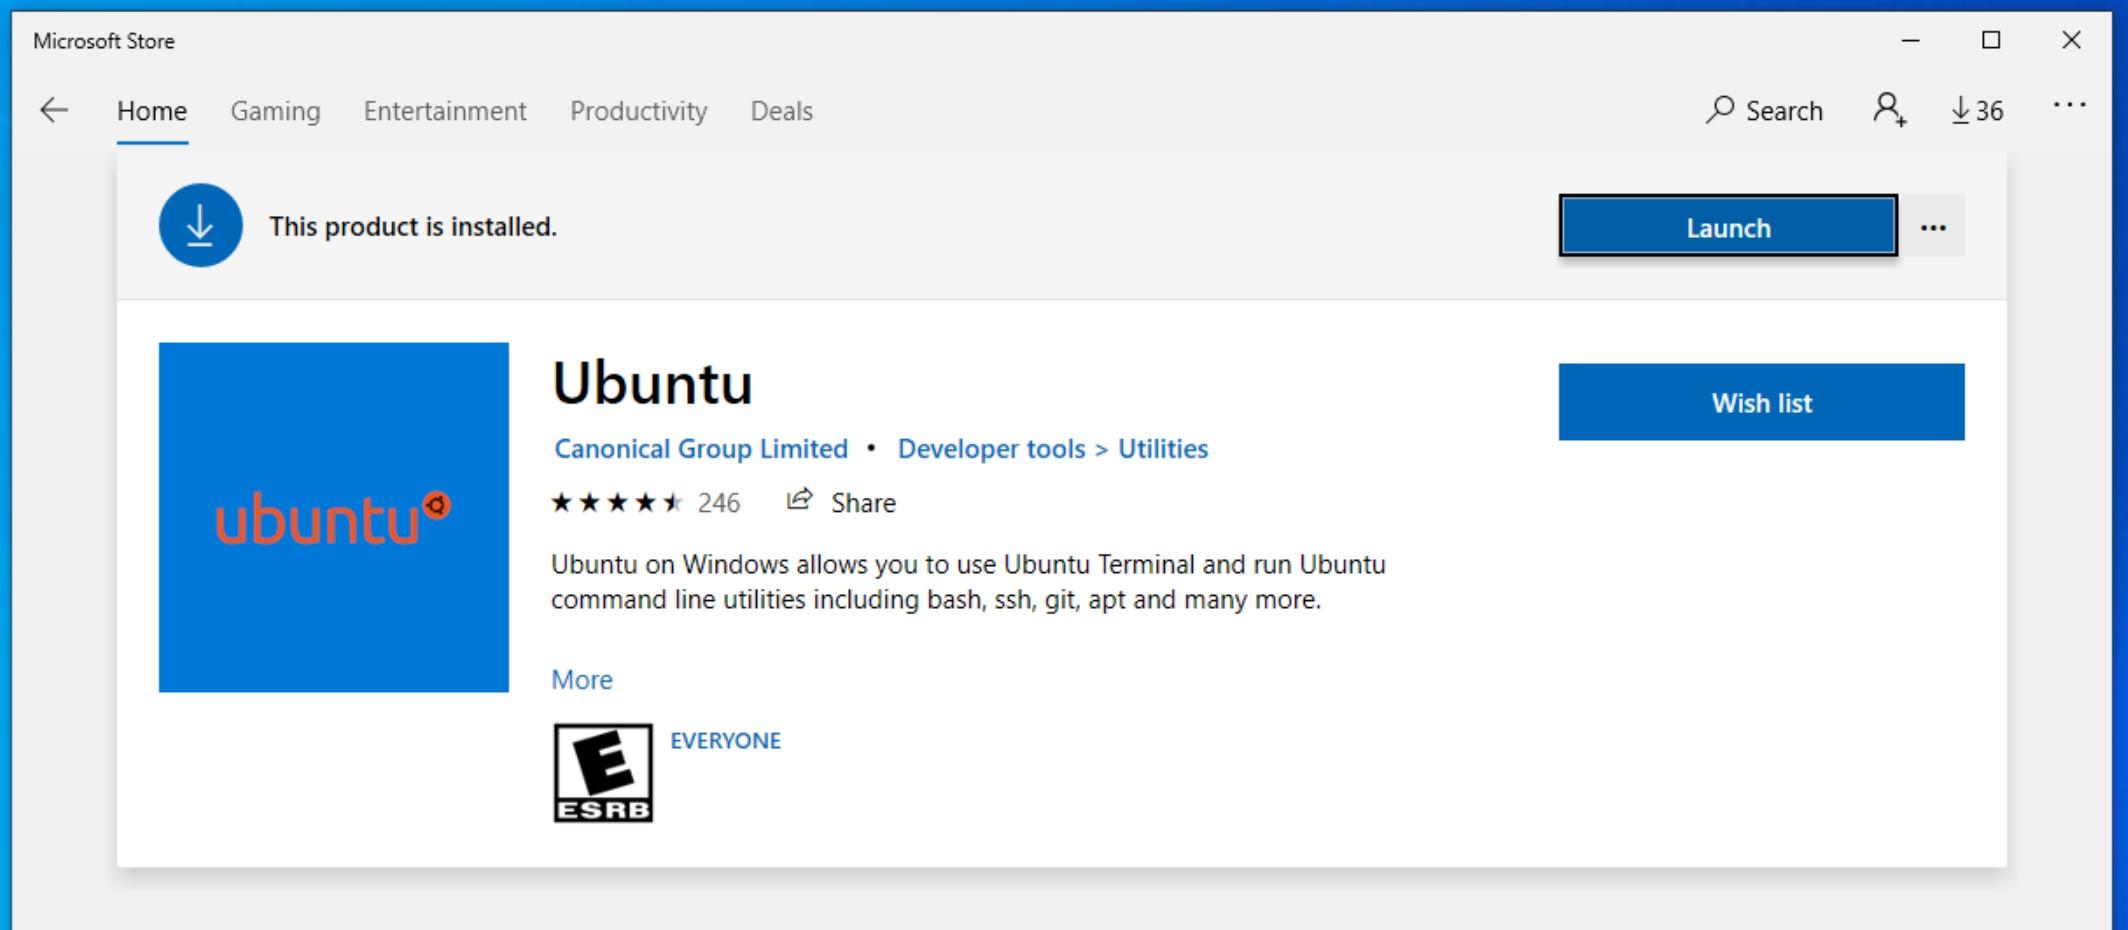
Many options will appear; select the Ubuntu tile to install the latest supported version of Ubuntu. Click the Get button to add the app to your account. Once you’ve done this, the Get button will be replaced by the Install button. Click that button to install Ubuntu to your local workstation. Once the installation is done a Launch button will appear. Click this to launch Ubuntu.
The first time you launch Ubuntu it will inform you that it is performing initial configuration that may take a few minutes. After this it will prompt you for a Linux system username and password. This username and password doesn’t have to be the same as your system but it will be required for you to be able to use sudo to gain admin privileges.
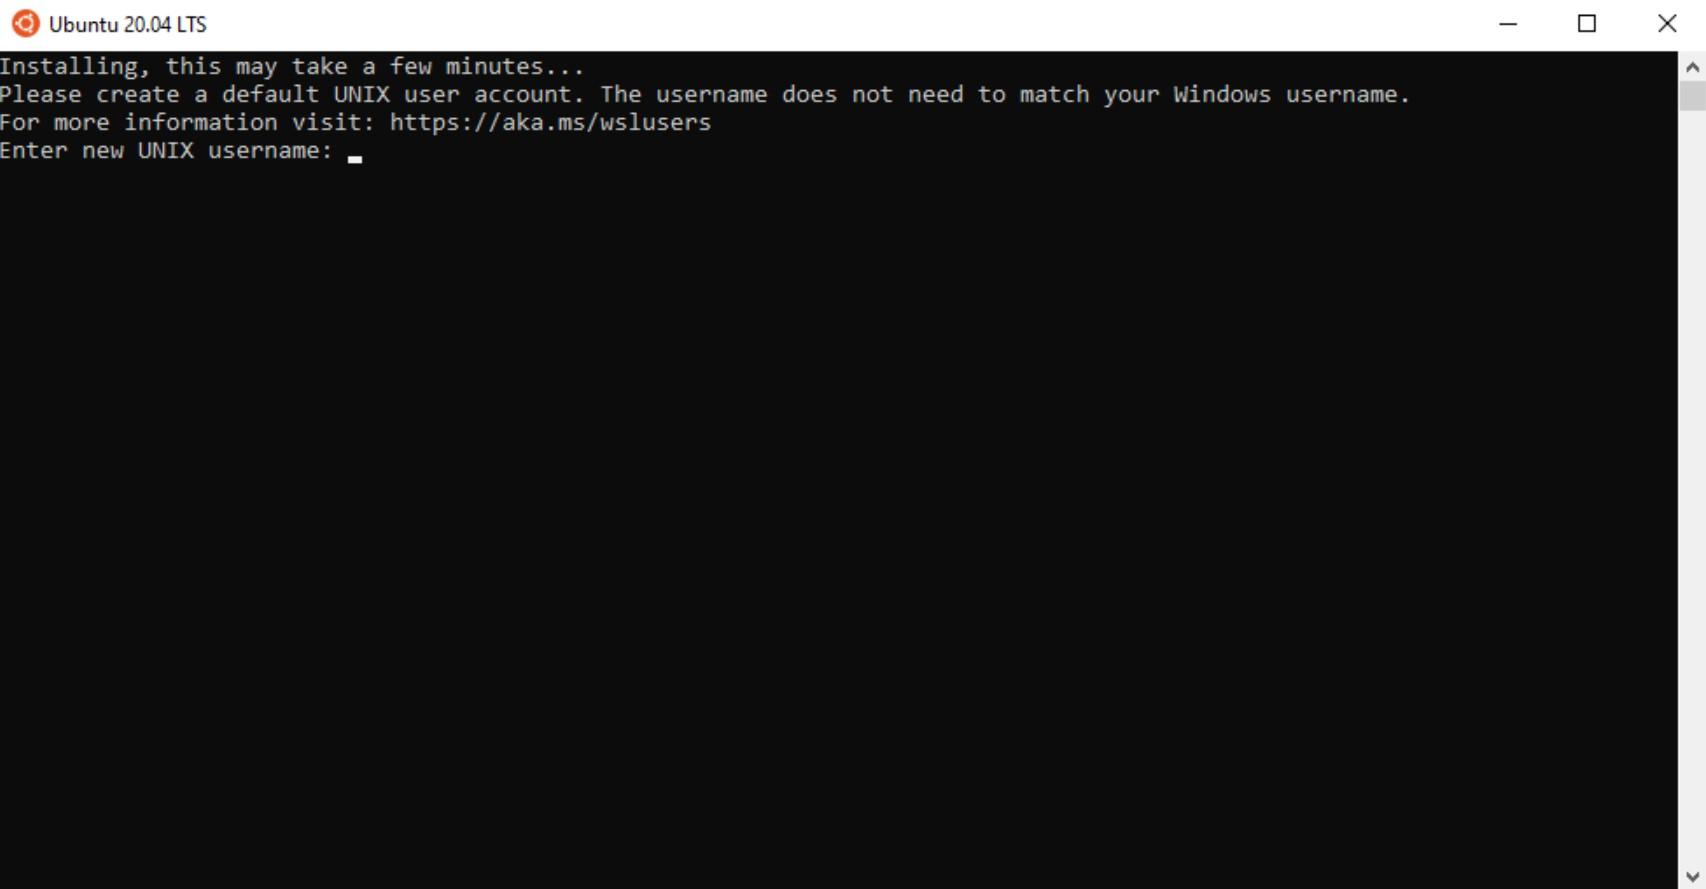
Once you have created your user the initial setup is complete and Ubuntu is ready to be used.

Now that you have Ubuntu installed, you’ll install a more robust terminal for accessing Ubuntu through Windows.
Step 3 — Installing and Configuring the New Windows Command Line
Ubuntu provides a default terminal for use, but Microsoft open sourced and reimplemented their Terminal tool and branded it at Windows Terminal. This terminal supports many more customization and ease-of-use options than the default Ubuntu terminal, so you’ll want to install it.
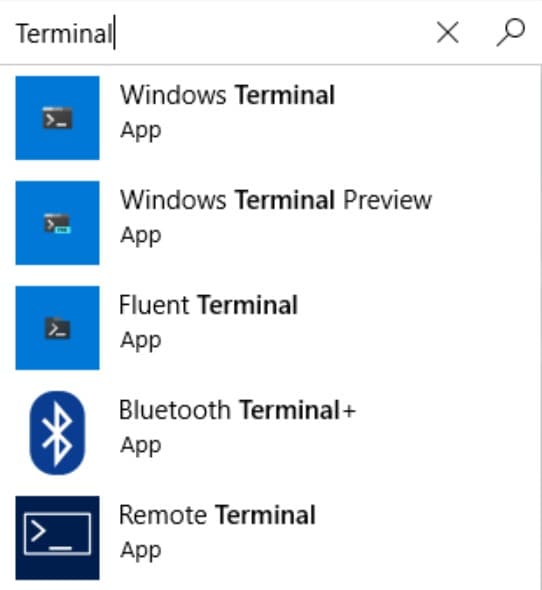
Next you’ll install this terminal on your workstation. Navigate back to the search bar in the Microsoft Store and search for Terminal.
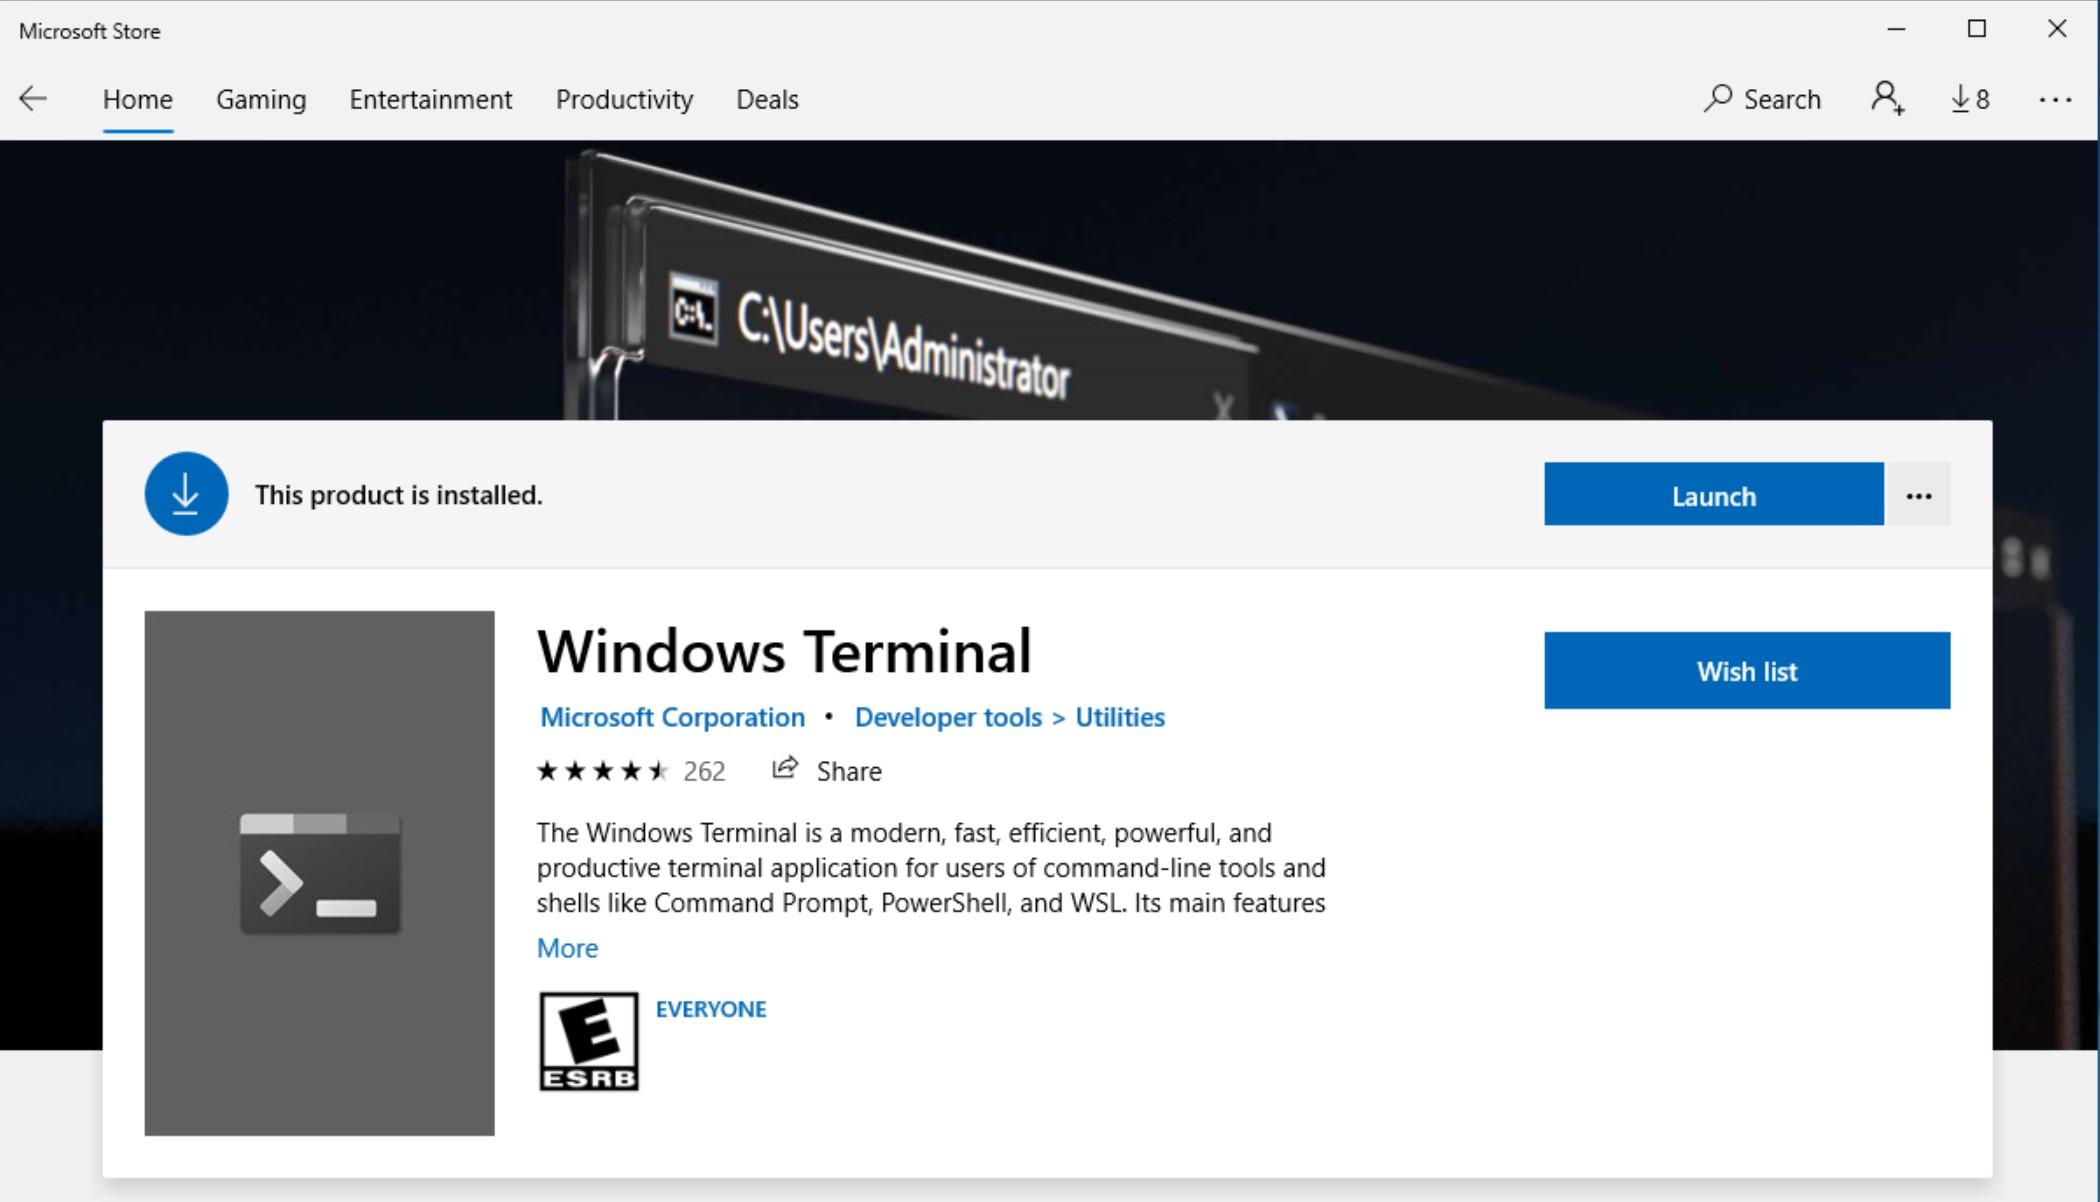
Install the Windows Terminal the same way you installed Ubuntu, by clicking Get and Install. Launch the terminal by clicking Launch or selecting the program from your Start menu.
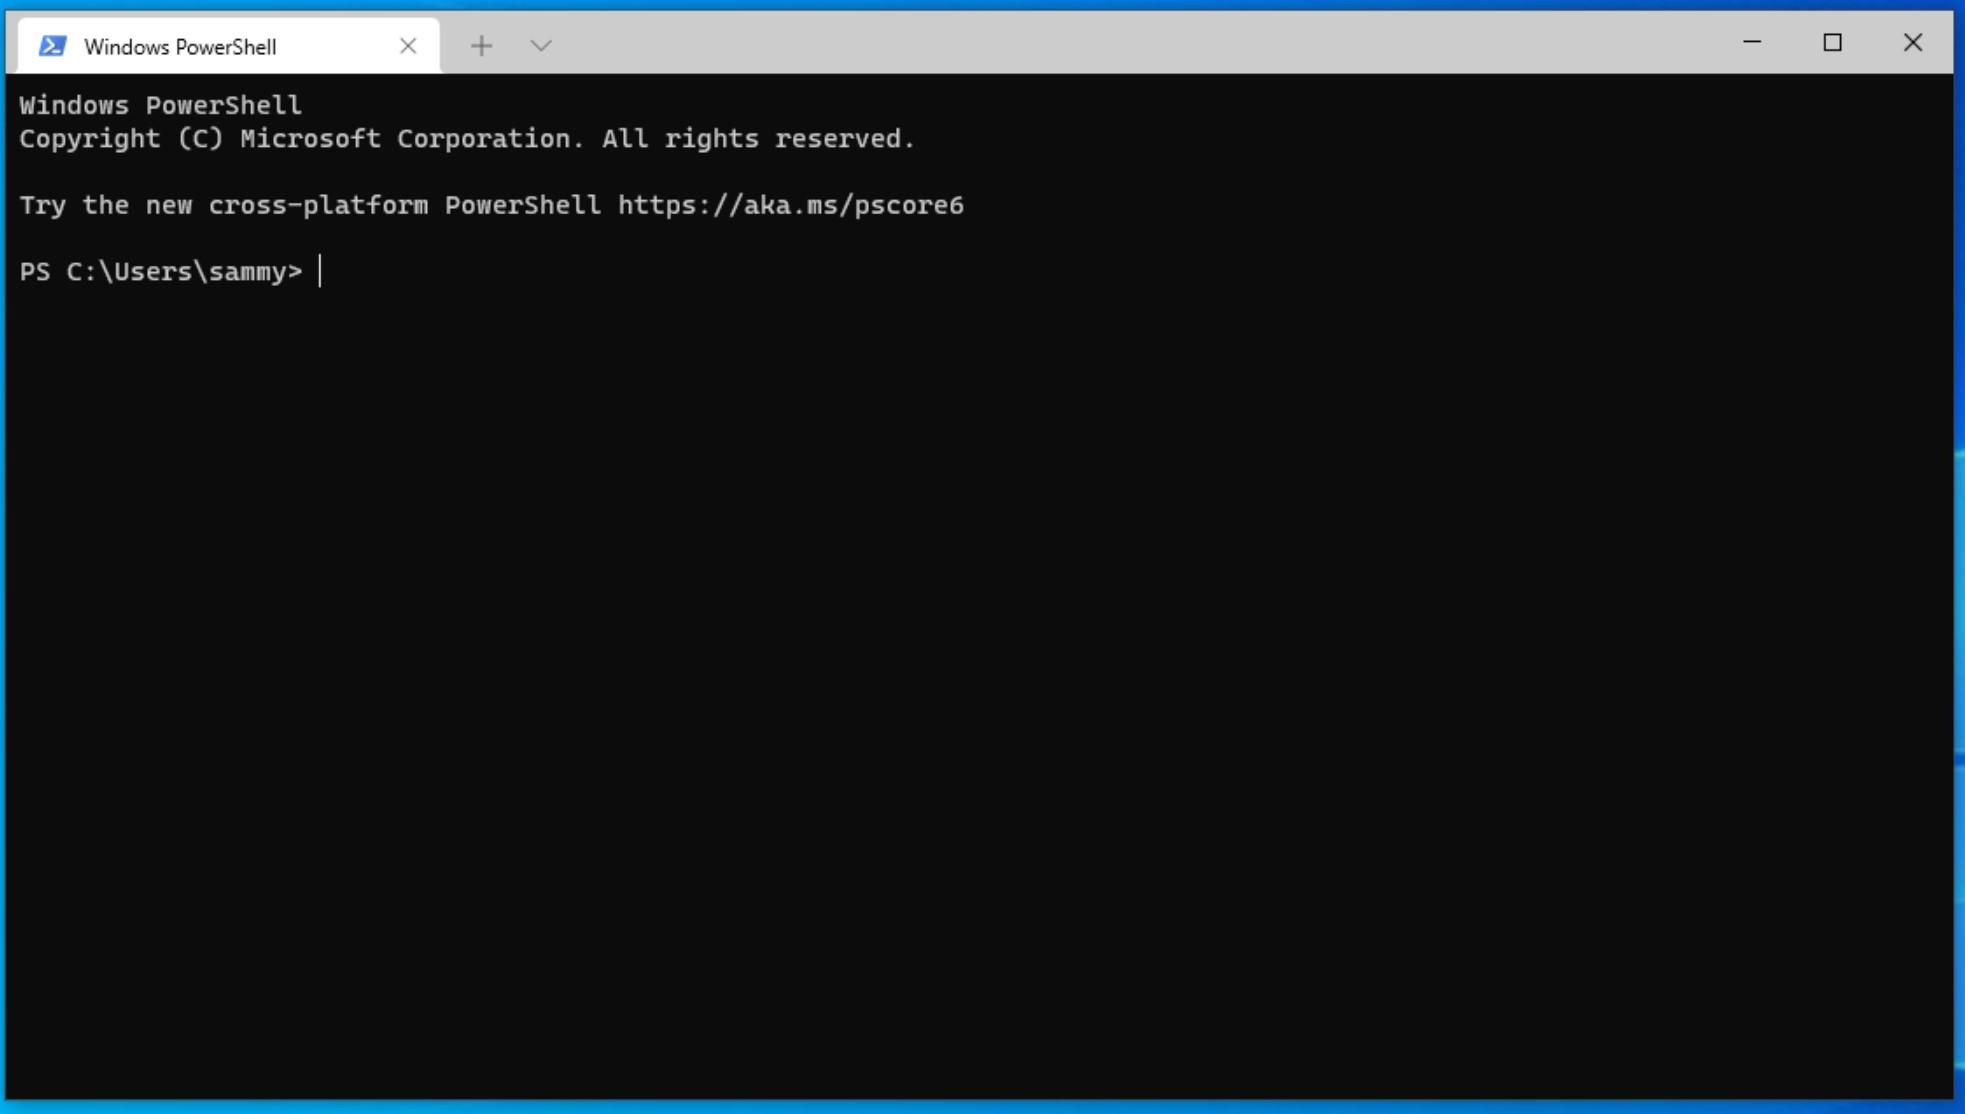
By default, the Windows Terminal opens up a PowerShell console.
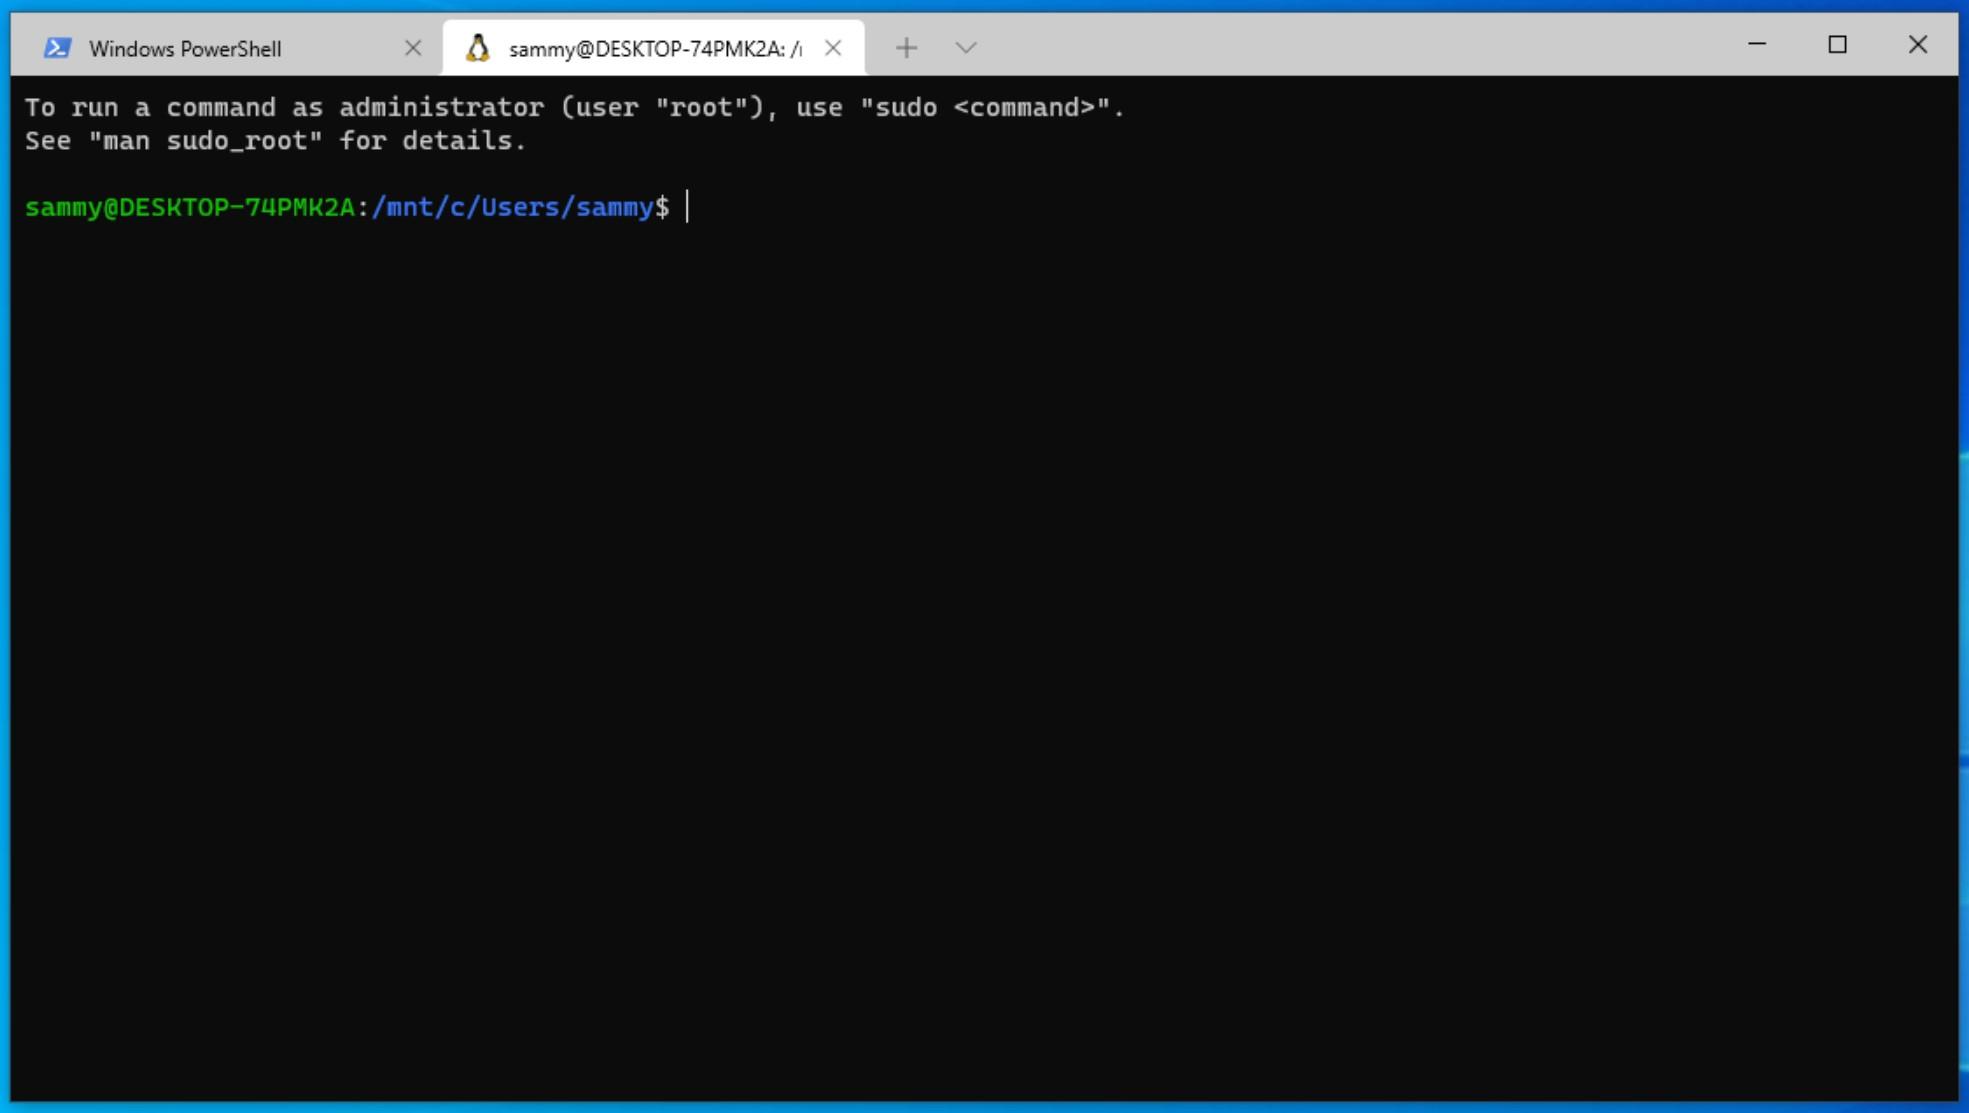
If you want to open a different console, click the down arrow button to see what is available. You have access to PowerShell, Command Prompt, and Azure Cloud Shell by default. When you install any WSL Linux, it will appear here as well like the Ubuntu install did. Clicking Ubuntu will open an Ubuntu shell in a new tab.
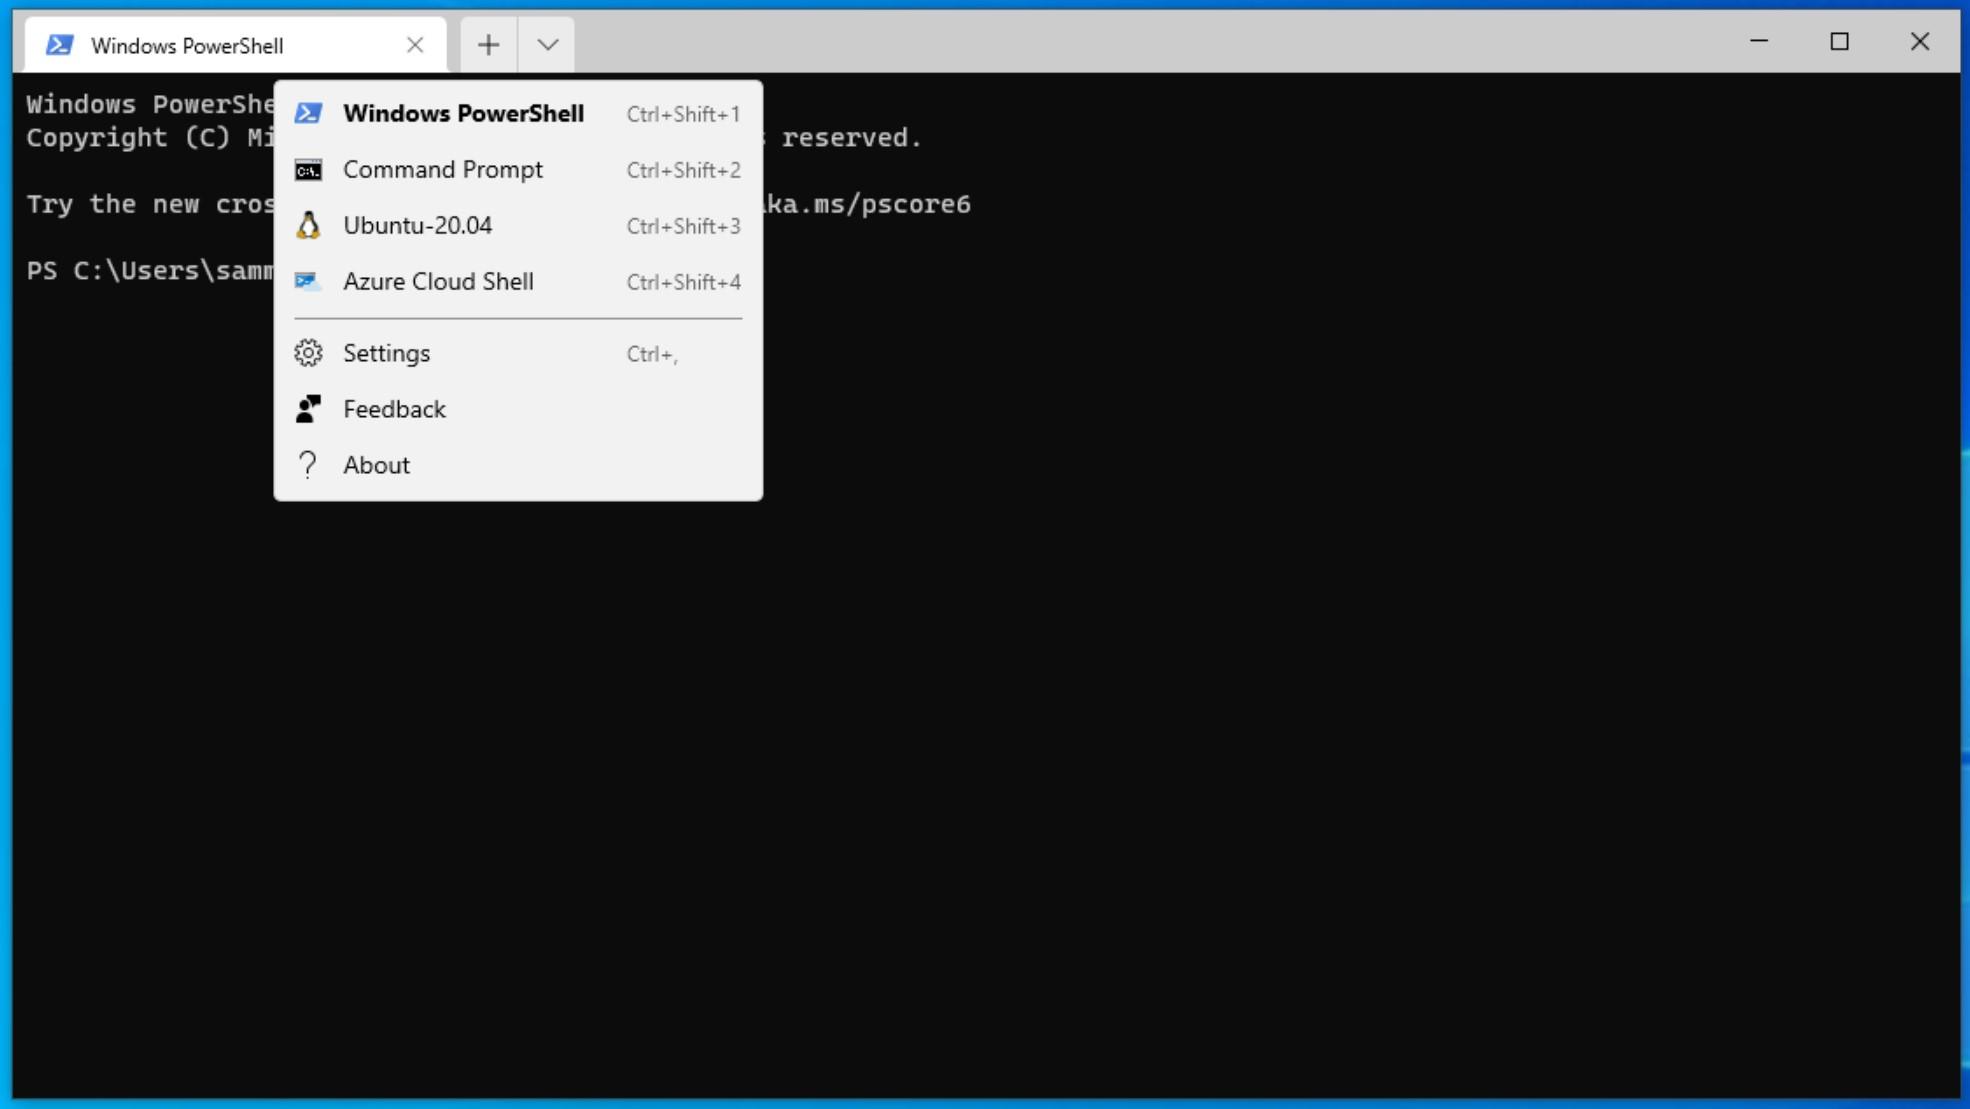
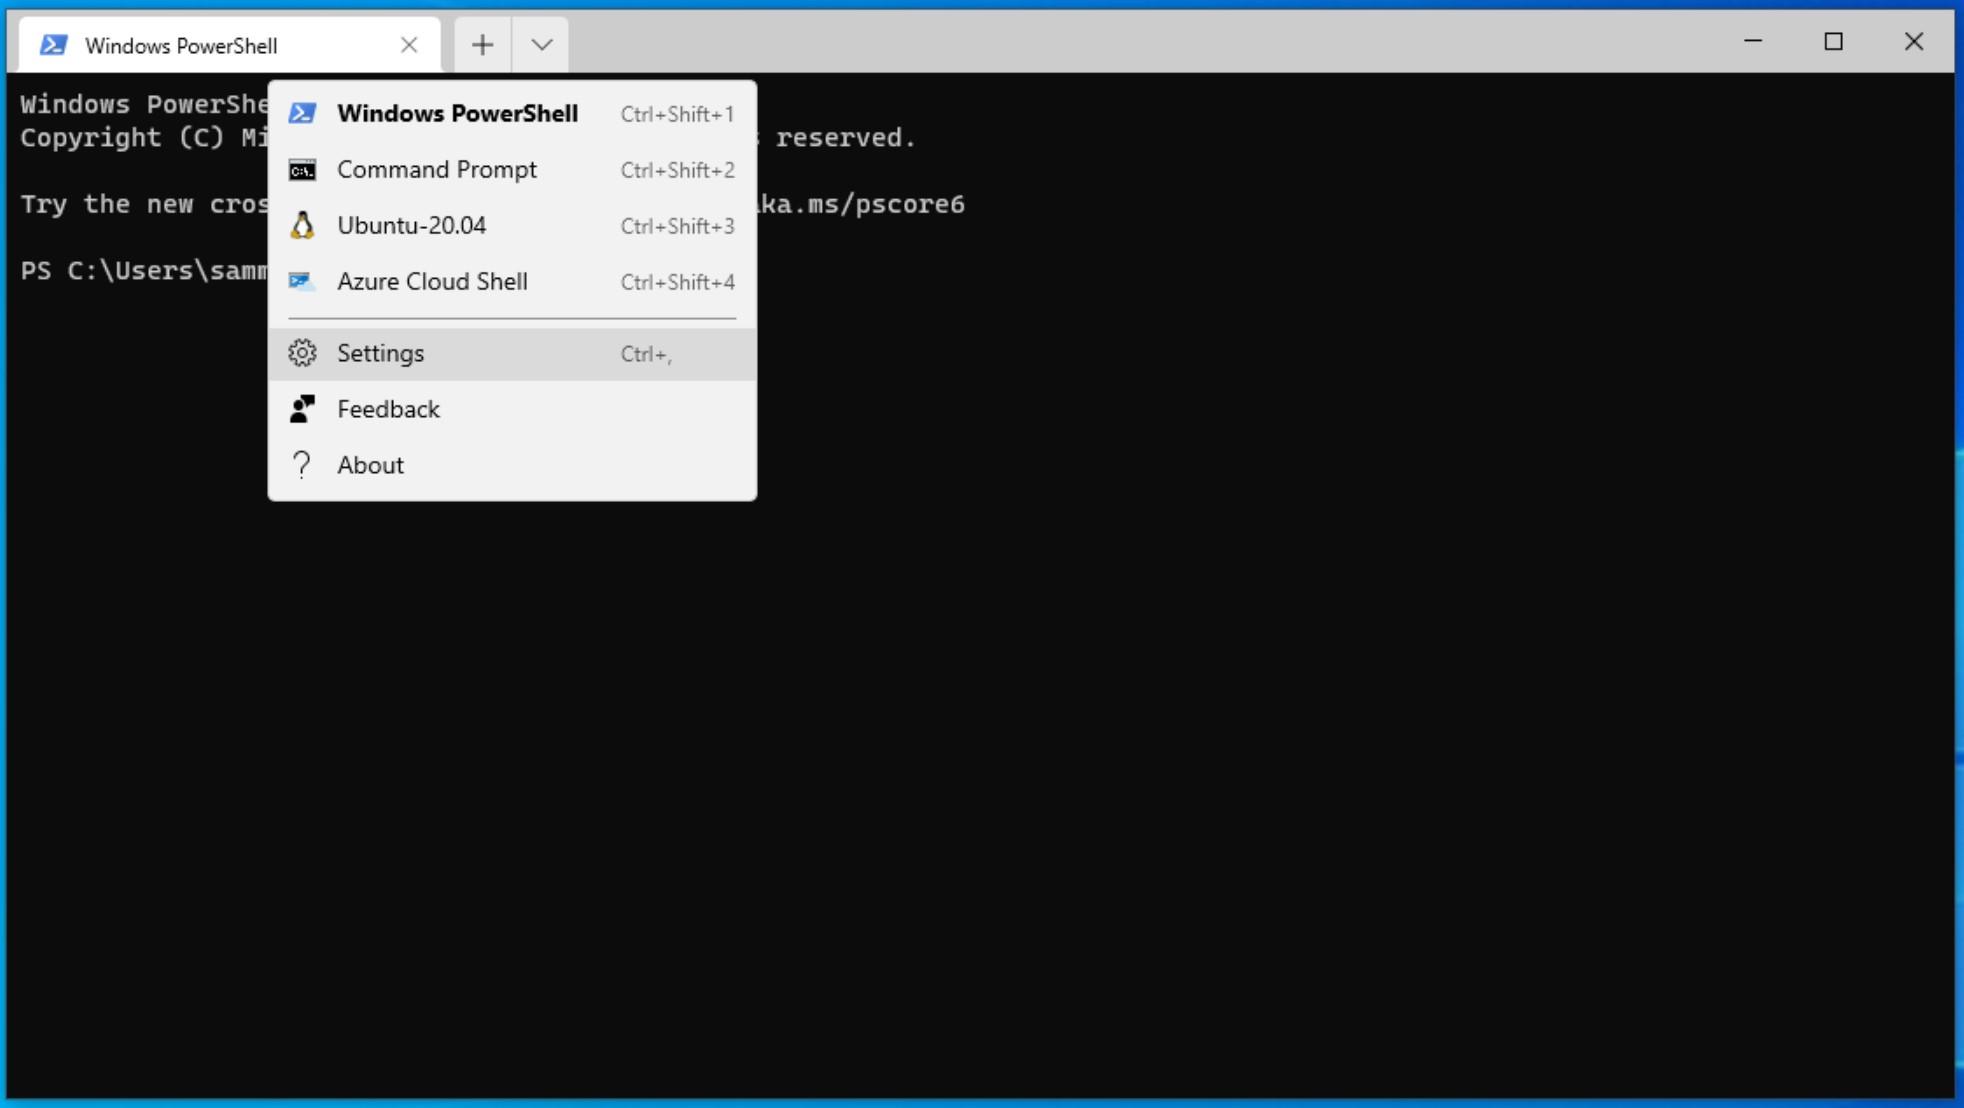
If you want to change some of the Terminal’s default options, click the down arrow button and select Settings.
Next, set Ubuntu as your default console. Under Default Profile select your Ubuntu WSL image, and click Save to make it your default option.
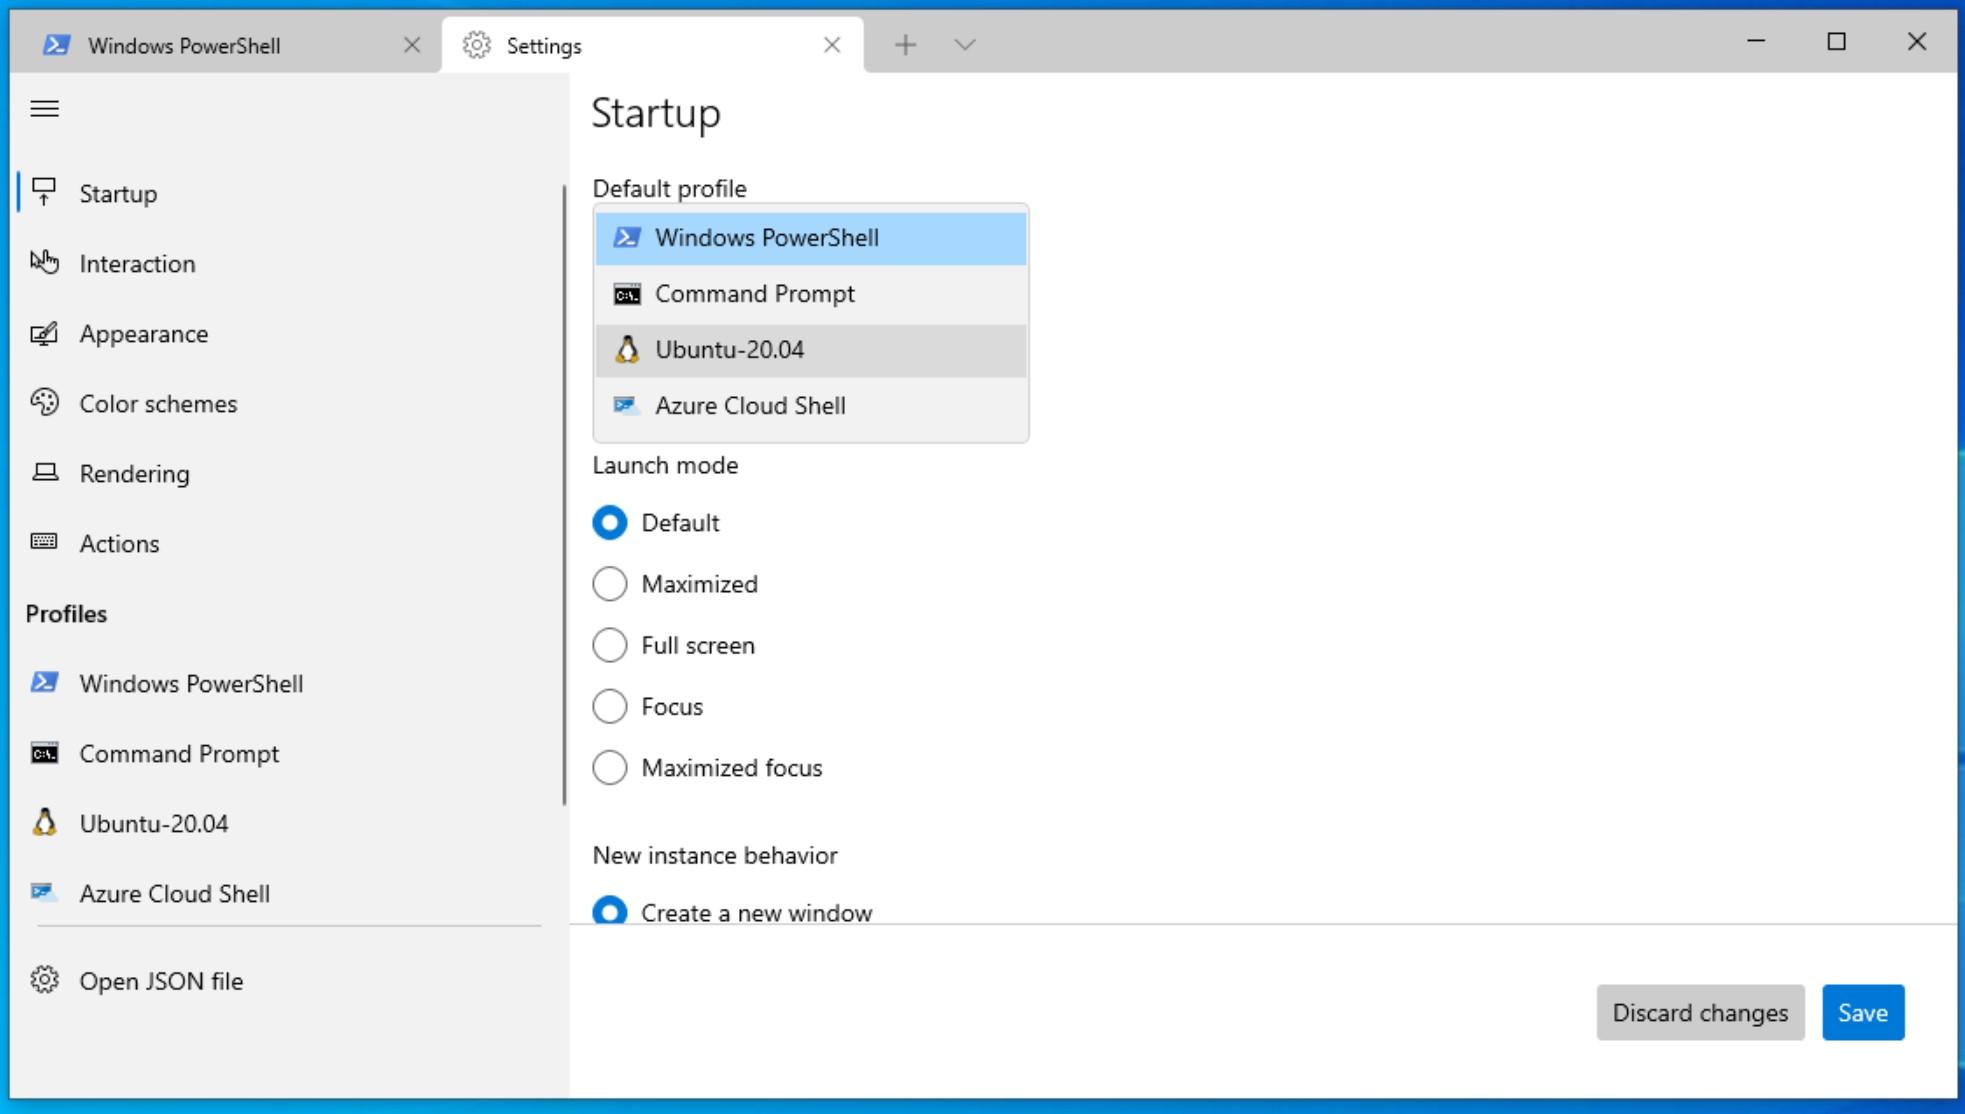
Now when you click the + button or open a new terminal Ubuntu will be the default shell.
You now have the new Windows Command Line tool installed and configured to open your WSL Ubuntu terminal by default. You are now ready to use Linux on Windows using the WSL.
Conclusion
You now have a fully functioning Linux environment running in Windows. You configured your computer to take advantage of the Windows Subystem for Linux, and installed an Ubuntu environment using the WSL. If you prefer a different Linux distribution, there are others you can install, including Debian, SUSE, or Kali Linux. From here, you can install developer tools to have a complete Linux development environment running on Windows.
Thanks for learning with the DigitalOcean Community. Check out our offerings for compute, storage, networking, and managed databases.
About the author(s)
Mason is currently a Sr. Developer Advocate at DigitalOcean who specializes in cloud infrastructure, distributed systems, and Python.
Editor at DigitalOcean, former book editor at Pragmatic, O'Reilly, and others. Occasional conference speaker. Highly nerdy.
Still looking for an answer?
This textbox defaults to using Markdown to format your answer.
You can type !ref in this text area to quickly search our full set of tutorials, documentation & marketplace offerings and insert the link!
In this article Simplified Installation for Windows Insiders. Manual Installation Steps. Step 1 - Enable the Windows Subsystem for Linux. Step 2 - Check requirements for running WSL 2. Step 3 - Enable Virtual Machine feature. Step 4 - Download the Linux kernel update package. Step 5 - Set WSL 2 as your default version.
 This work is licensed under a Creative Commons Attribution-NonCommercial- ShareAlike 4.0 International License.
Become a contributor for community
Get paid to write technical tutorials and select a tech-focused charity to receive a matching donation.

DigitalOcean Documentation
Full documentation for every DigitalOcean product.

Resources for startups and AI-native businesses
The Wave has everything you need to know about building a business, from raising funding to marketing your product.
The developer cloud
Scale up as you grow — whether you're running one virtual machine or ten thousand.

Start building today
From GPU-powered inference and Kubernetes to managed databases and storage, get everything you need to build, scale, and deploy intelligent applications.
