By Kong Yang

Introduction
When developing a site or web application, it’s good practice to separate your code into smaller, more manageable chunks. In production, requesting all of your resources individually can slow down your application. A bundler is a tool used to solve this latency issue by combining and merging your code into a single file. This limits the amount of HTTP requests to a server for those resources. Using a bundler is useful for optimizing the experience for both the user and developer.
Parcel.js is an open-source bundler. It supports many popular languages like Typescript and SASS, and can also handle file types like images and fonts. Parcel comes with a few extra tools built-in: a development server, diagnostics, minification, and even image compression. If your project requires additional configurations, you have the option to use Parcel’s many plugins.
In this tutorial, you will use Parcel to build and bundle a small web application that contains HTML, CSS, and JavaScript files. You will be working interchangeably with a text editor and a terminal. You’ll also learn how to configure Parcel with custom npm scripts to assist with running and building your application.
Prerequisites
To follow this tutorial, you will need:
- An understanding of HTML, CSS, and JavaScript. You can learn about these from our How To Build a Website with HTML, How To Style HTML with CSS, and How To Code in JavaScript tutorial series.
- A text editor like Visual Studio Code. You may use any text editor you like.
- Familiarity with a terminal. You can learn how to use a terminal from our An Introduction to the Linux Terminal and Learning to Love Your Terminal guides.
- Node.js installed on your local machine. Follow our How to Install Node.js and Create a Local Development Environment tutorial for your specific environment.
With Node.js set up on your machine, you’re ready to start the next steps.
Step 1 — Installing the Parcel Bundler
This tutorial will use your_project as the working directory, but feel free to rename or use your own project folder. Open your preferred text editor and a terminal or command prompt, and make sure you are in the top-level directory of your project before continuing on with the next step.
Within the your_project directory, use your terminal or command prompt to initialize your project with the npm init command:
- npm init
This command will trigger a series of prompts about your project. You can press ENTER to move through each question, or change any of the defaults to your preferred settings. When you’re finished, and if you didn’t change any of the default settings, you will have a package.json file that includes the following information that can be viewed from your text editor:
{
  "name": "your_project",
  "version": "1.0.0",
  "description": "",
  "main": "index.js",
  "scripts": {
    "test": "echo \"Error: no test specified\" && exit 1"
  },
  "author": "",
  "license": "ISC"
}
Next, install the Parcel bundler locally using the --save-dev flag:
- npm install --save-dev parcel
The --save-dev flag saves the installation package as a development dependency. This means that your project will rely on Parcel during the development process to manage and create your application.
Once installed, an additional package-lock.json file and a node_modules directory will be included in your project. The package-lock.json file is automatically generated with the npm installation. It describes all the dependencies your project relies on to work properly. If you’re interested in the information this file holds, you can dig into the npm documentation. Like the package-lock.json file, the node_modules folder holds all the different packages that your project relies on. Note, however, that automatically generated files in this scenario are not meant to be edited directly.
In your package.json file, notice that it now includes parcel as a development dependency:
...
"devDependencies": {
    "parcel": "^2.7.0"
  }
…
With the Parcel bundler installed as a local dependency, you’re now ready to start working on your application.
Step 2 — Creating the Application Files
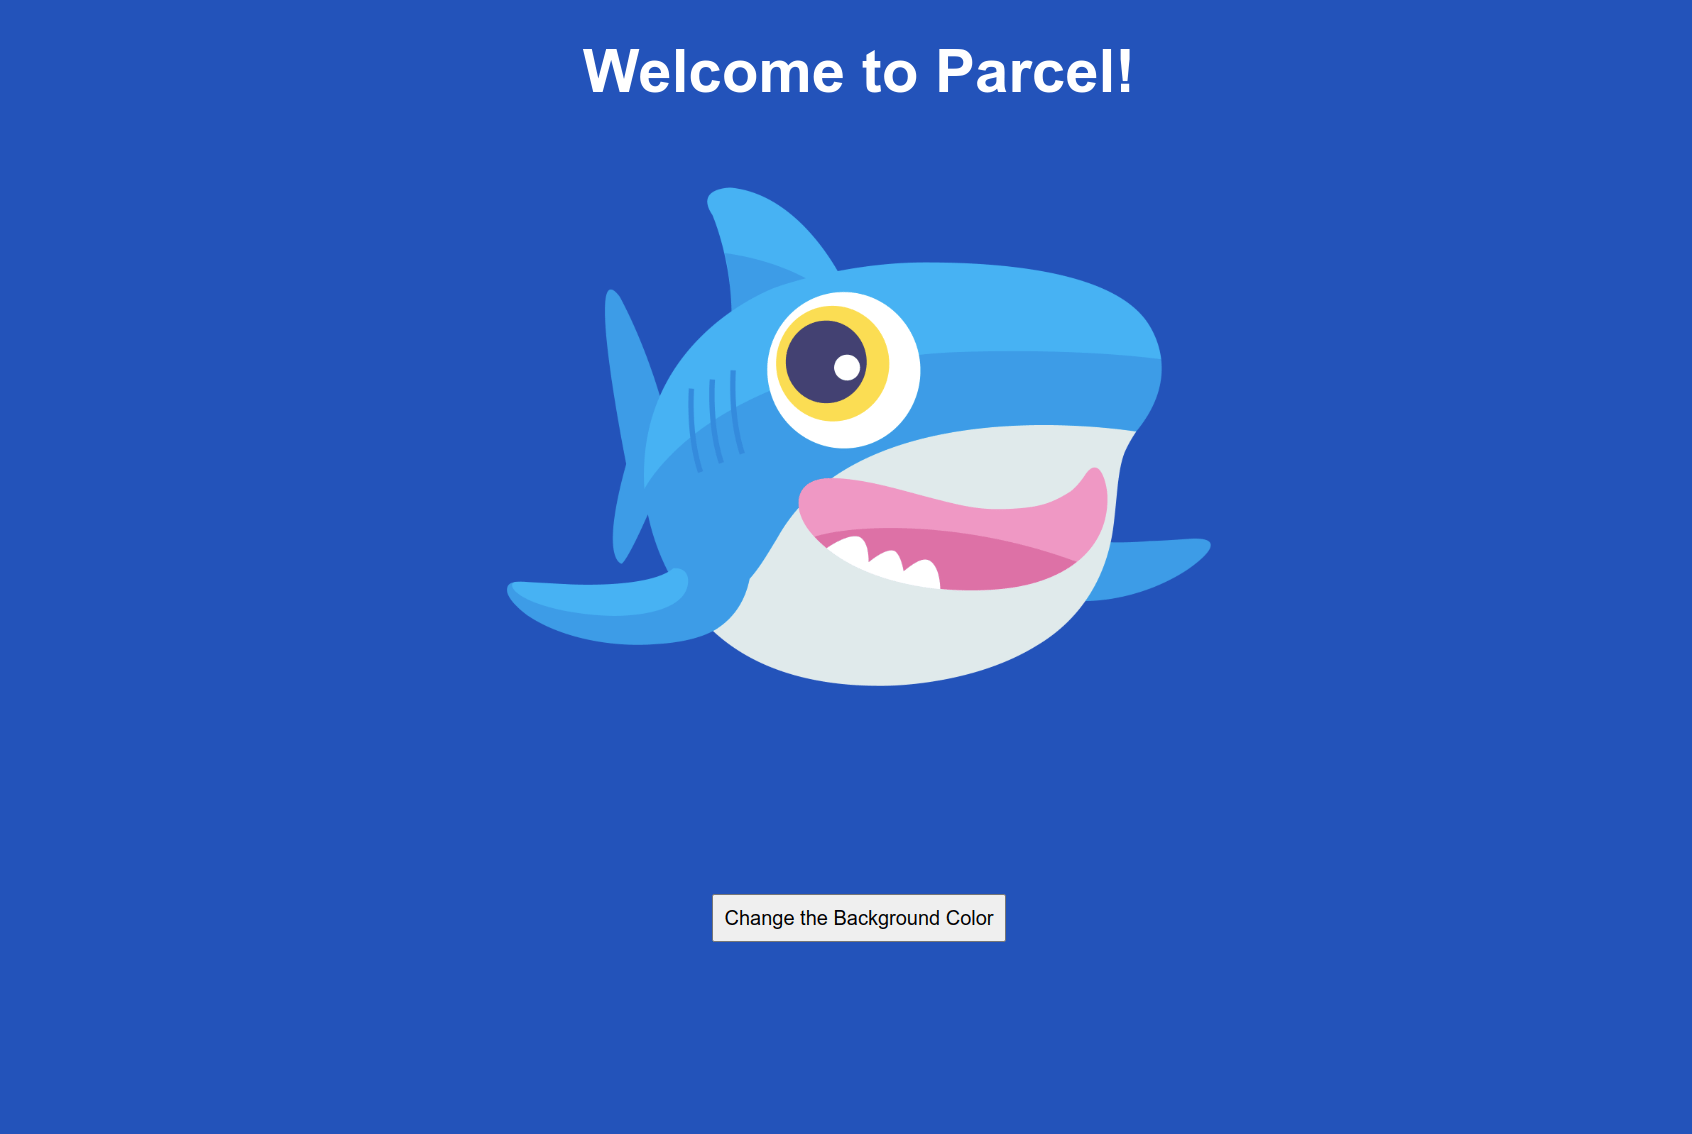
In the following example, you’ll be creating a small application that changes the background color when you click on a button. Parcel will be implemented into the project after these application files are created.
Parcel can accept any file as an entry point for your application. An entry point file is where the execution of your application starts. From this entry point, Parcel builds your application with all the dependencies you point to, which includes links to CSS and JavaScript files. You’ll be using an HTML file, index.html, as the entry point to your application.
With your text editor, create a src folder within the your_project directory to hold and organize your code. If you’re using Visual Studio Code, you can Right Click inside the your_project directory and select New Folder and name it src:

Within that src folder, create an index.html file. In Visual Studio Code, Right Click inside your src folder and select New File. Name this file index.html.
Include the following lines in your index.html file:
<!DOCTYPE html>
<html lang="en">
  <head>
    <meta charset="UTF-8">
    <meta http-equiv="X-UA-Compatible" content="IE=edge">
    <meta name="viewport" content="width=device-width, initial-scale=1.0">
    <link rel="stylesheet" href="css/style.css">
    <title>Your Parcel Project</title>
  </head>
  <body>
    <h1>Welcome to Parcel!</h1>

    <div class="sammy-wrapper">
      <div class="img-wrapper sammy-1">
        <img src="https://assets.digitalocean.com/articles/docker_node_image/sammy.png" alt="Sammy the Shark">
      </div>
    </div>

    <button>Change the Background Color</button>

    <script type="module" src="js/app.js"></script>
  </body>
</html>
This HTML file is the landing page for your application. It includes links to a stylesheet and a script. These files will be stored in their own respective folders to keep your code separate and organized. Remember to save your file after your updates. In VS Code, you can save your file by pressing CTRL+S or CMD+S.
Within your src directory, create another folder called css.Then, inside your css folder, create a CSS stylesheet named style.css:
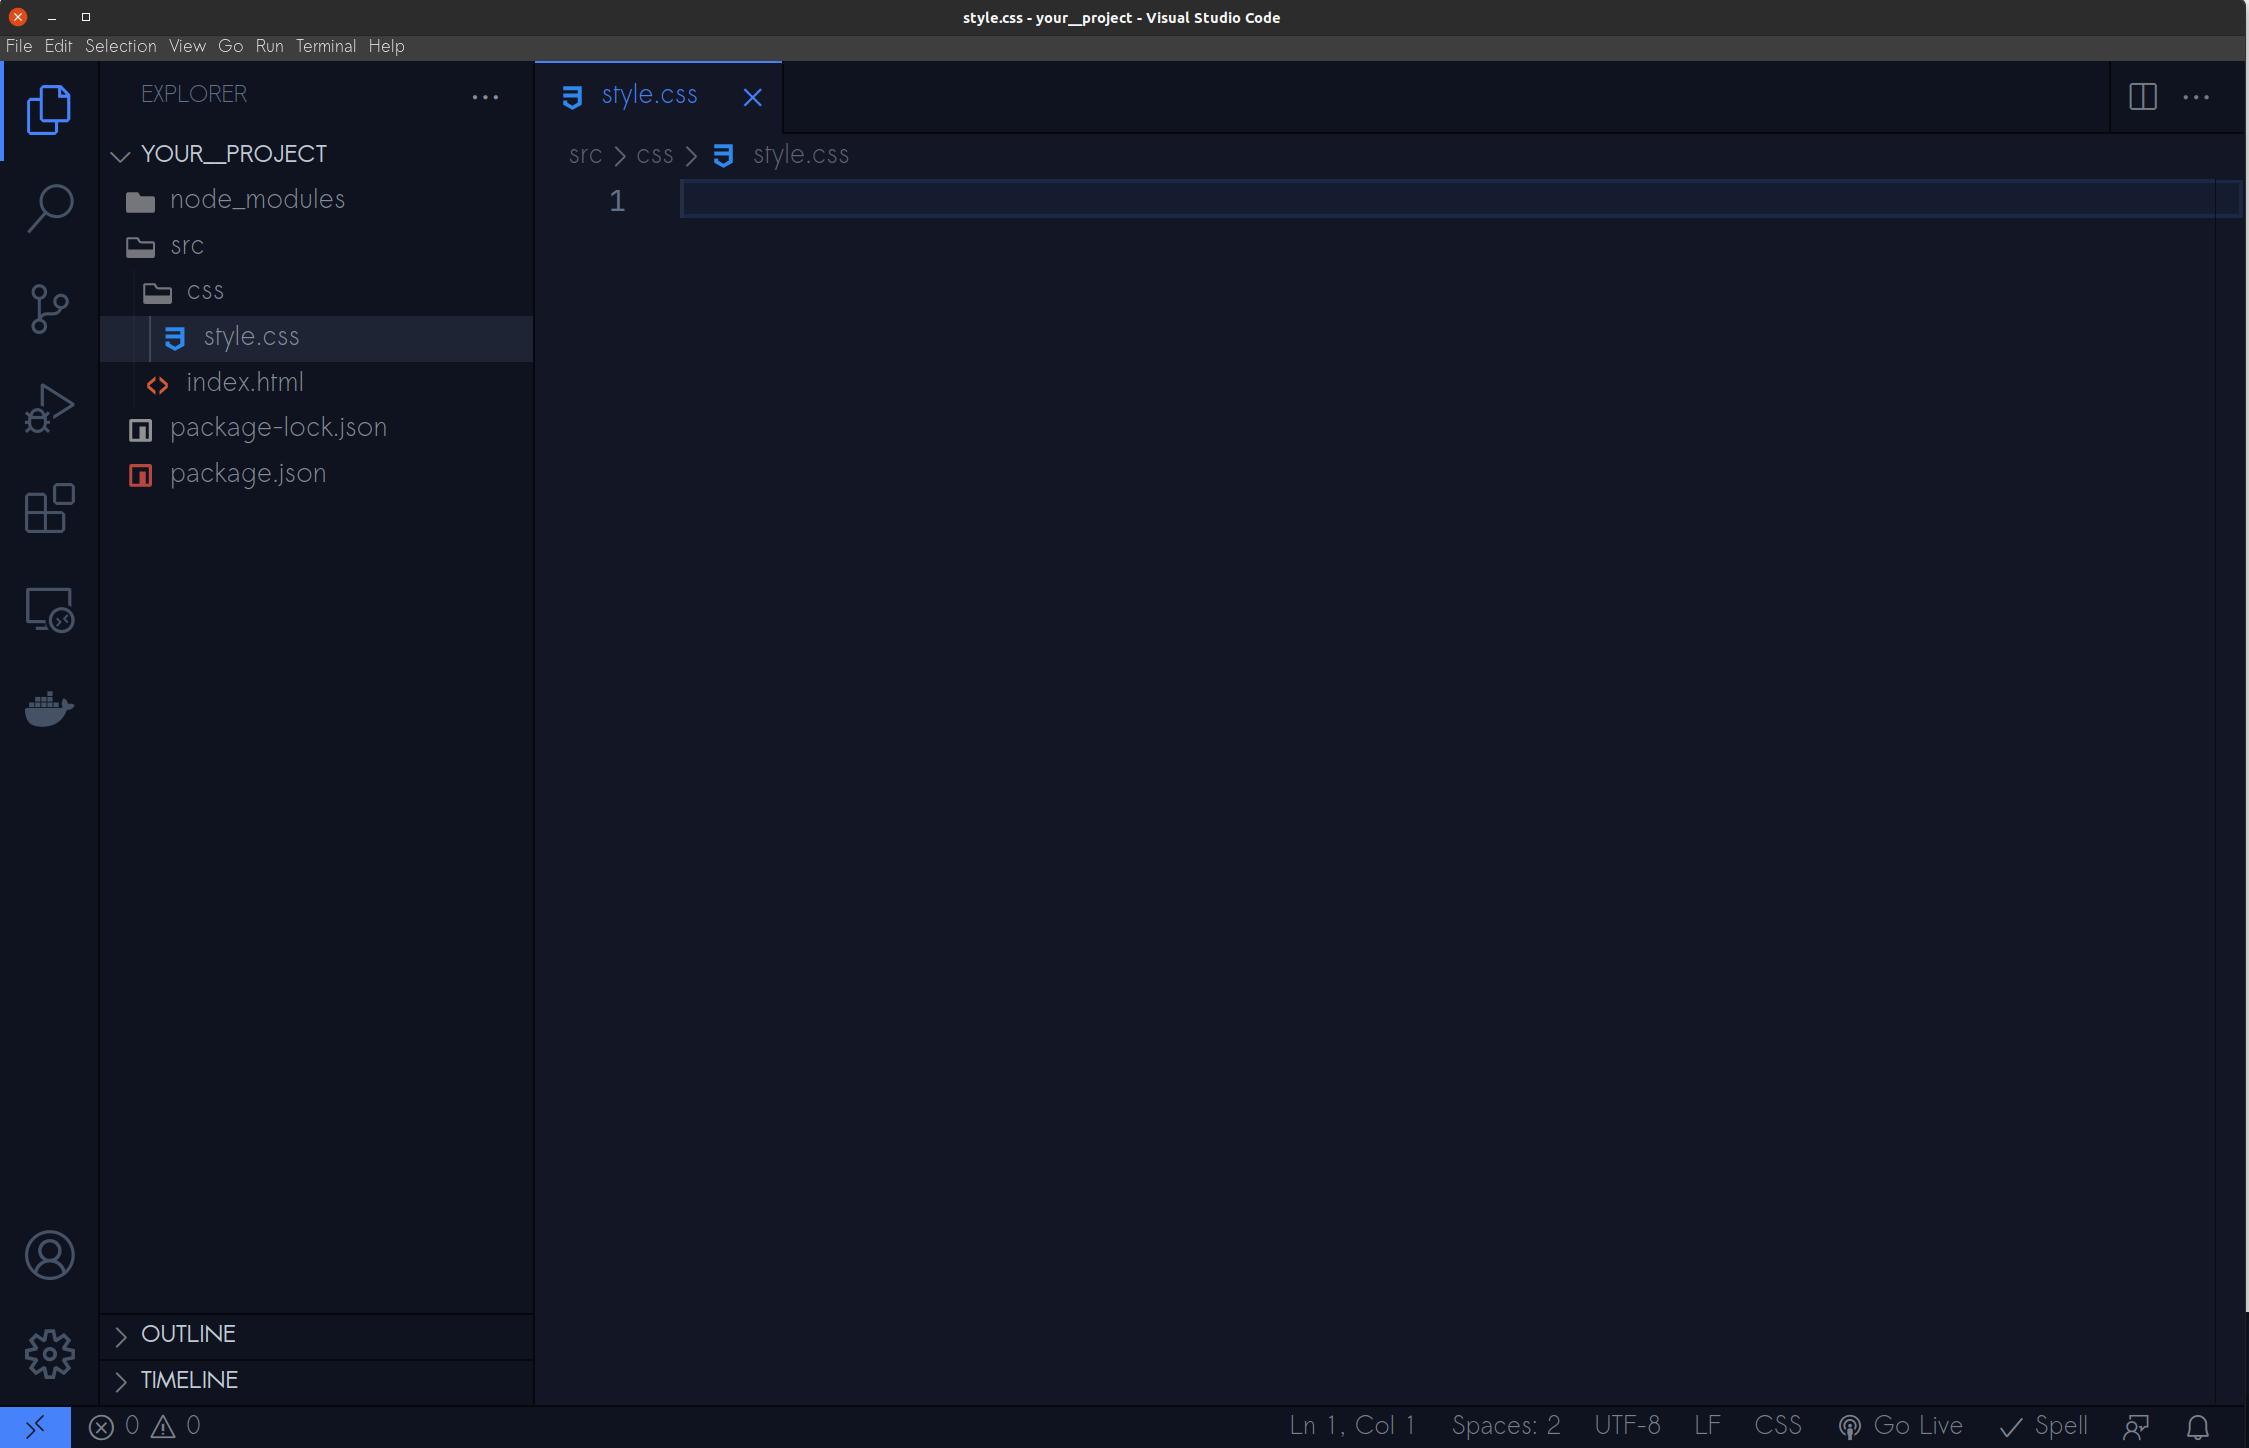
Include the following CSS inside your style.css file:
html {
  box-sizing: border-box;
}
*, *:before, *:after {
  box-sizing: inherit;
  padding: 0;
  margin: 0;
}
body {
  display: flex;
  flex-direction: column;
  align-items: center;
  font-family: sans-serif;
  color: white;
  background: var(--bg, rgb(26, 80, 190));
  font-size: 16px;
}
h1 {
  font-size: 3rem;
  padding: 2rem;
}
.img-wrapper {
  max-width: 600px;
  padding: 0 1rem;
  margin: 2rem;
  cursor: pointer;
}
.img-wrapper img {
  width: 100%;
}
button {
  font-size: inherit;
  font-size: 1rem;
  padding: .5rem;
  margin: 8rem 0;
}
Remember to save this file.
Next, inside of your src directory, create a js folder to hold your JavaScript code:
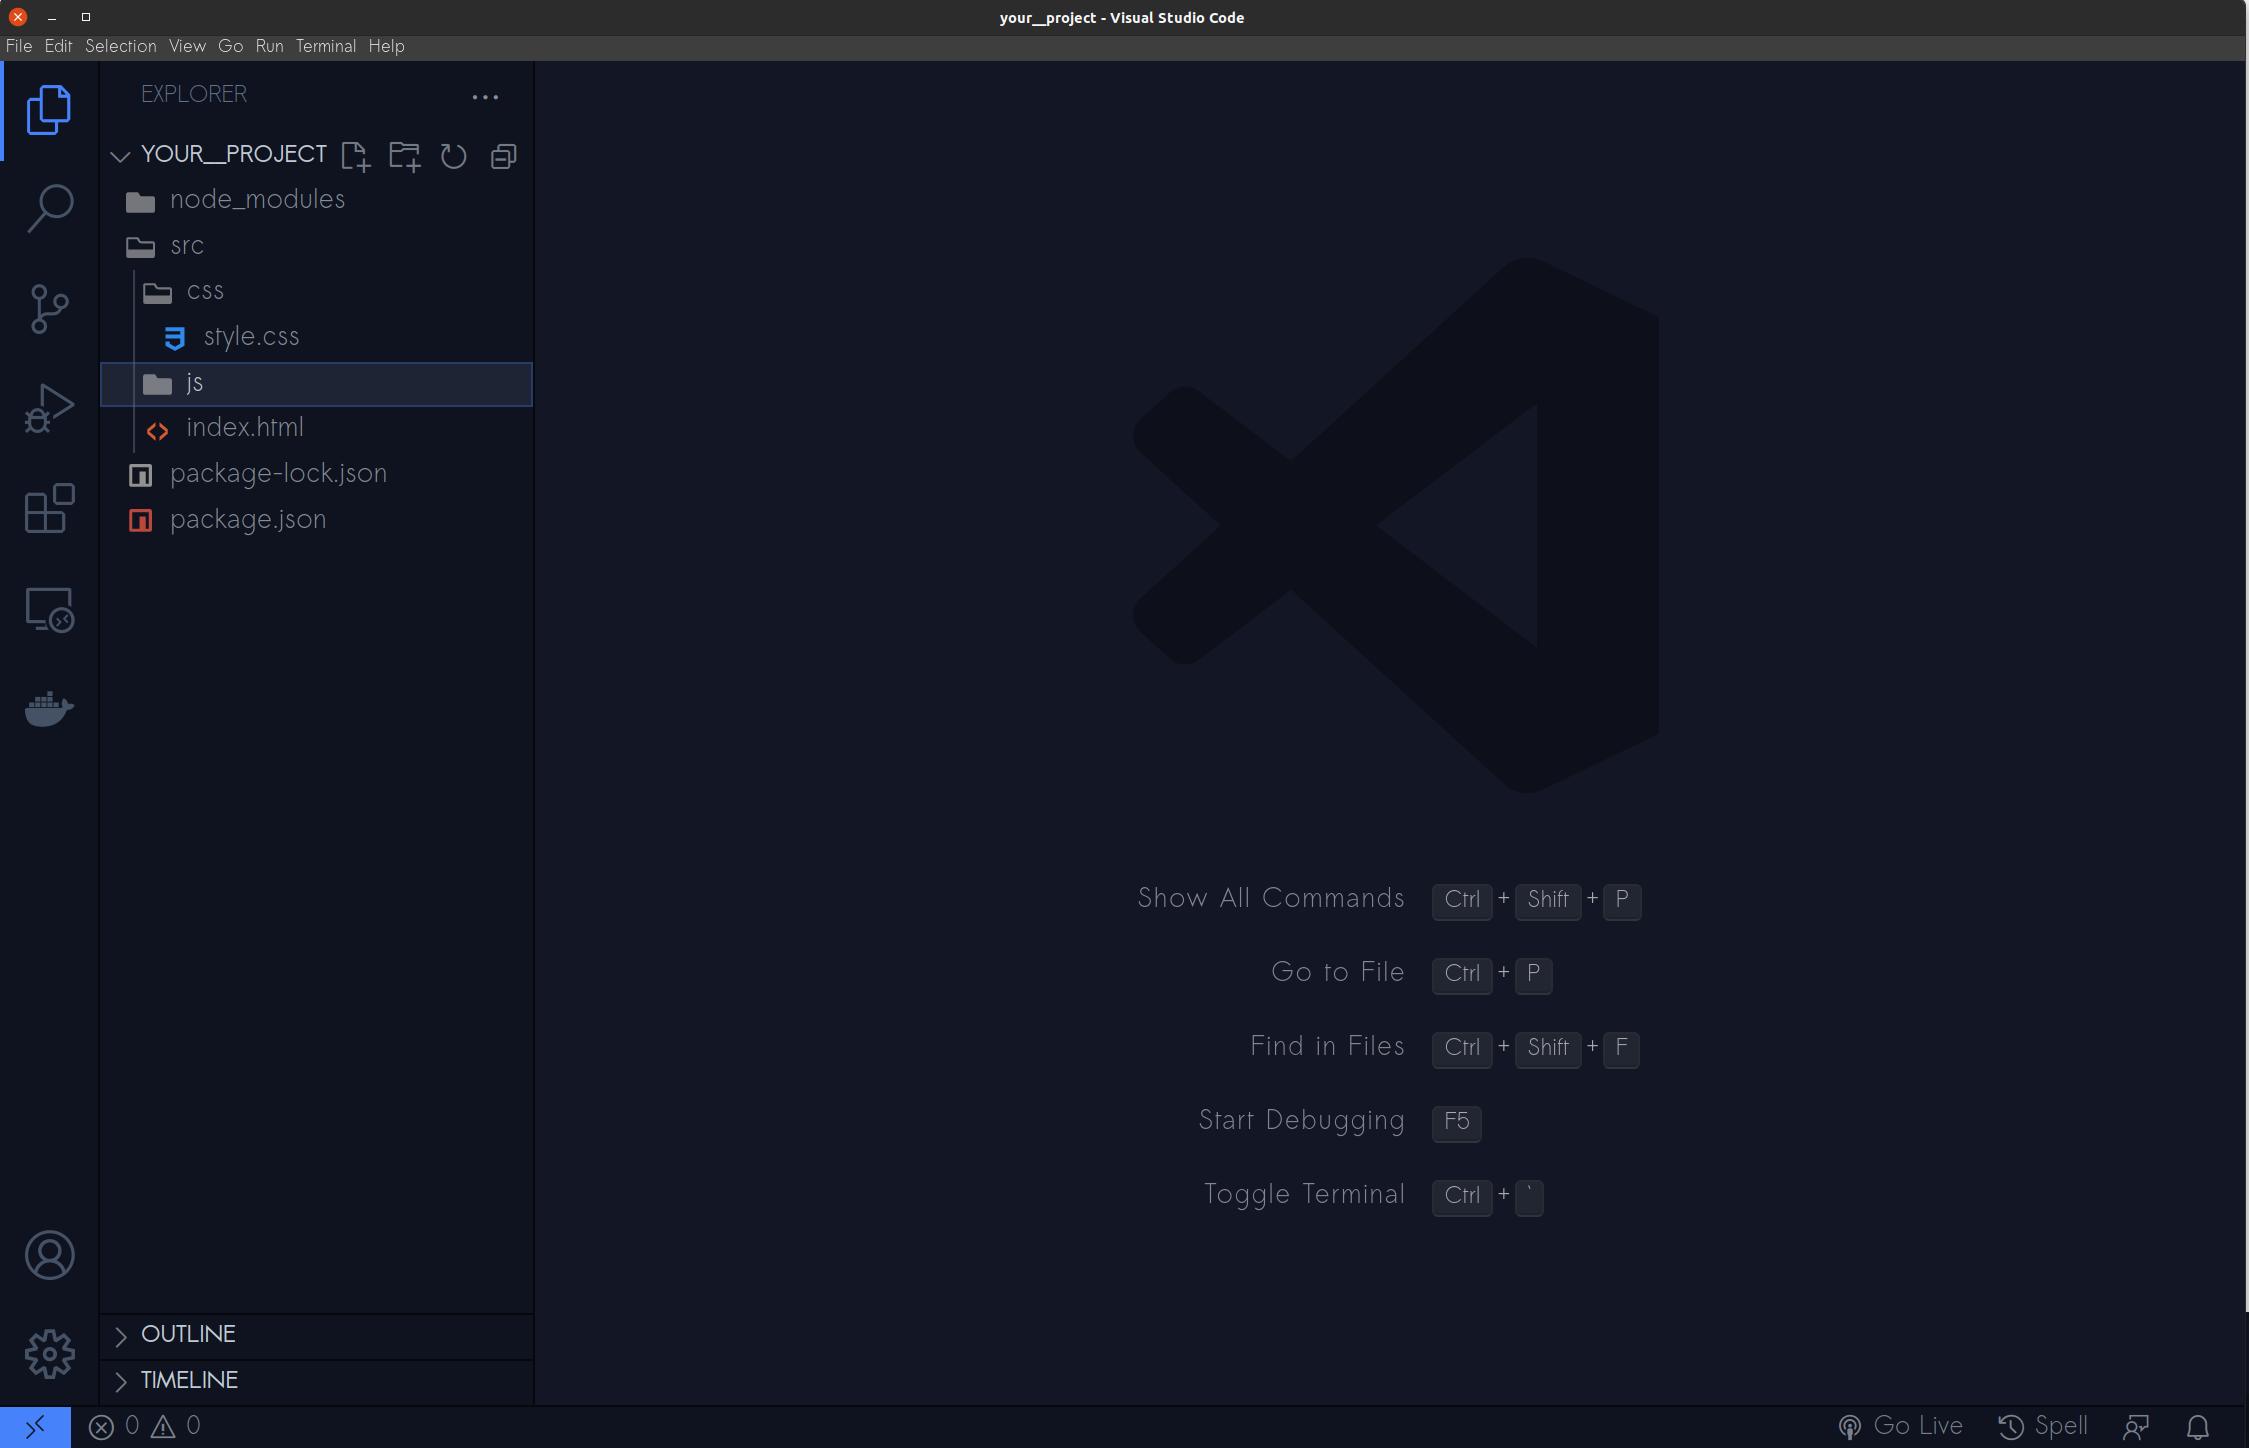
Within your js folder, create an app.js file with the following code:
const btn = document.querySelector('button');
const body = document.querySelector('body');

let availableColors = ['darkslateblue', 'midnightblue', 'teal', 'tomato', 'seagreen', 'royalblue', 'saddlebrown', 'indigo', 'olivedrab', 'rosybrown'];

btn.addEventListener('click', function() {
  const randomizeColor = Math.floor(Math.random() * availableColors.length);
  body.style.setProperty('--bg', availableColors[randomizeColor]);
});
The JavaScript code randomly selects a color from the availableColors array and then changes the background to that color on click.
After your edits, save this file.
Altogether, your current site architecture will be as follows:
your_project/
|── node_modules
|── src/
|   |── css/
|   |   |── style.css
|   |── js/
|   |   |── app.js
|   |── index.html
|── package.json
|── package-lock.json
With the essential elements of your application created, you can now use Parcel to view and configure your application.
Step 3 — Running Your Application On a Development Server
One way to view your application would be to open your HTML file in a browser. However, if you made changes to any of your files, you would have to manually refresh the browser each time a change is made. Parcel comes with a development server that runs on your machine. When you make changes to your code as your development server is running, Parcel automatically updates your application in your browser without having to refresh. This is often referred to as Hot Reloading. This way, you don’t have to stop the server, apply your changes, and then restart the server again to view your changes.
For example, when the Parcel development server is running, you can change the background attribute in your your_project/src/css/style.css stylesheet to red, and save your changes. After you save, you’ll notice the change immediately in your browser without having to stop your development server or having to refresh.
In your terminal, make sure you’re inside theyour_project directory. Once you’re in the your_project directory, run the following code to start your development server:
- npx parcel src/index.html
Output❯ npx parcel src/index.html
Server running at http://localhost:1234
✨ Built in 5ms
Parcel’s built-in development server is now running. The npx parcel command takes your entry point of src/index.html and builds your application with the necessary assets. The output also indicates that the application is running on http://localhost:1234.
To view your running application, open your web browser and navigate to http://localhost:1234:
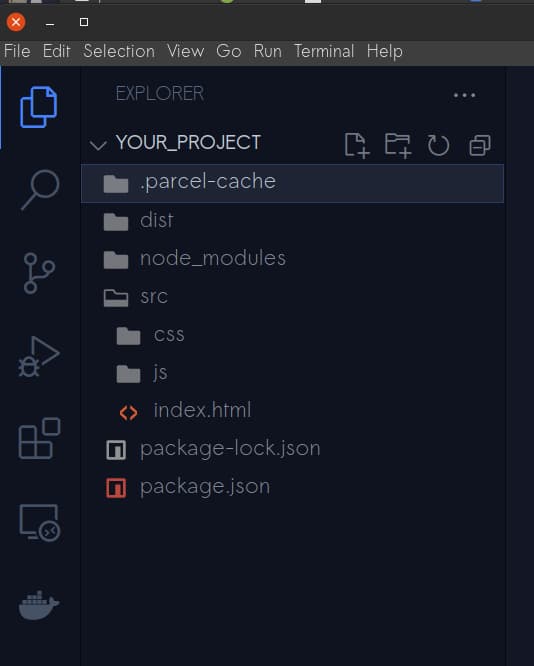
Within your your_project directory, two new folders were generated when you ran the npx parcel command. The .parcel-cache folder holds information about your project and is used by Parcel to rebuild your application. When you make changes to your files, Parcel will detect those changes and re-run your build with these files instead of starting from scratch.
The other folder, dist, holds the dynamically generated files that Parcel created for you. Notice that this folder includes your HTML, CSS, and JavaScript files, but are all named index with random characters in between. It also includes .map files. Parcel generates what is called a source map for you when you use the npx parcel command. The source map tells the browser how to locate the original source code from your bundled code. It is used to assist with debugging your code in development and in production:
To be clear, you do not perform any work within these files. In fact, if you delete these folders, both the .parcel-cache and dist folders will be automatically generated and updated when you run the npx parcel command again.
Note: Sometimes, when making significant edits to your code, you may notice that those changes aren’t reflected in the browser. If this happens, you can try refreshing the browser. If you’re still having a problem, stop your server from running by pressing CTRL+C in your terminal. Then, delete the .parcel-cache and dist folders. The .parcel-cache folder can potentially hold remnants of old code and by removing it, you can eliminate pain points. After deleting these, run the npx parcel src/index.html command again. This regenerates the '.parcel-cache and dist folders and files with your updated code.
When you’re finished examining your new folders and files, stop your server from running by pressing CTRL+C in your terminal or command prompt.
Step 4 — Creating npm Scripts To Start and Build Your Application
Instead of running the npx parcel src/index.html command inside of your terminal each time you want to check out your development server, you can create a npm script inside your package.json file to run this repetitive task and automate this step. You can also include an additional script to build your application when you’re ready for production.
Start by opening the your_project/package.json file in your text editor.
Change this file to include the following lines:
{
  "name": "your_project",
  "version": "1.0.0",
  "description": "",
  "source": "src/index.html",
  "scripts": {
    "start": "parcel",
    "build": "parcel build --dist-dir public"
  },
  "author": "",
  "license": "ISC"
  ...
In your package.json file, you replaced "main": "index.js" with "source": "src/index.html". "source" indicates the input, or source file, of your application and the specific path to the file. You also included the following two scripts:
-
"start": "parcel":"start"is the name of this command. You can name this whatever you like."parcel"is the actual command you want your script to perform. In this instance,"parcel"does exactly what the previousnpx parcelcommand does. It starts the development server with your entry point file and builds it with the assets you’ve included. Since you specified the source of the entry point in the"source"field, Parcel understands where to find this file. -
"build": "parcel build --dist-dir public":"build"is the name of this command like”start”above. You can name this anything you like. The”parcel build”command builds and optimizes your code for production. This is typically run after you’ve finished developing your application. Parcel’s default directory for your output is nameddist. The--dist-dir publictag defines the output folder for your production files and is namedpublicto avoid confusion with thedistdefault directory. You will perform this task in a later step.
Now, instead of typing npx parcel src/index.html in your terminal to start your development server, you can type npm start:
- npm start
Output❯ npm start

> your_project@1.0.0 start
> parcel

Server running at http://localhost:1234
✨ Built in 5ms
The npm start command is a shorthand way to start your development server.
Open your web browser and navigate to http://localhost:1234. The landing page for your application should be the same as before.
With the configuration file complete, you can continue developing and testing your application. When your application is ready for production, you can start the next step.
Step 5 — Building Your Application for Production
One of the main features of a bundler is merging file types. This is what Parcel does for you when you run the build command. For example, if you had multiple CSS files that depended on each other within your src/css directory, Parcel would combine those files into a singular file when you use the npm run build command. The same would be true of any of your JavaScript files. You can learn more about how Parcel does this by diving into their documentation.
When your application is ready for production, use the build command that you included in your package.json file to create the production files.
First, make sure you’re in the top level directory, your_project, then enter the following command into your terminal or command prompt:
- npm run build
Output❯ npm run build

> your_project@1.0.0 build
> parcel build

✨ Built in 767ms

public/index.html            781 B    239ms
public/index.9daf4050.css    582 B     21ms
public/index.a9c94235.js     532 B    179ms
As noted above, Parcel’s default output for your files is in the dist folder. Since you specified the build script to output your files to a directory called public, Parcel generates this folder and outputs your production files into it. The files in this folder are different from when you were in development since these are merged, minified, and further optimized. You can learn more about the production files and what Parcel does to optimize your code from their documentation.
For example, if you open your public/index.html file, the code should be minified:
<!DOCTYPE html><html lang="en"><head><meta charset="utf-8"><meta http-equiv="X-UA-Compatible" content="IE=edge"><meta name="viewport" content="width=device-width, initial-scale=1.0"><link rel="stylesheet" href="/index.9daf4050.css"><title>Your Parcel Project</title></head><body><h1>Welcome to Parcel!</h1> <div class="sammy-wrapper"><div class="img-wrapper sammy-1"><img src="https://assets.digitalocean.com/articles/docker_node_image/sammy.png" alt="Sammy the Shark"></div></div> <button>Change the Background Color</button> <script type="module" src="/index.a9c94235.js"></script></body></html>
Like the dist folder, you do not perform any work within the public directory. If you need to make a change to your code, make the changes directly with the files within the src directory.
Much like the npm start command, you can rebuild your production files with the npm run build command after making changes. Your public folder, and the files within, are to be deployed on a web server when you’re ready to do so.
You have now created and bundled an application using Parcel.
Conclusion
In this tutorial, you created an application and bundled it with Parcel. You also created two npm scripts to create both your development and production files. If you’re interested in learning more about Parcel, you can check out their official documentation.
If you’d like to learn how to deploy your application, read our How to Deploy a Static Site to the Cloud with DigitalOcean App Platform tutorial.
Thanks for learning with the DigitalOcean Community. Check out our offerings for compute, storage, networking, and managed databases.
About the author
Associate Technical Writer @ DigitalOcean
Still looking for an answer?
This textbox defaults to using Markdown to format your answer.
You can type !ref in this text area to quickly search our full set of tutorials, documentation & marketplace offerings and insert the link!
 This work is licensed under a Creative Commons Attribution-NonCommercial- ShareAlike 4.0 International License.
Become a contributor for community
Get paid to write technical tutorials and select a tech-focused charity to receive a matching donation.

DigitalOcean Documentation
Full documentation for every DigitalOcean product.

Resources for startups and AI-native businesses
The Wave has everything you need to know about building a business, from raising funding to marketing your product.
The developer cloud
Scale up as you grow — whether you're running one virtual machine or ten thousand.

Start building today
From GPU-powered inference and Kubernetes to managed databases and storage, get everything you need to build, scale, and deploy intelligent applications.
