- Log in to:
- Community
- DigitalOcean
- Sign up for:
- Community
- DigitalOcean
By Rachael Njeri and Bradley Kouchi

Introduction
Google Maps is a map service provided by Google that supports a wide variety of configuration settings. Adding Google Maps to your application can provide users with more contextual information than a street address or set of coordinates.
This tutorial aims at integrating the Google Maps API into your React components and enabling you to display maps on your website.
Prerequisites
To complete this tutorial, you will need:
- Node.js installed locally, which you can do by following How to Install Node.js and Create a Local Development Environment.
- Familiarity with the React JavaScript framework.
- A Google Maps JavasScript API Key.
- This will require a Google account, signing into the Google Cloud Platform Console, creating a new project, and enabling the Google Maps JavasScript API for the project.
Note: To avoid the “For development purposes only” messages when using the Google Maps API, you will need to provide a valid credit card and associate it with a Billing account for the Google Cloud Project, but it is not required for this tutorial.
This tutorial was verified with Node v14.2.0, npm v6.14.5, react v16.13.1, and google-maps-react v.2.0.6.
Step 1 — Setting up a React Application
For this tutorial, you are going to use create-react-app for scaffolding a new React app.
First, run npx to use create-react-app in a terminal window:
- npx create-react-app react-googlemaps
Then, navigate to your new project directory:
cd react-googlemaps
Before you add any code, let’s install your dependencies with:
- npm install google-maps-react@2.0.6
Note: Optionally, at this point you can remove unnecessary files and imports in your src directory. You will not require logo.svg, App.css, index.css. If you remove index.css, you should also remove the import for index.css in index.html to avoid a build error.
At this point, you have a React application with the google-maps-react library. You can now explore using maps in your application.
Step 2 — Using Map and GoogleApiWrapper
Map and GoogleApiWrapperNext, you will need to edit your App.js file and replace the code with your component that will load a Google Map.
Open App.js:
- nano src/App.js
Replace the contents of App.js with the following lines of code:
import React, { Component } from 'react';
import { Map, GoogleApiWrapper } from 'google-maps-react';

const mapStyles = {
  width: '100%',
  height: '100%'
};

export class MapContainer extends Component {
  render() {
    return (
      <Map
        google={this.props.google}
        zoom={14}
        style={mapStyles}
        initialCenter={
          {
            lat: -1.2884,
            lng: 36.8233
          }
        }
      />
    );
  }
}

export default GoogleApiWrapper({
  apiKey: 'YOUR_GOOGLE_MAPS_API_KEY_GOES_HERE'
})(MapContainer);
Note: Replace YOUR_GOOGLE_MAPS_API_KEY_GOES_HERE with your Google Maps JavasScript API Key.
Warning: Be sure to avoid saving your API key in any files you commit to public repositories (like GitHub) as it can then be used by others for purposes you did not intend.
For the functionality of a basic Google Map, this is all the code you need.
The Map component takes in some optional props:
style- the CSS style objectzoom- number value representing a tighter focus on the map’s centerinitialCenter- an object containing latitude and longitude coordinates
In this example, you are defining:
- a CSS style object with
100%width and100%height - a zoom value of
14 - and a location of
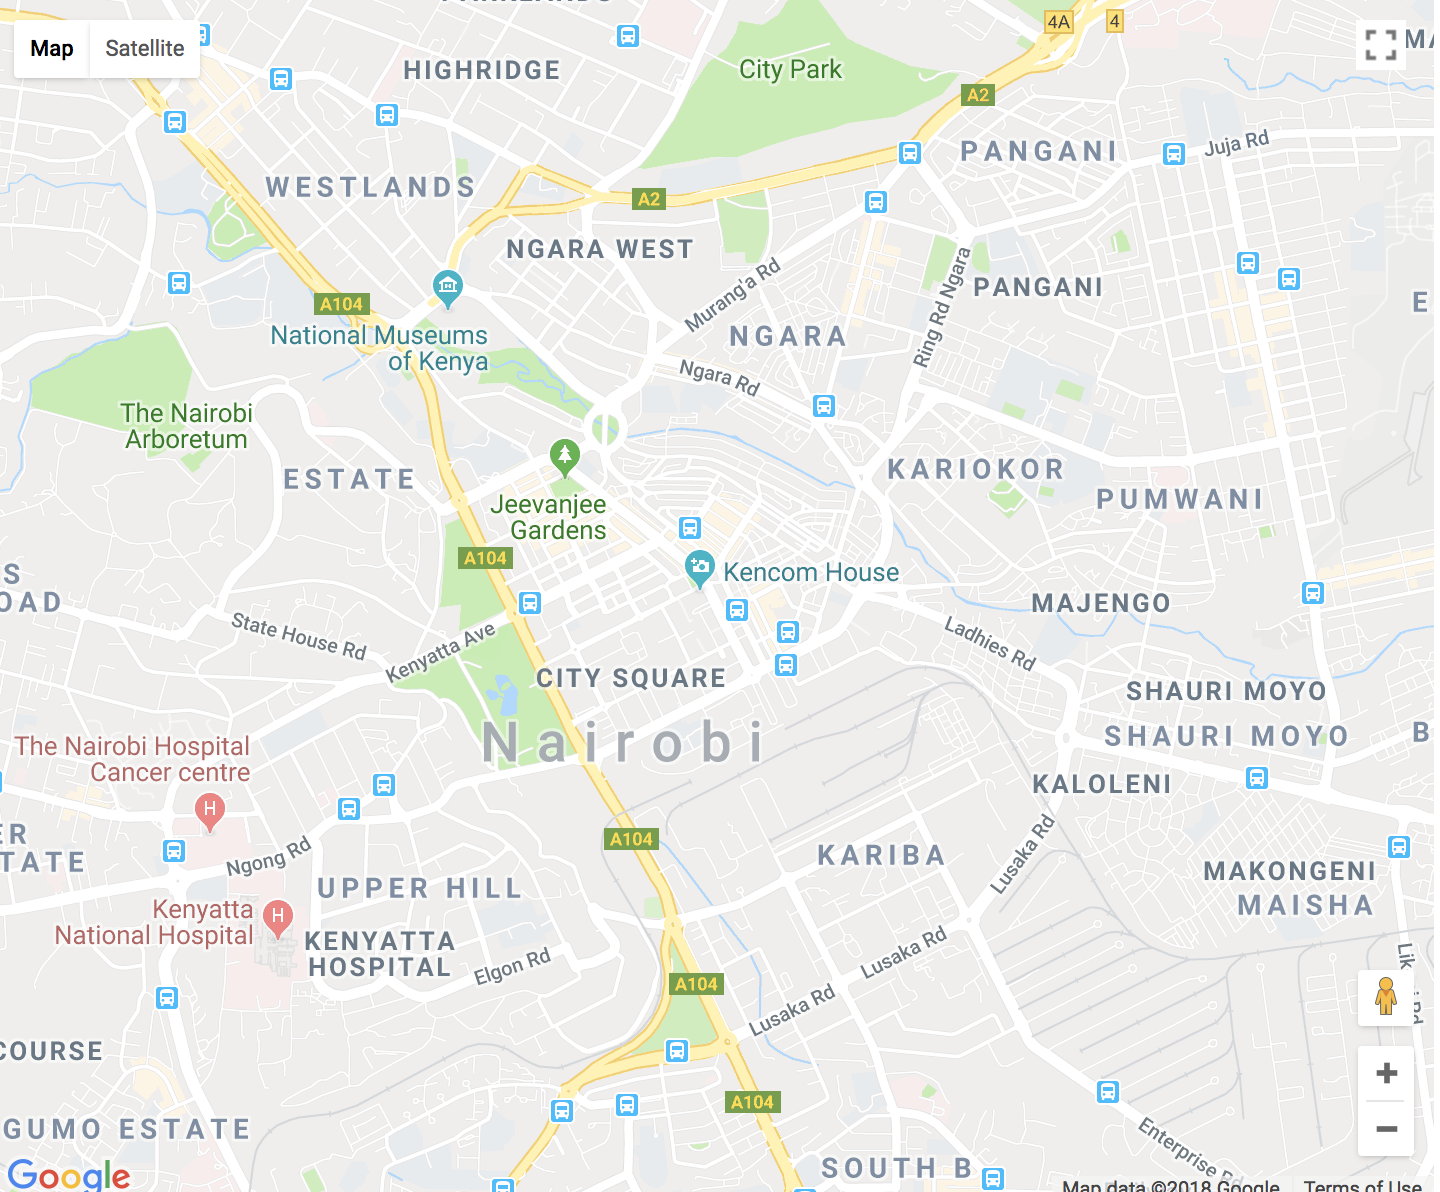
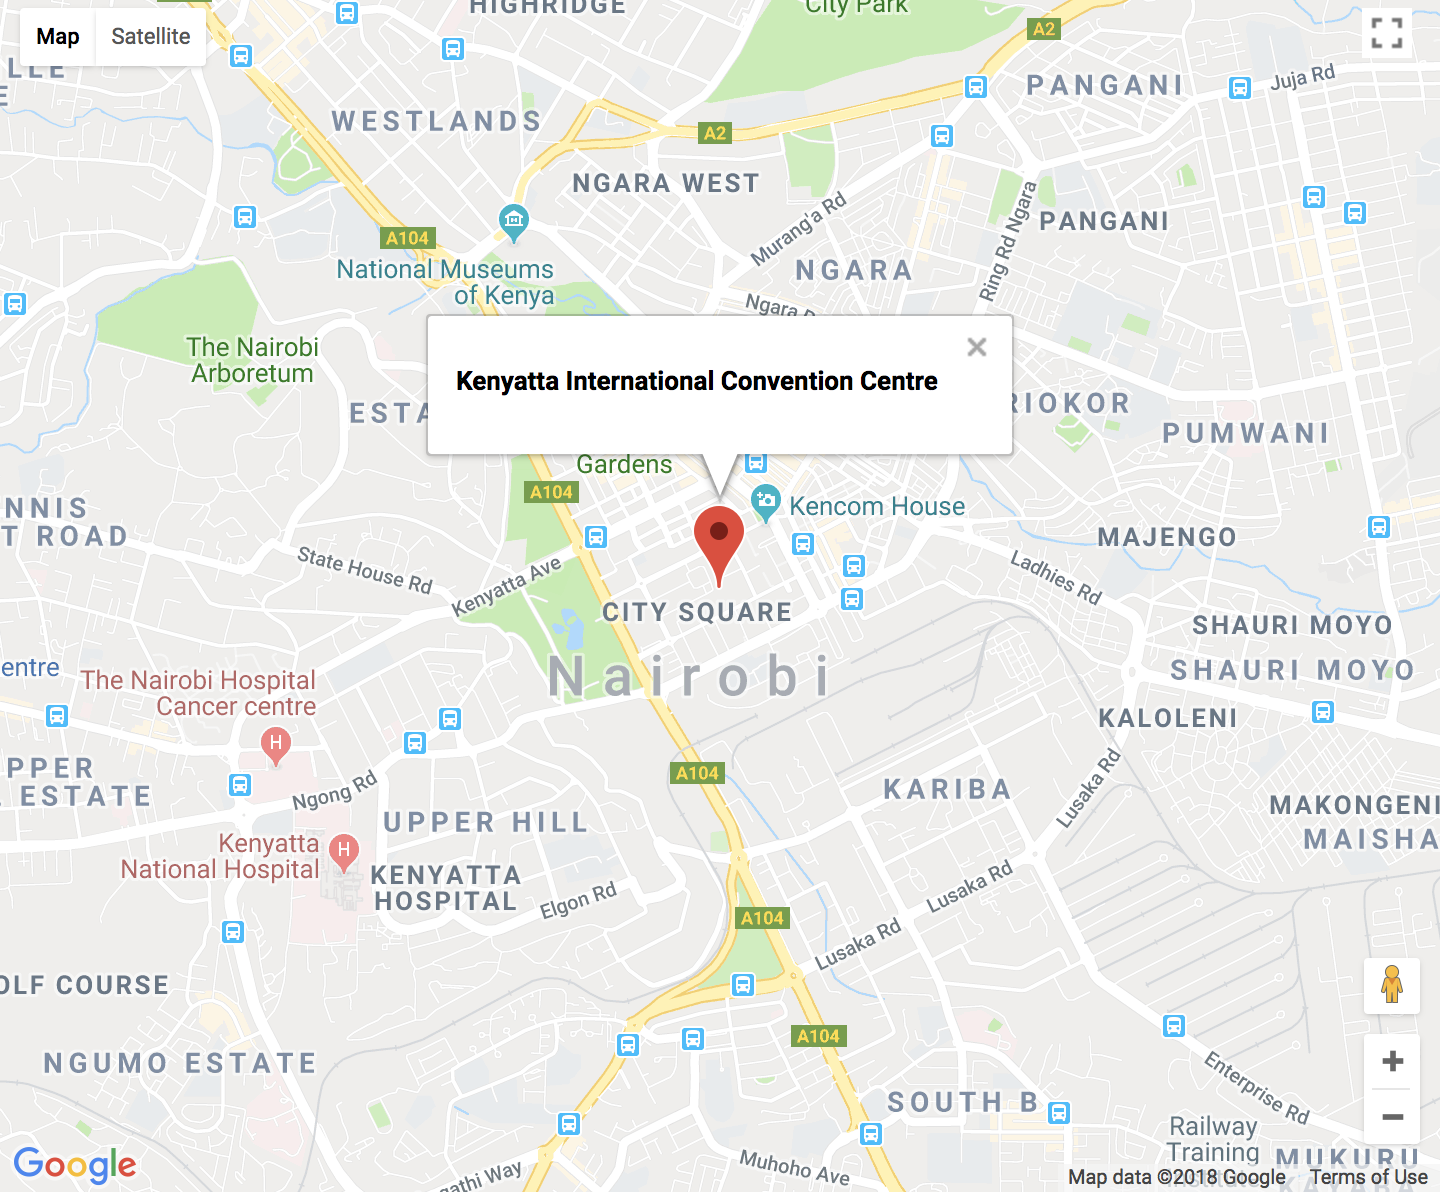
-1.2884, 36.8233(Kenyatta International Convention Centre in Nairobi, Kenya)
Open your terminal and run your app:
- npm start
And ensure that the map loads to the browser:
The GoogleApiWrapper is a Higher-Order Component (HOC) that provides a wrapper around Google APIs. Alternatively, the GoogleApiWrapper HOC can be configured by passing a function that will be called with the wrapped component’s props and should return the configuration object like so:
export default GoogleApiWrapper(
  (props) => ({
    apiKey: props.apiKey
  }
))(MapContainer)
At this point, you have a Google Map in your React application. You can now explore implementing other features of Google Maps.
Step 3 — Using Markers and InfoWindow
Markers and InfoWindowYou will now add a Marker and an InfoWindow to your code.
First, you need to import Marker and InfoWindow components from the google-maps-react library in order to help you achieve loading of the two.
import React, { Component } from 'react';
import { Map, GoogleApiWrapper, InfoWindow, Marker } from 'google-maps-react';
Notice that your component before was stateless? You will need to add state for state management.
// ...

export class MapContainer extends Component {
  state = {
    showingInfoWindow: false,  // Hides or shows the InfoWindow
    activeMarker: {},          // Shows the active marker upon click
    selectedPlace: {}          // Shows the InfoWindow to the selected place upon a marker
  };

  // ...
}
Next, you will need to add event handlers for when the Map and the Marker are clicked.
// ...

export class MapContainer extends Component {
  // ...

  onMarkerClick = (props, marker, e) =>
    this.setState({
      selectedPlace: props,
      activeMarker: marker,
      showingInfoWindow: true
    });

  onClose = props => {
    if (this.state.showingInfoWindow) {
      this.setState({
        showingInfoWindow: false,
        activeMarker: null
      });
    }
  };

  // ...
}
The onMarkerClick method is used to show the InfoWindow, which is a component in the google-maps-react library that gives you the ability for a pop-up window showing details of the clicked Marker.
The onClose method is for closing the InfoWindow once a user clicks on the close button on the InfoWindow.
Let’s complete your component by adding <Marker> and <InfoWindow> components to the render method:
// ...

export class MapContainer extends Component {
  // ...

  render() {
    return (
      <Map
        google={this.props.google}
        zoom={14}
        style={mapStyles}
        initialCenter={
          {
            lat: -1.2884,
            lng: 36.8233
          }
        }
      >
        <Marker
          onClick={this.onMarkerClick}
          name={'Kenyatta International Convention Centre'}
        />
        <InfoWindow
          marker={this.state.activeMarker}
          visible={this.state.showingInfoWindow}
          onClose={this.onClose}
        >
          <div>
            <h4>{this.state.selectedPlace.name}</h4>
          </div>
        </InfoWindow>
      </Map>
    );
  }
}
Run your app:
- npm start
And ensure you have the one Marker with the InfoWindow upon click:
As a follow-up practice, you can go and add a few more <Marker>s on your <Map> and more interactivity to your <InfoWindow>.
Step 4 — Displaying the User’s Current Location
You will now set up your map to retrieve the browser’s current location. You will be using Navigator, which is a read-only property that returns a Geolocation object that gives web content access to the location of the device.
In your src directory create a new file and name it Map.js:
- nano src/Map.js
You will create a component named CurrentLocation — this is where you will build all the functionality to retrieve your browser’s location:
import React from 'react';
import ReactDOM from 'react-dom';

const mapStyles = {
  map: {
    position: 'absolute',
    width: '100%',
    height: '100%'
  }
};

export class CurrentLocation extends React.Component {
  // ...
}

export default CurrentLocation;
You will begin by adding some default props to your <CurrentLocation> component, since you will need to set the map with a center in case the current location is not provided. This is handled by the boolean prop centerAroundCurrentLocation:
// ...

CurrentLocation.defaultProps = {
  zoom: 14,
  initialCenter: {
    lat: -1.2884,
    lng: 36.8233
  },
  centerAroundCurrentLocation: false,
  visible: true
};
Next, you will need to make your component stateful:
// ...

export class CurrentLocation extends React.Component {
  constructor(props) {
    super(props);

    const { lat, lng } = this.props.initialCenter;

    this.state = {
      currentLocation: {
        lat: lat,
        lng: lng
      }
    };
  }
}

// ...
Let’s also update your <CurrentLocation> component to handle for scenarios when the Google Maps API is not available due to network issues or unexpected maintenance. And also handle situations when the browser’s current location is provided and recenter the map to that location.
// ...

export class CurrentLocation extends React.Component {
  // ...

  componentDidUpdate(prevProps, prevState) {
    if (prevProps.google !== this.props.google) {
      this.loadMap();
    }
    if (prevState.currentLocation !== this.state.currentLocation) {
      this.recenterMap();
    }
  }
}

// ...
Let’s define the recenterMap() function which gets called when the currentLocation in the component’s state is updated. It will use the panTo() method to change the center of the map.
// ...

export class CurrentLocation extends React.Component {
  // ...

  recenterMap() {
    const map = this.map;
    const current = this.state.currentLocation;
    const google = this.props.google;
    const maps = google.maps;

    if (map) {
      let center = new maps.LatLng(current.lat, current.lng);
      map.panTo(center);
    }
  }
}

// ...
Next, you will need to handle the scenario when the map has already loaded. This will be handled by the componentDidMount() lifecycle method which will set a callback to fetch the current location.
// ...

export class CurrentLocation extends React.Component {
  // ...

  componentDidMount() {
    if (this.props.centerAroundCurrentLocation) {
      if (navigator && navigator.geolocation) {
        navigator.geolocation.getCurrentPosition(pos => {
          const coords = pos.coords;
          this.setState({
            currentLocation: {
              lat: coords.latitude,
              lng: coords.longitude
            }
          });
        });
      }
    }
    this.loadMap();
  }
}

// ...
Notice the loadMap() function? Let’s go on ahead and define it.
// ...

export class CurrentLocation extends React.Component {
  // ...

  loadMap() {
    if (this.props && this.props.google) {
      // checks if google is available
      const { google } = this.props;
      const maps = google.maps;

      const mapRef = this.refs.map;

      // reference to the actual DOM element
      const node = ReactDOM.findDOMNode(mapRef);

      let { zoom } = this.props;
      const { lat, lng } = this.state.currentLocation;
      const center = new maps.LatLng(lat, lng);

      const mapConfig = Object.assign(
        {},
        {
          center: center,
          zoom: zoom
        }
      );

      // maps.Map() is constructor that instantiates the map
      this.map = new maps.Map(node, mapConfig);
    }
  }
}

// ...
The loadMap() function is called after the component has been rendered and grabs a reference to the DOM component to where you want your map to be placed.
Your <CurrentLocation> component is almost complete. But you need to ensure that your previous <Marker> picks your current location (i.e., the browser’s current location) and so you need to introduce Parent-Child component communication through the renderChildren() method which will be responsible for calling the method on the child component.
// ...

export class CurrentLocation extends React.Component {
  // ...

  renderChildren() {
    const { children } = this.props;

    if (!children) return;

    return React.Children.map(children, c => {
      if (!c) return;

      return React.cloneElement(c, {
        map: this.map,
        google: this.props.google,
        mapCenter: this.state.currentLocation
      });
    });
  }
}

// ...
And finally, let’s add your render() method:
// ...

export class CurrentLocation extends React.Component {
  // ...

  render() {
    const style = Object.assign({}, mapStyles.map);

    return (
      <div>
        <div style={style} ref="map">
          Loading map...
        </div>
        {this.renderChildren()}
      </div>
    );
  }
}

// ...
Lastly, you will need to update your MapContainer component in App.js:
- nano src/App.js
Replace the Map component with your new CurrentLocation component:
import React, { Component } from 'react';
import { GoogleApiWrapper, InfoWindow, Marker } from 'google-maps-react';

import CurrentLocation from './Map';

export class MapContainer extends Component {
  state = {
    showingInfoWindow: false,
    activeMarker: {},
    selectedPlace: {}
  };

  onMarkerClick = (props, marker, e) =>
    this.setState({
      selectedPlace: props,
      activeMarker: marker,
      showingInfoWindow: true
    });

  onClose = props => {
    if (this.state.showingInfoWindow) {
      this.setState({
        showingInfoWindow: false,
        activeMarker: null
      });
    }
  };

  render() {
    return (
      <CurrentLocation
        centerAroundCurrentLocation
        google={this.props.google}
      >
        <Marker onClick={this.onMarkerClick} name={'Current Location'} />
        <InfoWindow
          marker={this.state.activeMarker}
          visible={this.state.showingInfoWindow}
          onClose={this.onClose}
        >
          <div>
            <h4>{this.state.selectedPlace.name}</h4>
          </div>
        </InfoWindow>
      </CurrentLocation>
    );
  }
}

export default GoogleApiWrapper({
  apiKey: 'YOUR_GOOGLE_MAPS_API_KEY_GOES_HERE'
})(MapContainer);
Run your app:
npm start
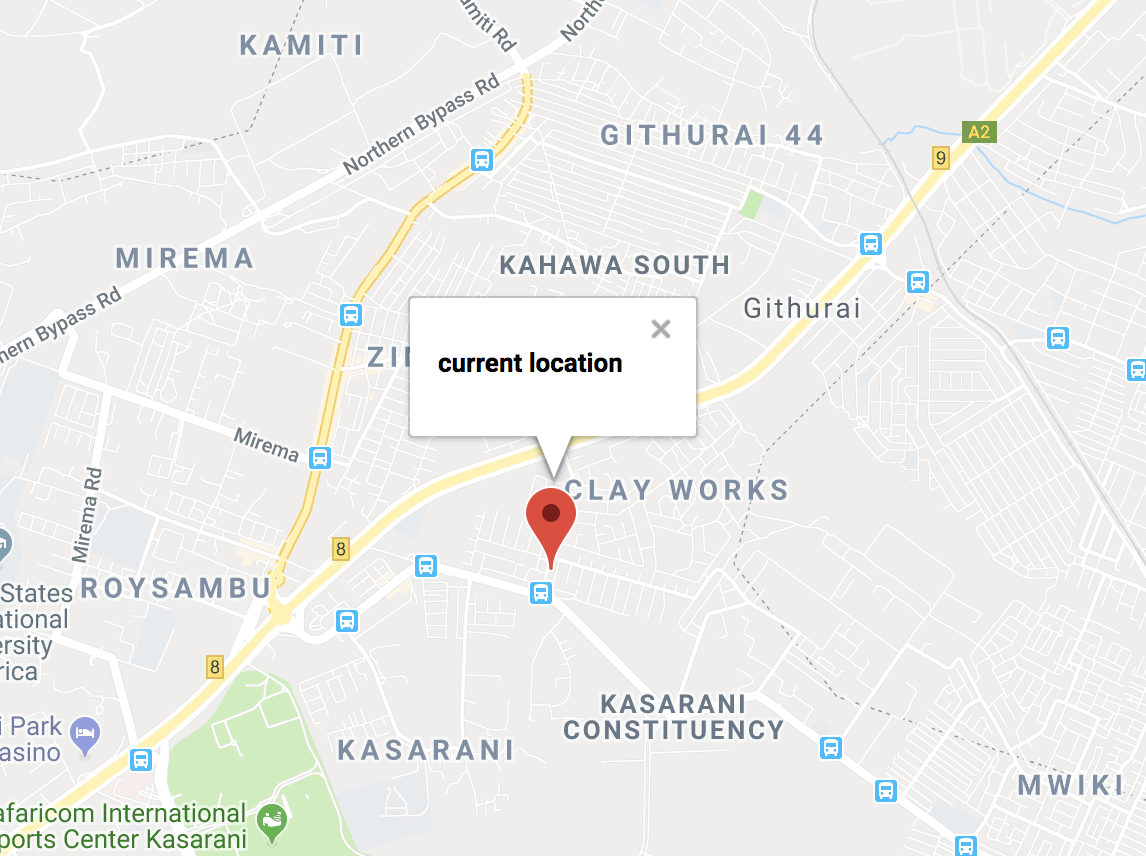
Heading over to your browser, your map should first load with your initialCenter then reload to pick your browser’s current location with the Marker positioned to this location, and voilà, you are done:
Conclusion
In this article, you were able to load your <Map> React component, add a Marker, and associate an InfoWindow to it. You also made the map display your current location.
Building upon this knowledge, you can implement more advanced features such as having polylines and polygons or adding event listeners into your maps.
If you’d like to learn more about React, take a look at our How To Code in React.js series, or check out our React topic page for exercises and programming projects.
Thanks for learning with the DigitalOcean Community. Check out our offerings for compute, storage, networking, and managed databases.
About the author(s)
Former Technical Editor at DigitalOcean. Expertise in areas including Vue.js, CSS, React, and more.
Still looking for an answer?
This textbox defaults to using Markdown to format your answer.
You can type !ref in this text area to quickly search our full set of tutorials, documentation & marketplace offerings and insert the link!
Is there a full copy of the code for this demo on Github or something? I would like to compare my work to debug, as it would seem the last part seems to be broken. While it DOES create a map that centers on my location, There is no marker for it and no error message in the console that indicate anything wrong with it.
This is an excellent tutorial, thank you for putting this together.
One question: I am able to add a listener for onZoomChanged, but cannot seem to find the current zoom value.
Can you point me in the right direction?
Hi Rachel great tutorial, I can get location and markers working but can’t seem to get my markers to load at the same time if the user turns there location off any suggestions?
Hello Rachael Njeri,
How exactly do I change the location of the markers?
Hey everyone, I thought going forward you all should know that this library is no longer maintained. The last update was more than 3 years ago. I suggest using react=google-maps/api
Which part will be edited if I have fixed branches or locations in a dropdown menu with the location. So whenever I click a location from the dropdown will make a marker on that location and If I click another location a new marker is created and the old one removed.
- Table of contents
- Prerequisites
- Step 1 — Setting up a React Application
- Step 2 — Using `Map` and `GoogleApiWrapper`
- Step 3 — Using `Markers` and `InfoWindow`
- Step 4 — Displaying the User's Current Location
- Conclusion
Deploy on DigitalOcean
Click below to sign up for DigitalOcean's virtual machines, Databases, and AIML products.
Become a contributor for community
Get paid to write technical tutorials and select a tech-focused charity to receive a matching donation.
DigitalOcean Documentation
Full documentation for every DigitalOcean product.
Resources for startups and SMBs
The Wave has everything you need to know about building a business, from raising funding to marketing your product.
Get our newsletter
Stay up to date by signing up for DigitalOcean’s Infrastructure as a Newsletter.
New accounts only. By submitting your email you agree to our Privacy Policy
The developer cloud
Scale up as you grow — whether you're running one virtual machine or ten thousand.
Get started for free
Sign up and get $200 in credit for your first 60 days with DigitalOcean.*
*This promotional offer applies to new accounts only.


