By James Quick

Introduction
Smooth scrolling is when instead of clicking on a button and being instantly taken to a different part of the same page, the user is navigated there via a scroll animation. It’s one of those subtle UI features on a site that makes an aesthetic difference.
In this article, you are going to use the react-scroll package on npm to implement smooth scrolling.
Prerequisites
You will need the following to complete this tutorial:
- A valid Git installation. To set this up, review the Getting Started with Git tutorial.
- Node.js installed locally, which you can do by following the How to Install Node.js and Create a Local Development Environment tutorial.
This tutorial was verified with Node v13.14.0, npm v6.14.5, react v16.13.1, and react-scroll v.1.7.16.
Quickstart: Using react-scroll
react-scrollYou’ll be building a simple app in this tutorial, but if you want a quick rundown of how react-scroll works, feel free to reference these condensed steps:
Install react-scroll:
npm i -S react-scroll
Import the react-scroll package:
import { Link, animateScroll as scroll } from "react-scroll";
Add the link component. The <Link /> component will point to a certain area of your app:
<Link to="section1">
Let’s take a deeper dive and build a little React app with smooth scrolling.
Step 1 — Install and Run a React App
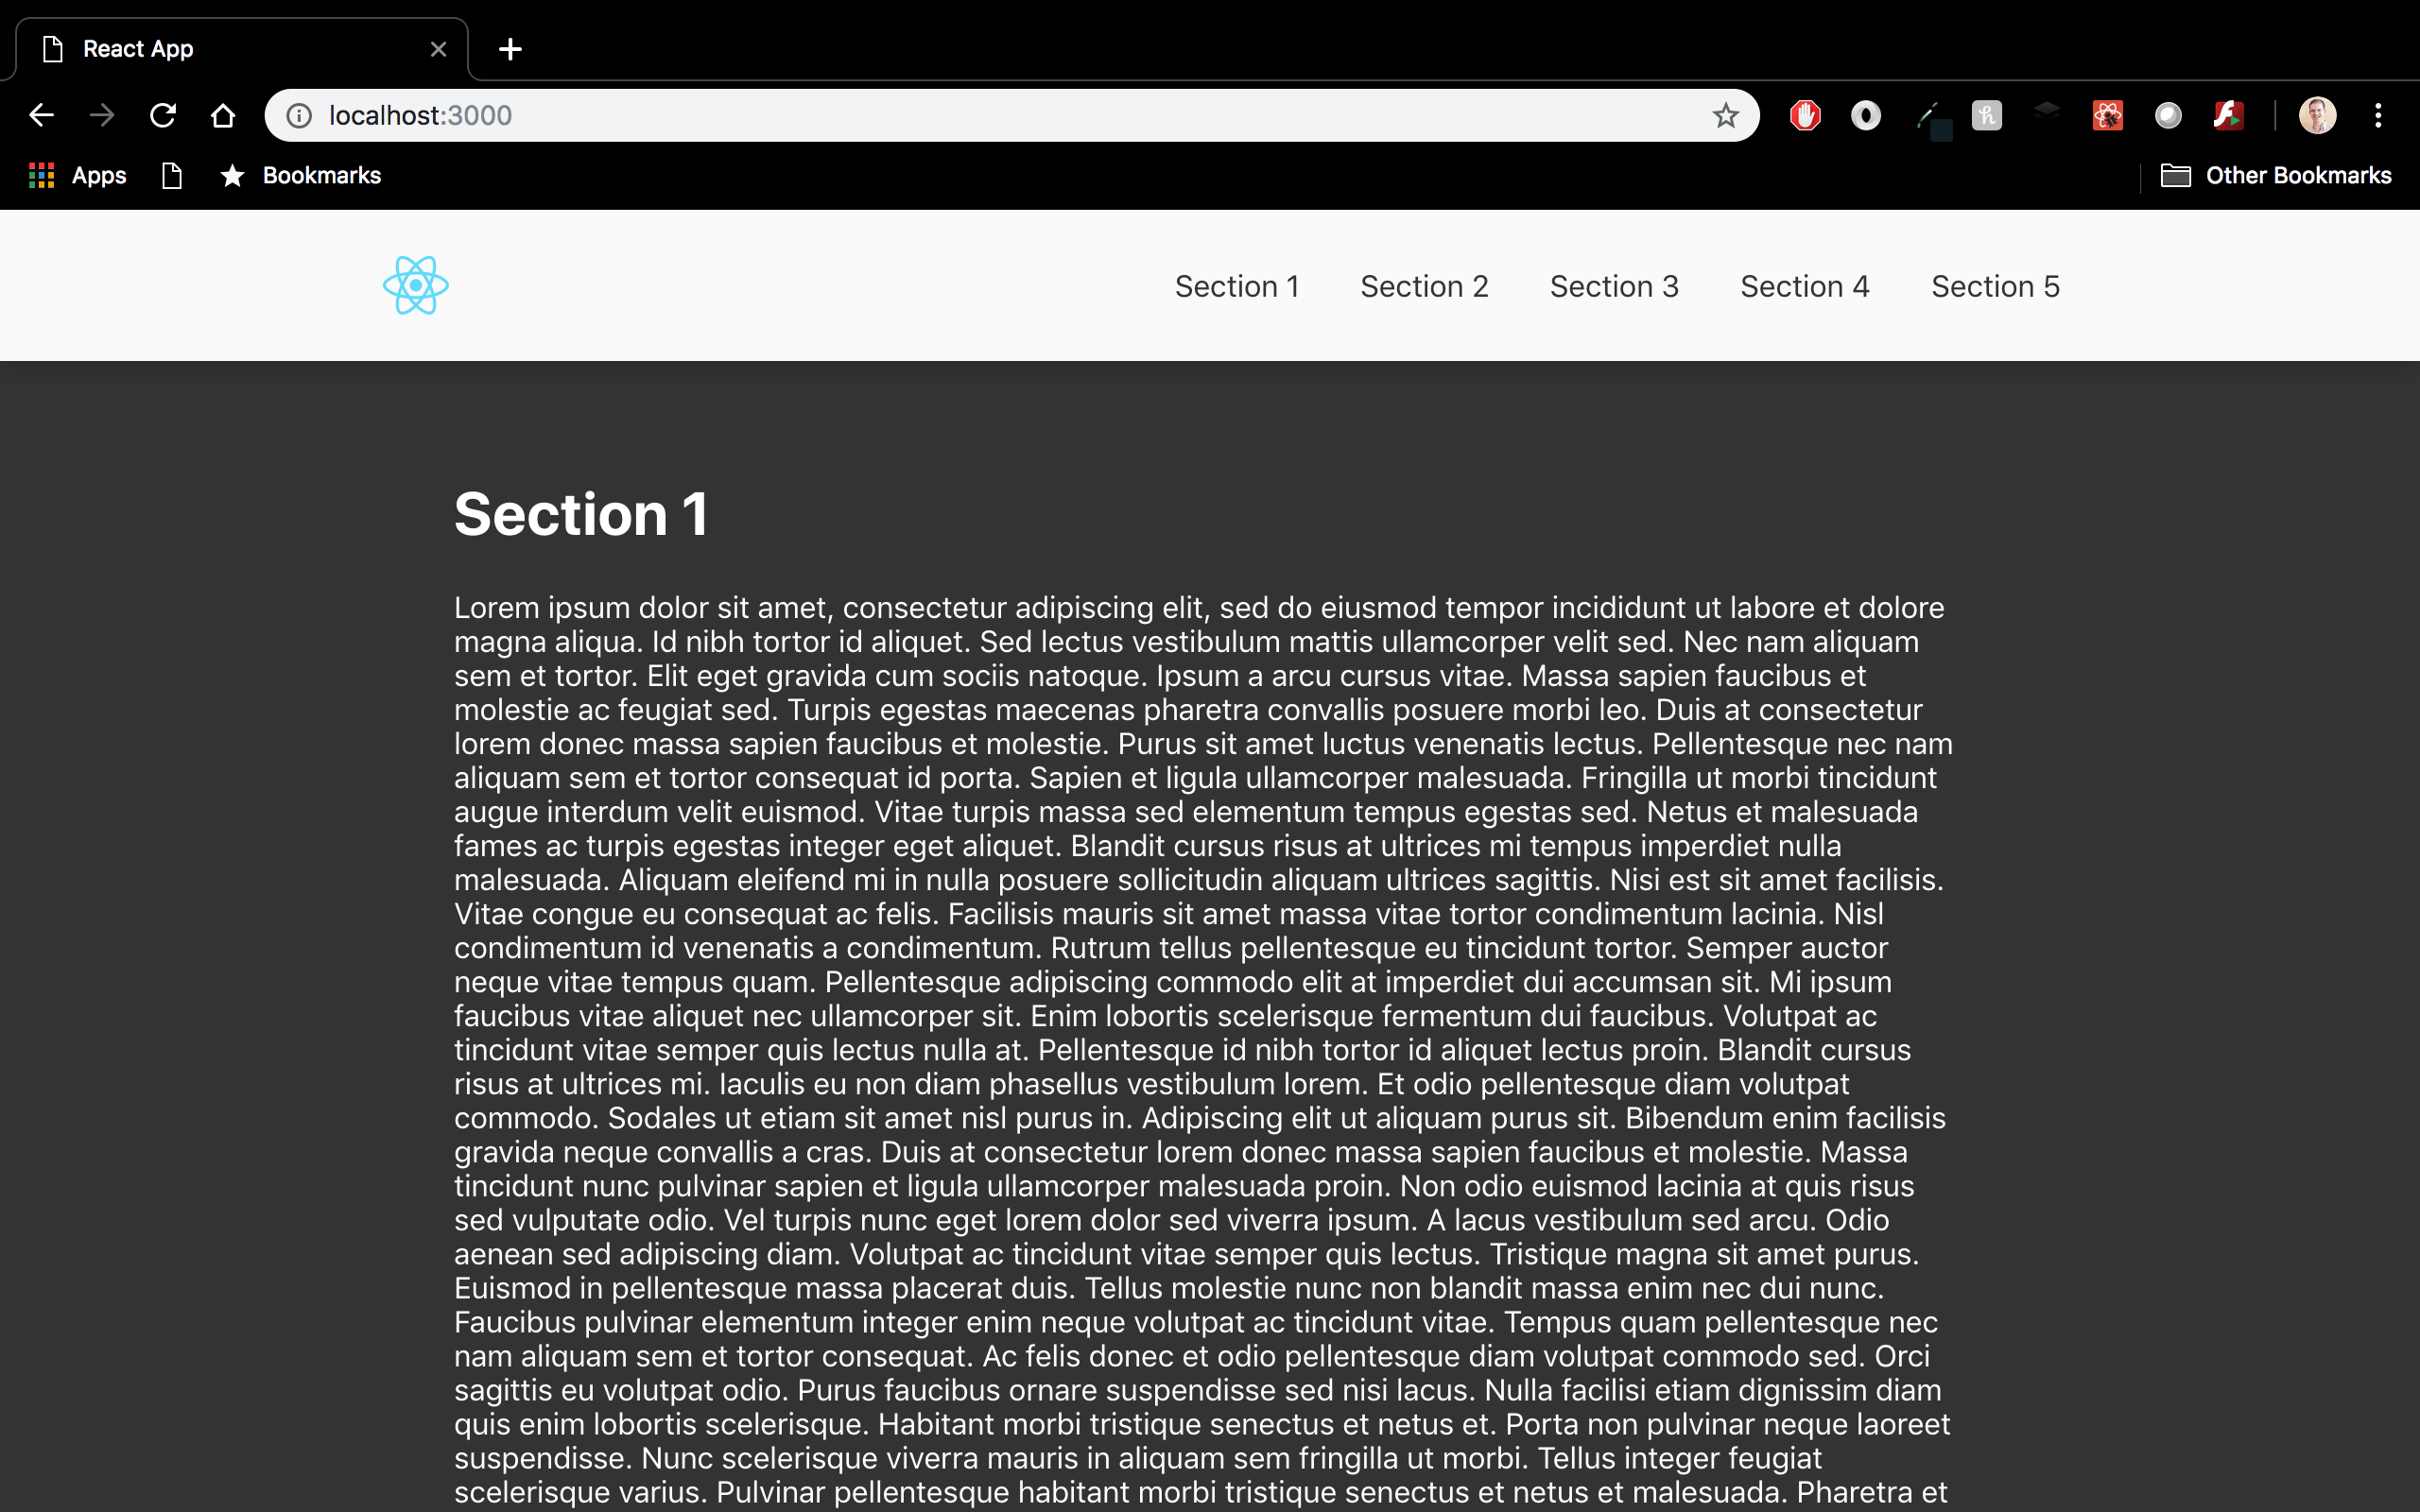
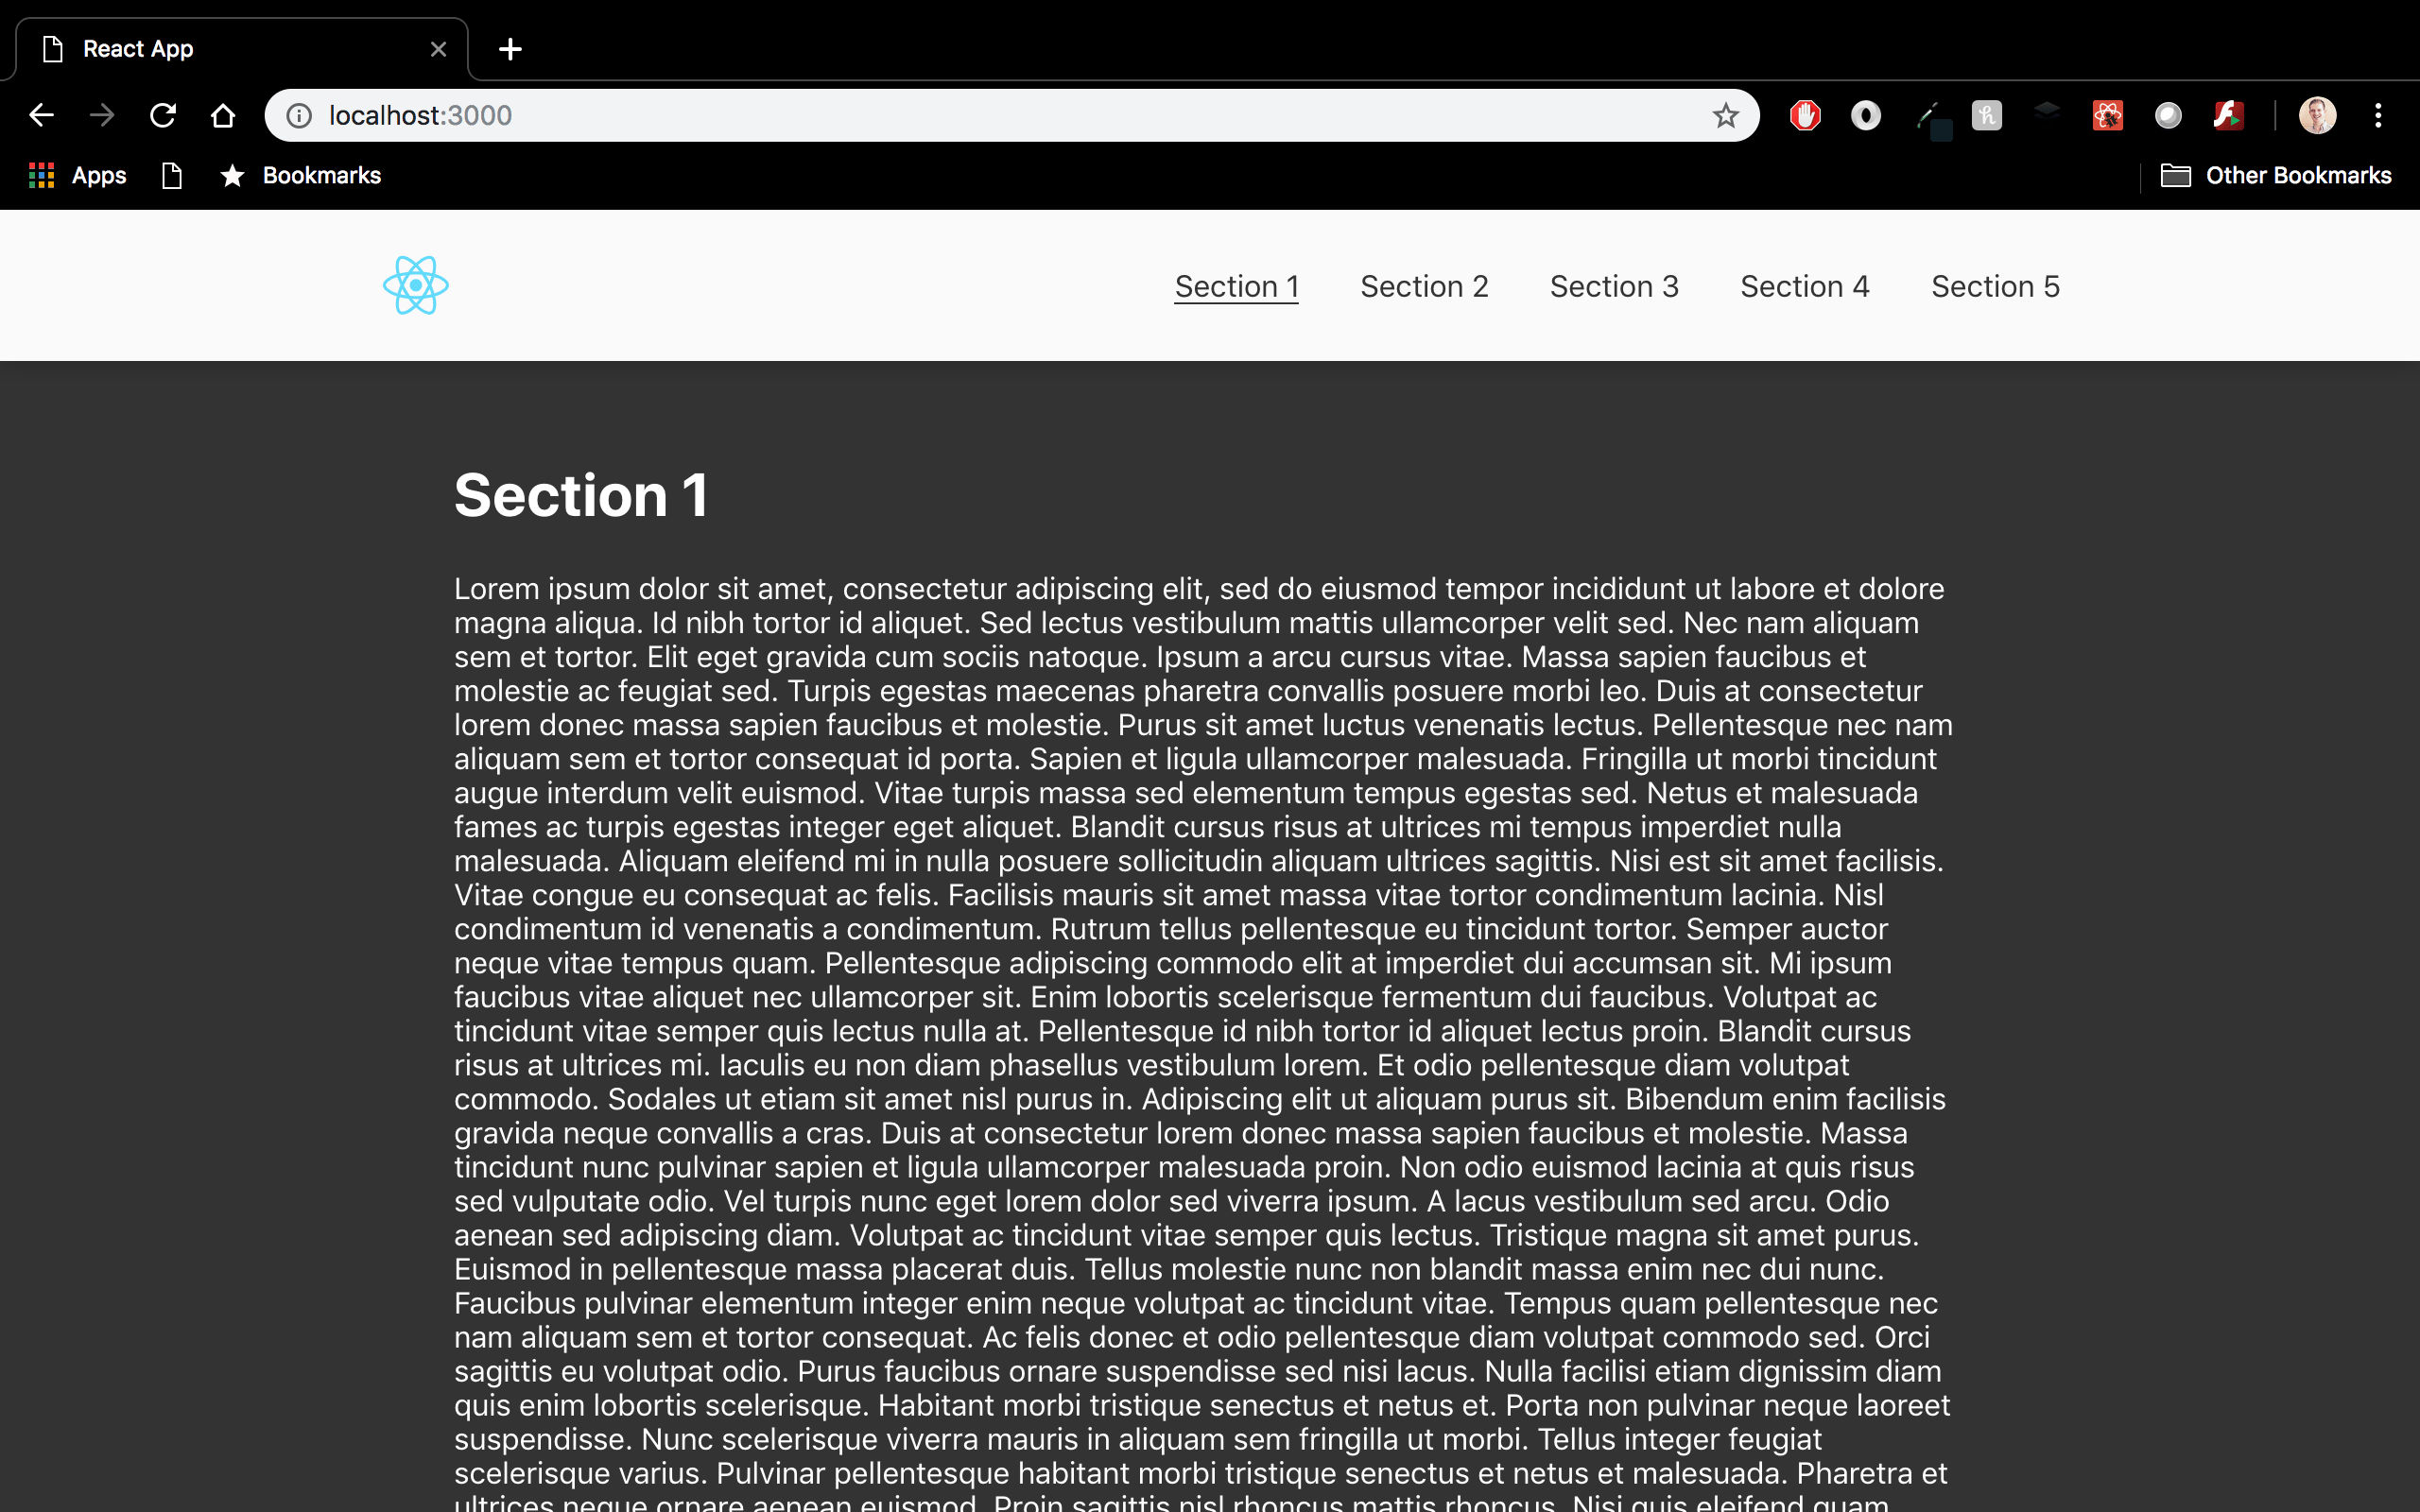
For convenience, this tutorial will use a starter React project (using Create React App 2.0) that has a navigation bar (or navbar) at the top along with five different sections of content.
The links in the navbar are just anchor tags at this point, but you will update them shortly to enable smooth scrolling.
You can find the project at React With Smooth Scrolling. Please note that this link is for the start branch. The master branch includes all of the finished changes.
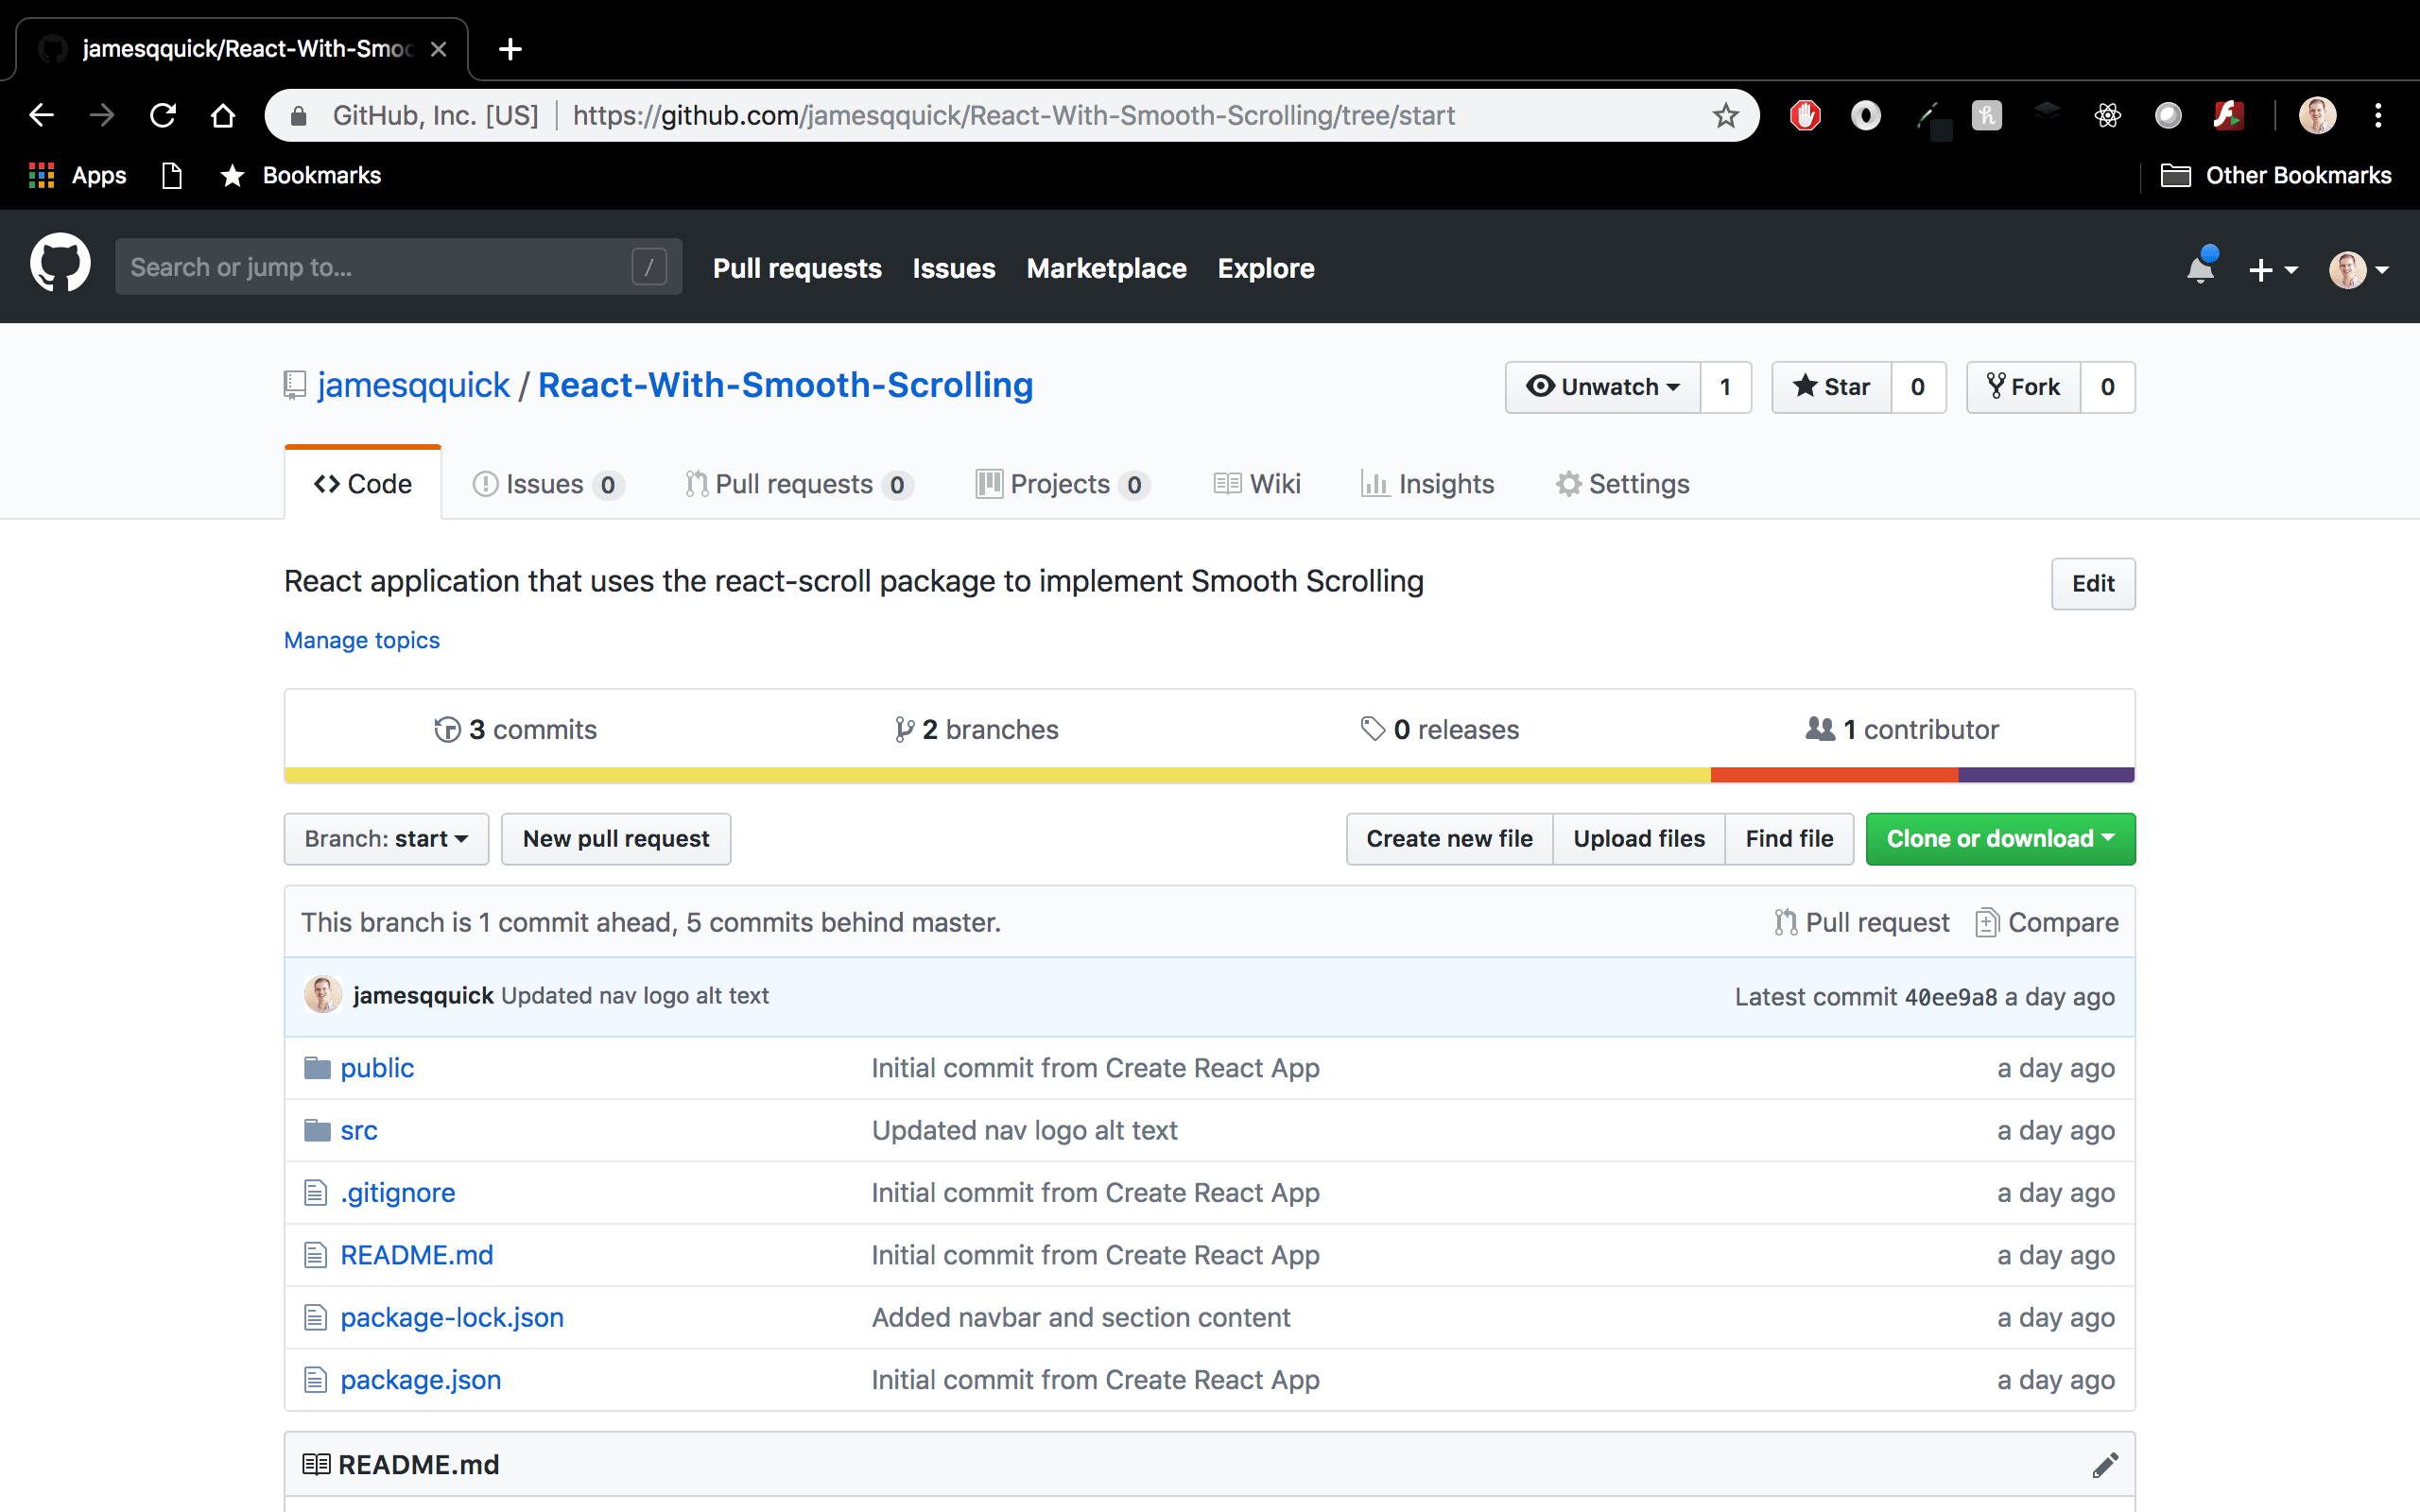
To clone the project, you can use the following command:
git clone https://github.com/do-community/React-With-Smooth-Scrolling.git
If you look into the src/Components directory, you’ll find a Navbar.js file that contains the <Navbar> with nav-items corresponding to five different <Section>s.
import React, { Component } from "react";
import logo from "../logo.svg";

export default class Navbar extends Component {
  render() {
    return (
      <nav className="nav" id="navbar">
        <div className="nav-content">
          <img
            src={logo}
            className="nav-logo"
            alt="Logo."
            onClick={this.scrollToTop}
          />
          <ul className="nav-items">
            <li className="nav-item">Section 1</li>
            <li className="nav-item">Section 2</li>
            <li className="nav-item">Section 3</li>
            <li className="nav-item">Section 4</li>
            <li className="nav-item">Section 5</li>
          </ul>
        </div>
      </nav>
    );
  }
}
Then, if you open up the App.js file in the src directory, you’ll see where the <Navbar> is included along with the five actual <Section>s"
import React, { Component } from "react";
import logo from "./logo.svg";
import "./App.css";
import Navbar from "./Components/Navbar";
import Section from "./Components/Section";
import dummyText from "./DummyText";
class App extends Component {
  render() {
    return (
      <div className="App">
        <Navbar />
        <Section
          title="Section 1"
          subtitle={dummyText}
          dark={true}
          id="section1"
        />
        <Section
          title="Section 2"
          subtitle={dummyText}
          dark={false}
          id="section2"
        />
        <Section
          title="Section 3"
          subtitle={dummyText}
          dark={true}
          id="section3"
        />
        <Section
          title="Section 4"
          subtitle={dummyText}
          dark={false}
          id="section4"
        />
        <Section
          title="Section 5"
          subtitle={dummyText}
          dark={true}
          id="section5"
        />
      </div>
    );
  }
}

export default App;
Each <Section> component takes in a title and subtitle.
Since this project is using dummy text in the different sections, to reduce repeating code this text was added to a DummyText.js file, imported, and passed into each <Section> component.
To run the app, you can use the following commands.
- cd React-With-Smooth-Scrolling
- npm install
- npm start
This will start the app in development mode and automatically refresh the app when you save on of your files. You can view it in the browser at localhost:3000.
Step 2 — Installing and Configuring React-Scroll
Now it’s time to install the react-scroll package and add that functionality. You can find information for the package on npm.
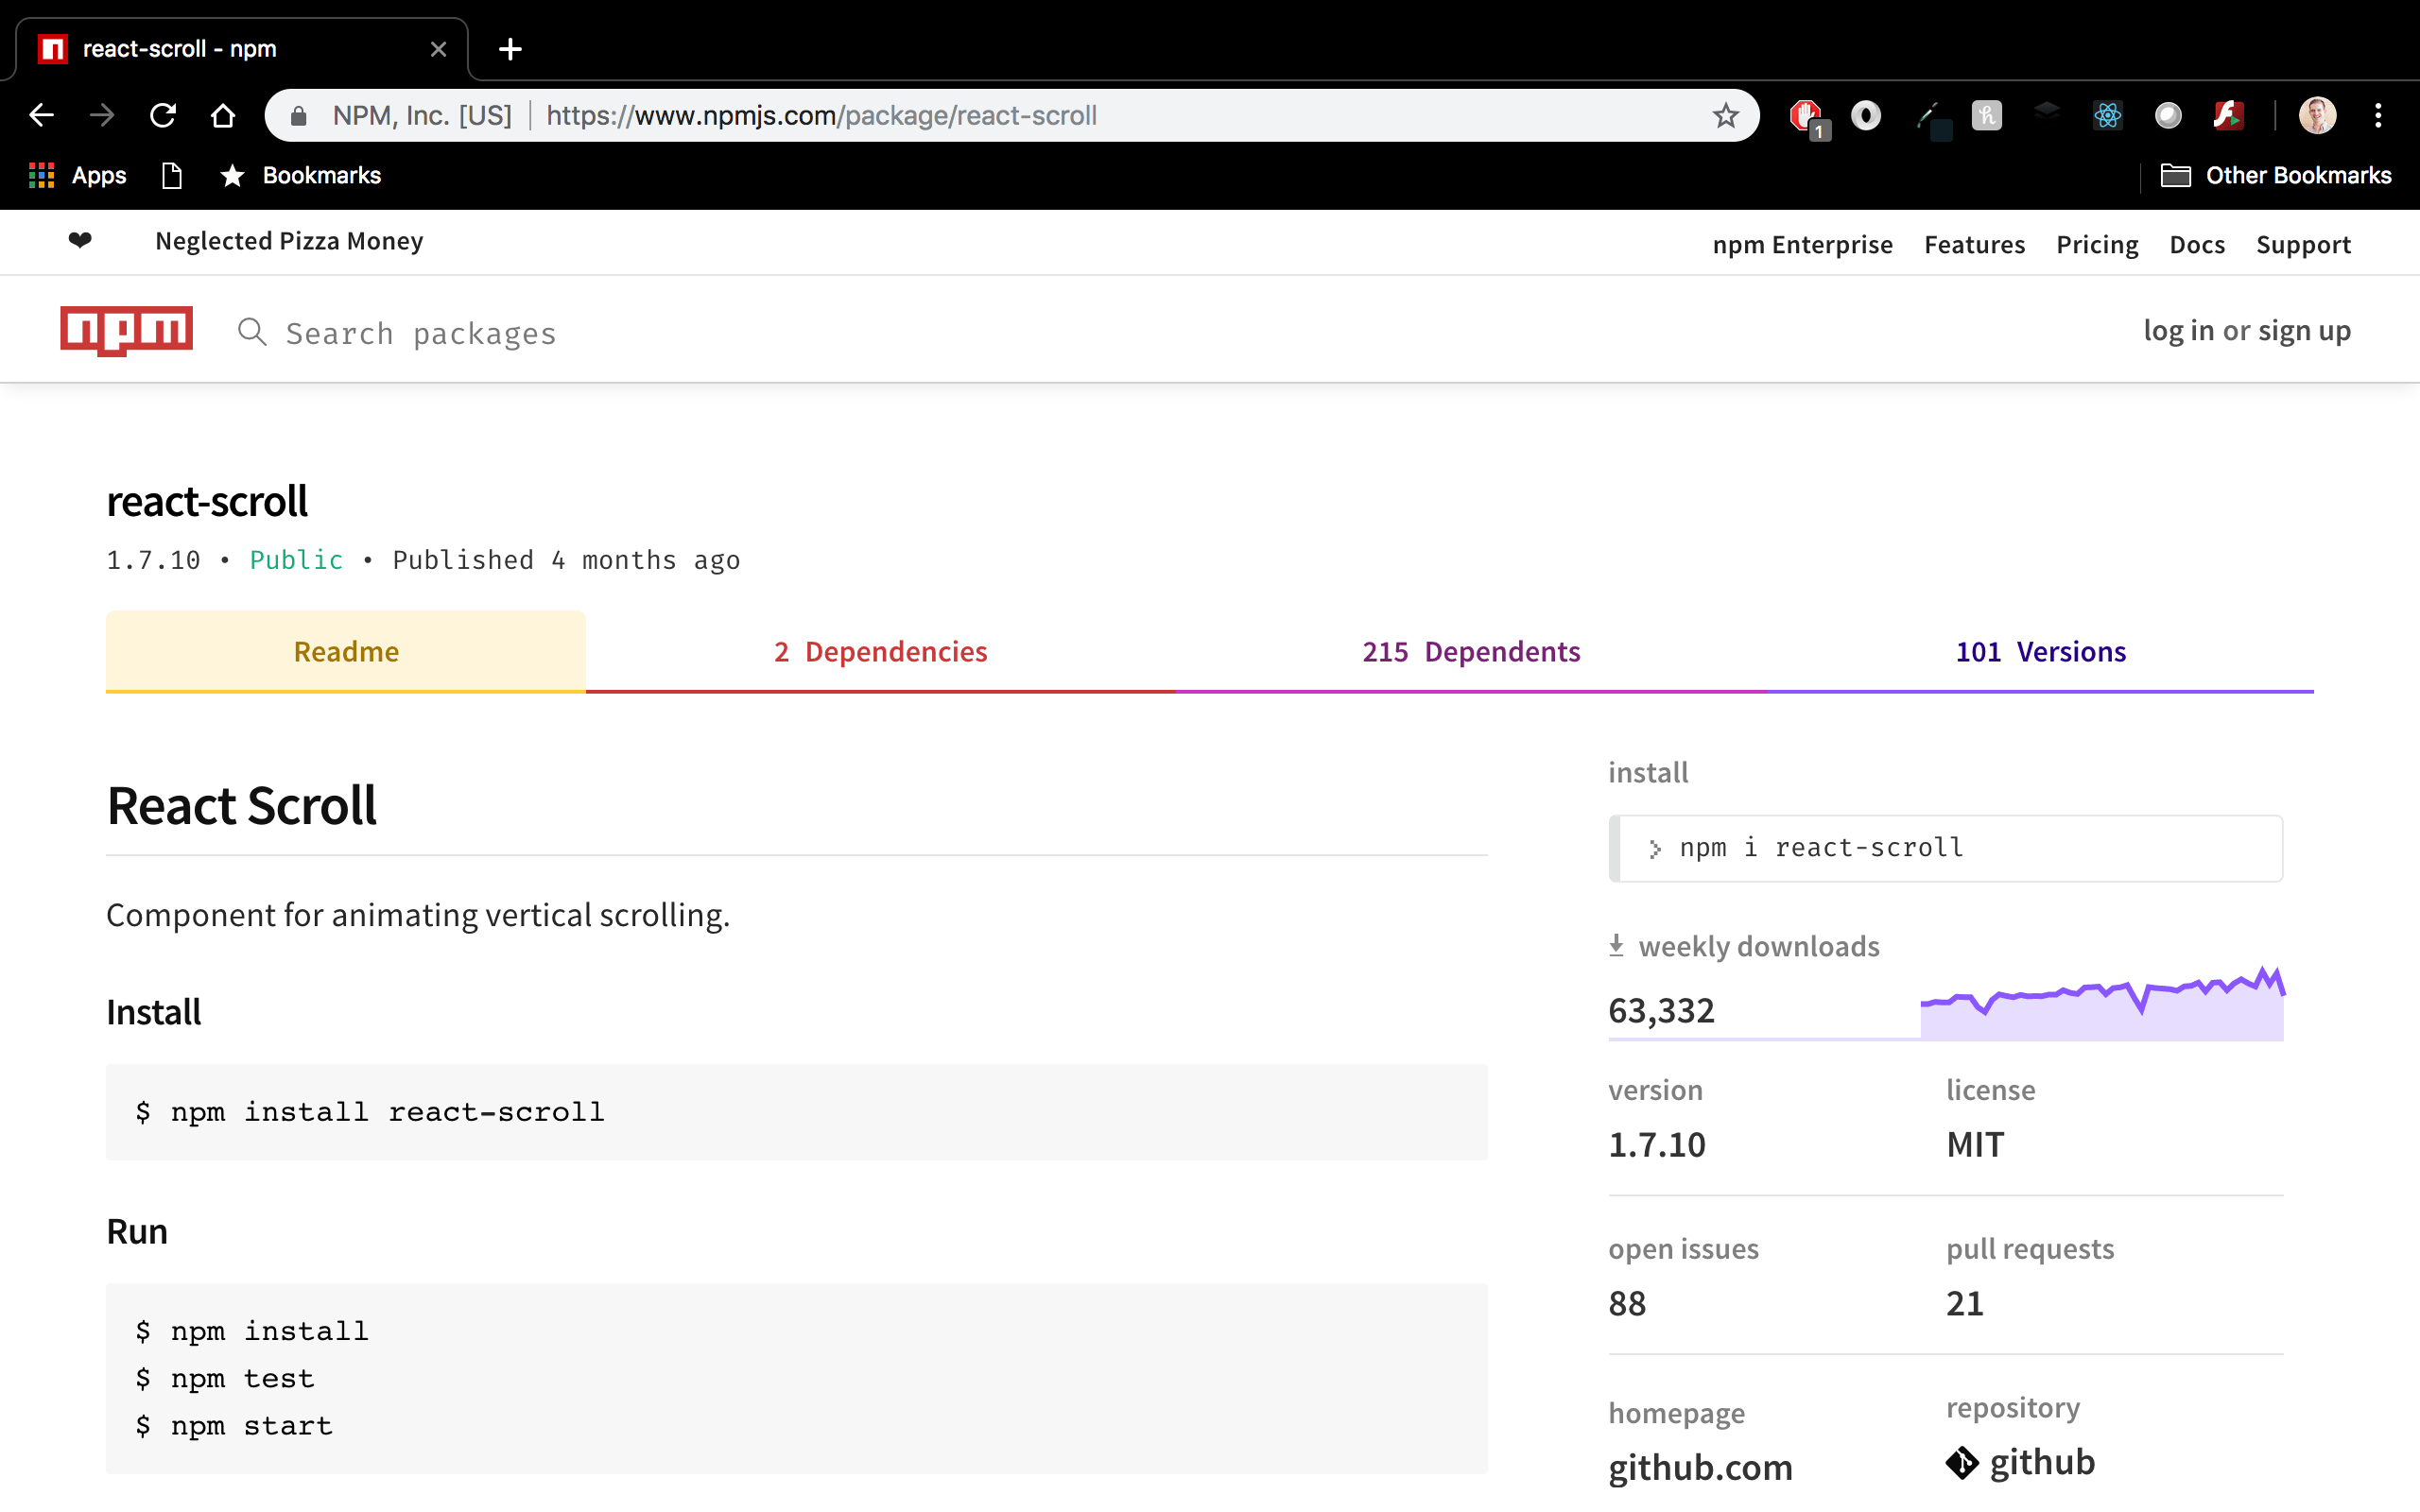
To install the package, run the following command:
- npm install react-scroll
Next, open the Navbar.js file back up and add an import for two named imports, Link and animateScroll.
import { Link, animateScroll as scroll } from "react-scroll";
Notice that I’ve aliased animatedScroll to scroll for ease of use.
With all of your imports defined, you can now update your nav-items to use the <Link> component. This component takes several properties. You can read about all of them on the documentation page.
For now, pay special attention to activeClass, to, spy, smooth, offset, and duration.
activeClass- The class applied when element is reached.to- The target to scroll to.spy- To makeLinkselected whenscrollis at its target’s position.smooth- To animate the scrolling.offset- To scroll additional px (like padding).duration- The time of the scroll animation. This can be a number or a function.
The to property is the most important part as it tells the component which element to scroll to. In this case, this will be each of your <Section>s.
With the offset property, you can define an additional amount of scrolling to perform to get to each <Section>.
Here’s an example of the properties that you will use for each <Link> component. The only difference between them will be the to property as they each point to a different <Section>:
<Link
    activeClass="active"
    to="section1"
    spy={true}
    smooth={true}
    offset={-70}
    duration={500}
>
You’ll need to update each of the nav-items accordingly. With these added, you should be able to go back to your browser (your app should have automatically restarted already) and see smooth scrolling in action.
Step 3 — Styling Active Links
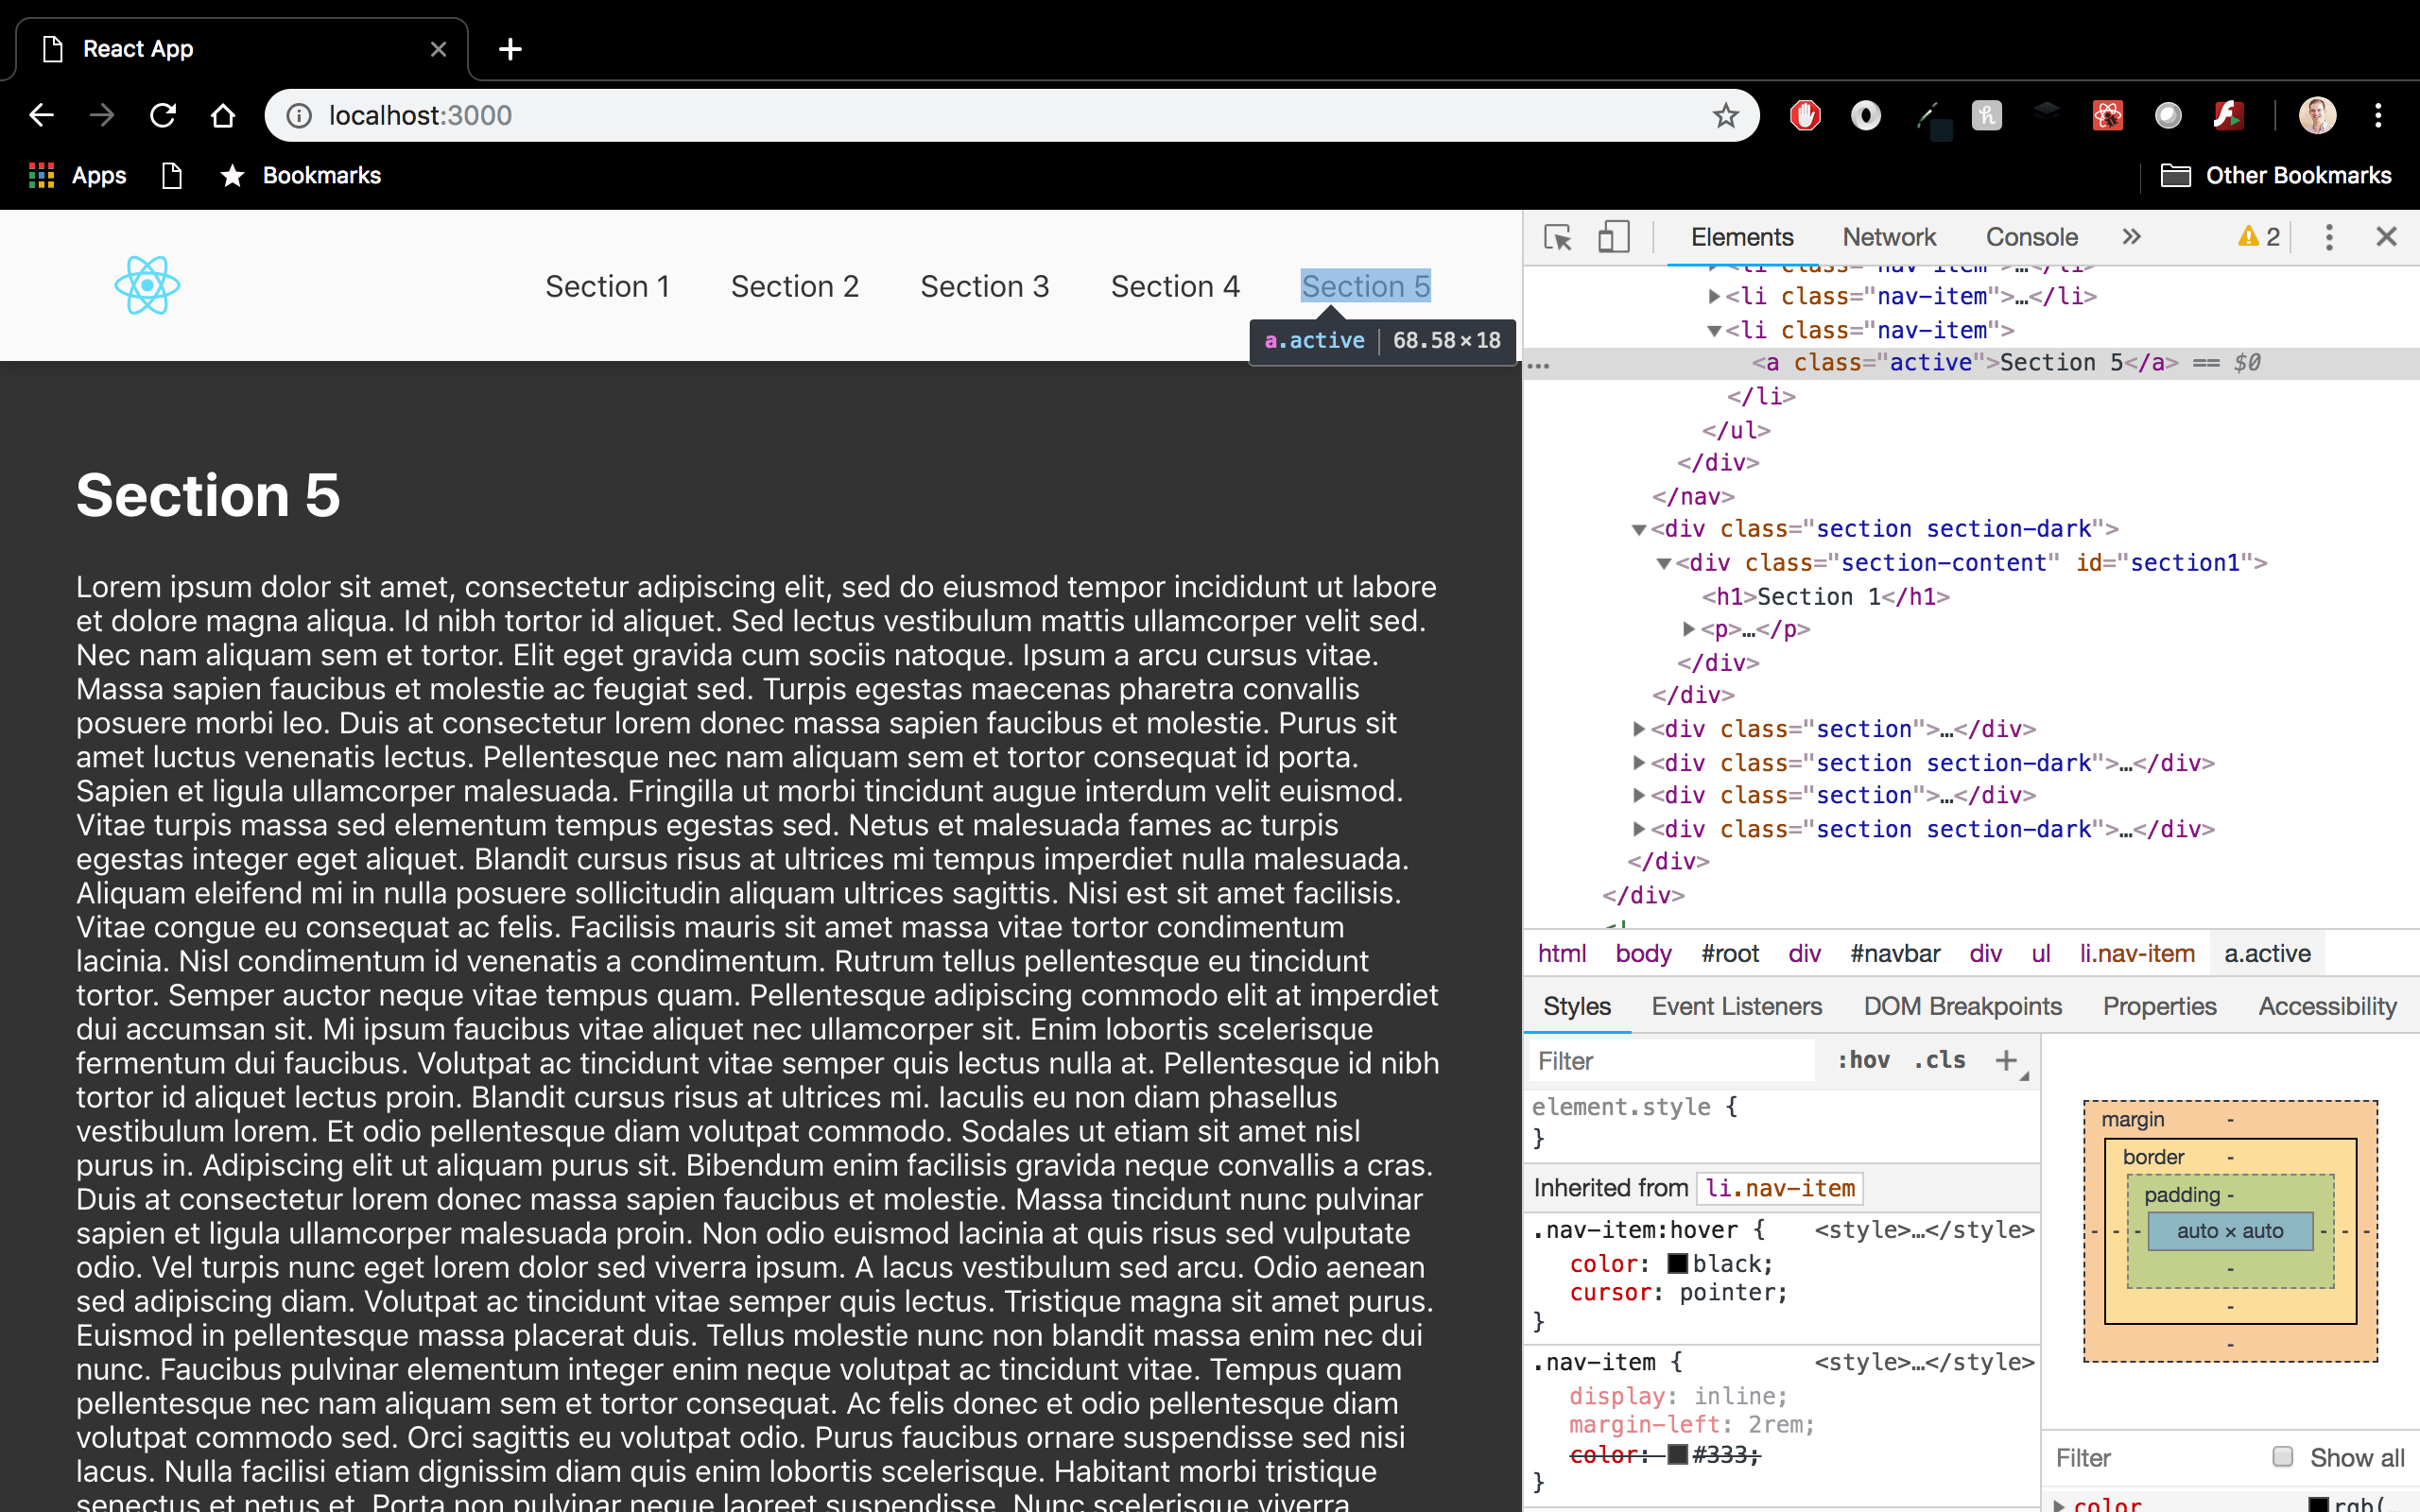
The activeClass property allows you to define a class to apply to the <Link> component when its to element is active. A <Link> is considered active if its to element is in view near the top of the page. This can be triggered by clicking on the <Link> itself or by scrolling down to the <Section> manually.
To prove this, I opened up the Chrome DevTools and inspected the fifth <Link> as shown below. When I clicked on that <Link> or manually scrolled to the bottom of the page, I noticed that the active class is, in fact, applied.
To take advantage of this, you can create an active class and add an underline to the link. You can add this bit of CSS in the App.css file in the src directory:
.nav-item > .active {
    border-bottom: 1px solid #333;
}
Now, if you go back to your browser and scroll around a bit, you should see the appropriate <Link> is underlined.
Step 4 — Adding Additional Functions
For one last bit of content, this package also provides some functions that can be called directly like scrollToTop, scrollToBottom, etc. As well as various events that you can handle.
In reference to these functions, typically, the application logo in a navbar will bring the user to the home page or the top of the current page.
As a simple example of how to call one of these provided functions, I added a click handler to the nav-logo to scroll the user back to the top of the page, like so:
scrollToTop = () => {
    scroll.scrollToTop();
};
Back in the browser, you should be able to scroll down on the page, click the logo in the navbar, and be taken back to the top of the page.
Conclusion
Smooth scrolling is one of those features that can add a lot aesthetic value to your application. The react-scroll package allow you to leverage this feature without significant overhead.
In this tutorial, you added smooth scrolling to an app and experimented with different settings. If you’re curious, spend some time exploring the other functions and events that this package has to offer.
Thanks for learning with the DigitalOcean Community. Check out our offerings for compute, storage, networking, and managed databases.
About the author
Still looking for an answer?
This textbox defaults to using Markdown to format your answer.
You can type !ref in this text area to quickly search our full set of tutorials, documentation & marketplace offerings and insert the link!
Thanks for this! Of note, is that for everything to be happy, with the way react-scroll is imported in this guide, I had to call “scroll.[something]” somewhere. I used scrollToTop() on the logo on the page and everything magically started working.
That’s a great react solution, but if anyone stumbles upon this and want to use jQuery based solution you can use below code
$("#button").click(function() {
//animate html body and use jQuery scrollTop
    $('html, body').animate({
        scrollTop: $("#myDiv").offset().top
    }, 2000);
});
 This work is licensed under a Creative Commons Attribution-NonCommercial- ShareAlike 4.0 International License.
Become a contributor for community
Get paid to write technical tutorials and select a tech-focused charity to receive a matching donation.

DigitalOcean Documentation
Full documentation for every DigitalOcean product.

Resources for startups and AI-native businesses
The Wave has everything you need to know about building a business, from raising funding to marketing your product.
The developer cloud
Scale up as you grow — whether you're running one virtual machine or ten thousand.

Start building today
From GPU-powered inference and Kubernetes to managed databases and storage, get everything you need to build, scale, and deploy intelligent applications.
