- Log in to:
- Community
- DigitalOcean
- Sign up for:
- Community
- DigitalOcean
By Bulat Khamitov
Not using CentOS 6?
Choose a different version or distribution.
Status: Deprecated
This article covers a version of CentOS that is no longer supported. If you are currently operating a server running CentOS 6, we highly recommend upgrading or migrating to a supported version of CentOS.
Reason: CentOS 6 reached end of life (EOL) on November 30th, 2020 and no longer receives security patches or updates. For this reason, this guide is no longer maintained.
See Instead:
This guide might still be useful as a reference, but may not work on other CentOS releases. If available, we strongly recommend using a guide written for the version of CentOS you are using.
Step 1 - Spin up a CentOS 6.3 x64 droplet

Step 2 - Install Squid
yum -y install squid
chkconfig squid on
Step 3 - Setup Access Restrictions
Since this Squid proxy would allow anyone using it to make connections from your droplet's IP address, you would want to restrict access to it.
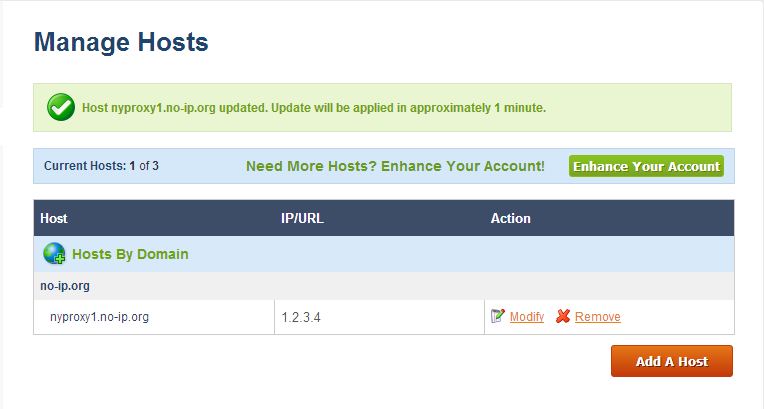
You can register a free dynamic IP from services like noip.com

If you would like to use this Squid proxy from your phone, you would have to install a dynamic DNS update client.
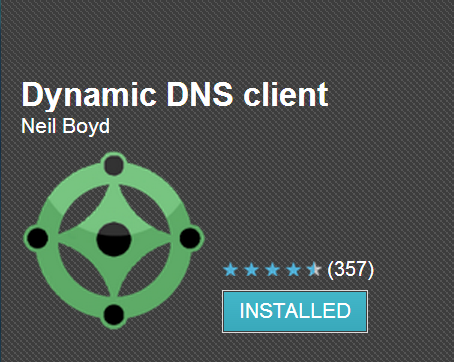
You can use applications like Dynamic DNS Client for Android, or FreeDynPro for iOS.

Once you have a dynamic IP hostname, you can update it from your router at home, mobile device, or an API call.
This hostname should be added to /etc/squid/squid.conf. Edit the file and add your hostname (nyproxy1.no-ip.org in our case):
acl localnet src nyproxy1.no-ip.org
Setup a crontab that reloads Squid every hour, in case your IP address changes:
echo 0 */1 * * * service squid reload >> /var/spool/cron/root
Step 4 - Configure Squid Proxy
By default, Squid listens on port 3128. If you would like to use a different port, modify /etc/squid/squid.conf
http_port 3128
If you would like to browse through this Squid proxy and not have it detected as a proxy, setup anonymous settings by adding these lines to /etc/squid/squid.conf:
via off
forwarded_for off

request_header_access Allow allow all
request_header_access Authorization allow all
request_header_access WWW-Authenticate allow all
request_header_access Proxy-Authorization allow all
request_header_access Proxy-Authenticate allow all
request_header_access Cache-Control allow all
request_header_access Content-Encoding allow all
request_header_access Content-Length allow all
request_header_access Content-Type allow all
request_header_access Date allow all
request_header_access Expires allow all
request_header_access Host allow all
request_header_access If-Modified-Since allow all
request_header_access Last-Modified allow all
request_header_access Location allow all
request_header_access Pragma allow all
request_header_access Accept allow all
request_header_access Accept-Charset allow all
request_header_access Accept-Encoding allow all
request_header_access Accept-Language allow all
request_header_access Content-Language allow all
request_header_access Mime-Version allow all
request_header_access Retry-After allow all
request_header_access Title allow all
request_header_access Connection allow all
request_header_access Proxy-Connection allow all
request_header_access User-Agent allow all
request_header_access Cookie allow all
request_header_access All deny all
Step 5 - Start Squid proxy service
service squid start
Step 6 - Modify your browser's proxy settings
Add your droplet's IP address and port to your browser's proxy settings.
Step 7 - Verify Squid proxy works
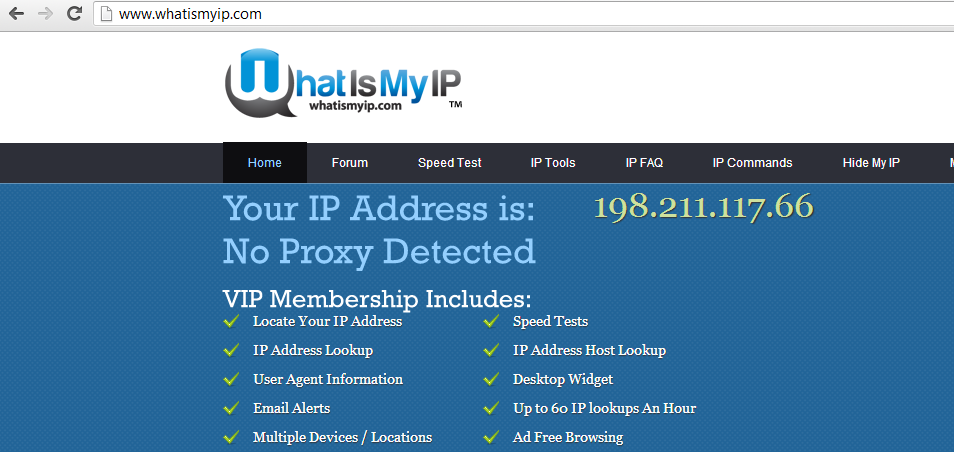
Navigate over to whatismyip.com

And you are all done!
Thanks for learning with the DigitalOcean Community. Check out our offerings for compute, storage, networking, and managed databases.
Still looking for an answer?
This textbox defaults to using Markdown to format your answer.
You can type !ref in this text area to quickly search our full set of tutorials, documentation & marketplace offerings and insert the link!
Hi, I’ve got problem with this. I’d like to browse internet using proxy on docean VPS. However my real ip address is static I used it instead of hostname in your configuration like acl localnet src xxx.xxx.xxx.xxx . Other stuff I’ve kept as it is. After I configured my browser and tried to open web page, but instead of page I see proxy warning message which says “Access Denied”. Any suggestions?
when i access internet with firefox with my proxy it says
Access control configuration prevents your request from being allowed at this time. Please contact your service provider if you feel this is incorrect.
@proxyjatt: What’s the output of <pre>cat /etc/squid/squid.conf | curl -F ‘sprunge=<-’ http://sprunge.us</pre>?
@celson.simon: Are you experiencing the same problem as @proxyjatt? Whose IP is 177.34.208.118?
- Table of contents
Deploy on DigitalOcean
Click below to sign up for DigitalOcean's virtual machines, Databases, and AIML products.
Become a contributor for community
Get paid to write technical tutorials and select a tech-focused charity to receive a matching donation.
DigitalOcean Documentation
Full documentation for every DigitalOcean product.
Resources for startups and SMBs
The Wave has everything you need to know about building a business, from raising funding to marketing your product.
Get our newsletter
Stay up to date by signing up for DigitalOcean’s Infrastructure as a Newsletter.
New accounts only. By submitting your email you agree to our Privacy Policy
The developer cloud
Scale up as you grow — whether you're running one virtual machine or ten thousand.
Get started for free
Sign up and get $200 in credit for your first 60 days with DigitalOcean.*
*This promotional offer applies to new accounts only.
