
Hello, readers! In this article, we will be focusing on Building an Apache Web Server through a Dockerfile.
So, let us begin!
What is Apache Server?
Apache Server is an open source web server to configure and host the web applications online and locally as well using localhost as the medium.
It requires a lot of configuration when one wishes to set up an Apache server on the workstation.
To reduce this over, Docker has introduced the concept of Dockerfile to build and set up configurations easily.
In the course of this topic, we will be setting up Apache server on our systems with just minimal steps to work with.
Apache Server through a Dockerfile
We need to follow the below steps to set up an Apache Server through a Dockerfile:
- Create a directory for all the files related to Apache set up
- Create a Dockerfile
- Build an image over the Dockerfile and tag the same for convenience
- Run the Apache server as a container
Step 1: Create a directory for Apache server files
At first, we make use of the mkdir command to create a directory specifically for all the Apache-related files.
- mkdir apache_folder
Step 2: Building a Dockerfile
Having created a folder, now we go ahead and create a Dockerfile within that folder with the vi editor:
- vi Dockerfile
As soon as we execute the previous command, a vi editor opens. Paste the following content in the Dockerfile:
- FROM ubuntu
- RUN apt update
- RUN apt install –y apache2
- RUN apt install –y apache2-utils
- RUN apt clean
- EXPOSE 80
- CMD [“apache2ctl”, “-D”, “FOREGROUND”]
To exit the editor, press ESC then :<wq! then Enter.
Step 3: Tag and build the Docker image
Now, we build the Dockerfile using the docker build command. Within which, we tag the image to be created as 1.0 and give a customized name to our image (i.e., apache_image).
- docker build -t apache_image:1.0 .
Once the image has been built, we should check for the presence of the image using docker images command.
The docker images command gives us a list of all the images that are built or pulled from any public/private registry.
- docker images
- REPOSITORY TAG IMAGE ID CREATED SIZE
- apache_image 1.0 a738dbef66ef 15 seconds ago 133MB
Step 4: Run the Docker image as a container
Once the image has been built, run the image as a container locally:
- We run the container in detached mode so that it runs continuously in the background. Include
-din thedocker runcommand. - In order to host the Apache server, we provide port
80(HTTP) for the same. Make use of-p 80:80to have the server running onlocalhost.
Thus, the docker run command also takes the image along with the associated tag as input to run it as a container.
- docker run --name myapache -d -p 80:80 apache_image:1.0
docker ps
CONTAINER ID        IMAGE               COMMAND                  CREATED             STATUS              PORTS                NAMES
443848c30b74        apache_image:1.0     "/docker-entrypoint.…"   7 seconds ago       Up 6 seconds        0.0.0.0:80->80/tcp   myapache
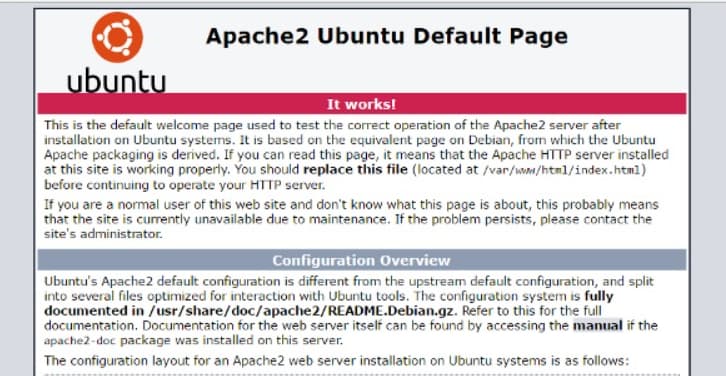
Step 5: Review the online presence of Apache Server
In order to test the presence of Apache server on the system, visit any local browser and type localhost:
Conclusion
By this, we have come to the end of this topic. Feel free to comment in case you come across any questions.
For more such posts related to Docker, Stay tuned with us.
Do let us know your experience in setting up the Apache Server on your workstations in the comment box.
Till then, Happy Learning!
Thanks for learning with the DigitalOcean Community. Check out our offerings for compute, storage, networking, and managed databases.
About the author
Still looking for an answer?
 This work is licensed under a Creative Commons Attribution-NonCommercial- ShareAlike 4.0 International License.
Become a contributor for community
Get paid to write technical tutorials and select a tech-focused charity to receive a matching donation.

DigitalOcean Documentation
Full documentation for every DigitalOcean product.

Resources for startups and AI-native businesses
The Wave has everything you need to know about building a business, from raising funding to marketing your product.
The developer cloud
Scale up as you grow — whether you're running one virtual machine or ten thousand.

Start building today
From GPU-powered inference and Kubernetes to managed databases and storage, get everything you need to build, scale, and deploy intelligent applications.
