By Jonatas Baldin and Timothy Nolan

The author selected Girls Who Code to receive a donation as part of the Write for DOnations program.
Introduction
GraphQL is an API standard created and open-sourced by Facebook as an alternative to REST APIs. As opposed to REST APIs, GraphQL uses a typed system to define its data structure, where all the information sent and received must be compliant to a pre-defined schema. It also exposes a single endpoint for all communication instead of multiple URLs for different resources and solves the overfetching issue by returning only the data asked for by the client, thereby generating smaller and more concise responses.
In this tutorial you will create a backend for a URL shortener—a service that takes any URL and generates a shorter, more readable version—while diving into GraphQL concepts, like queries and mutations, and tools, like the GraphiQL interface. You may already have used such services before, like bit.ly.
Since GraphQL is a language agnostic technology, it is implemented on top of various languages and frameworks. Here, you will use the general purpose Python programming language, the Django web framework, and the Graphene-Django library as the GraphQL Python implementation with specific integrations for Django.
Prerequisites
-
To continue with this tutorial, you’ll need Python version 3.5 or higher installed on your development machine. To install Python, follow our tutorial on How To Install and Set Up a Local Programming Environment for Python 3 for your OS. Make sure to also create and start a virtual environment; to follow the lead of this tutorial, you can name your project directory
shorty. -
An entry-level knowledge of Django is desired, but not mandatory. If you are curious, you can follow this Django Development series created by the DigitalOcean community.
Step 1 — Setting Up the Django Project
In this step, you will be installing all the necessary tools for the application and setting up your Django project.
Once you have created your project directory and started your virtual environment, as covered in the prerequisites, install the necessary packages using pip, the Python package manager. This tutorial will install Django version 2.1.7 and Graphene-Django version 2.2.0 or higher:
- pip install "django==2.1.7" "graphene-django>==2.2.0"
You now have all the tools needed in your tool belt. Next, you will create a Django project using the django-admin command. A project is the default Django boilerplate—a set of folders and files with everything necessary to start the development of a web application. In this case, you will call your project shorty and create it inside your current folder by specifying the . at the end:
- django-admin startproject shorty .
After creating your project, you will run the Django migrations. These files contain Python code generated by Django and are responsible for changing the application’s structure according to the Django models. Changes might include the creation of a table, for example. By default, Django comes with its own set of migrations responsible for subsystems like Django Authentication, so it is necessary to execute them with the following command:
- python manage.py migrate
This command uses the Python interpreter to invoke a Django script called manage.py, responsible for managing different aspects of your project, like creating apps or running migrations.
This will give output similar to the following:
OutputOperations to perform:
  Apply all migrations: admin, auth, contenttypes, sessions
Running migrations:
  Applying contenttypes.0001_initial... OK
  Applying auth.0001_initial... OK
  Applying admin.0001_initial... OK
  Applying admin.0002_logentry_remove_auto_add... OK
  Applying admin.0003_logentry_add_action_flag_choices... OK
  Applying contenttypes.0002_remove_content_type_name... OK
  Applying auth.0002_alter_permission_name_max_length... OK
  Applying auth.0003_alter_user_email_max_length... OK
  Applying auth.0004_alter_user_username_opts... OK
  Applying auth.0005_alter_user_last_login_null... OK
  Applying auth.0006_require_contenttypes_0002... OK
  Applying auth.0007_alter_validators_add_error_messages... OK
  Applying auth.0008_alter_user_username_max_length... OK
  Applying auth.0009_alter_user_last_name_max_length... OK
  Applying sessions.0001_initial... OK
Once Django’s database is ready to go, start its local development server:
- python manage.py runserver
This will give:
OutputPerforming system checks...

System check identified no issues (0 silenced).
March 18, 2020 - 15:46:15
Django version 2.1.7, using settings 'shorty.settings'
Starting development server at http://127.0.0.1:8000/
Quit the server with CONTROL-C.
This command will take away the prompt in your terminal and start the server.
Visit the http://127.0.0.1:8000 page in your local browser. You will see this page:

To stop the server and return to your terminal, press CTRL+C. Whenever you need to access the browser, make sure the preceding command is running.
Next, you will finish this step by enabling the Django-Graphene library in the project. Django has the concept of app, a web application with a specific responsibility. A project is composed of one or multiple apps. For now, open the shorty/settings.py file in your text editor of choice. This tutorial will be using vim:
- vim shorty/settings.py
The settings.py file manages all the settings in your project. Inside it, search for the INSTALLED_APPS entry and add the 'graphene_django' line:
...
INSTALLED_APPS = [
    'django.contrib.admin',
    'django.contrib.auth',
    'django.contrib.contenttypes',
    'django.contrib.sessions',
    'django.contrib.messages',
    'django.contrib.staticfiles',
    'graphene_django',
]
...
This addition tells Django that you will be using an app called graphene_django, which you installed in Step 1.
At the bottom of the file, add the following variable:
...
GRAPHENE = {
    'SCHEMA': 'shorty.schema.schema',
}
This last variable points to your main Schema, which you will create later. In GraphQL, a Schema contains all the object types, such as Resources, Queries, and Mutations. Think of it as documentation representing all the data and functionality available in your system.
After the modifications, save and close the file.
Now you have configured the Django project. In the next step, you will create a Django app and its Models.
Step 2 — Setting Up a Django App and Models
A Django platform is usually composed of one project and many applications or apps. An app describes a set of features inside a project, and, if well-designed, can be reused across Django projects.
In this step, you will create an app called shortener, responsible for the actual URL shortening feature. To create its basic skeleton, type the next command in your terminal:
- python manage.py startapp shortener
Here you used the parameters startapp app_name, instructing manage.py to create an app named shortener.
To finish the app creation, open the shorty/settings.py file
- vim shorty/settings.py
Add the app’s name to the same INSTALLED_APPS entry you modified before:
...
INSTALLED_APPS = [
    'django.contrib.admin',
    'django.contrib.auth',
    'django.contrib.contenttypes',
    'django.contrib.sessions',
    'django.contrib.messages',
    'django.contrib.staticfiles',
    'graphene_django'
    'shortener',
]
...
Save and close the file.
With your shortener added to shorty/settings.py, you can move on to creating the models for your project. Models are one of the key features in Django. They are used to represent a database in a “Pythonic” way, allowing you to manage, query, and store data using Python code.
Before opening the models.py file for changes, this tutorial will give an overview of the changes you will make.
Your model file—shortener/models.py—will contain the following content once you have replaced the existing code:
from hashlib import md5

from django.db import models
Here you will import the required packages needed by your code. You will add the line from hashlib import md5 at the top to import the Python standard library that will be used to create a hash of the URL. The from django.db import models line is a Django helper for creating models.
Warning: This tutorial refers to hash as the result of a function that takes an input and always returns the same output. This tutorial will be using the MD5 hash function for demonstration purposes.
Note that MD5 has collision issues and should be avoided in production.
Next, you will add a Model named URL with the following fields:
full_url: the URL to be shortened.url_hash: a short hash representing the full URL.clicks: how many times the short URL was accessed.created_at: the date and time at which the URL was created.
...

class URL(models.Model):
    full_url = models.URLField(unique=True)
    url_hash = models.URLField(unique=True)
    clicks = models.IntegerField(default=0)
    created_at = models.DateTimeField(auto_now_add=True)
You will generate the url_hash by applying the MD5 hash algorithm to the full_url field and using just the first 10 characters returned during the Model’s save() method, executed every time Django saves an entry to the database. Additionally, URL shorteners usually track how many times a link was clicked. You will achieve this by calling the method clicked() when the URL is visited by a user.
The operations mentioned will be added inside your URL model with this code:
...

    def clicked(self):
        self.clicks += 1
        self.save()

    def save(self, *args, **kwargs):
        if not self.id:
            self.url_hash = md5(self.full_url.encode()).hexdigest()[:10]

        return super().save(*args, **kwargs)
Now that you’ve reviewed the code, open the shortener/models.py file:
- vim shortener/models.py
Replace the code with the following content:
from hashlib import md5

from django.db import models


class URL(models.Model):
    full_url = models.URLField(unique=True)
    url_hash = models.URLField(unique=True)
    clicks = models.IntegerField(default=0)
    created_at = models.DateTimeField(auto_now_add=True)

    def clicked(self):
        self.clicks += 1
        self.save()

    def save(self, *args, **kwargs):
        if not self.id:
            self.url_hash = md5(self.full_url.encode()).hexdigest()[:10]

        return super().save(*args, **kwargs)
Be sure to save and close the file.
To apply these changes in the database, you will need to create the migrations by running the following command:
- python manage.py makemigrations
This will give you the following output:
OutputMigrations for 'shortener':
  shortener/migrations/0001_initial.py
    - Create model URL
Then execute the migrations:
- python manage.py migrate
You will see the following output in your terminal:
OutputOperations to perform:
  Apply all migrations: admin, auth, contenttypes, sessions, shortener
Running migrations:
  Applying shortener.0001_initial... OK
Now that you’ve set up the models, in the next step you will create the GraphQL endpoint and a Query.
Step 3 — Creating Queries
The REST architecture exposes different resources in different endpoints, each one containing a well-defined data structure. For example, you may fetch a users’ list at /api/users, always expecting the same fields. GraphQL, on the other hand, has a single endpoint for all interactions, and uses Queries to access data. The main—and most valuable—difference is that you can use a Query to retrieve all your users within a single request.
Start by creating a Query to fetch all URLs. You will need a couple of things:
- A URL type, linked to your previously defined model.
- A Query statement named
urls. - A method to resolve your Query, meaning to fetch all URLs from the database and return them to the client.
Create a new file called shortener/schema.py:
- vim shortener/schema.py
Start by adding the Python import statements:
import graphene
from graphene_django import DjangoObjectType

from .models import URL
The first line imports the main graphene library, which contains the base GraphQL types, like List. The DjangoObjectType is a helper to create a Schema definition from any Django model, and the third line imports your previously create URL model.
After that, create a new GraphQL type for the URL model by adding the following lines:
...
class URLType(DjangoObjectType):
    class Meta:
        model = URL
Finally, add these lines to create a Query type for the URL model:
...
class Query(graphene.ObjectType):
    urls = graphene.List(URLType)

    def resolve_urls(self, info, **kwargs):
        return URL.objects.all()
This code creates a Query class with one field named urls, which is a list of the previously defined URLType. When resolving the Query through the resolve_urls method, you return all the URLs stored in the database.
The full shortener/schema.py file is shown here:
import graphene
from graphene_django import DjangoObjectType

from .models import URL


class URLType(DjangoObjectType):
    class Meta:
        model = URL


class Query(graphene.ObjectType):
    urls = graphene.List(URLType)

    def resolve_urls(self, info, **kwargs):
        return URL.objects.all()
Save and close the file.
All the Queries must now be added to the main Schema. Think of it as a holder for all your resources.
Create a new file in the shorty/schema.py path and open it with your editor:
- vim shorty/schema
Import the following Python packages by adding the following lines. The first one, as already mentioned, contains the base GraphQL types. The second line imports the previously created Schema file.
import graphene

import shortener.schema
Next, add the main Query class. It will hold, via inheritance, all the Queries and future operations created:
...
class Query(shortener.schema.Query, graphene.ObjectType):
    pass
Lastly, create the schema variable:
...
schema = graphene.Schema(query=Query)
The SCHEMA setting you defined in Step 2 points to the schema variable you’ve just created.
The full shorty/schema.py file is shown here:
import graphene

import shortener.schema


class Query(shortener.schema.Query, graphene.ObjectType):
    pass

schema = graphene.Schema(query=Query)
Save and close the file.
Next, enable the GraphQL endpoint and the GraphiQL interface, which is a graphical web interface used to interact with the GraphQL system.
Open the shorty/urls.py file:
- vim shorty/urls.py
For learning purposes, delete the file contents and save it, so that you can start from scratch.
The first lines you will add are Python import statements:
from django.urls import path
from django.views.decorators.csrf import csrf_exempt

from graphene_django.views import GraphQLView
The path function is used by Django to create an accessible URL for the GraphiQL interface. Following it, you import the csrf_exempt, which allows clients to send data to the server. A complete explanation can be found in the Graphene Documentation. In the last line, you imported the actual code responsible for the interface via GraphQLView.
Next, create a variable named urlpatterns.
...
urlpatterns = [
    path('graphql/', csrf_exempt(GraphQLView.as_view(graphiql=True))),
]
This will stitch together all the code necessary to make the GraphiQL interface available in the graphql/ path:
The full shortener/urls.py file is shown here:
from django.urls import path
from django.views.decorators.csrf import csrf_exempt

from graphene_django.views import GraphQLView

urlpatterns = [
    path('graphql/', csrf_exempt(GraphQLView.as_view(graphiql=True))),
]
Save the file and close it.
Back in the terminal, run the python manage.py runserver command (if not running already):
- python manage.py runserver
Open your web browser at the http://localhost:8000/graphql address. You will be presented with this screen:
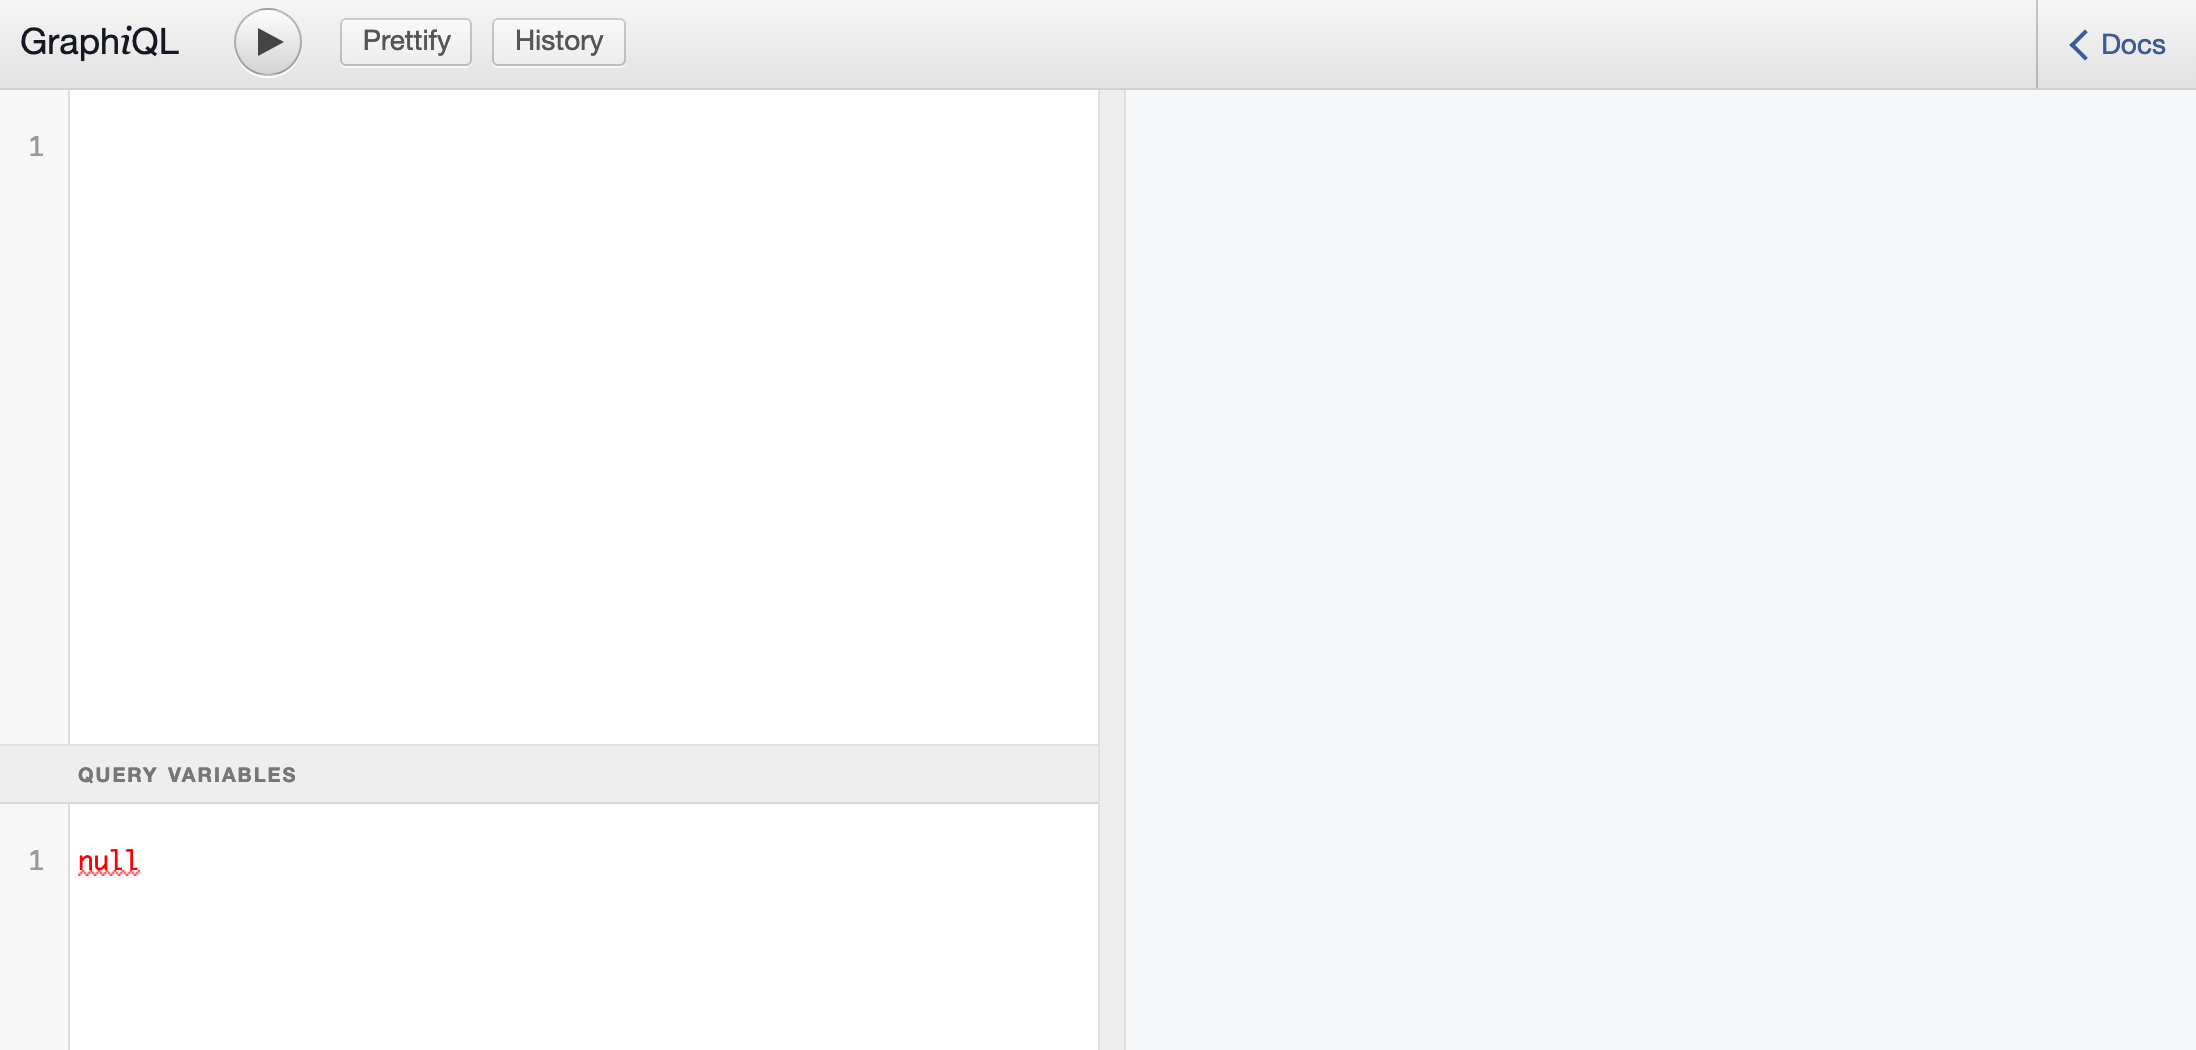
The GraphiQL is an interface where you can run GraphQL statements and see the results. One feature is the Docs section on the top right. Since everything in GraphQL is typed, you get free documentation about all your Types, Queries, Mutations, etc.
After exploring the page, insert your first Query on the main text area:
query {
  urls {
    id
    fullUrl
    urlHash
    clicks
    createdAt
  }
}
This content shows how a GraphQL Query is structured: First, you use the keyword query to tell the server that you only want some data back. Next, you use the urls field defined in the shortener/schema.py file inside the Query class. From that, you explicitly request all the fields defined in the URL model using camel case-style, which is the default for GraphQL.
Now, click on the play arrow button in the top left.
You will receive the following response, stating that you still have no URLs:
Output{
  "data": {
    "urls": []
  }
}
This shows that GraphQL is working. In your terminal, press CTRL+C to stop your server.
You have accomplished a lot in this step, creating the GraphQL endpoint, making a Query to fetch all URLs, and enabling the GraphiQL interface. Now, you will create Mutations to change the database.
Step 4 — Creating Mutations
The majority of applications have a way to change the database state by adding, updating, or deleting data. In GraphQL, these operations are called Mutations. They look like Queries but use arguments to send data to the server.
To create your first Mutation, open shortener/schema.py:
- vim shortener/schema.py
At the end of the file, start by adding a new class named CreateURL:
...
class CreateURL(graphene.Mutation):
    url = graphene.Field(URLType)
This class inherits the graphene.Mutation helper to have the capabilities of a GraphQL Mutation. It also has a property name url, defining the content returned by the server after the Mutation is completed. In this case, it will be the URLType data structure.
Next, add a subclass named Arguments to the already defined class:
...
    class Arguments:
        full_url = graphene.String()
This defines what data will be accepted by the server. Here, you are expecting a parameter named full_url with a String content:
Now add the following lines to create the mutate method:
...

    def mutate(self, info, full_url):
        url = URL(full_url=full_url)
        url.save()
This mutate method does a lot of the work by receiving the data from the client and saving it to the database. In the end, it returns the class itself containing the newly created item.
Lastly, create a Mutation class to hold all the Mutations for your app by adding these lines:
...

class Mutation(graphene.ObjectType):
    create_url = CreateURL.Field()
So far, you will only have one mutation named create_url.
The full shortener/schema.py file is shown here:
import graphene
from graphene_django import DjangoObjectType

from .models import URL


class URLType(DjangoObjectType):
    class Meta:
        model = URL


class Query(graphene.ObjectType):
    urls = graphene.List(URLType)

    def resolve_urls(self, info, **kwargs):
        return URL.objects.all()


class CreateURL(graphene.Mutation):
    url = graphene.Field(URLType)

    class Arguments:
        full_url = graphene.String()

    def mutate(self, info, full_url):
        url = URL(full_url=full_url)
        url.save()

        return CreateURL(url=url)


class Mutation(graphene.ObjectType):
    create_url = CreateURL.Field()
Close and save the file.
To finish adding the Mutation, change the shorty/schema.py file:
- vim shorty/schema.py
Alter the file to include the following highlighted code:
import graphene

import shortener.schema


class Query(shortener.schema.Query, graphene.ObjectType):
    pass


class Mutation(shortener.schema.Mutation, graphene.ObjectType):
    pass


schema = graphene.Schema(query=Query, mutation=Mutation)
Save and close the file. If you are not running the local server, start it:
- python manage.py runserver
Navigate to http://localhost:8000/graphql in your web browser. Execute your first Mutation in the GraphiQL web interface by running the following statement:
mutation {
  createUrl(fullUrl:"https://www.digitalocean.com/community") {
    url {
      id
      fullUrl
      urlHash
      clicks
      createdAt
    }
  }
}
You composed the Mutation with the createURL name, the fullUrl argument, and the data you want in the response defined inside the url field.
The output will contain the URL information you just created inside the GraphQL data field, as shown here:
Output{
  "data": {
    "createUrl": {
      "url": {
        "id": "1",
        "fullUrl": "https://www.digitalocean.com/community",
        "urlHash": "077880af78",
        "clicks": 0,
        "createdAt": "2020-01-30T19:15:10.820062+00:00"
      }
    }
  }
}
With that, a URL was added to the database with its hashed version, as you can see in the urlHash field. Try running the Query you created in the last Step to see its result:
query {
  urls {
    id
    fullUrl
    urlHash
    clicks
    createdAt
  }
}
The output will show the stored URL:
Output{
  "data": {
    "urls": [
      {
        "id": "1",
        "fullUrl": "https://www.digitalocean.com/community",
        "urlHash": "077880af78",
        "clicks": 0,
        "createdAt": "2020-03-18T21:03:24.664934+00:00"
      }
    ]
  }
}
You can also try executing the same Query, but only asking for the fields you want.
Next, try it one more time with a different URL:
mutation {
  createUrl(fullUrl:"https://www.digitalocean.com/write-for-donations/") {
    url {
      id
      fullUrl
      urlHash
      clicks
      createdAt
    }
  }
}
The output will be:
Output{
  "data": {
    "createUrl": {
      "url": {
        "id": "2",
        "fullUrl": "https://www.digitalocean.com/write-for-donations/",
        "urlHash": "703562669b",
        "clicks": 0,
        "createdAt": "2020-01-30T19:31:10.820062+00:00"
      }
    }
  }
}
The system is now able to create short URLs and list them. In the next step, you will enable users to access a URL by its short version, redirecting them to the correct page.
Step 5 — Creating the Access Endpoint
In this step, you will use Django Views—a method that takes a request and returns a response—to redirect anyone accessing the http://localhost:8000/url_hash endpoint to its full URL.
Open the shortener/views.py file with your editor:
- vim shortener/views.py
To start, import two packages by replacing the contents with the following lines:
from django.shortcuts import get_object_or_404, redirect

from .models import URL
These will be explained more thoroughly later on.
Next, you will create a Django View named root. Add this code snippet responsible for the View at the end of your file:
...

def root(request, url_hash):
    url = get_object_or_404(URL, url_hash=url_hash)
    url.clicked()

    return redirect(url.full_url)
This receives an argument called url_hash from the URL requested by a user. Inside the function, the first line tries to get the URL from the database using the url_hash argument. If not found, it returns the HTTP 404 error to the client, which means that the resource is missing. Afterwards, it increments the clicked property of the URL entry, making sure to track how many times the URL is accessed. At the end, it redirects the client to the requested URL.
The full shortener/views.py file is shown here:
from django.shortcuts import get_object_or_404, redirect

from .models import URL


def root(request, url_hash):
    url = get_object_or_404(URL, url_hash=url_hash)
    url.clicked()

    return redirect(url.full_url)
Save and close the file.
Next, open shorty/urls.py:
- vim shorty/urls.py
Add the following highlighted code to enable the root View.
from django.urls import path
from django.views.decorators.csrf import csrf_exempt

from graphene_django.views import GraphQLView

from shortener.views import root


urlpatterns = [
    path('graphql/', csrf_exempt(GraphQLView.as_view(graphiql=True))),
    path('<str:url_hash>/', root, name='root'),
]
The root View will be accessible in the / path of your server, accepting a url_hash as a string parameter.
Save and close the file. If you are not running the local server, start it by executing the python manage.py runserver command.
To test your new addition, open your web browser and access the http://localhost:8000/077880af78 URL. Note that the last part of the URL is the hash created by the Mutation from Step 5. You will be redirected to the hash’s URL page, in this case, the DigitalOcean Community website.
Now that you have the URL redirection working, you will make the application safer by implementing error handling when the Mutation is executed.
Step 6 — Implementing Error Handling
Handling errors is a best practice in all applications, since developers don’t usually control what will be sent to the server. In this case, you can try to foresee failures and minimize their impacts. In a complex system such as GraphQL, a lot of things might go wrong, from the client asking for the wrong data to the server losing access to the database.
As a typed system, GraphQL can verify everything the client asks for and receives in an operation called Schema Validation. You can see this in action by making a Query with a non-existing field.
Navigate to http://localhost:8000/graphql in your browser once more, and execute the next Query within the GraphiQL interface, with the iDontExist field:
query {
  urls {
    id
    fullUrl
    urlHash
    clicks
    createdAt
    iDontExist
  }
}
Since there is no iDontExist field defined in your Query, GraphQL returns an error message:
Output
{
  "errors": [
    {
      "message": "Cannot query field \"iDontExist\" on type \"URLType\".",
      "locations": [
        {
          "line": 8,
          "column": 5
        }
      ]
    }
  ]
}
This is important because, in the GraphQL typed system, the aim is to send and receive just the information already defined in the schema.
The current application accepts any arbitrary string in the full_url field. The problem is that if someone sends a poorly constructed URL, you would be redirecting the user to nowhere when trying the stored information. In this case, you need to verify if the full_url is well formatted before saving it to the database, and, if there’s any error, raise the GraphQLError exception with a custom message.
Let’s implement this functionality in two steps. First, open the shortener/models.py file:
- vim shortener/models.py
Add the highlighted lines in the import section:
from hashlib import md5

from django.db import models
from django.core.validators import URLValidator
from django.core.exceptions import ValidationError

from graphql import GraphQLError
...
The URLValidator is a Django helper to validate a URL String and the GraphQLError is used by Graphene to raise exceptions with a custom message.
Next, make sure to validate the URL received by the user before saving it to the database. Enable this operation by adding the highlighted code in the shortener/models.py file:
class URL(models.Model):
    full_url = models.URLField(unique=True)
    url_hash = models.URLField(unique=True)
    clicks = models.IntegerField(default=0)
    created_at = models.DateTimeField(auto_now_add=True)

    def clicked(self):
        self.clicks += 1
        self.save()

    def save(self, *args, **kwargs):
        if not self.id:
            self.url_hash = md5(self.full_url.encode()).hexdigest()[:10]

        validate = URLValidator()
        try:
            validate(self.full_url)
        except ValidationError as e:
            raise GraphQLError('invalid url')

        return super().save(*args, **kwargs)
First, this code instantiates the URLValidator in the validate variable. Inside the try/except block, you validate() the URL received and raise a GraphQLError with the invalid url custom message if something went wrong.
The full shortener/models.py file is shown here:
from hashlib import md5

from django.db import models
from django.core.validators import URLValidator
from django.core.exceptions import ValidationError

from graphql import GraphQLError


class URL(models.Model):
    full_url = models.URLField(unique=True)
    url_hash = models.URLField(unique=True)
    clicks = models.IntegerField(default=0)
    created_at = models.DateTimeField(auto_now_add=True)

    def clicked(self):
        self.clicks += 1
        self.save()

    def save(self, *args, **kwargs):
        if not self.id:
            self.url_hash = md5(self.full_url.encode()).hexdigest()[:10]

        validate = URLValidator()
        try:
            validate(self.full_url)
        except ValidationError as e:
            raise GraphQLError('invalid url')

        return super().save(*args, **kwargs)
Save and close the file. If you are not running the local server, start it with the python manage.py runserver command.
Next, test your new error handling at http://localhost:8000/graphql. Try to create a new URL with an invalid full_url in the GraphiQL interface:
mutation {
  createUrl(fullUrl:"not_valid_url"){
    url {
      id
      fullUrl
      urlHash
      clicks
      createdAt
    }
  }
}
When sending an invalid URL, your exception will be raised with the custom message:
Output
{
  "errors": [
    {
      "message": "invalid url",
      "locations": [
        {
          "line": 2,
          "column": 3
        }
      ],
      "path": [
        "createUrl"
      ]
    }
  ],
  "data": {
    "createUrl": null
  }
}
If you look in your terminal where the python manage.py runserver command is running, an error will appear:
Output
...
graphql.error.located_error.GraphQLLocatedError: invalid url

[30/Jan/2020 19:46:32] "POST /graphql/ HTTP/1.1" 200 121
A GraphQL endpoint will always fail with a HTTP 200 status code, which usually signifies success. Remember that, even though GraphQL is built on top of HTTP, it doesn’t use the concepts of HTTP status codes or HTTP methods as REST does.
With the error handling implemented, you can now put in place a mechanism to filter your Queries, minimizing the information returned by the server.
Step 7 — Implementing Filters
Imagine you’ve started using the URL shortener to add your own links. After a while, there will be so many entries that finding the right one will become difficult. You can solve this issue using filters.
Filtering is a common concept in REST APIs, where usually a Query Parameter with a field and value is appended to the URL. As an example, to filter all the Users named jojo, you could use GET /api/users?name=jojo.
In GraphQL you will use Query Arguments as filters. They create a nice and clean interface.
You can solve the “hard to find a URL” issue by allowing the client to filter URLs by name using the full_url field. To implement that, open the shortener/schema.py file in your favorite editor.
- vim shortener/schema.py
First, import the Q method in the highlighted line:
import graphene
from graphene_django import DjangoObjectType
from django.db.models import Q

from .models import URL
...
This will be used to filter your database query.
Next, rewrite the whole Query class with the following content:
...
class Query(graphene.ObjectType):
    urls = graphene.List(URLType, url=graphene.String())

    def resolve_urls(self, info, url=None, **kwargs):
        queryset = URL.objects.all()

        if url:
            _filter = Q(full_url__icontains=url)
            queryset = queryset.filter(_filter)

        return queryset
...
The modifications you are making are:
- Adding the
urlfilter parameter inside theurlsvariable andresolve_urlmethod. - Inside the
resolve_urls, if a parameter namedurlis given, filtering the database results to return only URLs that contain the value given, using theQ(full_url__icontains=url)method.
The full shortener/schema.py file is shown here:
import graphene
from graphene_django import DjangoObjectType
from django.db.models import Q

from .models import URL


class URLType(DjangoObjectType):
    class Meta:
        model = URL


class Query(graphene.ObjectType):
    urls = graphene.List(URLType, url=graphene.String())

    def resolve_urls(self, info, url=None, **kwargs):
        queryset = URL.objects.all()

        if url:
            _filter = Q(full_url__icontains=url)
            queryset = queryset.filter(_filter)

        return queryset


class CreateURL(graphene.Mutation):
    url = graphene.Field(URLType)

    class Arguments:
        full_url = graphene.String()

    def mutate(self, info, full_url)
        url = URL(full_url=full_url)
        url.save()

        return CreateURL(url=url)


class Mutation(graphene.ObjectType):
    create_url = CreateURL.Field()
Save and close the file. If you are not running the local server, start it with python manage.py runserver.
Test your latest changes at http://localhost:8000/graphql. In the GraphiQL interface, write the following statement. It will filter all the URLs with the word community:
query {
  urls(url:"community") {
    id
    fullUrl
    urlHash
    clicks
    createdAt
  }
}
The output is only one entry since you just added one URL with the community string in it. If you added more URLs before, your output may vary.
Output
{
  "data": {
    "urls": [
      {
        "id": "1",
        "fullUrl": "https://www.digitalocean.com/community",
        "urlHash": "077880af78",
        "clicks": 1,
        "createdAt": "2020-01-30T19:27:36.243900+00:00"
      }
    ]
  }
}
Now you have the ability to search through your URLs. However, with too many links, your clients might complain the URL list is returning more data than their apps can handle. To solve this, you will implement pagination.
Step 8 — Implementing Pagination
Clients using your backend might complain that the response time is taking too long or that its size is too big if there are too many URL entries. Even your database may struggle to put together a huge set of information. To solve this issue, you can allow the client to specify how many items it wants within each request using a technique called pagination.
There’s no default way to implement this feature. Even in REST APIs, you might see it in HTTP headers or query parameters, with different names and behaviors.
In this application, you will implement pagination by enabling two more arguments to the URLs Query: first and skip. first will select the first variable number of elements and skip will specify how many elements should be skipped from the beginning. For example, using first == 10 and skip == 5 gets the first 10 URLs, but skips 5 of them, returning just the remaining 5.
Implementing this solution is similar to adding a filter.
Open the shortener/schema.py file:
- vim shortener/schema.py
In the file, change the Query class by adding the two new parameters into the urls variable and resolve_urls method, highlighted in the following code:
import graphene
from graphene_django import DjangoObjectType
from django.db.models import Q

from .models import URL


class Query(graphene.ObjectType):
    urls = graphene.List(URLType, url=graphene.String(), first=graphene.Int(), skip=graphene.Int())

    def resolve_urls(self, info, url=None, first=None, skip=None, **kwargs):
        queryset = URL.objects.all()

        if url:
            _filter = Q(full_url__icontains=url)
            queryset = queryset.filter(_filter)

        if first:
            queryset = queryset[:first]

        if skip:
            queryset = queryset[skip:]

        return queryset
...
This code uses the newly created first and skip parameters inside the resolve_urls method to filter the database query.
Save and close the file. If you are not running the local server, start it with python manage.py runserver.
To test the pagination, issue the following Query in the GraphiQL interface at http://localhost:8000/graphql:
query {
  urls(first: 2, skip: 1) {
    id
    fullUrl
    urlHash
    clicks
    createdAt
  }
}
Your URL shortener will return the second URL created in your database:
Output
{
  "data": {
    "urls": [
      {
        "id": "2",
        "fullUrl": "https://www.digitalocean.com/write-for-donations/",
        "urlHash": "703562669b",
        "clicks": 0,
        "createdAt": "2020-01-30T19:31:10.820062+00:00"
      }
    ]
  }
}
This shows that the pagination feature works. Feel free to play around by adding more URLs and testing different sets of first and skip.
Conclusion
The whole GraphQL ecosystem is growing every day, with an active community behind it. It has been proven production-ready by companies like GitHub and Facebook, and now you can apply this technology to your own projects.
In this tutorial you created a URL shortener service using GraphQL, Python, and Django, using concepts like Queries and Mutations. But more than that, you now understand how to rely on these technologies to build web applications using the Django web framework.
You can explore more about GraphQL and the tools used here in the GraphQL website and the Graphene documentation websites. Also, DigitalOcean has additional tutorials for Python and Django that you can use if you’d like to learn more about either.
Thanks for learning with the DigitalOcean Community. Check out our offerings for compute, storage, networking, and managed databases.
About the author(s)
software developer, digital nomad, blogger and adventurer
Former Senior Technical Editor at DigitalOcean, fiction writer and podcaster elsewhere, always searching for the next good nautical pun! Areas of expertise include Node.js, PostgreSQL, CSS, JavaScript.
Still looking for an answer?
This textbox defaults to using Markdown to format your answer.
You can type !ref in this text area to quickly search our full set of tutorials, documentation & marketplace offerings and insert the link!
 This work is licensed under a Creative Commons Attribution-NonCommercial- ShareAlike 4.0 International License.
Become a contributor for community
Get paid to write technical tutorials and select a tech-focused charity to receive a matching donation.

DigitalOcean Documentation
Full documentation for every DigitalOcean product.

Resources for startups and AI-native businesses
The Wave has everything you need to know about building a business, from raising funding to marketing your product.
The developer cloud
Scale up as you grow — whether you're running one virtual machine or ten thousand.

Start building today
From GPU-powered inference and Kubernetes to managed databases and storage, get everything you need to build, scale, and deploy intelligent applications.
