By anondon and Brian Hogan
Not using Ubuntu 16.04?
Choose a different version or distribution.
The author selected the Electronic Frontier Foundation to receive a donation as part of the Write for DOnations program.
Introduction
Cloudflare is a service that sits between the visitor and the website owner’s server, acting as a reverse proxy for websites. Cloudflare provides a Content Delivery Network (CDN), as well as DDoS mitigation and distributed domain name server services.
Nginx is a popular web server responsible for hosting some of the largest and highest-traffic sites on the internet. It’s common for organizations to serve websites with Nginx and use Cloudflare as a CDN and DNS provider.
In this tutorial you will secure your website served by Nginx with an Origin CA certificate from Cloudflare and configure Nginx to use authenticated pull requests. The advantages of using this setup are that you benefit from Cloudflare’s CDN and fast DNS resolution while ensuring that all connections pass through Cloudflare. This prevents any malicious requests from reaching your server.
Prerequisites
To complete this tutorial, you’ll need the following:
- One Ubuntu 16.04 server set up by following the Ubuntu 16.04 initial server setup guide, including a sudo non-root user and a firewall.
- Nginx installed on your server, as shown in How To Install Nginx on Ubuntu 16.04.
- A Cloudflare account.
- A registered domain added to your Cloudflare account that points to your Nginx server. Follow How To Mitigate DDoS Attacks Against Your Website with CloudFlare to set this up.
- An Nginx Server Block configured for your domain, which you can do by following How To Set Up Nginx Server Blocks (Virtual Hosts) on Ubuntu 16.04.
Step 1 — Generating an Origin CA TLS Certificate
The Cloudflare Origin CA lets you generate a free TLS certificate signed by Cloudflare to install on your Nginx server. By using the Cloudflare generated TLS certificate you can secure the connection between Cloudflare’s servers and your Nginx server.
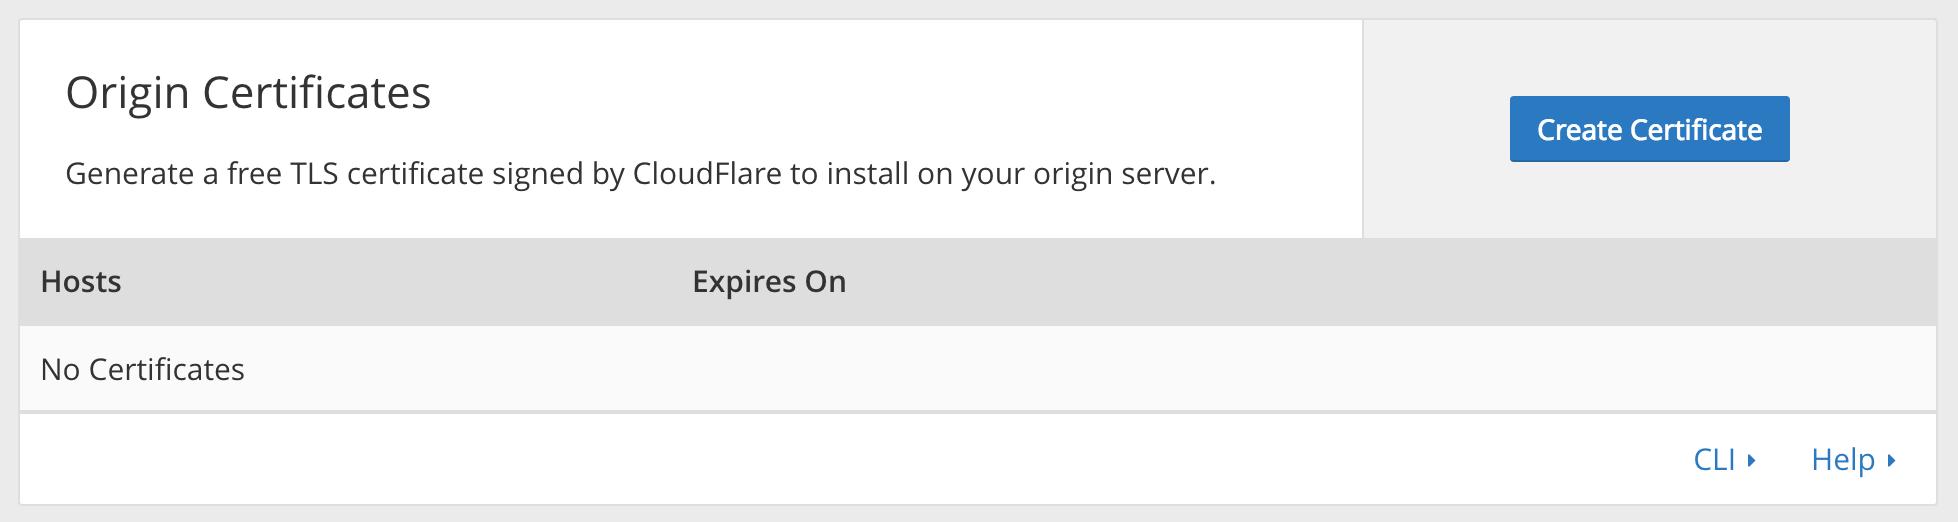
To generate a certificate with Origin CA, navigate to the Crypto section of your Cloudflare dashboard. From there, click on the Create Certificate button in the Origin Certificates section:
Leave the default option of Let CloudFlare generate a private key and a CSR selected.
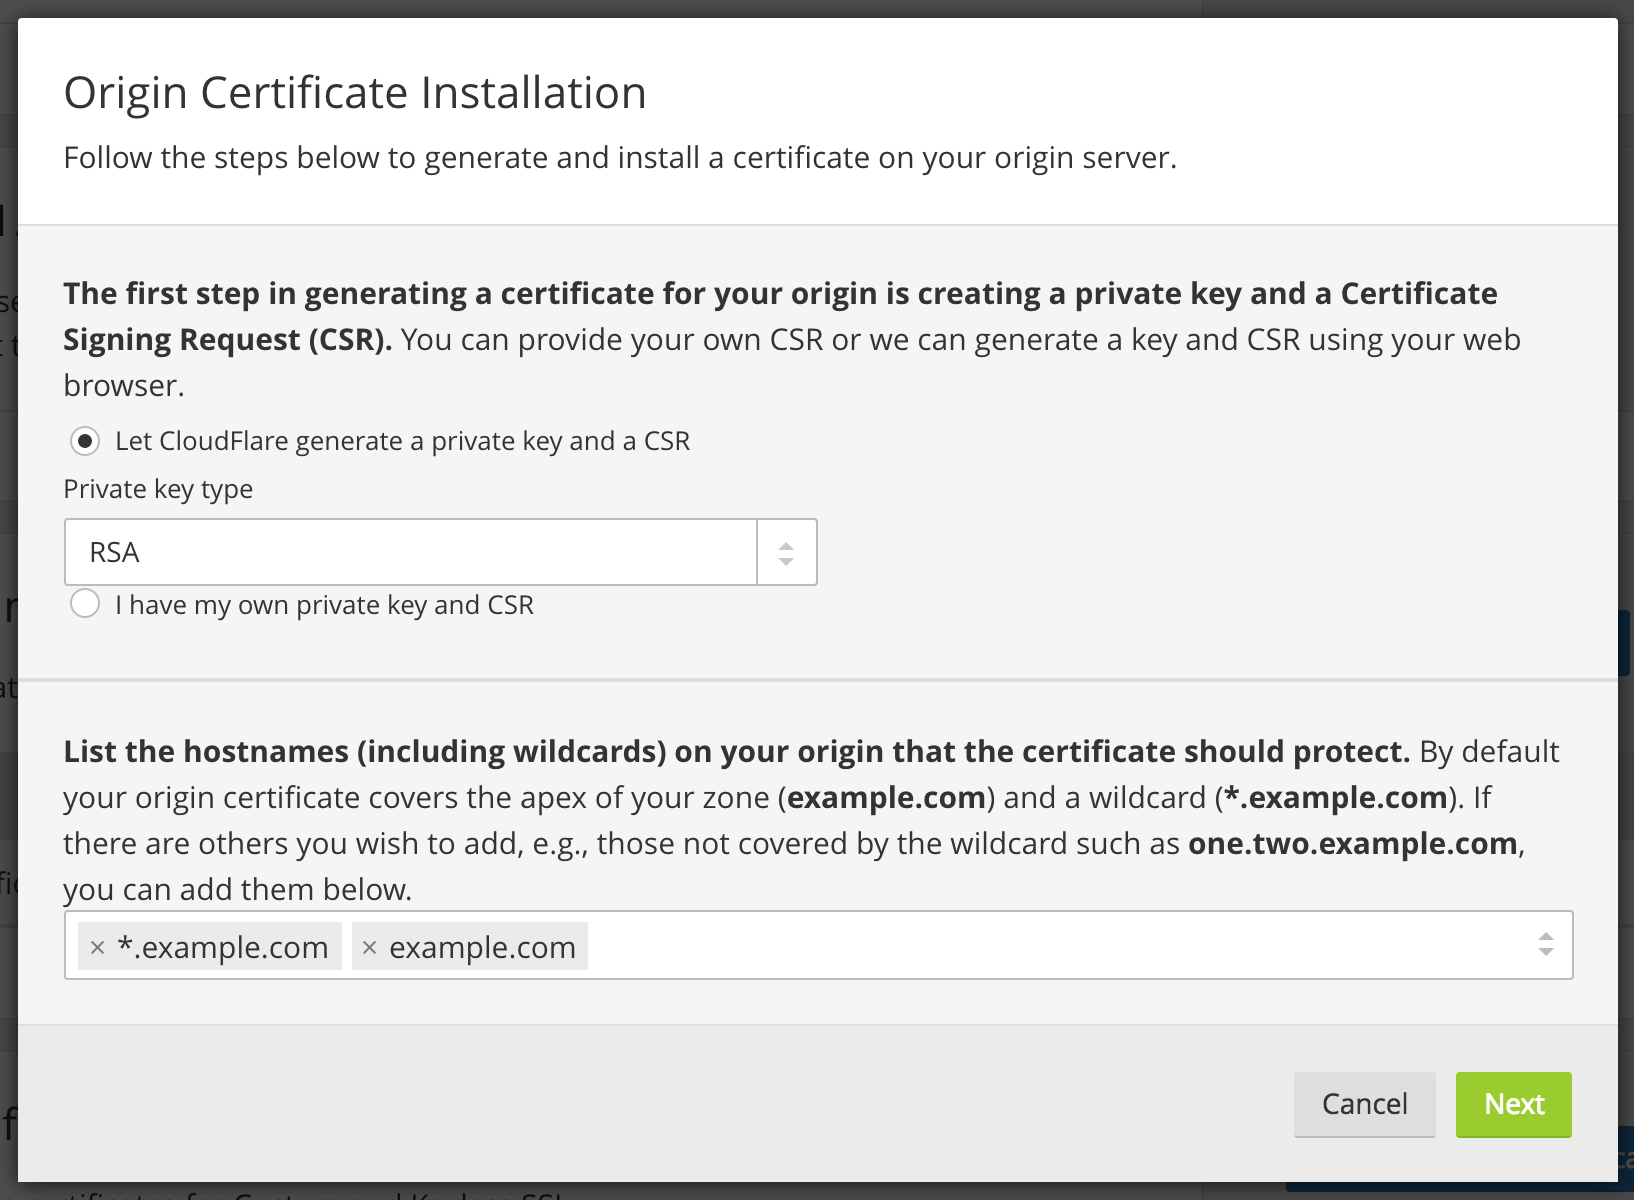
Click Next and you will see a dialog with the Origin Certificate and Private key. You need to transfer both the origin certificate and private key from CloudFlare to your server.
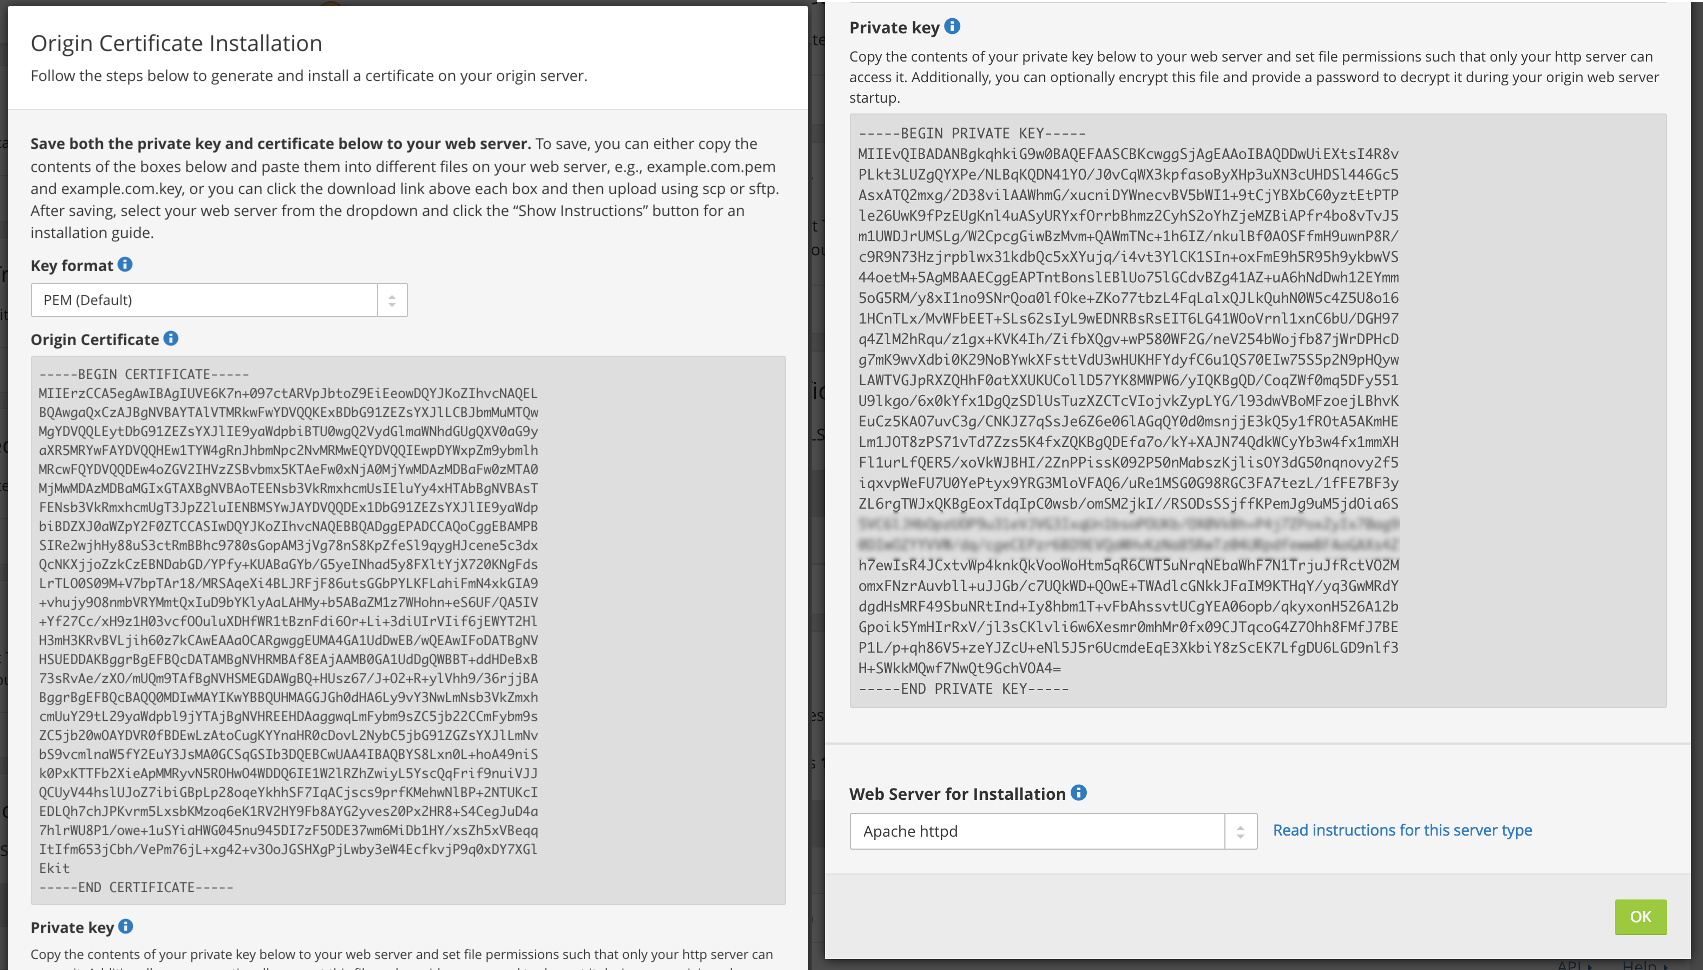
We’ll use the /etc/ssl/certs directory on the server to hold the origin certificate. The /etc/ssl/private directory will hold the private key file. Both folders already exist on the server.
First, copy the contents of the Origin Certificate displayed in the dialog box in your browser.
Then, on your server, open /etc/ssl/certs/cert.pem for editing:
- sudo nano /etc/ssl/certs/cert.pem
Paste the certificate contents into the file. Then save and exit the editor.
Then return to your browser and copy the contents of the Private key. Open the file /etc/ssl/private/key.pem for editing:
- sudo nano /etc/ssl/private/key.pem
Paste the key into the file, save the file, and exit the editor.
Warning: Cloudflare’s Origin CA Certificate is only trusted by Cloudflare and therefore should only be used by origin servers that are actively connected to Cloudflare. If at any point you pause or disable Cloudflare, your Origin CA certificate will throw an untrusted certificate error.
Now that you copied the key and certificate files to your server, you need to update the Nginx configuration to use them.
Step 2 — Installing the Origin CA certificate in Nginx
In the previous section, you generated an origin certificate and private key using Cloudlfare’s dashboard and saved the files to your server. Now you’ll update the Nginx configuration for your site to use the origin certificate and private key to secure the connection between Cloudflare’s servers and your server.
Nginx creates a default server block during installation. Remove it if it exists, as you’ve already configured a custom server block for your domain:
- sudo rm /etc/nginx/sites-enabled/default
Next, open the Nginx configuration file for your domain:
- sudo nano /etc/nginx/sites-available/example.com
The file should look like this:
server {
        listen 80;
        listen [::]:80;

        root /var/www/example.com/html;
        index index.html index.htm index.nginx-debian.html;

        server_name example.com www.example.com;

        location / {
                try_files $uri $uri/ =404;
        }
}
We’ll modify the Nginx configuration file to do the following:
- Listen on port
80and redirect all requests to usehttps. - Listen on port
443and use the origin certificate and private key that you added in the previous section.
Modify the file so it looks like the following:
server {
    listen 80;
    listen [::]:80;
    server_name example.com www.example.com;
    return 302 https://$server_name$request_uri;
}

server {

    # SSL configuration

    listen 443 ssl http2;
    listen [::]:443 ssl http2;
    ssl        on;
    ssl_certificate         /etc/ssl/certs/cert.pem;
    ssl_certificate_key     /etc/ssl/private/key.pem;

    server_name example.com www.example.com;

    root /var/www/example.com/html;
    index index.html index.htm index.nginx-debian.html;


    location / {
            try_files $uri $uri/ =404;
    }
}
Save the file and exit the editor.
Next, test to make sure that there are no syntax errors in any of your Nginx configuration files:
- sudo nginx -t
If no problems were found, restart Nginx to enable your changes:
- sudo systemctl restart nginx
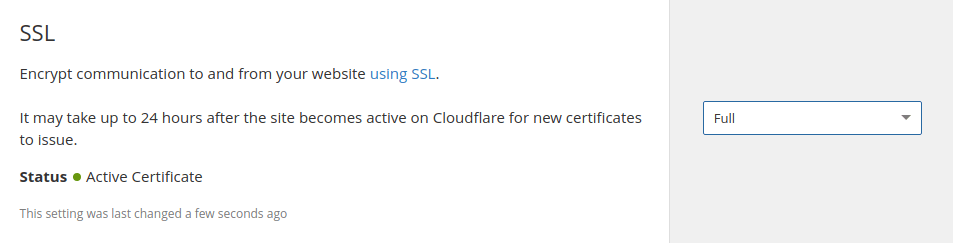
Now go to the Cloudflare dashboard’s Crypto section and change SSL mode to Full. This informs Cloudflare to always encrypt the connection between Cloudflare and your origin Nginx server.
Now visit your website at https://example.com to verify that it’s set up properly. You’ll see your home page displayed, and the browser will report that the site is secure.
In the next section, you will set up Authenticated Origin Pulls to verify that your origin server is indeed talking to Cloudflare and not some other server. By doing so, Nginx will be configured to only accept requests which use a valid client certificate from Cloudflare and requests which have not passed through CloudFlare will be dropped.
Step 3 — Setting Up Authenticated Origin Pulls
The Origin CA certificate will help Cloudflare verify that it is talking to the correct origin server. But how can your origin Nginx server verify that it is actually talking to Cloudflare? Enter TLS Client Authentication.
In a client authenticated TLS handshake, both sides provide a certificate to be verified. The origin server is configured to only accept requests that use a valid client certificate from Cloudflare. Requests which have not passed through Cloudflare will be dropped as they will not have Cloudflare’s certificate. This means that attackers cannot circumvent Cloudflare’s security measures and directly connect to your Nginx server.
Cloudflare presents certificates signed by a CA with the following certificate:
-----BEGIN CERTIFICATE-----
MIIGBjCCA/CgAwIBAgIIV5G6lVbCLmEwCwYJKoZIhvcNAQENMIGQMQswCQYDVQQG
EwJVUzEZMBcGA1UEChMQQ2xvdWRGbGFyZSwgSW5jLjEUMBIGA1UECxMLT3JpZ2lu
IFB1bGwxFjAUBgNVBAcTDVNhbiBGcmFuY2lzY28xEzARBgNVBAgTCkNhbGlmb3Ju
aWExIzAhBgNVBAMTGm9yaWdpbi1wdWxsLmNsb3VkZmxhcmUubmV0MB4XDTE1MDEx
MzAyNDc1M1oXDTIwMDExMjAyNTI1M1owgZAxCzAJBgNVBAYTAlVTMRkwFwYDVQQK
ExBDbG91ZEZsYXJlLCBJbmMuMRQwEgYDVQQLEwtPcmlnaW4gUHVsbDEWMBQGA1UE
BxMNU2FuIEZyYW5jaXNjbzETMBEGA1UECBMKQ2FsaWZvcm5pYTEjMCEGA1UEAxMa
b3JpZ2luLXB1bGwuY2xvdWRmbGFyZS5uZXQwggIiMA0GCSqGSIb3DQEBAQUAA4IC
DwAwggIKAoICAQDdsts6I2H5dGyn4adACQRXlfo0KmwsN7B5rxD8C5qgy6spyONr
WV0ecvdeGQfWa8Gy/yuTuOnsXfy7oyZ1dm93c3Mea7YkM7KNMc5Y6m520E9tHooc
f1qxeDpGSsnWc7HWibFgD7qZQx+T+yfNqt63vPI0HYBOYao6hWd3JQhu5caAcIS2
ms5tzSSZVH83ZPe6Lkb5xRgLl3eXEFcfI2DjnlOtLFqpjHuEB3Tr6agfdWyaGEEi
lRY1IB3k6TfLTaSiX2/SyJ96bp92wvTSjR7USjDV9ypf7AD6u6vwJZ3bwNisNw5L
ptph0FBnc1R6nDoHmvQRoyytoe0rl/d801i9Nru/fXa+l5K2nf1koR3IX440Z2i9
+Z4iVA69NmCbT4MVjm7K3zlOtwfI7i1KYVv+ATo4ycgBuZfY9f/2lBhIv7BHuZal
b9D+/EK8aMUfjDF4icEGm+RQfExv2nOpkR4BfQppF/dLmkYfjgtO1403X0ihkT6T
PYQdmYS6Jf53/KpqC3aA+R7zg2birtvprinlR14MNvwOsDOzsK4p8WYsgZOR4Qr2
gAx+z2aVOs/87+TVOR0r14irQsxbg7uP2X4t+EXx13glHxwG+CnzUVycDLMVGvuG
aUgF9hukZxlOZnrl6VOf1fg0Caf3uvV8smOkVw6DMsGhBZSJVwao0UQNqQIDAQAB
o2YwZDAOBgNVHQ8BAf8EBAMCAAYwEgYDVR0TAQH/BAgwBgEB/wIBAjAdBgNVHQ4E
FgQUQ1lLK2mLgOERM2pXzVc42p59xeswHwYDVR0jBBgwFoAUQ1lLK2mLgOERM2pX
zVc42p59xeswCwYJKoZIhvcNAQENA4ICAQDKDQM1qPRVP/4Gltz0D6OU6xezFBKr
LWtDoA1qW2F7pkiYawCP9MrDPDJsHy7dx+xw3bBZxOsK5PA/T7p1dqpEl6i8F692
g//EuYOifLYw3ySPe3LRNhvPl/1f6Sn862VhPvLa8aQAAwR9e/CZvlY3fj+6G5ik
3it7fikmKUsVnugNOkjmwI3hZqXfJNc7AtHDFw0mEOV0dSeAPTo95N9cxBbm9PKv
qAEmTEXp2trQ/RjJ/AomJyfA1BQjsD0j++DI3a9/BbDwWmr1lJciKxiNKaa0BRLB
dKMrYQD+PkPNCgEuojT+paLKRrMyFUzHSG1doYm46NE9/WARTh3sFUp1B7HZSBqA
kHleoB/vQ/mDuW9C3/8Jk2uRUdZxR+LoNZItuOjU8oTy6zpN1+GgSj7bHjiy9rfA
F+ehdrz+IOh80WIiqs763PGoaYUyzxLvVowLWNoxVVoc9G+PqFKqD988XlipHVB6
Bz+1CD4D/bWrs3cC9+kk/jFmrrAymZlkFX8tDb5aXASSLJjUjcptci9SKqtI2h0J
wUGkD7+bQAr+7vr8/R+CBmNMe7csE8NeEX6lVMF7Dh0a1YKQa6hUN18bBuYgTMuT
QzMmZpRpIBB321ZBlcnlxiTJvWxvbCPHKHj20VwwAz7LONF59s84ZsOqfoBv8gKM
s0s5dsq5zpLeaw==
-----END CERTIFICATE-----
You can also download the certificate directly from Cloudflare here.
Copy this certificate.
Then create the file /etc/ssl/certs/cloudflare.crt file to hold Cloudflare’s certificate:
- sudo nano /etc/ssl/certs/cloudflare.crt
Paste the certificate into the file. Then save the file and exit the editor.
Now update your Nginx configuration to use TLS Authenticated Origin Pulls. Open the configuration file for your domain:
- sudo nano /etc/nginx/sites-available/example.com
Add the ssl_client_certificate and ssl_verify_client directives as shown in the following example:
. . .

server {

    # SSL configuration

    listen 443 ssl http2;
    listen [::]:443 ssl http2;
    ssl        on;
    ssl_certificate         /etc/ssl/certs/cert.pem;
    ssl_certificate_key     /etc/ssl/private/key.pem;
    ssl_client_certificate /etc/ssl/certs/cloudflare.crt;
    ssl_verify_client on;

    . . .
Save the file and exit the editor.
Next, test to make sure that there are no syntax errors in your Nginx configuration.
- sudo nginx -t
If no problems were found, restart Nginx to enable your changes:
- sudo systemctl restart nginx
Finally, to enable Authenticated Pulls, open the Crypto section in the Cloudflare dashboard and toggle the Authenticated Origin Pulls option .

Now visit your website at https://example.com to verify that it was set up properly. As before, you’ll see your home page displayed.
To verify that your server will only accept requests signed by Cloudflare’s CA, toggle the Authenticated Origin Pulls option to disable it and then reload your website. You should get the following error message :
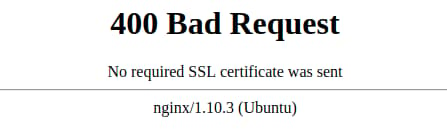
Your origin server raises an error if a request is not signed by Cloudflare’s CA.
Now that you know it works properly, return to the Crypto section in the Cloudflare dashboard and toggle the Authenticated Origin Pulls option again to enable it.
Conclusion
In this tutorial you secured your Nginx-powered website by encrypting traffic between Cloudflare and the Nginx server using an Origin CA certificate from Cloudflare. You then set up Authenticated Origin Pulls on the Nginx server to ensure that it only accepts requests from Cloudflare’s servers, preventing anyone else from directly connecting to the Nginx server.
Thanks for learning with the DigitalOcean Community. Check out our offerings for compute, storage, networking, and managed databases.
About the author(s)
Managed the Write for DOnations program, wrote and edited community articles, and makes things on the Internet. Expertise in DevOps areas including Linux, Ubuntu, Debian, and more.
Still looking for an answer?
This textbox defaults to using Markdown to format your answer.
You can type !ref in this text area to quickly search our full set of tutorials, documentation & marketplace offerings and insert the link!
Awesome, this guideline help me to setup cloudflare ssl on origin server. Thanks
Is it necessary to use ssl-dhparams.pem with this technic?
Thanks for this nice tuto!
Hello Brian,
It will be better to use:
service nginx reload
instead
sudo systemctl restart nginx
It’s will renew configuration without restarting NGINX service.
Near the end of step 2, after I modify the file and test the nginx configuration file with sudo nginx -t, I get an errror code:
nginx: [emerg] PEM _ read _ bio _ X509 _ AUX(“/etc/ssl/certs/cert.pem”) failed (SSL: error:0906D066:PEM routines:PEM _ read _ bio:bad end line) nginx: configuration file /etc/nginx/nginx.conf test failed
The pem file includes the BEGIN and END tags at the top and bottom with 5 hyphens on either side so I cannot tell what is wrong.
I would greatly appreciate any help
I have set up step 3 exactly as directed in instructions and am still recieving the 400 Bad request page. I have even downloaded the certificate directly from Cloudflare and used it. Has anyone else had any troubles with this step, and maybe has a solution? I would appreciate any help, thanks!
Hey Brian,
I followed this guide on Ubuntu 18.04 and as long as I type www.mydomainname.com into the browser, everything works fine. But when I just type in “mydomainname.com” or “https://mydomainname.com” I get the error “Your connection is not private” - NET::ERR_CERT_AUTHORITY_INVALID
Can you help solve this?
Cheers, Jesse
Hi there.
Thanks for the awesome guide :)
I’ve followed all the steps, but I cannot get the https connection to resolve :/ I am having the same issue that Jesse reported, but after 4 hours it hasn’t resolved.
nginx isn’t throwing any errors and everything appears to be fine, but when I try to access the https link I am told the connection is unsafe NET::ERR_CERT_AUTHORITY_INVALID etc.
Any ideas would be great.
Thanks!
I’m curious to know if this will work while using a load balancer with SSL Passthrough. I don’t see any reason why it wouldn’t but still learning how these work (haven’t had a need for it until now).
This comment has been deleted
 This work is licensed under a Creative Commons Attribution-NonCommercial- ShareAlike 4.0 International License.
Become a contributor for community
Get paid to write technical tutorials and select a tech-focused charity to receive a matching donation.

DigitalOcean Documentation
Full documentation for every DigitalOcean product.

Resources for startups and AI-native businesses
The Wave has everything you need to know about building a business, from raising funding to marketing your product.
The developer cloud
Scale up as you grow — whether you're running one virtual machine or ten thousand.

Start building today
From GPU-powered inference and Kubernetes to managed databases and storage, get everything you need to build, scale, and deploy intelligent applications.
