
Ever stuck in a situation where you accidentally deleted a file? In this tutorial, we’ll go over how to install TestDisk in Linux and recover deleted files.
In this tutorial, I’ll be using an Ubuntu server to work with, but even if you are on any other distribution, you can follow the same steps. The only thing that will be different is the package manager used for installation.
Install TestDisk on Linux
The testdisk package is available on all the major Linux distributions and can be easily downloaded with the use of the default package manager. Here, I’ve listed down the distro-specific commands to install testdisk on Linux.
Install TestDisk on Ubuntu/Debian
sudo apt update
sudo apt -y install testdisk
We’re using the apt package manager instead of the apt-get since that’s the new package manager for Ubuntu/Debian.
Install TestDisk on Red Hat and CentOS 7
yum install epel-release
yum update
yum install testdisk
Install TestDisk on Red Hat and CentOS 8
yum install https://dl.fedoraproject.org/pub/epel/epel-release-latest-8.noarch.rpm
yum update
yum install testdisk
You need to also enable/install the EPEL repository. The EPEL repository is an additional package repository that provides easy access to install packages for commonly used software.
To know more about the EPEL repository, visit the official page.
Install TestDisk on Arch Linux
sudo pacman -S testdisk
Install TestDisk on Fedora
sudo dnf install testdisk
How To Recover Deleted Files in Linux?
Now that you have the testdisk utility installed, it’s time to use it to recover our deleted files or partitions.
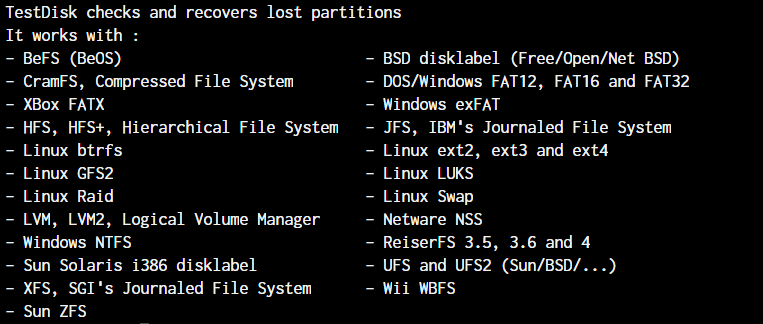
Testdisk works with the following partition types:
You might not need to check for the partition type as the above list covers almost all the major partition types. But if you’re unsure, enter one of the commands:
stat -f <partition>
df -T
fdisk -l
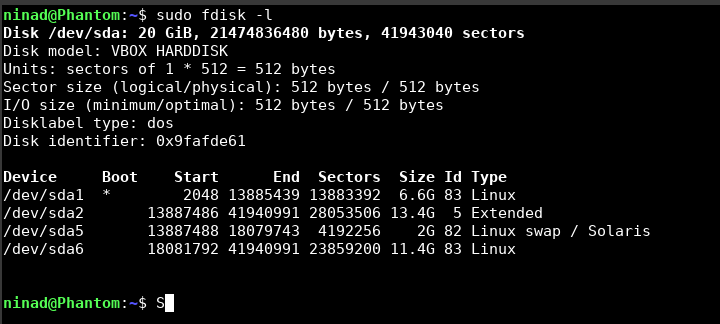
Either of the commands above will give you the filesystem type information.
1. Starting TestDisk and Configuring Where it Runs
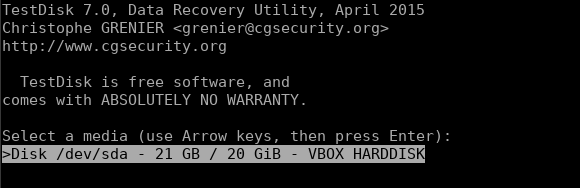
In your terminal, simply enter the command testdisk to run the utility and you’ll be greeted with the below prompt. You can select the appropriate disk drive that you want to recover files on.
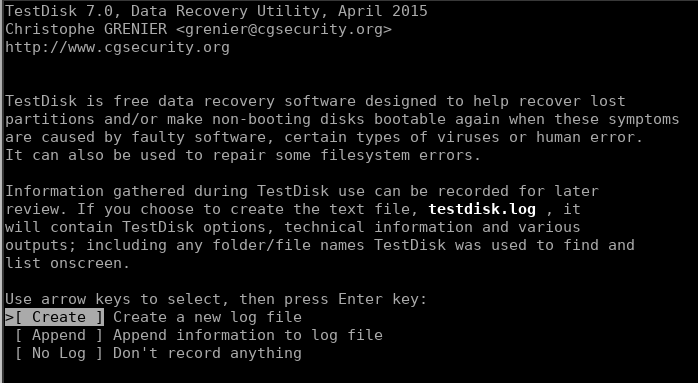
If its the first time you’re running this utility, it will give you an option to create a log file on the welcome screen. You can select create and just move ahead with the defaults.
The next screen asks you to select the disk drive/partition:
2. Selecting and Analyzing the Partition
Once you’ve selected the right partition, you will be asked to select the partition type.
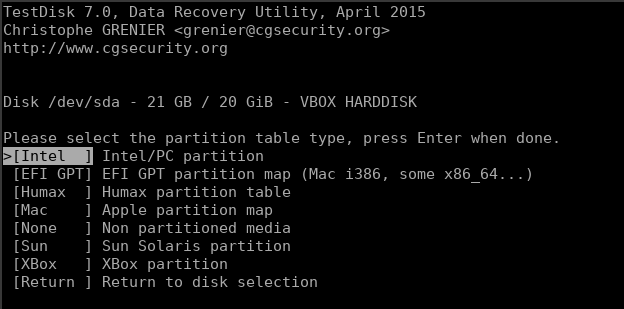
It should auto-select the correct partition type, but if it doesn’t, make sure you select the correct type.
Once that’s done, you’ll be given a menu of options out of which we need to go ahead with “Analyse” to search for lost data.
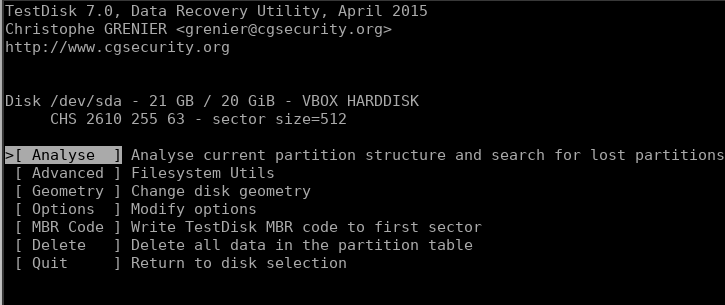
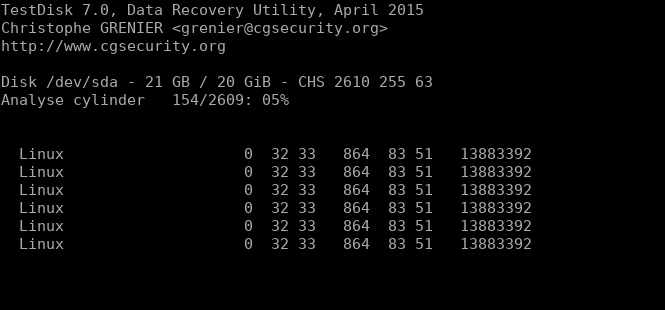
You can go with “Quick Search” or “Deeper Search” as it fits your needs and let the search run until it has scanned all the inodes.
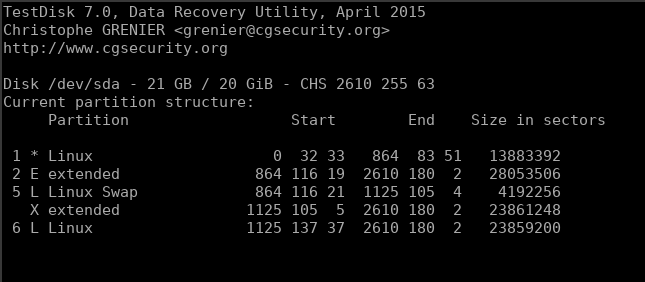
3. Scanning the Partition for Deleted Files
With the option selected, you’ll be greeted with which specific partition you want to scan.
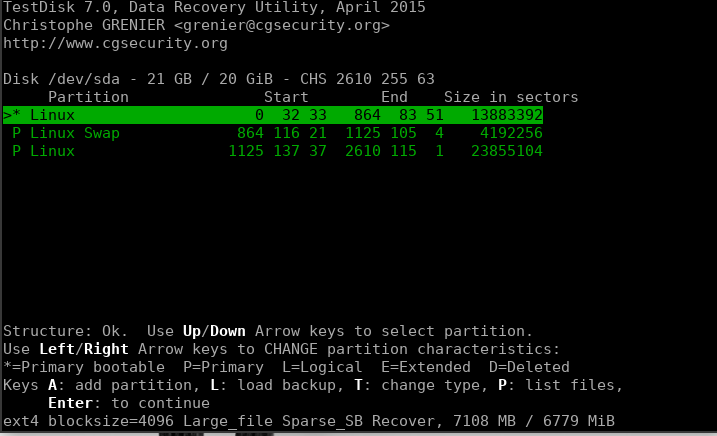
Select the correct partition, and let the utility scan the entire drive. Within some time, you’ll get the list of files within the partition. When the scanning is in progress, you’ll see a screen similar to the one below.
Now once the progress is completed, it provides you with the option to select the partition that you want to browse the files in. All the files that are highlighted in “red” or any color or text style (can also be influenced by terminal configuration) are the files that have been recovered by the TestDisk utility.
To restore those files, simply press the letter "C" and it will allow you to copy that file and paste it in some other directory that you want to restore it to.
Conclusion
Well, there you have it. You’ve learned how to recover deleted files in Linux! Go ahead and explore this utility more on a virtual machine to get a hang of it before using it in real-life situations so you know exactly how to work with it on an advanced scale.
We hope you’ve understood the use of the testdisk utility in Linux and know how to use it now. If you have any questions, let us know in the comments below.
Thanks for learning with the DigitalOcean Community. Check out our offerings for compute, storage, networking, and managed databases.
About the author
Still looking for an answer?
 This work is licensed under a Creative Commons Attribution-NonCommercial- ShareAlike 4.0 International License.
Become a contributor for community
Get paid to write technical tutorials and select a tech-focused charity to receive a matching donation.

DigitalOcean Documentation
Full documentation for every DigitalOcean product.

Resources for startups and AI-native businesses
The Wave has everything you need to know about building a business, from raising funding to marketing your product.
The developer cloud
Scale up as you grow — whether you're running one virtual machine or ten thousand.

Start building today
From GPU-powered inference and Kubernetes to managed databases and storage, get everything you need to build, scale, and deploy intelligent applications.
