
Let’s cover the steps to install Tomcat on Linux today. We have already covered the steps for installation on CentOS here. In this tutorial, we’ll use Ubuntu to demonstrate the installation.
You can follow this tutorial even if you’re on a different distribution. To do so, make sure you use the package manager depending on the distribution that you’re using.
Quick Overview of Tomcat
Tomcat is a Java application server designed to deploy Java Servlets and JSPs on your system. Developed by the Apache Software Foundation, it is one of the most widely used Java applications and web servers.
Tomcat was created in an effort towards making an HTTP server which was purely built on Java and allowed Java code operations.
Its open-source nature has greatly contributed to Tomcat’s popularity. In this tutorial, we attempt to guide you to install Tomcat on Linux.
Starting with Tomcat
To properly install Tomcat on Linux, we need Java to be installed on our system. If it isn’t already on your system, we install the OpenJDK which is the default Java development package.
For this, we need to first update our default repositories using the apt package management service. To do this, you need to open the terminal on your Ubuntu system and type the following.
sudo apt update
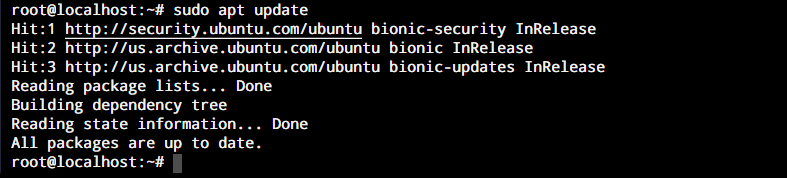
This command updates the Ubuntu repositories to the latest available repositories. Now, this ensures that we will get the latest version of the OpenJDK package when we install Java on our system.
Now we use the following command to install Java. For the complete steps to install Java click here.
sudo apt install default-jdk
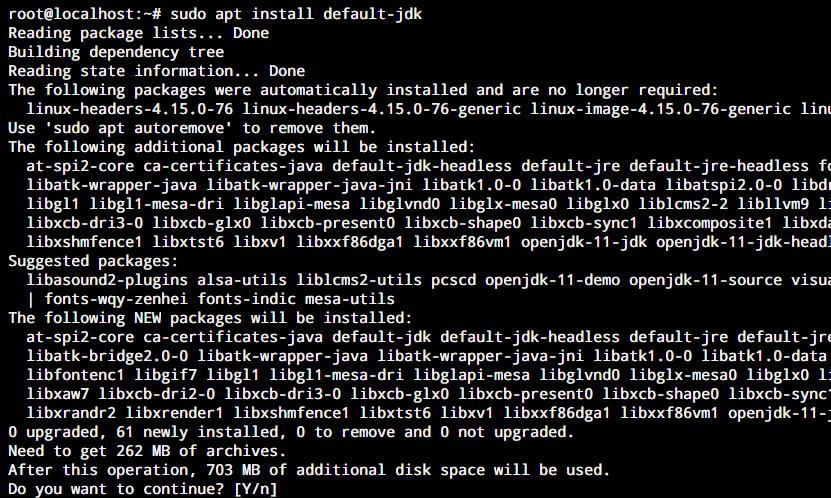
This is what you will see on the terminal screen. Enter ‘Y’ in the command line to proceed with the operation. Once the installation is complete, we verify it by checking the version of java installed on our system using this command.
java -version

How to Install Tomcat on Linux?
Now that we understand what Tomcat does, and have covered the prerequisites, it is time to install Tomcat on our system. To do so, you need to follow the following steps.
Setting up a Tomcat User
It is not advisable to run Tomcat under a root account. Hence we need to create a new user where we run the Tomcat server on our system. We will use the following command to create our new user.
sudo useradd -r -m -U -d /opt/tomcat -s /bin/false tomcat
As you can see, we grouped our new system user with the directory /opt/Tomcat. This will be used to run the Tomcat service on our system.
Downloading the Tomcat package
Now that we have created a new user for our Tomcat server and switched to it. We need to download the Tomcat package to install Tomcat on Linux.
Let’s use the wget command to download the Tomcat package from their official website.
wget -c https://downloads.apache.org/tomcat/tomcat-9/v9.0.34/bin/apache-tomcat-9.0.34.tar.gz
Install Tomcat on Linux
Once the tar archive is downloaded on our system, we need to untar the archive on our system. This can be done as follows using the tar command as shown below.
sudo tar xf apache-tomcat-9.0.34.tar.gz -C /opt/tomcat
Using this command, we have extracted the contents of the tar package in /opt/Tomcat. To make updating Tomcat easy, we create a symbolic link that will point to the installation directory of Tomcat.
sudo ln -s /opt/tomcat/apache-tomcat-9.0.34 /opt/tomcat/updated
Now, if you wish to install Tomcat on Linux with a newer version in future, simply unpack the new archive and change the symbolic link so that it points to the new version.
Now we need to provide the user Tomcat with access for the Tomcat installation directory. We would use the chown command to change the directory ownership.
sudo chown -R tomcat: /opt/tomcat/*
Finally, we will use the chmod command to provide all executable flags to all scripts within the bin directory.
sudo sh -c 'chmod +x /opt/tomcat/updated/bin/*.sh'
Don’t forget to make sure that the “tomcat” user and group has read and write access to all the files and folders within the /opt/tomcat/updated folder like below.

See how both the user and group for the directories is tomcat and tomcat.
Configuring the Tomcat service
Once you install Tomcat on Linux, you need to configure it before you can start using it. First, we need to create a systemd unit file to be able to run Tomcat as a service. We need to create a new unit file for this. We will open a new file named tomcat.service in the directory /etc/systemd/system using nano or your preferred editor.
sudo nano /etc/systemd/system/tomcat.service
Now enter the following in your file and save it. Note that you need to update the value of JAVA_HOME if your Java installation directory is not the same as given below.
[Unit]
Description=Apache Tomcat Web Application Container
After=network.target

[Service]
Type=forking

Environment="JAVA_HOME=/usr/lib/jvm/java-1.11.0-openjdk-amd64"
Environment="CATALINA_PID=/opt/tomcat/updated/temp/tomcat.pid"
Environment="CATALINA_HOME=/opt/tomcat/updated/"
Environment="CATALINA_BASE=/opt/tomcat/updated/"
Environment="CATALINA_OPTS=-Xms512M -Xmx1024M -server -XX:+UseParallelGC"
Environment="JAVA_OPTS=-Djava.awt.headless=true -Djava.security.egd=file:/dev/./urandom"

ExecStart=/opt/tomcat/updated/bin/startup.sh
ExecStop=/opt/tomcat/updated/bin/shutdown.sh

User=tomcat
Group=tomcat
UMask=0007
RestartSec=10
Restart=always

[Install]
WantedBy=multi-user.target
Now we reload the daemon to update the system about the new file.
sudo systemctl daemon-reload
We use the following command to start the Tomcat service on our system.
sudo systemctl start tomcat
We will use the systemctl command to check the status of our Tomcat service. If the output looks like this, you were successful to install Tomcat on Linux.

Now we can enable the Tomcat service to run on startup using this command.
sudo systemctl enable tomcat
After you install Tomcat on Linux, you need to allow it to use the 8080 port through the firewall to be able to communicate outside your local network.
sudo ufw allow 8080/tcp

Verifying our installation
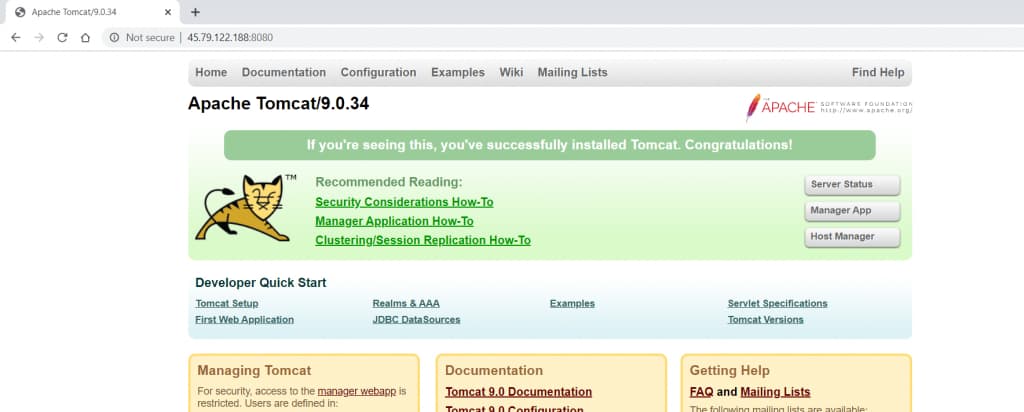
Once we install Tomcat on Linux, we need to verify our installation. To do so, simply enter the following in your browser.
http://<YourIPAddress>:8080
If your installation and configuration were successful, you should see this page.
Conclusion
Tomcat is a powerful tool for deploying Java Servlets and JSPs. It allows you to run Java code in a web server built purely using Java. We hope this tutorial was able to help you install Tomcat on Linux and make some basic configurations.
You can further make custom configurations to your Tomcat server to meet your preferences. If you have any feedback, queries or suggestions, feel free to reach out to us in the comments below.
Thanks for learning with the DigitalOcean Community. Check out our offerings for compute, storage, networking, and managed databases.
About the author
Still looking for an answer?
Installation works fine - w/o any ERR or going back and forth. Now we need Doc on how to “deploy” java App WAR etc - hope you have a Doc for that?
- Mahendra Thacker
 This work is licensed under a Creative Commons Attribution-NonCommercial- ShareAlike 4.0 International License.
Become a contributor for community
Get paid to write technical tutorials and select a tech-focused charity to receive a matching donation.

DigitalOcean Documentation
Full documentation for every DigitalOcean product.

Resources for startups and AI-native businesses
The Wave has everything you need to know about building a business, from raising funding to marketing your product.
The developer cloud
Scale up as you grow — whether you're running one virtual machine or ten thousand.

Start building today
From GPU-powered inference and Kubernetes to managed databases and storage, get everything you need to build, scale, and deploy intelligent applications.
