By PaulHalliday

Introduction
The Angular CLI can create a new Angular project and it will handle the webpack configuration. However, there are situations where you will want to add custom webpack functionality.
For the purposes of this article, you will learn how to use the moment.js library and remove unused locales to create a smaller bundle size.
Note: moment.js is a popular library for handling date and time. However, the current project status suggests that there may be other libraries with modern approaches that may suit your project better depending on your target audience. For educational purposes in reducing bundle sizes, this article will continue to use moment.js.
In this article, you will take an existing Angular CLI-generated project and use @angular-builders/custom-webpack for a custom webpack configuration.
Prerequisites
To complete this tutorial, you will need:
- Node.js installed locally, which you can do by following How to Install Node.js and Create a Local Development Environment.
- Some familiarity with setting up a Angular project.
This tutorial was verified with Angular v10.2.0, @angular-builders/custom-webpack v10.0.1, moment.js v2.29.1, and moment-locales-webpack-plugin v1.2.0.
Step 1 — Setting Up the Project
You can use @angular/cli to create a new Angular Project.
In your terminal window, use the following command:
- npx @angular/cli new AngularCustomWebpackConfig --style=css --routing=false --skip-tests
This will configure a new Angular project with styles set to “CSS” (as opposed to “Sass”, Less", or “Stylus”), no routing, and skipping tests.
Navigate to the newly created project directory:
- cd AngularCustomWebpackConfig
You can then install moment.js to your project and import this into your project:
- npm install moment@2.29.1
To reduce the size of the moment.js library, you will need to also add moment-locales-webpack-plugin as a devDependency:
- npm install --save-dev moment-locales-webpack-plugin@1.2.0
In order to use a custom webpack config, you will need to add @angular-builders/custom-webpack and @angular-builders/dev-server to your project as devDependency packages:
- npm install --save-dev @angular-builders/custom-webpack@10.0.1
At this point you should have an Angular project generated by Angular CLI, moment.js, moment-locales-webpack-plugin, and @angular-builders/custom-webpack.
Step 2 — Building a Localized Clock Display
The example project for this article will display date and time information in French.
Open app.component.ts in your code editor and import moment and use it to display the current time in the format of the month name, day of the month, year, and time (LLL) using the French (fr) locale:
import { Component, OnInit } from '@angular/core';

import * as moment from 'moment';

@Component({
  selector: 'app-root',
  templateUrl: './app.component.html',
  styleUrls: ['./app.component.css']
})
export class AppComponent implements OnInit {
  currentTimeFRLocale: string;

  ngOnInit(): void {
    moment.locale('fr');
    this.currentTimeFRLocale = moment().format('LLL');
  }
}
Then, open app.component.html in your code editor and use the currentTimeFRLocale:
<h1>{{ currentTimeFRLocale }}</h1>
This code will display the date and time string.
Run the application:
- npm start
And open it in a browser:
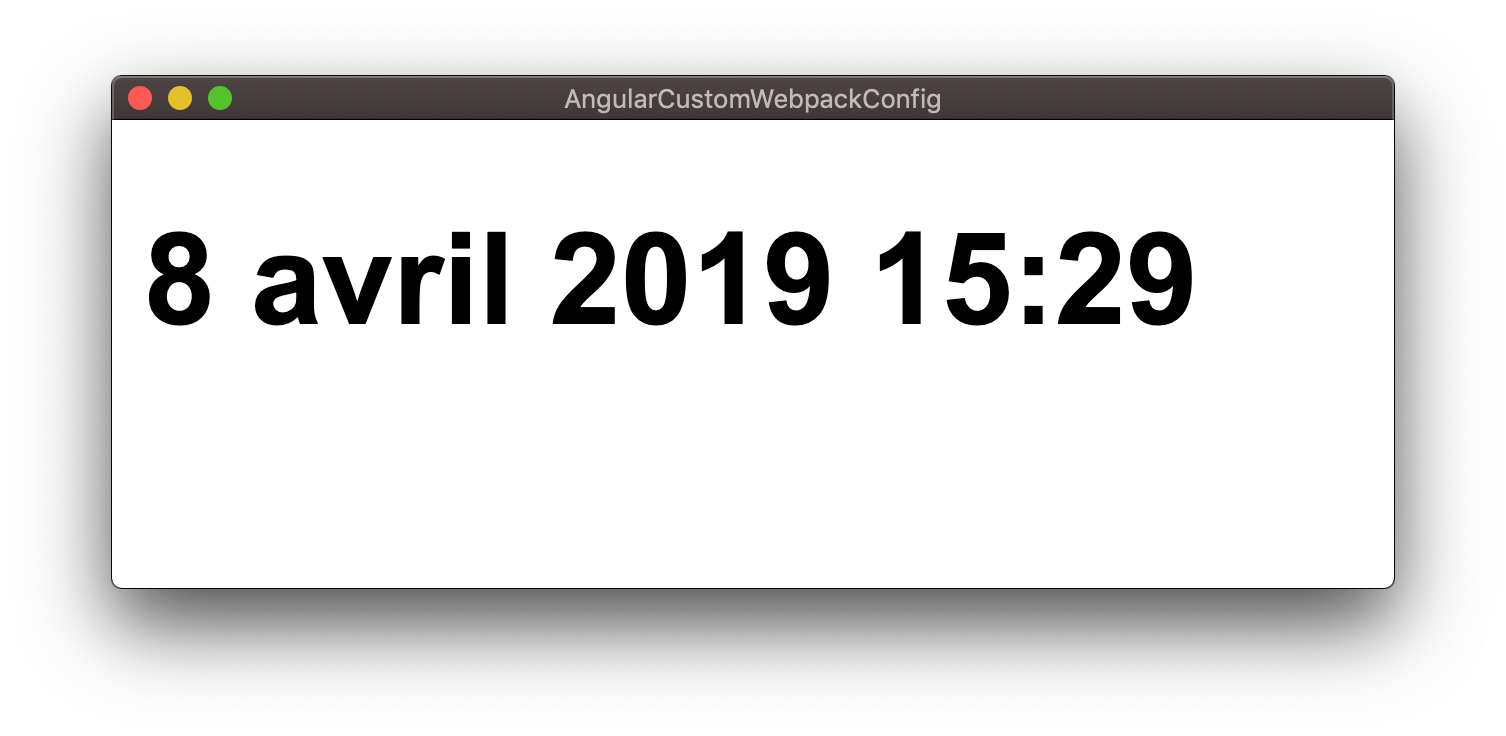
Once you verify that your application is working as expected, take a note of the values for main.js and vendor.js in the console;
Unmodified Webpack Outputchunk {main} main.js, main.js.map (main) 15 kB [initial] [rendered]
...
chunk {vendor} vendor.js, vendor.js.map (vendor) 3.04 MB [initial] [rendered]
The vendor file, which contains moment.js, is 3.04 MB in size.
Step 3 — Modifying a Localized Clock Display with a Custom webpack Configuration
moment.js supports many locales by default. If the audience for your project does not require certain languages, removing the locales that are not necessary can help reduce file sizes. Smaller file sizes in turn will let your application load quicker for the end-user.
With your code editor, create a new custom-webpack.config.js file and add the following lines of code;
const MomentLocalesPlugin = require('moment-locales-webpack-plugin');

module.exports = {
  plugins: [
    new MomentLocalesPlugin({
      localesToKeep: ['fr']
    })
  ]
};
This will require the moment-locales-webpack-plugin and use it to keep the fr locale - which will be date and time terms in the French language.
Next, you will need to modify angular.json to use this new configuration.
Open angular.json in your code editor. Inside of the architect/build object, update the builder from @angular-devkit/build-angular:browser to @angular-builders/custom-webpack:browser and add the customWebpackConfig key:
"architect": {
  "build": {
    "builder": "@angular-builders/custom-webpack:browser",
    "options": {
      "customWebpackConfig": {
        "path": "./custom-webpack.config.js",
        "replaceDuplicatePlugins": true
      },
      // ...
    },
    // ...
  },
  // ...
}
This will build the application with the custom webpack configuration.
You will also want to apply the custom webpack configuration when developing locally.
Revisit the angular.json in your code editor. Inside of the architect/serve object, update the builder from @angular-devkit/build-angular:dev-server to @angular-builders/custom-webpack:dev-server:
"architect": {
  // ...
  "serve": {
    "builder": "@angular-builders/custom-webpack:dev-server",
    "options": {
      "browserTarget": "AngularCustomWebpackConfig:build"
    },
    "configurations": {
      "production": {
        "browserTarget": "AngularCustomWebpackConfig:build:production"
      }
    }
  },
  // ...
}
At this point, your application knows to use the @angular-builders/custom-webpack instead of @angular-devkit/build-angular and where to look for the custom webpack configuration.
Note: Previously, the @angular-builders/dev-server package was required. However, since version 8, it has been deprecated and @angular-builders/custom-webpack:dev-server should be used instead.
Run the application:
- npm start
Once you verify that your application is working as expected, take note of the values for main.js and vendor.js in the console.
Looking back, the unmodified webpack configuration generated main.js and vendor.js with the following file sizes:
Unmodified Webpack Outputchunk {main} main.js, main.js.map (main) 15 kB [initial] [rendered]
...
chunk {vendor} vendor.js, vendor.js.map (vendor) 3.04 MB [initial] [rendered]
Now, with the customized webpack configuration, the main.js and vendor.js file sizes have been reduced:
Custom Webpack Outputchunk {main} main.js, main.js.map (main) 9.91 kB [initial] [rendered]
...
chunk {vendor} vendor.js, vendor.js.map (vendor) 2.55 MB [initial] [rendered]
That is a difference of 5 kB and 490 kB respectively.
Conclusion
In this article, you learned how to use @angular-builders/custom-webpack to use a custom webpack configuration. Using a custom webpack configuration can offer you greater control over your project than the defaults generated with Angular CLI.
If you’d like to learn more about Angular, check out our Angular topic page for exercises and programming projects.
Thanks for learning with the DigitalOcean Community. Check out our offerings for compute, storage, networking, and managed databases.
About the author
I create educational content over at YouTube and https://developer.school.
Still looking for an answer?
This textbox defaults to using Markdown to format your answer.
You can type !ref in this text area to quickly search our full set of tutorials, documentation & marketplace offerings and insert the link!
I tried upgrading to Angular 11 and can’t seem to still use this code to remove the extra moment locales.
Any suggestions on how to continue using this trick for Angular 11?
 This work is licensed under a Creative Commons Attribution-NonCommercial- ShareAlike 4.0 International License.
Become a contributor for community
Get paid to write technical tutorials and select a tech-focused charity to receive a matching donation.

DigitalOcean Documentation
Full documentation for every DigitalOcean product.

Resources for startups and AI-native businesses
The Wave has everything you need to know about building a business, from raising funding to marketing your product.
The developer cloud
Scale up as you grow — whether you're running one virtual machine or ten thousand.

Start building today
From GPU-powered inference and Kubernetes to managed databases and storage, get everything you need to build, scale, and deploy intelligent applications.
