
Introduction
If you are developing a Ruby on Rails application, you may be interested in adding styles to your project to facilitate user engagement. One way to do this is by adding Bootstrap, an HTML, CSS, and JavaScript framework designed to simplify the process of making web projects responsive and mobile ready. By implementing Bootstrap in a Rails project, you can integrate its layout conventions and components into your application to make user interactions with your site more engaging.
In this tutorial, you will add Bootstrap to an existing Rails project that uses the webpack bundler to serve its JavaScript and CSS assets. The goal will be to create a visually appealing site that users can interact with to share information about sharks:
Prerequisites
To follow this tutorial, you will need:
- A local machine or development server running Ubuntu 18.04. Your development machine should have a non-root user with administrative privileges and a firewall configured with
ufw. For instructions on how to set this up, see our Initial Server Setup with Ubuntu 18.04 tutorial. - Node.js and npm installed on your local machine or development server. This tutorial uses Node.js version 10.16.3 and npm version 6.9.0. For guidance on installing Node.js and npm on Ubuntu 18.04, follow the instructions in the “Installing Using a PPA” section of How To Install Node.js on Ubuntu 18.04.
- Ruby, rbenv, and Rails installed on your local machine or development server, following Steps 1-4 in How To Install Ruby on Rails with rbenv on Ubuntu 18.04. This tutorial uses Ruby 2.5.1, rbenv 1.1.2, and Rails 5.2.3.
- SQLite installed, following Step 1 of How To Build a Ruby on Rails Application. This tutorial uses SQLite 3 3.22.0.
Step 1 — Cloning the Project and Installing Dependencies
Our first step will be to clone the rails-stimulus repository from the DigitalOcean Community GitHub account. This repository includes the code from the setup described in How To Add Stimulus to a Ruby on Rails Application, which described how to add Stimulus.js to an existing Rails 5 project.
Clone the repository into a directory called rails-bootstrap:
- git clone https://github.com/do-community/rails-stimulus.git rails-bootstrap
Navigate to the rails-bootstrap directory:
- cd rails-bootstrap
In order to work with the project code, you will first need to install the project’s dependencies, which are listed in its Gemfile. Use the following command to install the required gems:
- bundle install
Next, you will install your Yarn dependencies. Because this Rails 5 project has been modified to serve assets with webpack, its JavaScript dependencies are now managed by Yarn. This means that it’s necessary to install and verify the dependencies listed in the project’s package.json file.
Run the following command to install these dependencies:
- yarn install --check-files
The --check-files flag checks to make sure that any files already installed in the node_modules directory have not been removed.
Next, run your database migrations:
- rails db:migrate
Once your migrations have finished, you can test the application to ensure that it is working as expected. Start your server with the following command if you are working locally:
- rails s
If you are working on a development server, you can start the application with:
- rails s --binding=your_server_ip
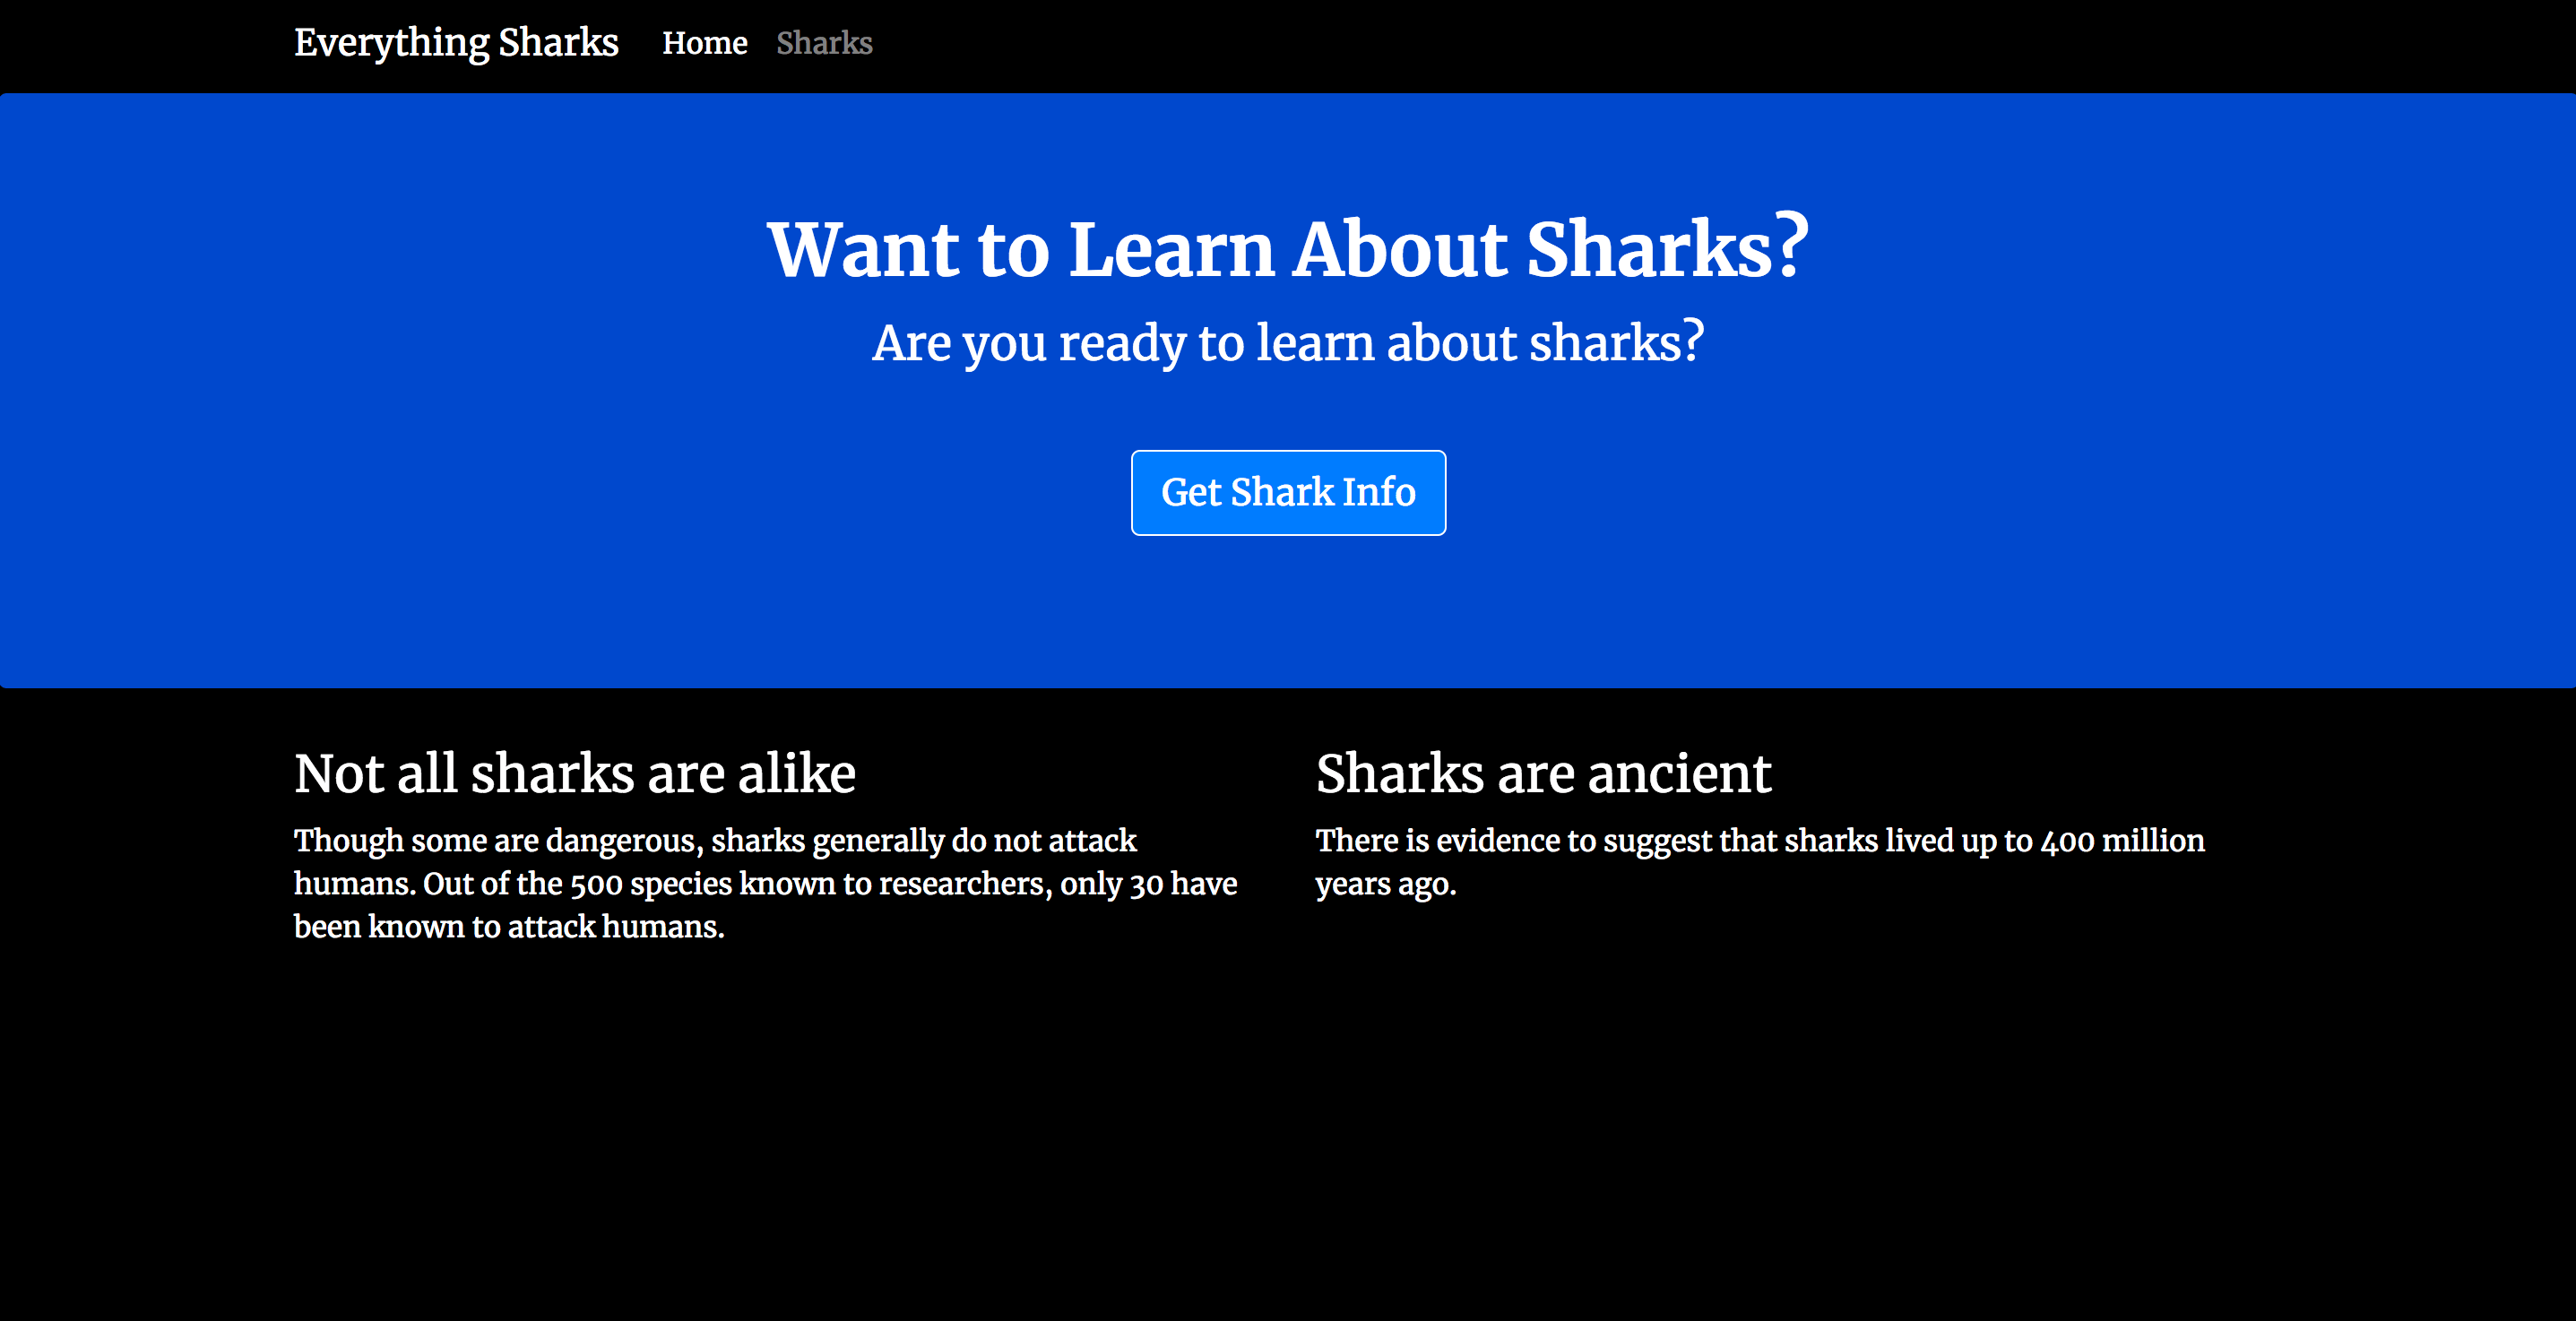
Navigate to localhost:3000 or http://your_server_ip:3000. You will see the following landing page:
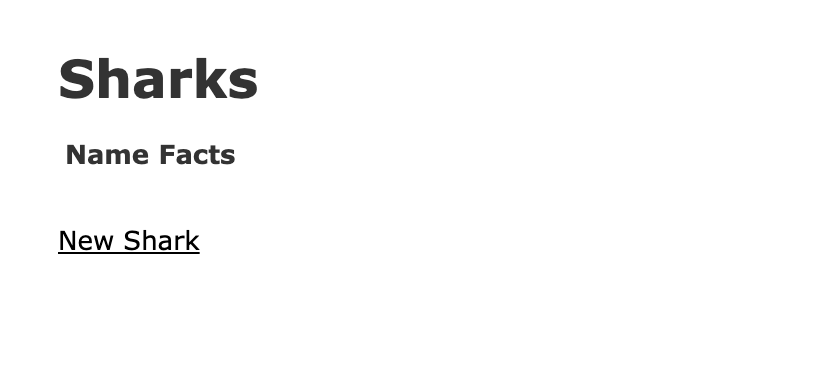
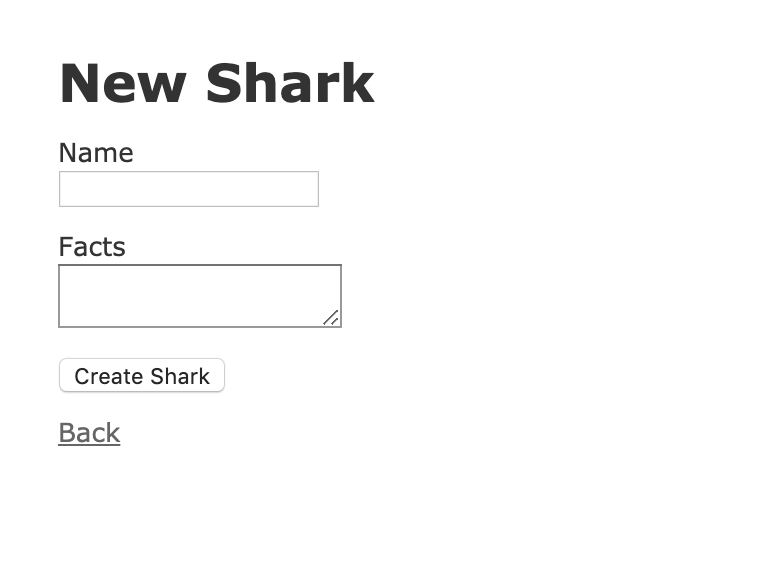
To create a new shark, click on the New Shark link at the bottom of the page, which will take you to the sharks/new route. You will be prompted for a username (sammy) and password (shark), thanks to the project’s authentication settings. The new view looks like this:
To verify that the application is working, we can add some demo information to it. Input “Great White” into the Name field and “Scary” into the Facts field:
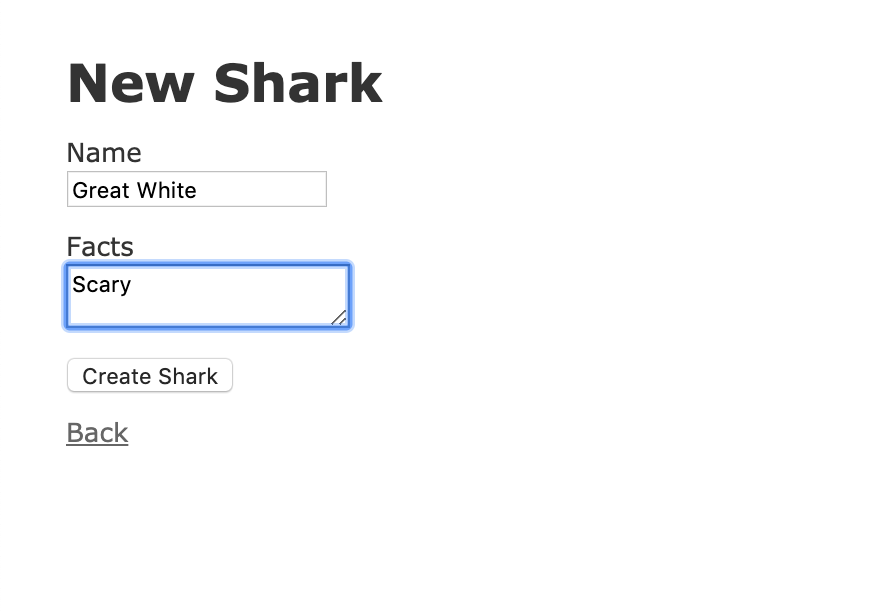
Click on the Create Shark button to create the shark:
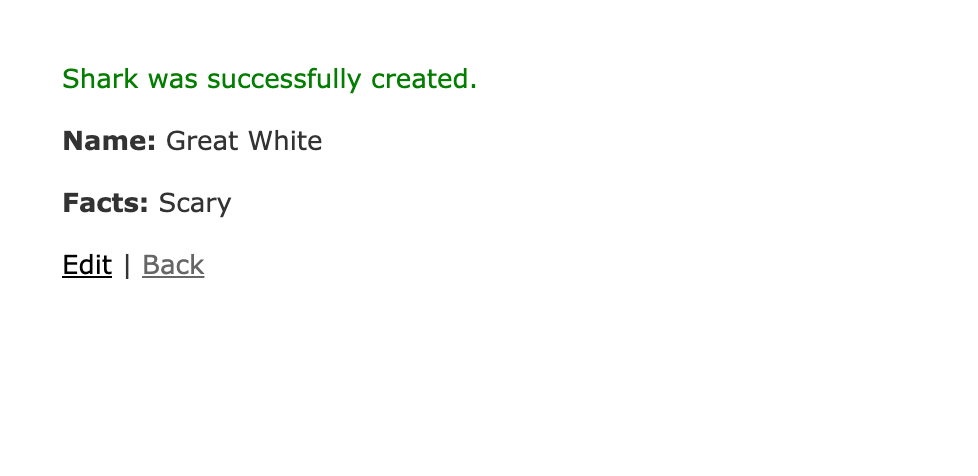
You have now installed the necessary dependencies for your project and tested its functionality. Next, you can make a few changes to the Rails application so that users encounter a main landing page before navigating to the shark information application itself.
Step 2 — Adding a Main Landing Page and Controller
The current application sets the root view to the main shark information page, the index view for the sharks controller. While this works to get users to the main application, it may be less desirable if we decide to develop the application in the future and add other capabilities and features. We can reorganize the application to have the root view set to a home controller, which will include an index view. From there, we can link out to other parts of the application.
To create the home controller, you can use the rails generate command with the controller generator. In this case, we will specify that we want an index view for our main landing page:
- rails generate controller home index
With the controller created, you’ll need to modify the root view in the project’s config/routes.rb file — the file that specifies the application’s route declarations — since the root view is currently set to the sharks index view.
Open the file:
- nano config/routes.rb
Find the following line:
. . .
root 'sharks#index'
. . .
Change it to the following:
. . .
root 'home#index'
. . .
This will set the home controller’s index view as the root of the application, making it possible to branch off to other parts of the application from there.
Save and close the file when you are finished editing.
With these changes in place, you are ready to move on to adding Bootstrap to the application.
Step 3 — Installing Bootstrap and Adding Custom Styles
In this step, you will add Bootstrap to your project, along with the tool libraries that it requires to function properly. This will involve importing libraries and plugins into the application’s webpack entry point and environment files. It will also involve creating a custom style sheet in your application’s app/javascript directory, the directory where the project’s JavaScript assets live.
First, use yarn to install Bootstrap and its required dependencies:
- yarn add bootstrap jquery popper.js
Many of Bootstrap’s components require JQuery and Popper.js, along with Bootstrap’s own custom plugins, so this command will ensure that you have the libraries you need.
Next, open your main webpack configuration file, config/webpack/environment.js with nano or your favorite editor:
- nano config/webpack/environment.js
Inside the file, add the webpack library, along with a ProvidePlugin that tells Bootstrap how to interpret JQuery and Popper variables.
Add the following code to the file:
const { environment } = require('@rails/webpacker')
const webpack = require("webpack")

environment.plugins.append("Provide", new webpack.ProvidePlugin({
  $: 'jquery',
  jQuery: 'jquery',
  Popper: ['popper.js', 'default']
}))

module.exports = environment
The ProvidePlugin helps us avoid the multiple import or require statements we would normally use when working with JQuery or Popper modules. With this plugin in place, webpack will automatically load the correct modules and point the named variables to each module’s loaded exports.
Save and close the file when you are finished editing.
Next, open your main webpack entry point file, app/javascript/packs/application.js:
- nano app/javascript/packs/application.js
Inside the file, add the following import statements to import Bootstrap and the custom scss styles file that you will create next:
. . .
[label ~/rails-bootstrap/app/javascript/packs/application.js]
import { Application } from "stimulus"
import { definitionsFromContext } from "stimulus/webpack-helpers"

import "bootstrap"
import "../stylesheets/application"
. . .
Save and close the file when you are finished editing.
Next, create a stylesheets directory for your application style sheet:
- mkdir app/javascript/stylesheets
Open the custom styles file:
- nano app/javascript/stylesheets/application.scss
This is an scss file, which uses Sass instead of CSS. Sass, or Syntactically Awesome Style Sheets, is a CSS extension language that lets developers integrate programming logic and conventions like shared variables into styling rules.
In the file, add the following statements to import the custom Bootstrap scss styles and Google fonts for the project:
@import "~bootstrap/scss/bootstrap";
@import url('https://fonts.googleapis.com/css?family=Merriweather:400,700');
Next, add the following custom variable definitions and styles for the application:
. . .
$white: white;
$black: black;

.navbar {
        margin-bottom: 0;
        background: $black;
}
body {
        background: $black;
        color: $white;
        font-family: 'Merriweather', sans-serif;
}
h1,
h2 {
        font-weight: bold;
}
p {
        font-size: 16px;
        color: $white;
}
a:visited {
        color: $black;
}
.jumbotron {
        background: #0048CD;
        color: $white;
        text-align: center;
        p {
                color: $white;
                font-size: 26px;
        }
}
.link {
        color: $white;
}
.btn-primary {
        color: $white;
        border-color: $white;
        margin-bottom: 5px;
}
.btn-sm {
        background-color: $white;
        display: inline-block;
}
img,
video,
audio {
        margin-top: 20px;
        max-width: 80%;
}
caption {

        float: left;
        clear: both;

}
Save and close the file when you are finished editing.
You have added Bootstrap to your project, along with some custom styles. Now you can move on to integrating Bootstrap layout conventions and components into your application files.
Step 4 — Modifying the Application Layout
Our first step in integrating Bootstrap conventions and components into the project will be adding them to the main application layout file. This file sets the elements that will be included with each rendered view template for the application. In this file, we’ll make sure our webpack entry point is defined, while also adding references to a shared navigation headers partial and some logic that will allow us to render a layout for the views associated with the shark application.
First, open app/views/layouts/application.html.erb, your application’s main layout file:
- nano app/views/layouts/application.html.erb
Currently, the file looks like this:
<!DOCTYPE html>
<html>
  <head>
    <title>Sharkapp</title>
    <%= csrf_meta_tags %>
    <%= csp_meta_tag %>

    <%= stylesheet_link_tag 'application', media: 'all', 'data-turbolinks-track': 'reload' %>
    <%= javascript_pack_tag 'application', 'data-turbolinks-track': 'reload' %>
  </head>

  <body>
    <%= yield %>
  </body>
</html>
The code renders things like cross-site request forgery protection parameters and tokens for dynamic forms, a csp-nonce for per-session nonces that allows in-line script tags, and the application’s style sheets and javascript assets. Note that rather than having a javascript_link_tag, our code includes a javascript_pack_tag, which tells Rails to load our main webpack entry point at app/javascript/packs/application.js.
In the <body> of the page, a yield statement tells Rails to insert the content from a view. In this case, because our application root formerly mapped to the index shark view, this would have inserted the content from that view. Now, however, because we have changed the root view, this will insert content from the home controller’s index view.
This raises a couple of questions: Do we want the home view for the application to be the same as what users see when they view the shark application? And if we want these views to be somewhat different, how do we implement that?
The first step will be deciding what should be replicated across all application views. We can leave everything included under the <header> in place, since it is primarily tags and metadata that we want to be present on all application pages. Within this section, however, we can also add a few things that will customize all of our application views.
First, add the viewport meta tag that Bootstrap recommends for responsive behaviors:
<!DOCTYPE html>
<html>
  <head>
    <meta name="viewport" content="width=device-width, initial-scale=1.0">
    <title>Sharkapp</title>
    <%= csrf_meta_tags %>
    <%= csp_meta_tag %>
. . .
Next, replace the existing title code with code that will render the application title in a more dynamic way:
<!DOCTYPE html>
<html>
  <head>
    <meta name="viewport" content="width=device-width, initial-scale=1.0">
    <title><%= content_for?(:title) ? yield(:title) : "About Sharks" %></title>
    <%= csrf_meta_tags %>
    <%= csp_meta_tag %>
. . .
Add a <meta> tag to include a description of the site:
<!DOCTYPE html>
<html>
  <head>
    <meta name="viewport" content="width=device-width, initial-scale=1.0">
    <title><%= content_for?(:title) ? yield(:title) : "About Sharks" %></title>
    <meta name="description" content="<%= content_for?(:description) ? yield(:description) : "About Sharks" %>">
    <%= csrf_meta_tags %>
    <%= csp_meta_tag %>
. . .
With this code in place, you can add a navigation partial to the layout. Ideally, each of our application’s pages should include a navbar component at the top of the page, so that users can easily navigate from one part of the site to another.
Under the <body> tag, add a <header> tag and the following render statement:
  <body>
    <header>
      <%= render 'layouts/navigation' %>
    </header>

    <%= yield %>
. . .
This <header> tag allows you to organize your page content, separating the navbar from the main page contents.
Finally, you can add a <main> element tag and some logic to control which view, and thus which layout, the application will render. This code uses the content_for method to reference a content identifier that we will associate with our sharks layout in the next step.
Replace the existing yield statement with the following content:
. . .
  <body>
    <header>
      <%= render 'layouts/navigation' %>
    </header>
    <main role="main">
    <%= content_for?(:content) ? yield(:content) : yield %>
    </main>
  </body>
</html>
Now, if the :content block is set, the application will yield the associated layout. Otherwise, thanks to the ternary operator, it will do an implicit yield of the view associated with the home controller.
Once you have made these changes, save and close the file.
With the application-wide layout set, you can move on to creating the shared navbar partial and the sharks layout for your shark views.
Step 5 — Creating the Shared Partial and Specific Layouts
In addition to the changes you made to the application layout in the previous Step, you will want to create the shared navbar partial, the sharks layout that you referenced in app/views/layouts/application.html.erb, and a view for the application landing page. You can also add Bootstrap styles to your application’s current link_to elements in order to take advantage of built-in Bootstrap styles.
First, open a file for the shared navbar partial:
nano app/views/layouts/_navigation.html.erb
Add the following code to the file to create the navbar:
<nav class="navbar navbar-dark navbar-static-top navbar-expand-md">
    <div class="container">
        <button type="button" class="navbar-toggler collapsed" data-toggle="collapse" data-target="#bs-example-navbar-collapse-1" aria-expanded="false"> <span class="sr-only">Toggle navigation</span>
        </button> <%= link_to "Everything Sharks", root_path, class: 'navbar-brand' %>
        <div class="collapse navbar-collapse" id="bs-example-navbar-collapse-1">
            <ul class="nav navbar-nav mr-auto">
            <li class='nav-item'><%= link_to 'Home', home_index_path, class: 'nav-link' %></li>
            <li class='nav-item'><%= link_to 'Sharks', sharks_path, class: 'nav-link' %></li>

                </li>
            </ul>
        </div>
    </div>
</nav>
This navbar creates a link for the application root using the link_to method, which maps to the application root path. The navbar also includes two additional links: one to the Home path, which maps to the home controller’s index view, and another to the shark application path, which maps to the shark index view.
Save and close the file when you are finished editing.
Next, open a file in the layouts directory for the sharks layout:
- nano app/views/layouts/sharks.html.erb
Before adding layout features, we will need to ensure that the content of the layout is set as the :content block that we reference in the main application layout. Add the following lines to the file to create the block:
<% content_for :content do %>
<% end %>
The code we’re about to write in this block will be rendered inside the :content block in the app/views/layouts/application.html.erb file whenever a sharks view is requested by a controller.
Next, inside the block itself, add the following code to create a jumbotron component and two containers:
<% content_for :content do %>
    <div class="jumbotron text-center">
        <h1>Shark Info</h1>
    </div>
    <div class="container">
        <div class="row">
            <div class="col-lg-6">
                <p>
                    <%= yield %>
                </p>
            </div>
            <div class="col-lg-6">
                <p>

                    <div class="caption">You can always count on some sharks to be friendly and welcoming!</div>
                    <img src="https://assets.digitalocean.com/articles/docker_node_image/sammy.png" alt="Sammy the Shark">
                </p>

            </div>
        </div>
    </div>
    <% end %>
The first container includes a yield statement that will insert the content from the shark controller’s views, while the second includes a reminder that certain sharks are always friendly and welcoming.
Finally, at the bottom of the file, add the following render statement to render the application layout:
. . .
            </div>
        </div>
    </div>
    <% end %>
        <%= render template: "layouts/application" %>
This sharks layout will provide the content for the named :content block in the main application layout; it will then render the application layout itself to ensure that our rendered application pages have everything we want at the application-wide level.
Save and close the file when you are finished editing.
We now have our partials and layouts in place, but we haven’t yet created the view that users will see when they navigate to the application home page, the home controller’s index view.
Open that file now:
- nano app/views/home/index.html.erb
The structure of this view will match the layout we defined for shark views, with a main jumbotron component and two containers. Replace the boilerplate code in the file with the following:
<div class="jumbotron">
    <div class="container">
        <h1>Want to Learn About Sharks?</h1>
        <p>Are you ready to learn about sharks?</p>
        <br>
        <p>
            <%= button_to 'Get Shark Info', sharks_path, :method => :get,  :class => "btn btn-primary btn-lg"%>
        </p>
    </div>
</div>
<div class="container">
    <div class="row">
        <div class="col-lg-6">
            <h3>Not all sharks are alike</h3>
            <p>Though some are dangerous, sharks generally do not attack humans. Out of the 500 species known to researchers, only 30 have been known to attack humans.
            </p>
        </div>
        <div class="col-lg-6">
            <h3>Sharks are ancient</h3>
            <p>There is evidence to suggest that sharks lived up to 400 million years ago.
            </p>
        </div>
    </div>
</div>
Now, when landing on the home page of the application, users will have a clear way to navigate to the shark section of the application, by clicking on the Get Shark Info button. This button points to the shark_path — the helper that maps to the routes associated with the sharks controller.
Save and close the file when you are finished editing.
Our last task will be to transform some of the link_to methods in our application into buttons that we can style using Bootstrap. We will also add a way to navigate back to the home page from the sharks index view.
Open the sharks index view to start:
- nano app/views/sharks/index.html.erb
At the bottom of the file, locate the link_to method that directs to the new shark view:
. . .
<%= link_to 'New Shark', new_shark_path %>
Modify the code to turn this link into a button that uses Bootstrap’s "btn btn-primary btn-sm" class:
. . .
<%= link_to 'New Shark', new_shark_path, :class => "btn btn-primary btn-sm" %>
Next, add a link to the application home page:
. . .
<%= link_to 'New Shark', new_shark_path, :class => "btn btn-primary btn-sm" %> <%= link_to 'Home', home_index_path, :class => "btn btn-primary btn-sm" %>
Save and close the file when you are finished editing.
Next, open the new view:
- nano app/views/sharks/new.html.erb
Add the button styles to the link_to method at the bottom of the file:
. . .
<%= link_to 'Back', sharks_path, :class => "btn btn-primary btn-sm" %>
Save and close the file.
Open the edit view:
- nano app/views/sharks/edit.html.erb
Currently, the link_to methods are arranged like this:
. . .
<%= link_to 'Show', @shark %> |
<%= link_to 'Back', sharks_path %>
Change their arrangement on the page and add the button styles, so that the code looks like this:
. . .
<%= link_to 'Show', @shark, :class => "btn btn-primary btn-sm" %> <%= link_to 'Back', sharks_path, :class => "btn btn-primary btn-sm" %>
Save and close the file.
Finally, open the show view:
- nano app/views/sharks/show.html.erb
Find the following link_to methods:
. . .
<%= link_to 'Edit', edit_shark_path(@shark) %> |
<%= link_to 'Back', sharks_path %>
. . .
Change them to look like this:
. . .
<%= link_to 'Edit', edit_shark_path(@shark), :class => "btn btn-primary btn-sm" %> <%= link_to 'Back', sharks_path, :class => "btn btn-primary btn-sm" %>
. . .
Save and close the file.
You are now ready to test the application.
Start your server with the appropriate command:
rails sif you are working locallyrails s --binding=your_server_ipif you are working with a development server
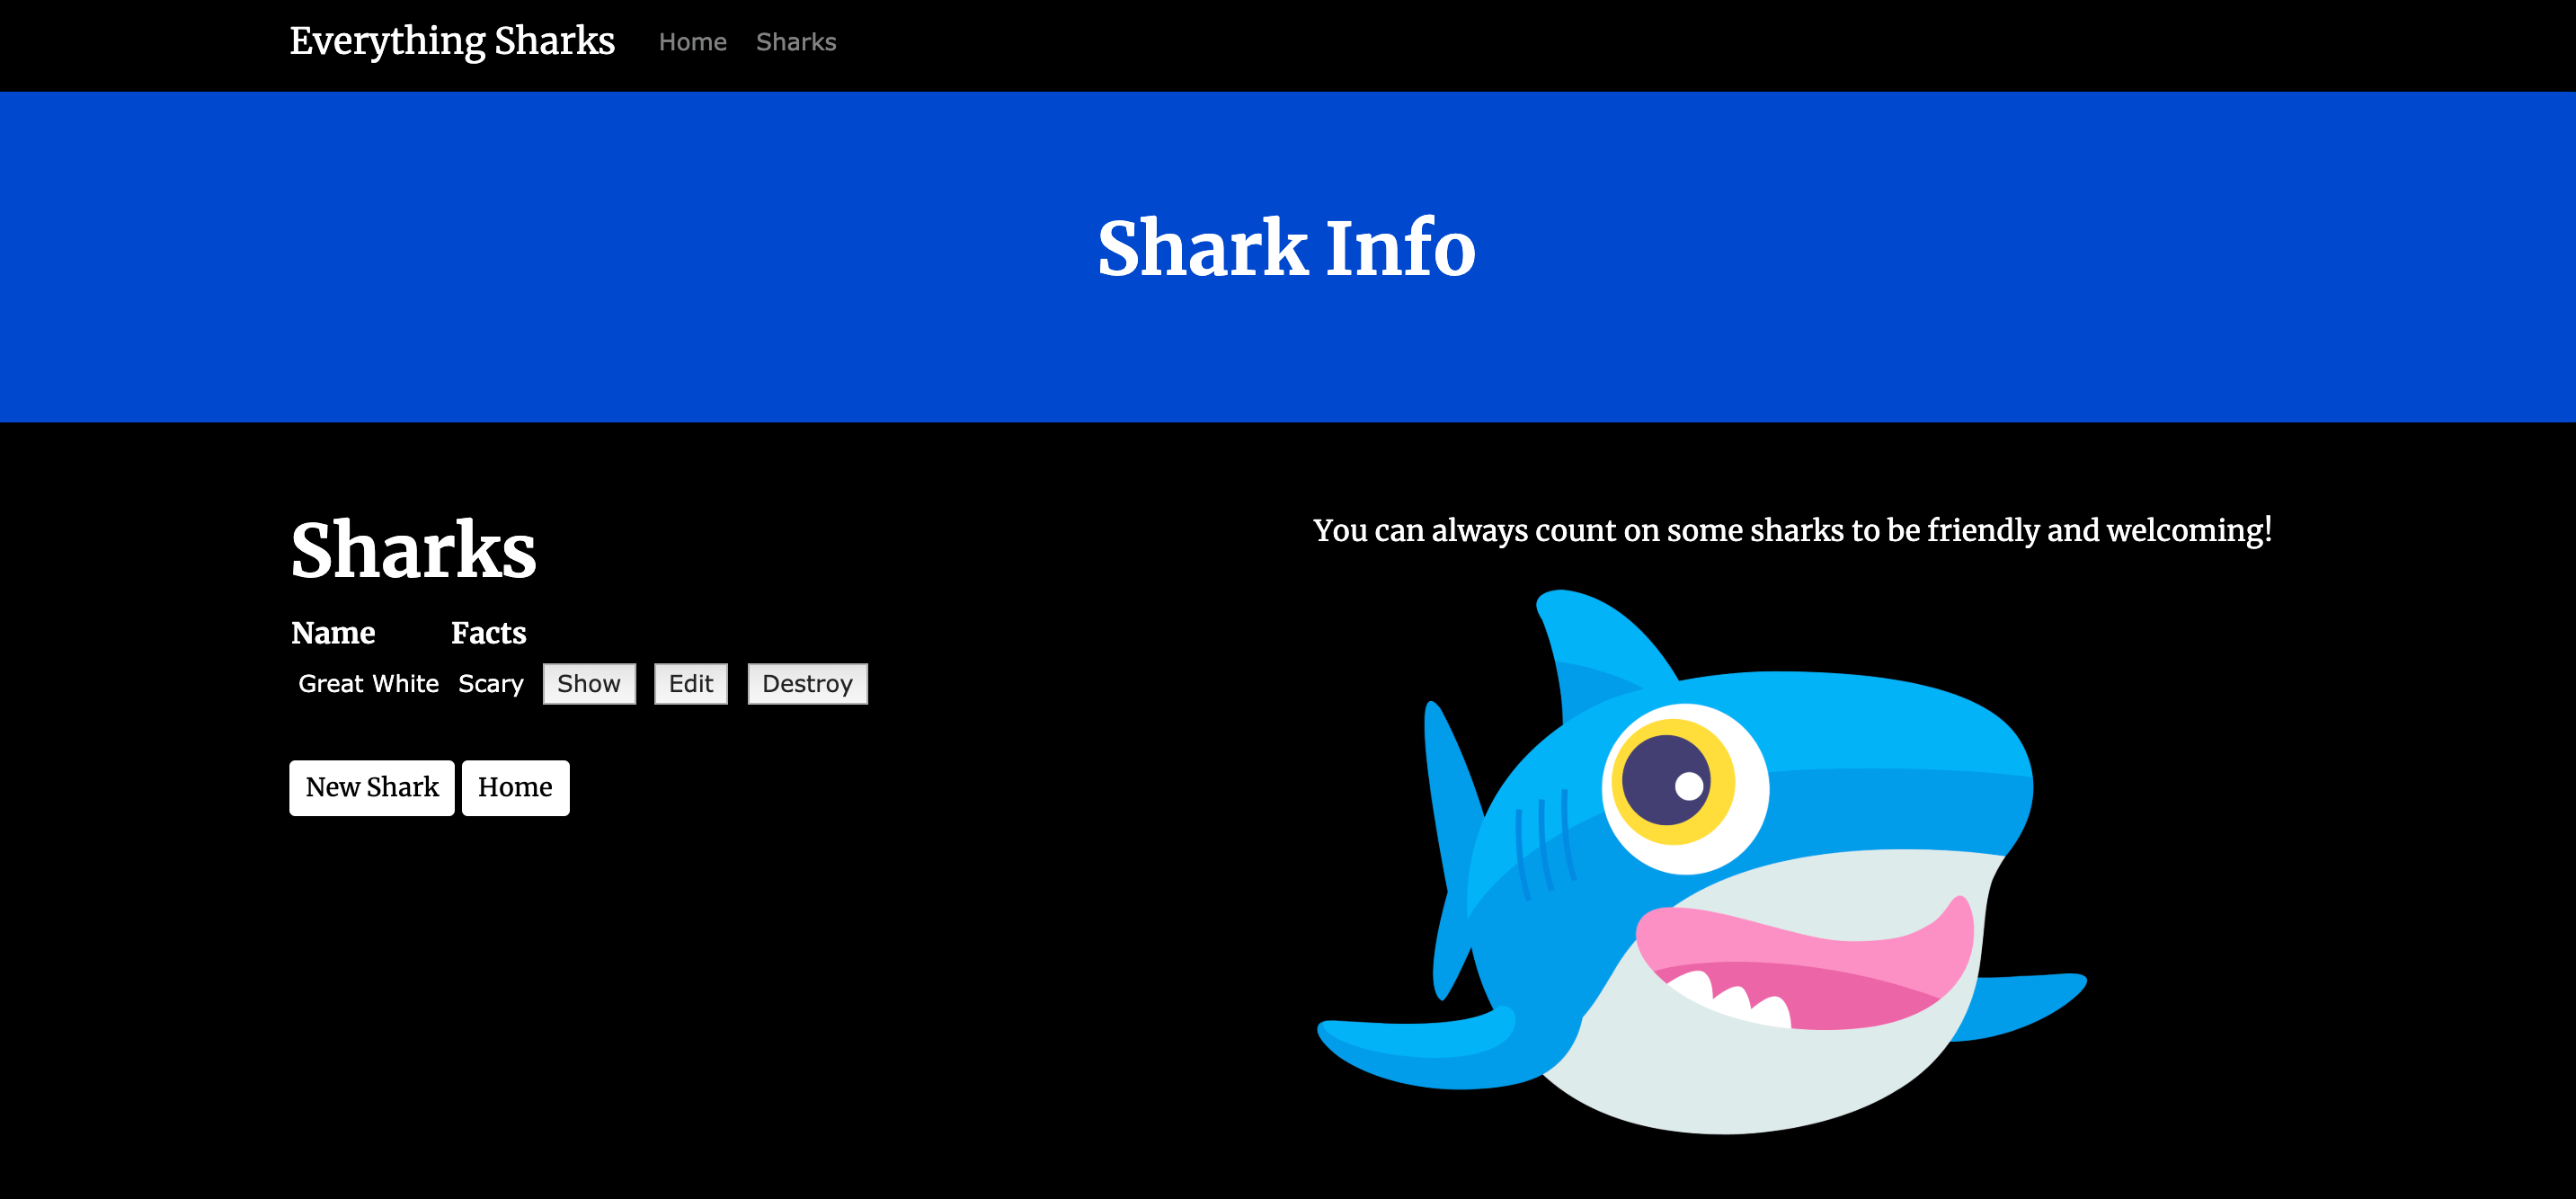
Navigate to localhost:3000 or http://your_server_ip:3000, depending on whether you are working locally or on a server. You will see the following landing page:
Click on Get Shark Info. You will see the following page:
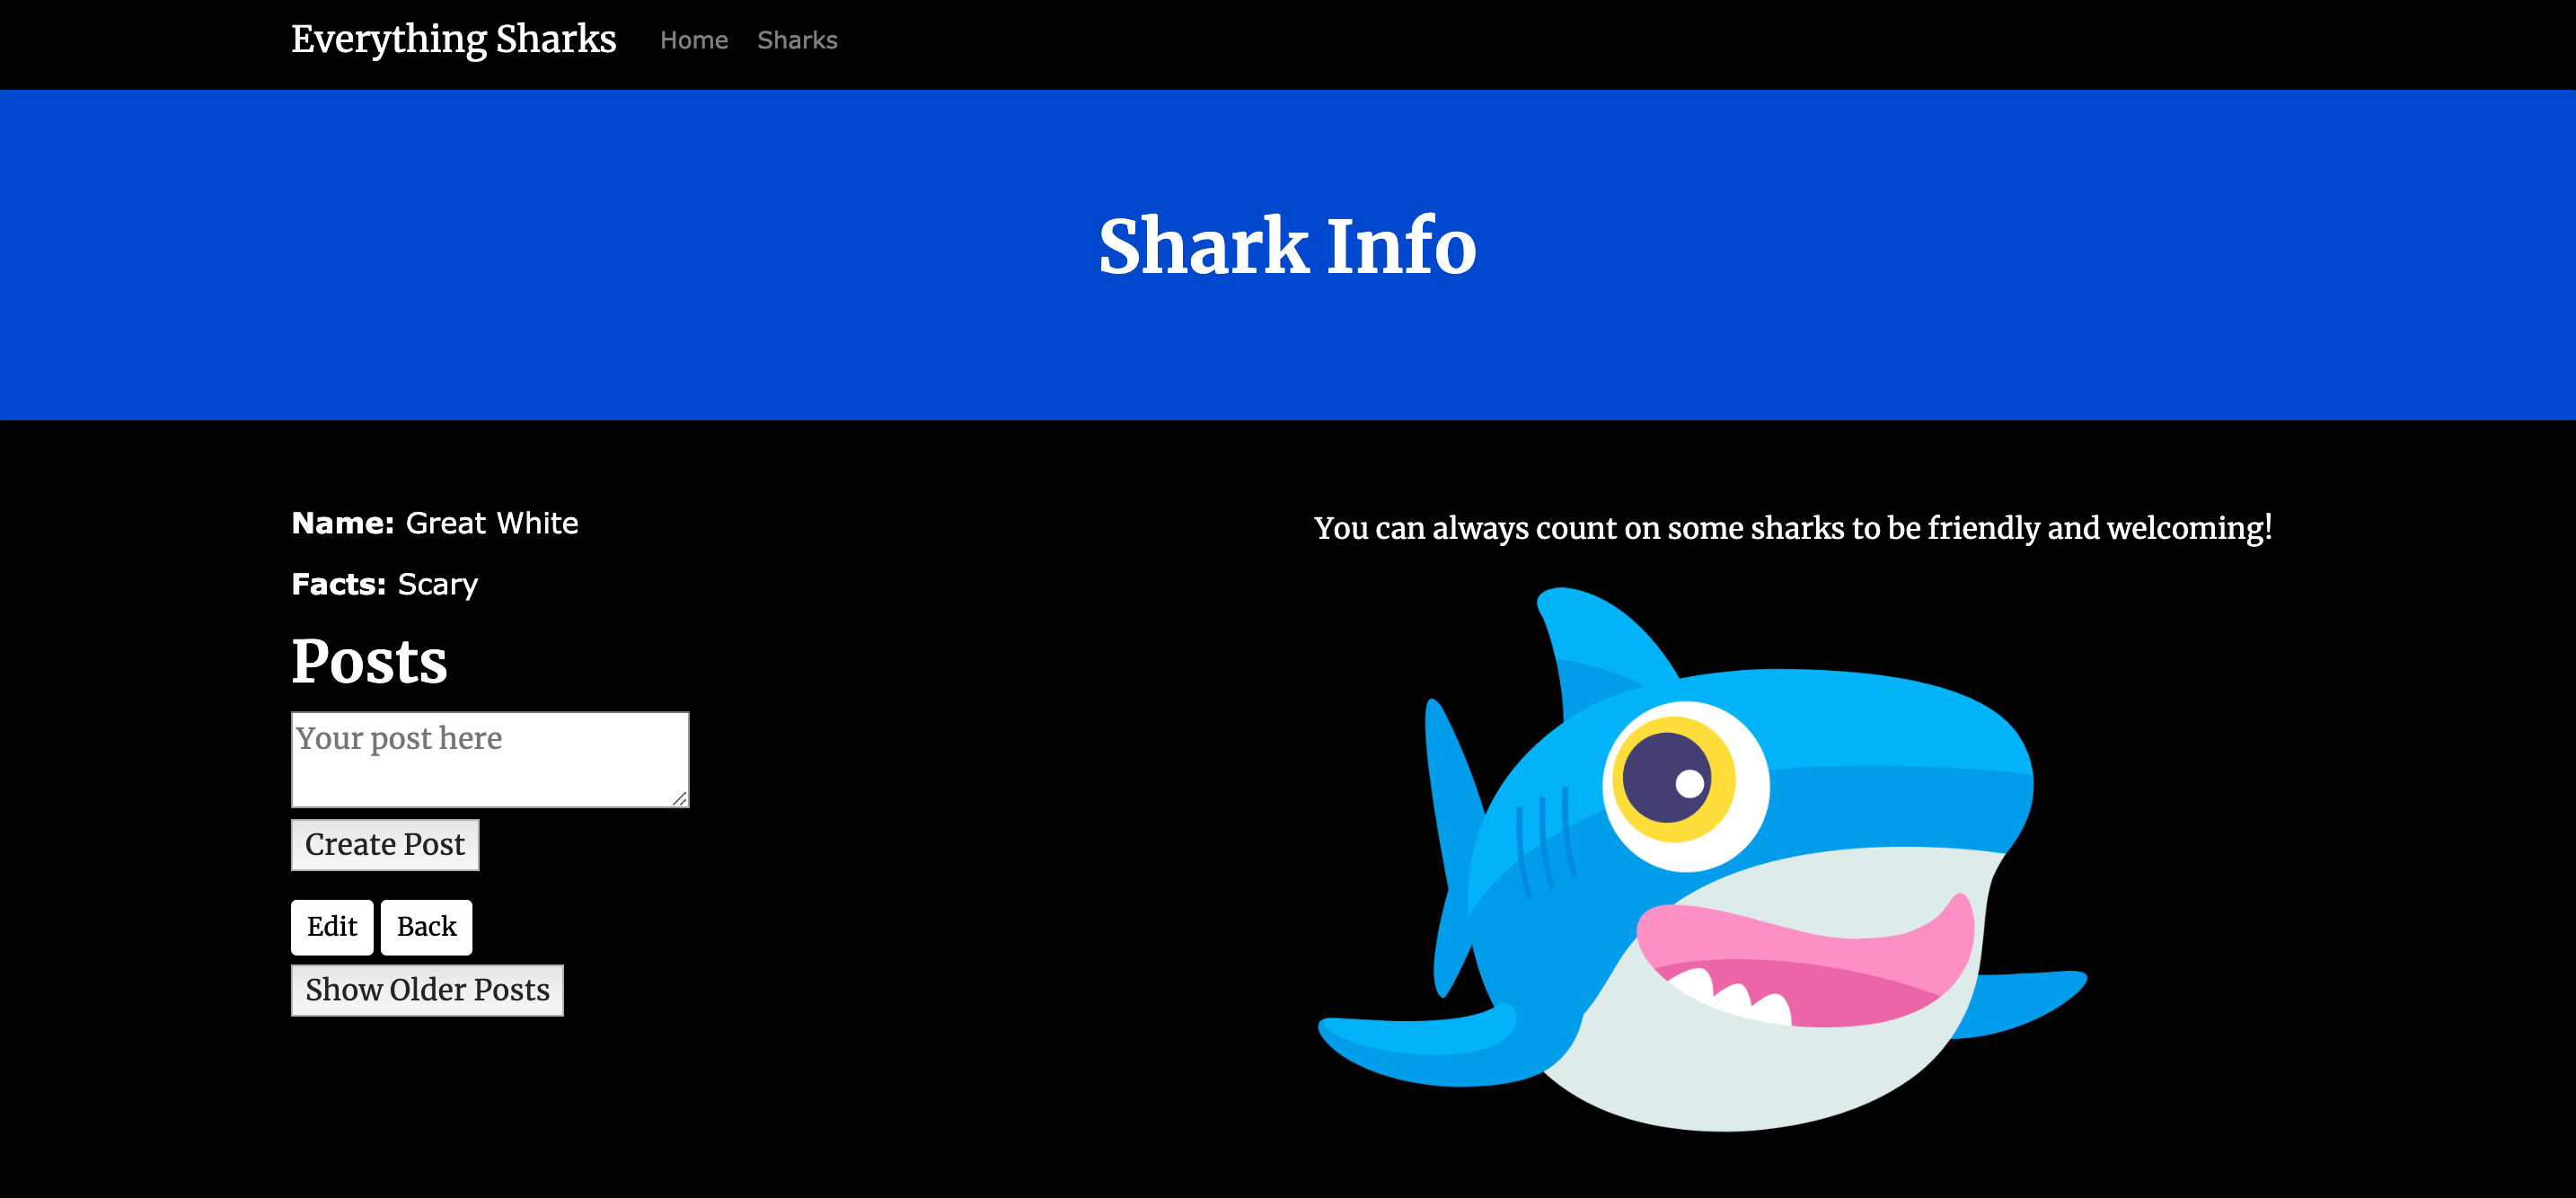
You can now edit your shark, or add facts and posts, using the methods described in How To Add Stimulus to a Ruby on Rails Application. You can also add new sharks to the conversation.
As you navigate to other shark views, you will see that the shark layout is always included:
You now have Bootstrap integrated into your Rails application. From here, you can move forward by adding new styles and components to your application to make it more appealing to users.
Conclusion
You now have Bootstrap integrated into your Rails application, which will allow you to create responsive and visually appealing styles to enhance your users’ experience of the project.
To learn more about Bootstrap features and what they offer, please see the Bootstrap documentation. You can also look at the documentation for Sass, to get a sense of how you can use it to enhance and extend your CSS styles and logic.
If you are interested in seeing how Bootstrap integrates with other frameworks, please see How To Build a Weather App with Angular, Bootstrap, and the APIXU API. You can also learn about how it integrates with Rails and React by reading How To Set Up a Ruby on Rails Project with a React Frontend.
Thanks for learning with the DigitalOcean Community. Check out our offerings for compute, storage, networking, and managed databases.
Tutorial Series: Rails on Containers
This series covers how to build and containerize a Ruby on Rails application. It walks through common development tasks – adding nested resources, a JavaScript framework (Stimulus.js), Bootstrap stylings, and Sidekiq and Redis to handle background jobs – before moving on to showing you how to containerize a Rails application for development.
Browse Series: 7 tutorials
About the author
Former Developer at DigitalOcean community. Expertise in areas including Ubuntu, Docker, Ruby on Rails, Debian, and more.
Still looking for an answer?
This textbox defaults to using Markdown to format your answer.
You can type !ref in this text area to quickly search our full set of tutorials, documentation & marketplace offerings and insert the link!
 This work is licensed under a Creative Commons Attribution-NonCommercial- ShareAlike 4.0 International License.
Become a contributor for community
Get paid to write technical tutorials and select a tech-focused charity to receive a matching donation.

DigitalOcean Documentation
Full documentation for every DigitalOcean product.

Resources for startups and AI-native businesses
The Wave has everything you need to know about building a business, from raising funding to marketing your product.
The developer cloud
Scale up as you grow — whether you're running one virtual machine or ten thousand.

Start building today
From GPU-powered inference and Kubernetes to managed databases and storage, get everything you need to build, scale, and deploy intelligent applications.
