By Gareth Dwyer and Matt Abrams
Not using Ubuntu 20.04?
Choose a different version or distribution.
The author selected the COVID-19 Relief Fund to receive a donation as part of the Write for DOnations program.
Introduction
calibre is a free and open source ebook manager that’s well known for its cross-platform desktop application. You can use calibre to manage your ebook library on a single device, but the application also includes a powerful server component. Setting up an ebook server allows you to:
- Access your books from anywhere in the world
- Easily transfer your books to mobile devices
- Share books with your friends and family
The calibre Content server includes a backend for serving your books and a basic front end for searching through your library, downloading individual titles, or even reading your books directly through a web browser. The server also offers a basic mobile interface that works with a wide variety of devices, including the basic browsers that ship with many e-ink readers such as Kindle and Kobo.
In this tutorial, you’ll set up and use the calibre Content server on Ubuntu 20.04. Specifically, you will download and install the calibre server, configure calibre as a service so that it starts automatically when your server reboots, and add books to your library using command line tools. You will also encounter options to set up a cron job to automatically add new books to your library from a specific directory, add authentication to your server so that only you can access it, and add a free SSL/TLS certificate to serve your library over HTTPS for extra security.
Warning: As with all creative content, it is important to respect the copyright licenses associated with materials created by others. This tutorial uses public domain books legally downloaded from Project Gutenberg, which holds over 60,000 free ebooks.
Prerequisites
- A server running Ubuntu 20.04 with a sudo user and a firewall. You can follow our Initial Server Setup Guide for instructions.
- Step 7 includes the option to secure your calibre Content server with an SSL certificate. If you wish to do so, you will require a domain name with an available A record. If you are using a DigitalOcean Droplet, you can follow our guide on How To Point to DigitalOcean Nameservers From Common Domain Registrars for instructions.
Step 1 — Downloading and Installing the calibre Content Server
Although calibre exists in Ubuntu’s software repositories, the version there often lags behind the latest release. Therefore, the official calibre documentation recommends that you install it from a binary hosted on their site instead.
First, install some necessary dependencies:
- sudo apt update && sudo apt install -y libfontconfig libgl1-mesa-glx
Now download and install the calibre server.
- wget https://download.calibre-ebook.com/linux-installer.sh
Inspect the contents of the script:
- less linux-installer.sh
You can scroll up and down with the k and j keys and hit q to get back to your terminal when you are done.
Now execute the script to install calibre:
- sudo sh linux-installer.sh
calibre expects a desktop environment but it will not find one on a headless server, so you will see some warnings about desktop integration failing. It is safe to ignore these because we will control calibre entirely via its command line tools and web interface.
Now that we have installed calibre, we can begin to explore its functionality.
Step 2 — Creating a Library and Adding Your First Book
To explore calibre’s functionality, let’s download an .epub or .mobi ebook. We’ll use A Christmas Carol by Charles Dickens from Project Gutenberg as an example. Project Gutenberg maintains a massive repository of free, public domain literature and is a great resource for ebooks.
Run the following command to download this book to your server:
- wget http://www.gutenberg.org/ebooks/46.kindle.noimages -O christmascarol.mobi
Now create a directory that calibre can use as your ebook library:
- mkdir calibre-library
And add the book you just downloaded to your new library using the calibredb command:
- calibredb add *.mobi --with-library calibre-library/
You will see the following output:
OutputAdded book ids: 1
With a book added to your library, you can now start calibre and explore the application.
Step 3 — Running the calibre Content Server and Viewing Your Library
With calibre installed and a book downloaded, we are ready to explore the application’s user interface. But before we access the calibre Content server in a web browser, we need to make sure that our server can accept traffic on port 8080, which is the default port for calibre. If you followed the initial server setup guide in the prerequisites section, then you enabled ufw, or Uncomplicated Firewall. You now need to allow port 8080 through the firewall.
Use the following command to open port 8080:
- sudo ufw allow 8080
Check the status of ufw to make sure the port is open:
- sudo ufw status
You will see an output like this:
OutputStatus: active

To                         Action      From
--                         ------      ----
OpenSSH                    ALLOW       Anywhere
8080                       ALLOW       Anywhere
OpenSSH (v6)               ALLOW       Anywhere (v6)
8080 (v6)                  ALLOW       Anywhere (v6)
Now run the following command to start the calibre content server:
- calibre-server calibre-library
calibre-server is the command used to start our server and calibre-library is the name of the directory we created earlier and told calibre to use as our library.
You will see an output like this:
calibre server listening on 0.0.0.0:8080
OPDS feeds advertised via BonJour at: your_server_ip port: 8080
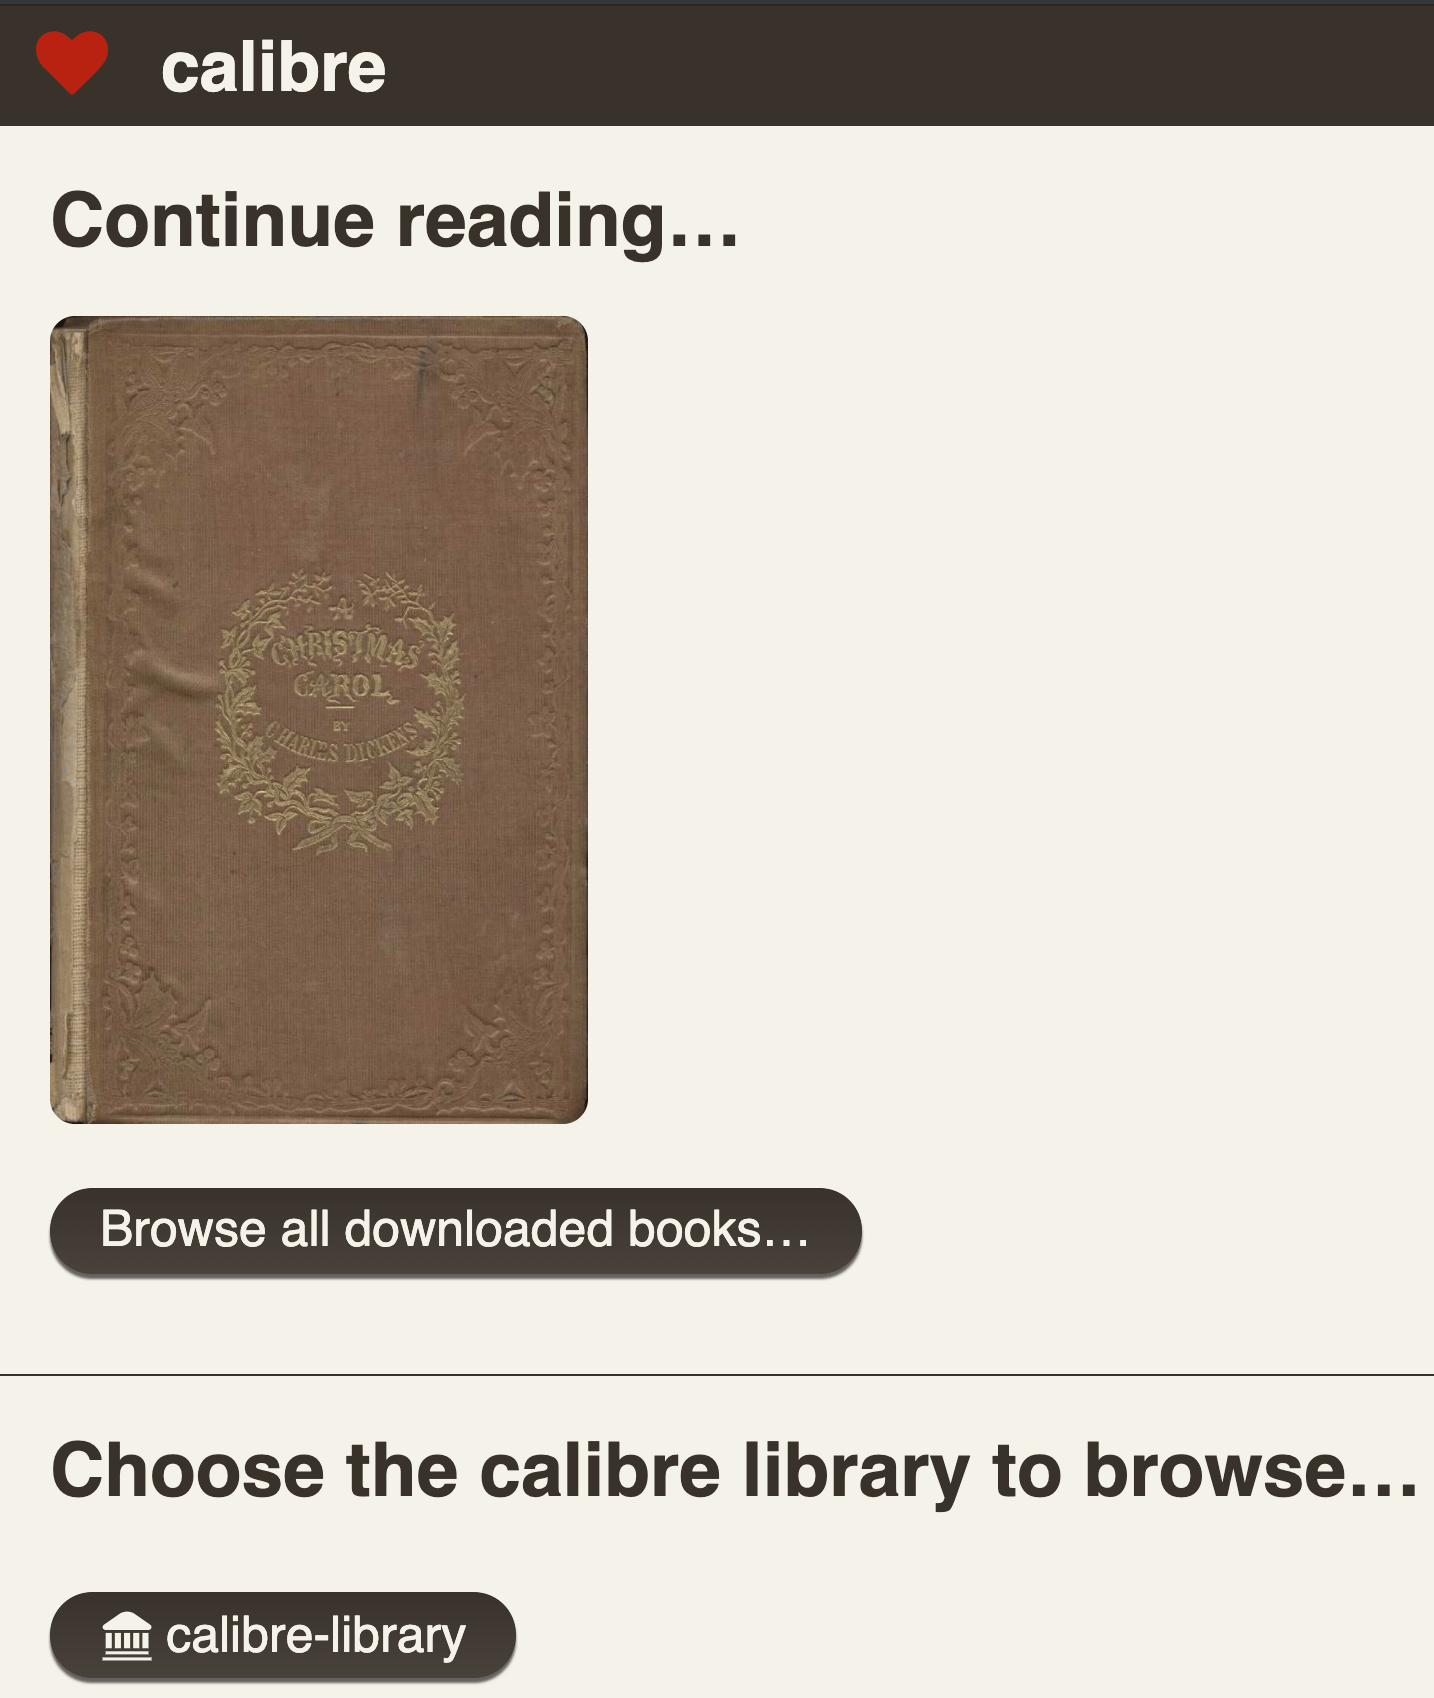
From your local machine, visit your_server_ip:8080 (substituting your server’s IP address) and you will see the default calibre screen. Click on calibre-library and you will see the book that you added in the previous step.
Hit Ctrl+C to stop the manual server process that you started.
This method of running the calibre Content server works well, but you probably want your library to work all of the time, even after you close the SSH connection to your server. To make sure it always runs, even after rebooting your server, let’s turn the calibre Content server into a service.
Step 4 — Creating a Service for the calibre Content Server
To improve the usability of the calibre Content server, let’s replace our manual server process with a service that will start on boot.
First, create a file called calibre-server.service in the directory /etc/sytemd/system/:
- sudo nano /etc/systemd/system/calibre-server.service
Now add the following configurations, which will start the calibre Content server on boot. Make sure to replace the highlighted text with your user and group:
## startup service
[Unit]
Description=calibre content server
After=network.target

[Service]
Type=simple
User=sammy
Group=sammy
ExecStart=/opt/calibre/calibre-server /home/sammy/calibre-library --enable-local-write

[Install]
WantedBy=multi-user.target
Here we tell our service to use the --enable-local-write flag when starting the server. When the server is running, you can’t use the calibredb command to add books as we did for A Christmas Carol directly. Instead, you have to do this “through” the running server, as we’ll see in a bit, and this means that the server needs permission to write new files to disk. This flag allows it to do so as long as it receives the request locally.
Save and close the file.
Now enable the service and start it:
- sudo systemctl enable calibre-server
- sudo systemctl start calibre-server
Reboot your server:
- sudo reboot
Wait a few minutes and then visit http://your_server_ip:8080 again in your local web browser to ensure that the calibre Content server booted automatically.
Now let’s add some authentication to our application.
Step 5 — (Optional) Adding User Authentication to the calibre Content Server
You now have a fully functioning calibre Content server that you can access from any device. Currently, however, anyone who knows your server’s IP address can access your ebooks. You might not want this. Instead, let’s configure calibre’s built-in user management system so you can force visitors to authenticate with a username and password.
First, SSH back into your server and stop calibre. This will allow us to manipulate calibre’s database directly:
- sudo systemctl stop calibre-server
Now start calibre’s user management script:
- calibre-server --manage-users
When prompted, choose to add a new user. Then select a username and strong password. You will see a final output message like this:
OutputUser mycalibreuser added successfully!
Now we need to make one small edit to our service.
Reopen calibre-server.service:
- sudo nano /etc/systemd/system/calibre-server.service
To enable authentication, add the --enable-auth flag to the end of the line starting ExecStart. It should look like this:
. . .
ExecStart=/opt/calibre/calibre-server /home/sammy/calibre-library --enable-local-write --enable-auth
. . .
Save and close the file.
Refresh the services daemon to rescan the services files, and start the calibre server again with:
- sudo systemctl daemon-reload
- sudo systemctl start calibre-server
If you visit your library again, it should now prompt you for a username and password before allowing you to access it.
There are more ways to add functionality to our calibre Content server. In the next step, we will add a cron job to automatically add downloaded books to our calibre library.
Step 6 — (Optional) Automatically Adding Books to Your calibre Library
It can be useful to set up a cron job that watches a specific directory and adds any books it finds to your calibre library. This way, you can download or upload books to this folder and they’ll automatically become available via the calibre web interface.
Create a folder called books-to-add in your home directory and navigate inside:
- mkdir ~/books-to-add
- cd ~/books-to-add
Download a new book into this directory. Use the following command to download Alice in Wonderland from Project Gutenberg:
- wget https://www.gutenberg.org/ebooks/11.epub.images -o alice.epub
Now open your crontab:
- crontab -e
Here we will set up a script to add all files in this directory to calibre and then delete them (adding books to calibre creates a copy of the files in your library directory, so we can remove the originals once they are added.)
Add the following content:
*/5 * * * * calibredb add /home/sammy/books-to-add/ -r --with-library http://localhost:8080#calibre-library --username mycalibreuser --password StrongPassword! && rm -r /home/sammy/books-to-add/*
Save and close the file.
This will run every 5 minutes, so you shouldn’t have to wait long for your new book to show up in the web interface. Wait a few minutes and then reload the library in your local web browser. Your new book will appear next to A Christmas Carol.
Step 7 — (Optional) Installing Apache2 and Serving Your Library over HTTPS
You need a username and password to access your library, but it’s not really secure because you are serving it over HTTP and sending your username and password unencrypted every time you authenticate. A more secure option is to ensure all traffic gets encrypted using HTTPS. If you own a domain name you can point this to your server and install a free SSL certificate using Let’s Encrypt. (You can also use a subdomain like ebooks.your_domain.)
Installing and Configuring Apache2
We’ll use the webserver Apache2 as a reverse proxy for calibre. Previously we had to append the port number :8080 when we visited our library because that’s the default port that calibre runs on. We’ll now set up Apache2 to listen to requests on port 80 (the default port for HTTP traffic), proxy requests to the locally running calibre server on :8080, and serve these to the end user transparently so that they won’t need to worry about specifying the port number. We will then secure all our traffic on port 443 with an SSL certificate.
Install Apache2 and enable the proxy modules we need with the following commands:
- sudo apt install -y apache2
- sudo a2enmod proxy proxy_http
Now make sure that your server allows traffic on ports 80 and 443. Close port 8080, too:
- sudo ufw allow 'Apache Full'
- sudo ufw delete allow 8080
Next, create and open a file at /etc/apache2/sites-available/your_domain.conf:
- sudo nano /etc/apache2/sites-available/your_domain.conf
Add the following configurations, which will link your domain to the calibre server:
LoadModule proxy_module modules/mod_proxy.so
LoadModule proxy_http_module modules/mod_proxy_http.so

<VirtualHost *:80>
    ServerName your_domain
    AllowEncodedSlashes On
    ProxyPreserveHost On
    ProxyPass "/"  "http://localhost:8080/"
</VirtualHost>
Finally, enable this new site configuration:
- sudo a2ensite your_domain.conf
- systemctl reload apache2
Visit http://your_domain in a browser to verify that the calibre Content server loads. Apache is now serving your site.
Installing Certbot and Configuring an SSL Certificate
As a final step, let’s secure all our traffic using Certbot.
First, install Certbot:
- sudo snap install --classic certbot
Now run Certbot:
- sudo certbot --apache
The Certbot program will take you through a series of prompts to install a certificate.
- Enter your email address when prompted
- Enter
Ato agree to the terms and conditions when prompted - Choose
YorNwhen prompted to share your email address with the EFF - Choose
1when prompted about which domain you want the certificate for (there should only be one)
Upon completion, you will see a congratulations message.
You can now access your library securely at https://yourdomain.
Conclusion
In this tutorial, you set up a calibre ebook server. You turned it into a service so that it would start when your server boots, added a cron job to automatically find and add new books to your library, and set up authentication and an SSL certificate to secure it.
To extend the project, you can add more books from your personal library or from Project Gutenberg, Standard Ebooks, or elsewhere. Remember to always respect any copyright laws associated with your content library.
Thanks for learning with the DigitalOcean Community. Check out our offerings for compute, storage, networking, and managed databases.
About the author(s)
I'm a software engineer, writer, and mentor. On a mission to make high quality technical educational materials free for everyone. https://ritza.co
Supporting the open-source community one tutorial at a time. Former Technical Editor at DigitalOcean. Expertise in topics including Ubuntu 22.04, Ubuntu 20.04, CentOS, and more.
Still looking for an answer?
This textbox defaults to using Markdown to format your answer.
You can type !ref in this text area to quickly search our full set of tutorials, documentation & marketplace offerings and insert the link!
It wasn’t working at the point of starting calibre server, despite following instructions to a T… in the end, before starting calibre, I had to run “sudo apt-get install python3-pyqt5” since there were some python libraries not installed as standard.
A reader emailed me to say that the latest version of Calibre is no longer compatible with Ubuntu 20.
To install 5.44, which is compatible, you can use.
sudo -v && wget -nv -O- https://download.calibre-ebook.com/linux-installer.sh | sudo sh /dev/stdin version=5.44.0
This is an amazing walkthrough! One question though. If I am hosting a WordPress server on the same Ubuntu server do you think step 7 will mess it up? I would like to continue to use port 8080 but redirect to HTTPS so that the login portion will work.
 This work is licensed under a Creative Commons Attribution-NonCommercial- ShareAlike 4.0 International License.
Become a contributor for community
Get paid to write technical tutorials and select a tech-focused charity to receive a matching donation.

DigitalOcean Documentation
Full documentation for every DigitalOcean product.

Resources for startups and AI-native businesses
The Wave has everything you need to know about building a business, from raising funding to marketing your product.
The developer cloud
Scale up as you grow — whether you're running one virtual machine or ten thousand.

Start building today
From GPU-powered inference and Kubernetes to managed databases and storage, get everything you need to build, scale, and deploy intelligent applications.
