
Introduction
Having access to the Twitter API can help you manage your social media accounts, and allow you to mine social media for data. This can be useful for brand promotion if you represent a business or an organization, and it can be enjoyable and entertaining for individual users and hobbyist programmers.
In this article, we will outline the steps necessary for you to create a Twitter application.
We’ll then build a script in Python that uses the Tweepy library to make use of the Twitter API.
Prerequisites
Before you begin, ensure you have the following prerequisites in place:
- A Twitter account with a valid phone number, which you can add via the Mobile section of your Settings when you’re logged in
- A Python programming environment set up; this can either be on your local machine or on a server
Step 1 — Create Your Twitter Application
Let’s go through the process of creating a Twitter application and retrieving your API access keys and tokens. These tokens are what will allow you to authenticate any applications you develop that work with Twitter. As mentioned in the prerequisites, you’ll need a valid phone number in order to create applications using Twitter.
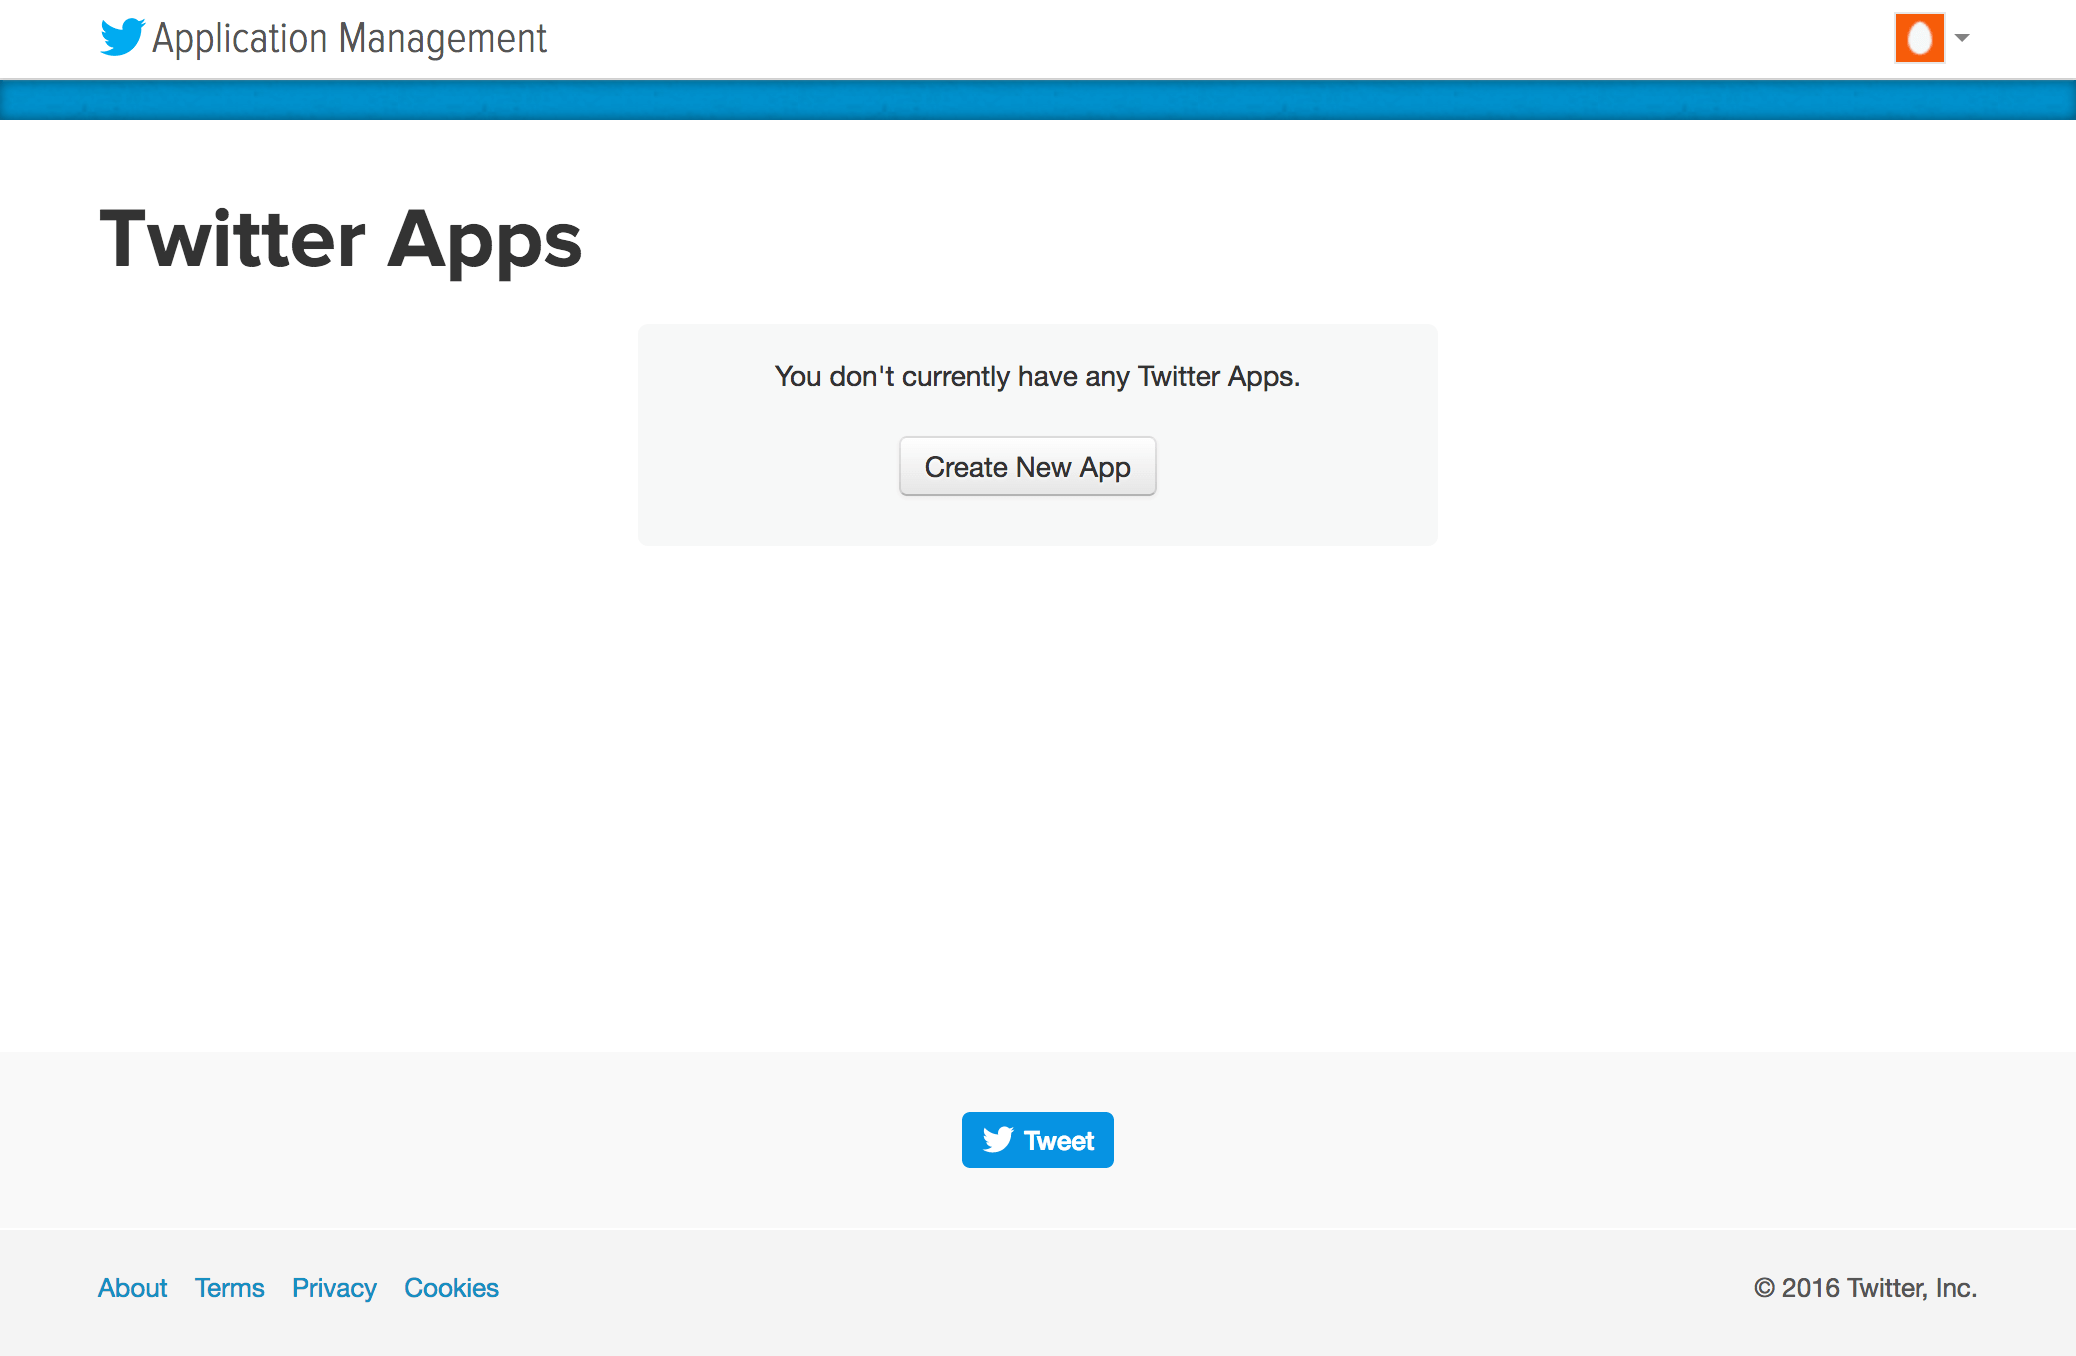
Open up your browser and visit https://apps.twitter.com/ then log in using your Twitter account credentials. Once logged in, click the button labeled Create New App.
You will now be redirected to the application creation page.
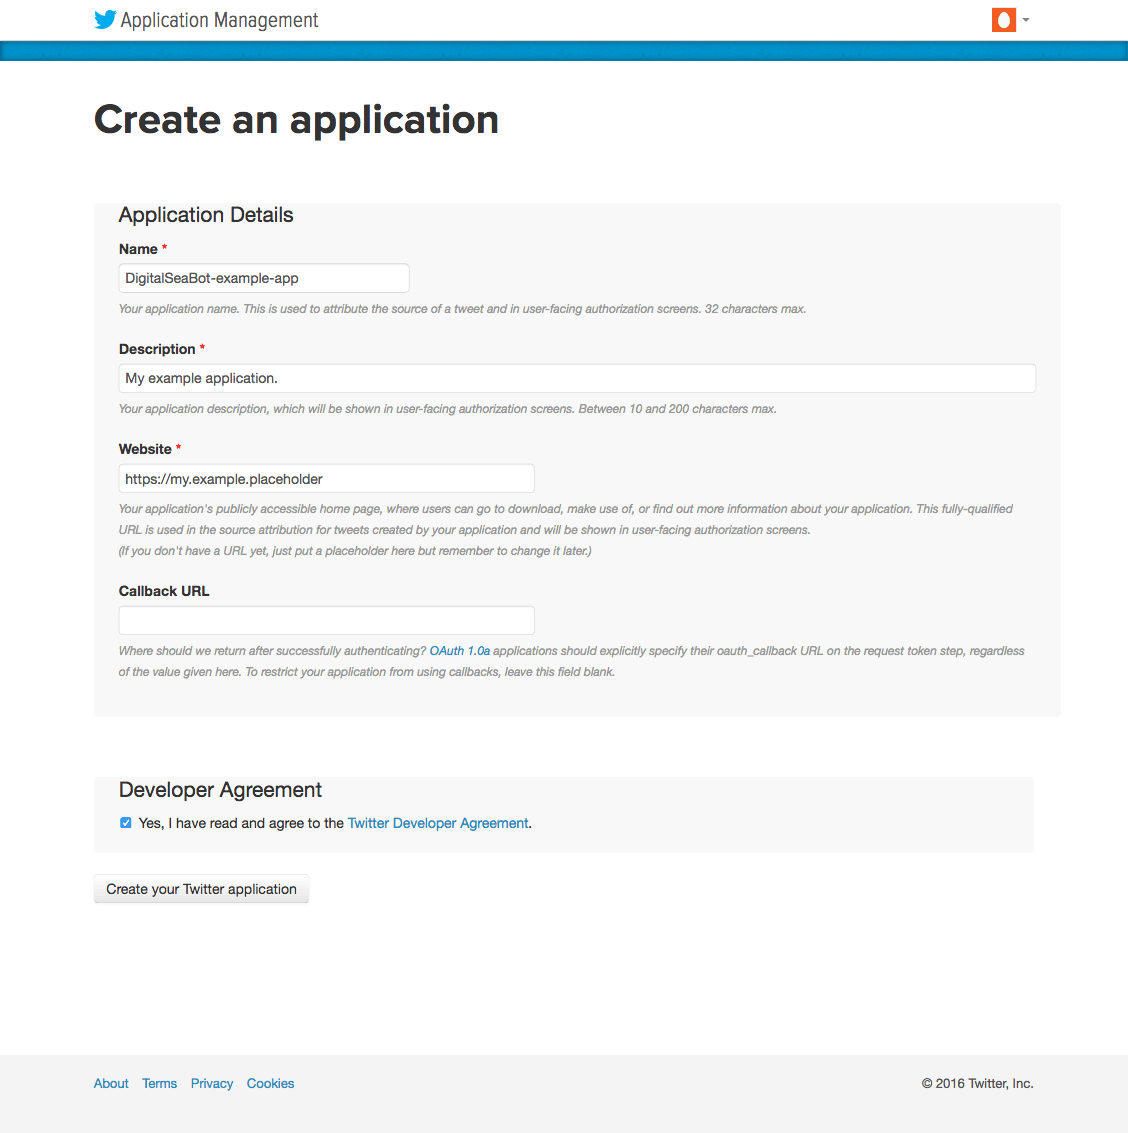
On this page, you’ll fill out the required fields.
Note: The name that you provide for your app must be unique to your particular app. You cannot use the name as shown here since it already exists.
- Name: DigitalSeaBot-example-app
- Description: My example application.
- Website: https://my.example.placeholder
Read the Twitter Developer Agreement. If you agree to continue at this point, click the checkbox next to the line that reads, Yes, I have read and agree to the Twitter Developer Agreement.
Once you click the Create your Twitter application button at the bottom of the page, you’ll receive a confirmation page.
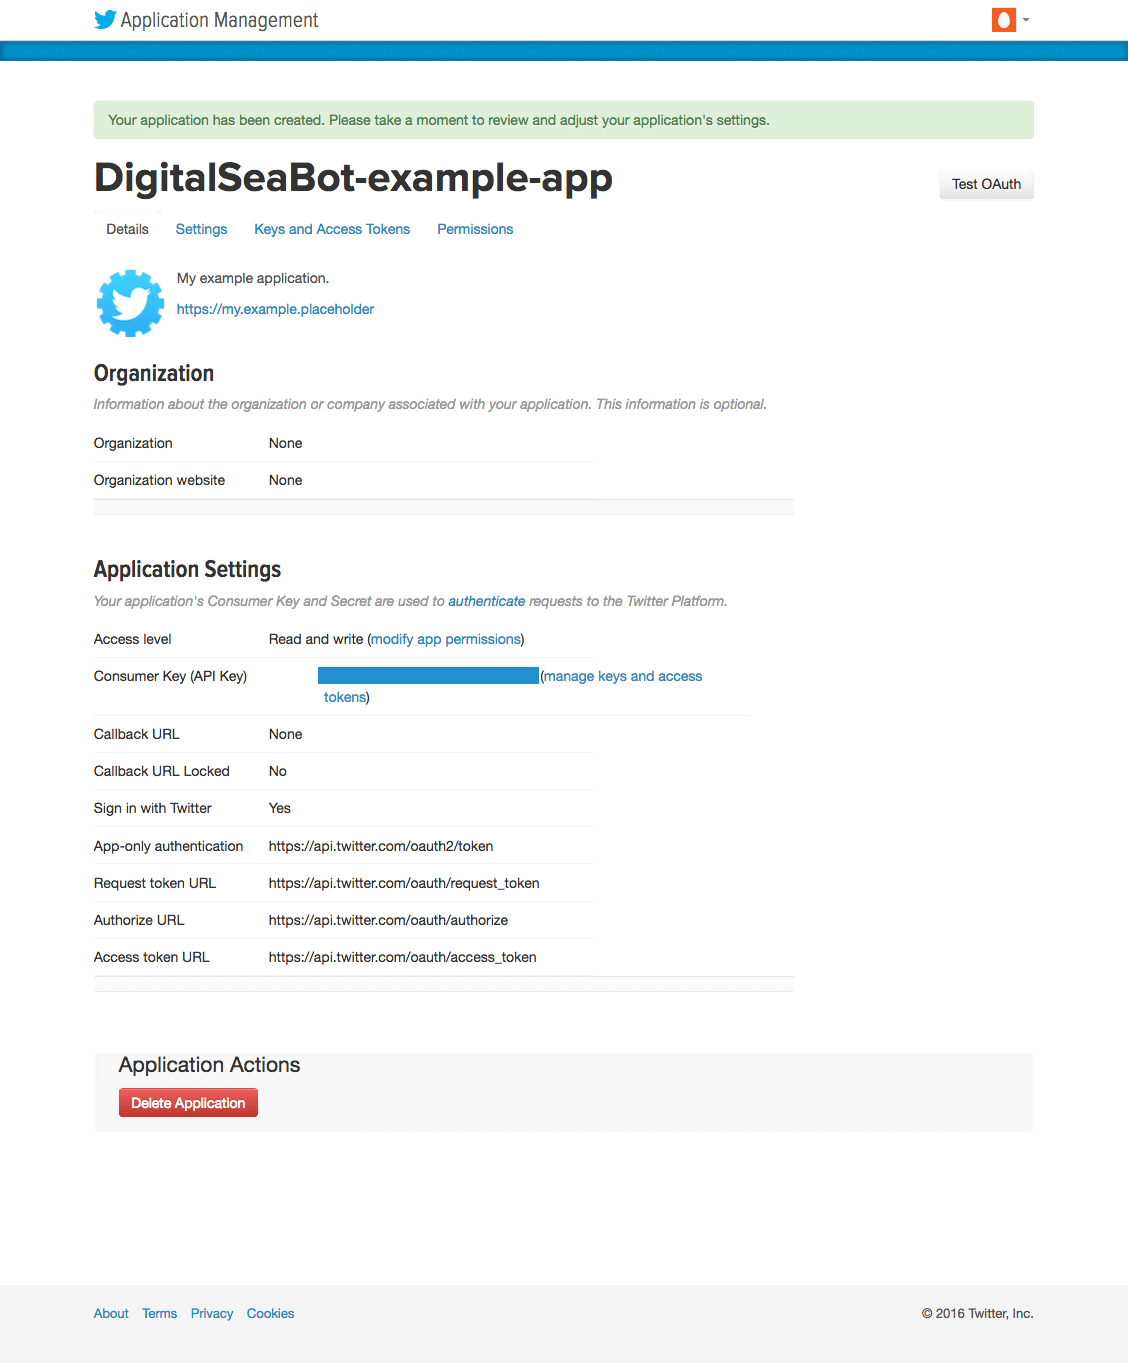
After successfully creating your application, you will be redirected to your application’s Details page, which provides you with some general information about your app.
Step 2 — Modify Your Application’s Permission Level and Generate Your Access Tokens
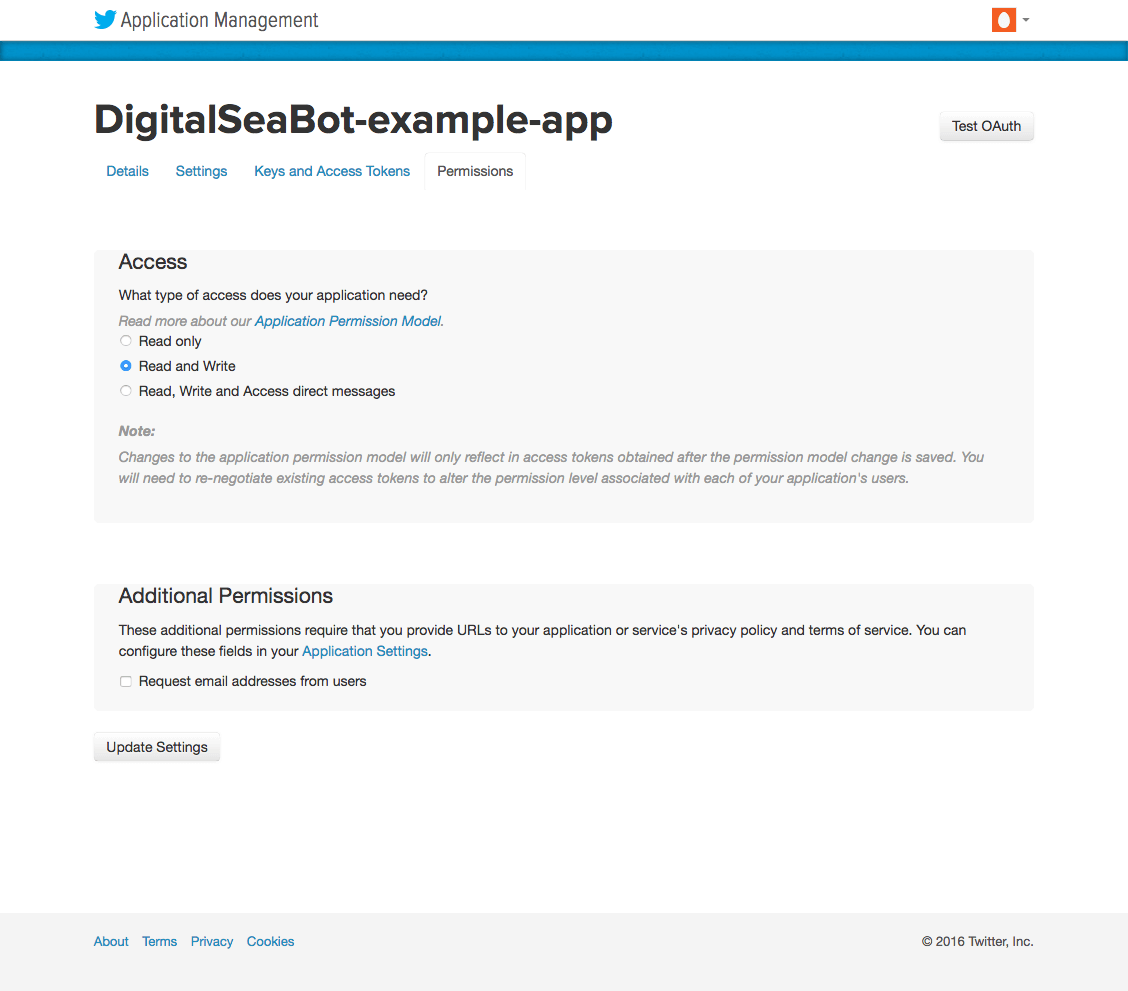
From the Details page, let’s navigate over to the Permissions page to ensure that we have the appropriate access level to generate our application keys.
By default, your Twitter app should have Read and Write access. If this is not the case, modify your app to ensure that you have Read and Write access. This will allow your application to post on your behalf.
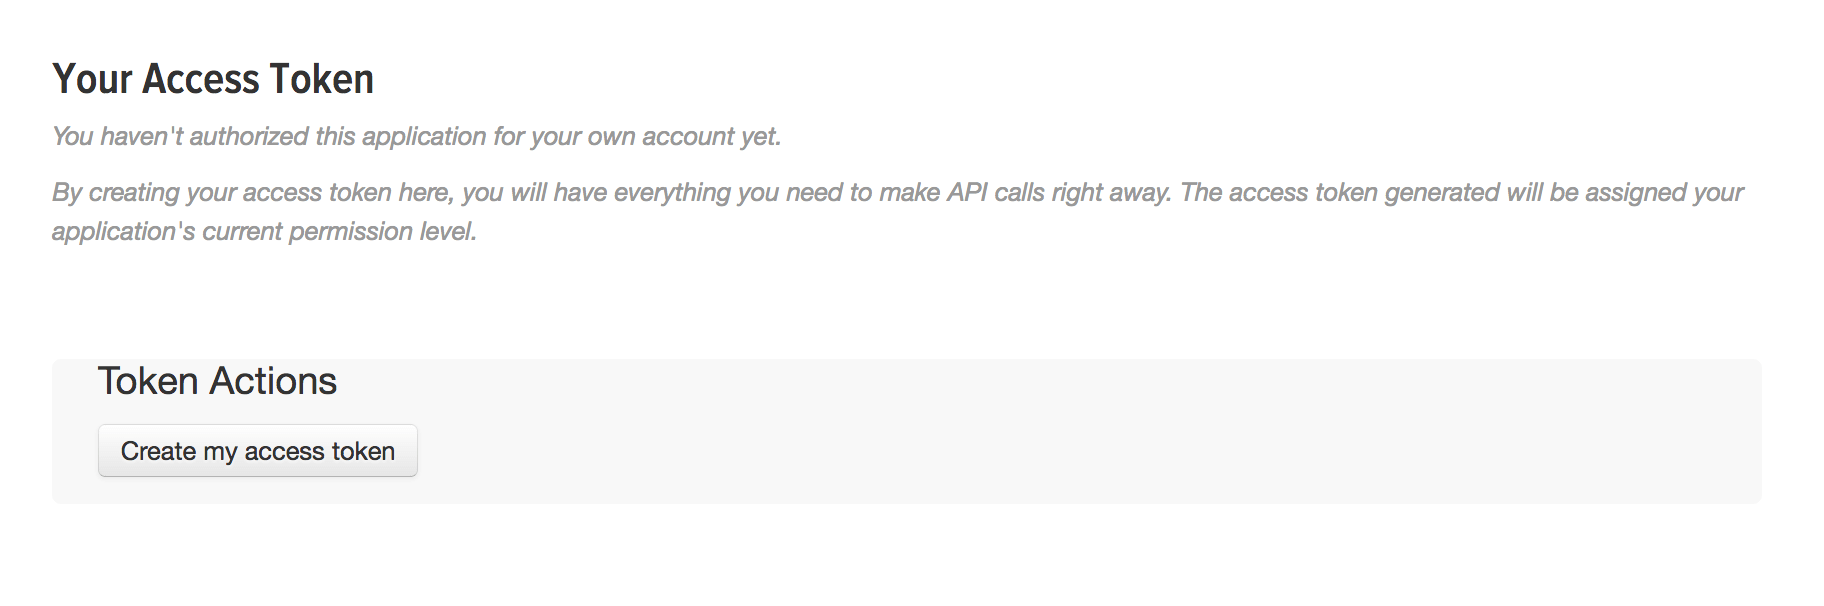
After updating your application’s permissions to allow posting, click the tab labeled Keys and Access Tokens. This will take you to a page that lists your Consumer Key and Consumer Secret, and also will allow you to generate your Access Token and Access Token Secret. These are necessary to authenticate our client application with Twitter.
Click the button labeled Create my access token under the Access Token heading to generate your Access Token and Access Token Secret.
Now you will now have an Access Token and an Access Token Secret.
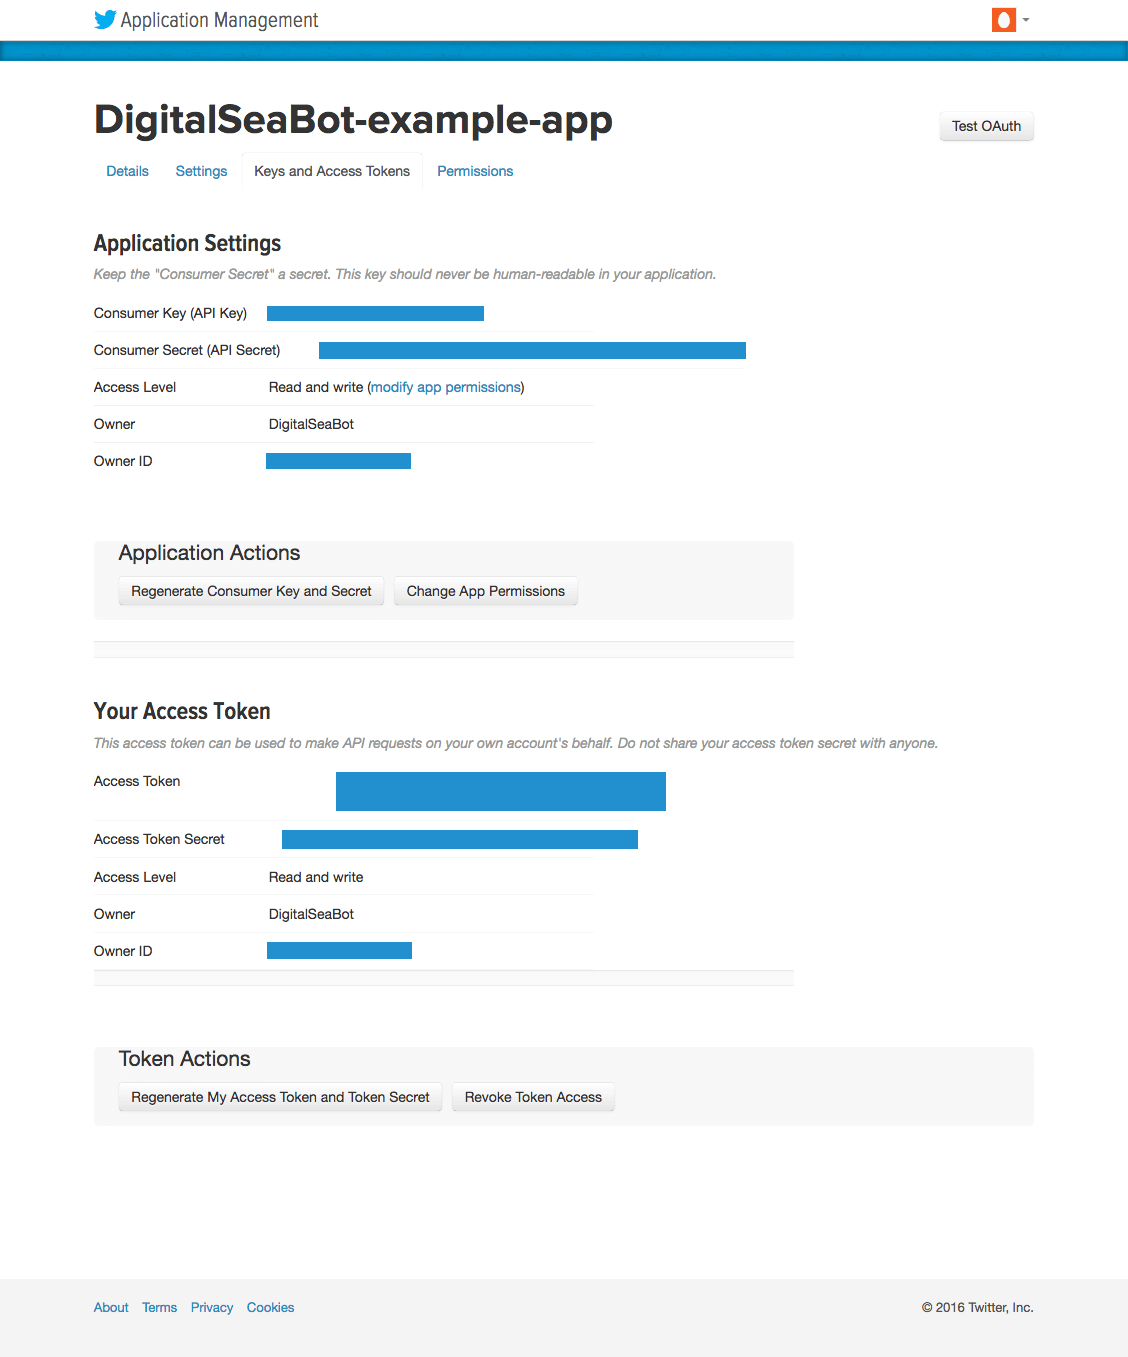
On the page you’re redirected to, you’ll also see the application’s Access Level, your username as the Owner, and your Owner ID.
Step 3 — Install Tweepy
You can use a variety of programming languages and associated packages to make use of the Twitter API. To test that our Twitter app set-up was successful, we’ll be using Python and the Tweepy package to run a script that outputs a string to our Twitter account.
Tweepy is an open-source and easy-to-use library that allows your Python programming projects to access the Twitter API.
In this step, we’ll use pip to install Tweepy.
Make sure you’re in your Python 3 programming environment and create a new directory or change directories as desired to keep your programming files organized. For our example, we’ll use the directory twitter.
Before installing Tweepy, let’s first ensure that pip is up-to-date:
- pip install --upgrade pip
Once any updates are completed, we can go on to install Tweepy with pip:
- pip install tweepy
With Tweepy installed, we can go on to creating our Python Twitter program.
Step 4 — Create a Python Application that Interacts with Twitter
After successfully creating your Twitter application and generating the necessary keys and tokens, you are now ready to create your client application for posting to your timeline.
Create a new Python program file called helloworld.py with your favorite text editor. We’ll be using nano as an example:
- nano helloworld.py
Now, let’s construct our Python script. First, we’ll need to import the Tweepy library with an import statement:
import tweepy
Next, we’ll be making variables for each key, secret, and token that we generated. Replace the items in single quotes with your unique strings from the Twitter apps website (and keep the single quotes).
import tweepy

consumer_key = 'your_consumer_key'
consumer_secret = 'your_consumer_secret'
access_token = 'your_access_token'
access_token_secret = 'your_access_token_secret'
We’ll next be creating an OAuthHandler instance into which we’ll pass our consumer token and secret. OAuth — which works over HTTP and authorizes devices, APIs, servers, and applications — is a standard that provides secure and delegated access. We’ll also be setting the access tokens and integrating with the API.
import tweepy

consumer_key = 'your_consumer_key'
consumer_secret = 'your_consumer_secret'
access_token = 'your_access_token'
access_token_secret = 'your_access_token_secret'

auth = tweepy.OAuthHandler(consumer_key, consumer_secret)
auth.set_access_token(access_token, access_token_secret)
api = tweepy.API(auth)
Finally, at the bottom of our program, let’s have Tweepy update our status. We’ll create a variable called tweet and pass this variable to the api.update_status() method. In the method we’ll pass status=tweet.
import tweepy

# Create variables for each key, secret, token
consumer_key = 'your_consumer_key'
consumer_secret = 'your_consumer_secret'
access_token = 'your_access_token'
access_token_secret = 'your_access_token_secret'

# Set up OAuth and integrate with API
auth = tweepy.OAuthHandler(consumer_key, consumer_secret)
auth.set_access_token(access_token, access_token_secret)
api = tweepy.API(auth)

# Write a tweet to push to our Twitter account
tweet = 'Hello, world!'
api.update_status(status=tweet)
We can now save the file and run the script:
python helloworld.py
Once you run the program, check your Twitter account.
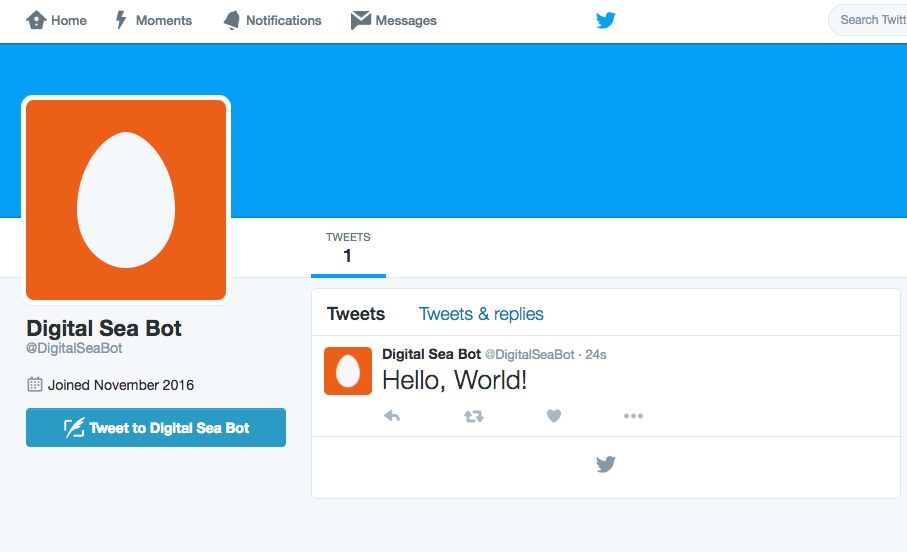
The status is posted to your account’s timeline and you have successfully configured your Twitter application and authenticated using Tweepy!
Conclusion
By following this tutorial, you were able to set up a Twitter application tied to your Twitter username. Once setting up the application and collecting our Consumer Key and Consumer Secret, and generating our Access Token and Access Token Secret, we authenticated a Python 3 application to use it through the open-source Tweepy library.
If you’re not a Python developer, there are many other programming languages and libraries that you can use to make use of the Twitter API. The Twitter Developers website maintains a list of libraries that support the current Twitter API.
Thanks for learning with the DigitalOcean Community. Check out our offerings for compute, storage, networking, and managed databases.
About the author
Community and Developer Education expert. Former Senior Manager, Community at DigitalOcean. Focused on topics including Ubuntu 22.04, Ubuntu 20.04, Python, Django, and more.
Still looking for an answer?
This textbox defaults to using Markdown to format your answer.
You can type !ref in this text area to quickly search our full set of tutorials, documentation & marketplace offerings and insert the link!
Very cool. Worked for me, but I did get the following error:
/usr/local/lib/python2.7/dist-packages/requests/packages/urllib3/util/ssl_.py:334: SNIMissingWarning: An HTTPS request has been made, but the SNI (Subject Name Indication) extension to TLS is not available on this platform. This may cause the server to present an incorrect TLS certificate, which can cause validation failures. You can upgrade to a newer version of Python to solve this. For more information, see https://urllib3.readthedocs.io/en/latest/advanced-usage.html#ssl-warnings
  SNIMissingWarning
/usr/local/lib/python2.7/dist-packages/requests/packages/urllib3/util/ssl_.py:132: InsecurePlatformWarning: A true SSLContext object is not available. This prevents urllib3 from configuring SSL appropriately and may cause certain SSL connections to fail. You can upgrade to a newer version of Python to solve this. For more information, see https://urllib3.readthedocs.io/en/latest/advanced-usage.html#ssl-warnings
  InsecurePlatformWarning
After writting source code that is given above i got syntax error in consumer key,secret ,access token and secret again and again.Please tell me solution of this problem.
Thanks for the tutorial. however I keep getting this error. “[{‘code’: 32, ‘message’: ‘Could not authenticate you.’}”
I did regenerate my keys , checked my permission settings and nothing worked. Would love to hear your input.
The new website is looking good. Thanks for the great effort. download this garageband for windows
Hello, @ltagliaferri I would like to know one thing about Tweepy, I want to host a Django web application on the digital ocean which will basically be going to talk to the Twitter API. My goal is to look for a tweet which contains a specific keyword, for example, “my name” and when it does occur I want to save it in my database, so I will be going to use the Tweepy Streamer which can do this task but can you tell me that how long it can last before crashing, because I don’t want to restart my script again and again. And can you suggest me how we can schedule a task on digital ocean so that it runs after a specific time, like run after every 7 days.
Thanks
 This work is licensed under a Creative Commons Attribution-NonCommercial- ShareAlike 4.0 International License.
Become a contributor for community
Get paid to write technical tutorials and select a tech-focused charity to receive a matching donation.

DigitalOcean Documentation
Full documentation for every DigitalOcean product.

Resources for startups and AI-native businesses
The Wave has everything you need to know about building a business, from raising funding to marketing your product.
The developer cloud
Scale up as you grow — whether you're running one virtual machine or ten thousand.

Start building today
From GPU-powered inference and Kubernetes to managed databases and storage, get everything you need to build, scale, and deploy intelligent applications.
