By The DigitalOcean Community Team and Jojo Karlin

Introduction
Manifold is an open-source web application that allows you to publish web-based editions of books and other text-based media so that users can freely read and annotate these texts. Especially suited for use with open access (OA) materials and open educational resources (OERs), Manifold can be incorporated into classrooms, coding bootcamps, workshops, libraries, and other venues where you may want to exchange knowledge through collaborative reading.
Funded by the Mellon Foundation, Manifold was originally made with the scholarly monograph in mind, but many forms of publishing (journals, pamphlets, collections) can be collected, organized, read and annotated on the platform. To see an example of a Manifold book, you can take a look at the Manifold version of the free eBook How To Code in Python 3.
In this tutorial, we’ll set up Manifold on a server and add a text to your installation.
Prerequisites
In order to get started you should have the following:
- An Ubuntu 18.04 server with at least 1 CPU and preferably 8 GB of RAM (6 GB minimum).
- A non-root user with sudo privileges, which you can achieve by following the Ubuntu 18.04 initial server setup guide.
For Manifold to run on a website with a URL, you must set up a fully qualified domain name. For guidance on setting this up, you should read documentation from your hosting provider. If you are using DigitalOcean, you can find guidance in our tutorial on How To Point to DigitalOcean Nameservers From Common Domain Registrars.
Note: The developers of Manifold advise against attempting to install Manifold in a shared hosting environment for security and stability reasons. Manifold consists of a number of distinct services, each of which requires RAM to function correctly. On a small VM with less than 6GB of RAM, you will likely need to enable swap memory or risk consuming all available memory.
If you are not currently set up with your domain name at the moment, you can set the hostname manually in /etc/manifold/manifold.rb and reconfigure the application. Reconfiguration is discussed below.
With these prerequisites in place, you can begin the tutorial.
Step 1 — Download and Install the Manifold Package
We’ll be downloading Manifold for Ubuntu 18.04.
First, move into the temporary directory to download the package, as the package is something we can remove later.
- cd /tmp
Next, use the curl command with the -O flag to write output to a local file. This will download the package to our server.
- curl -O https://storage.googleapis.com/manifold-dist/ubuntu18/manifold_2.0.0~rc.1-1_amd64.deb
Next, we’ll install the package.
- sudo dpkg -i manifold_2.0.0~rc.1-1_amd64.deb
When you run this command, you should receive output that includes the following lines:
Output...
Manifold Scholarship


manifold: Thank you for installing Manifold!
...
Once you have received those lines, you can continue to the next step.
Step 2 — Update Firewall
If you followed the initial server setup, you should have a ufw firewall in place on your server. If you don’t have a firewall in place, you should implement a firewall by following the Setting Up a Basic Firewall step of the initial server setup guide.
In order to allow traffic through http on the web, you should open port 80.
- sudo ufw allow 80
You should receive output that this rule has been added. You can check your firewall status by typing sudo ufw status to see the current rules on your server.
Step 3 — Configure Manifold
If you already have a fully-qualified domain name set up on this server, you may not need to do more configuration. This will be true if you received the following output that matches your domain name:
Output...
manifold: Manifold should be reachable at http://your-manifold-url
...
If, however, you’re using the server’s IP address for now, or if the output above did not match your URL, you can configure Manifold to point to the correct place.
A file was created at /etc/manifold/manifold.rb that you will use to configure and manage the various services that comprise Manifold.
Open this file in your preferred text editor (we’ll use nano).
- sudo nano /etc/manifold/manifold.rb
Within this file, look for the external_url setting near the top of the file. Set this to either your server’s IP address or to the domain name of your Manifold installation.
...

## Manifold URL
##! URL on which Manifold will be reachable.
##! For more details on configuring external_url see:
external_url 'http://your-IP-or-your-URL'
If your website is example.com, your line would look like this:
external_url 'http://example.com'
If your IP is 192.0.2.0, your line would look like this:
external_url 'http://192.0.2.0'
Now, save and exit the file. Do this by pressing CTRL + X, then y to confirm that you want to save it, then ENTER.
At this point, you can reconfigure Manifold with the following command.
- sudo /usr/local/bin/manifold-ctl reconfigure
The Manifold app will now implement the changes made in this file to regenerate new settings and configuration files. This process will be complete once you receive output similar to the following:
OutputChef Client finished, 262/347 resources updated in 51 seconds
manifold Reconfigured!
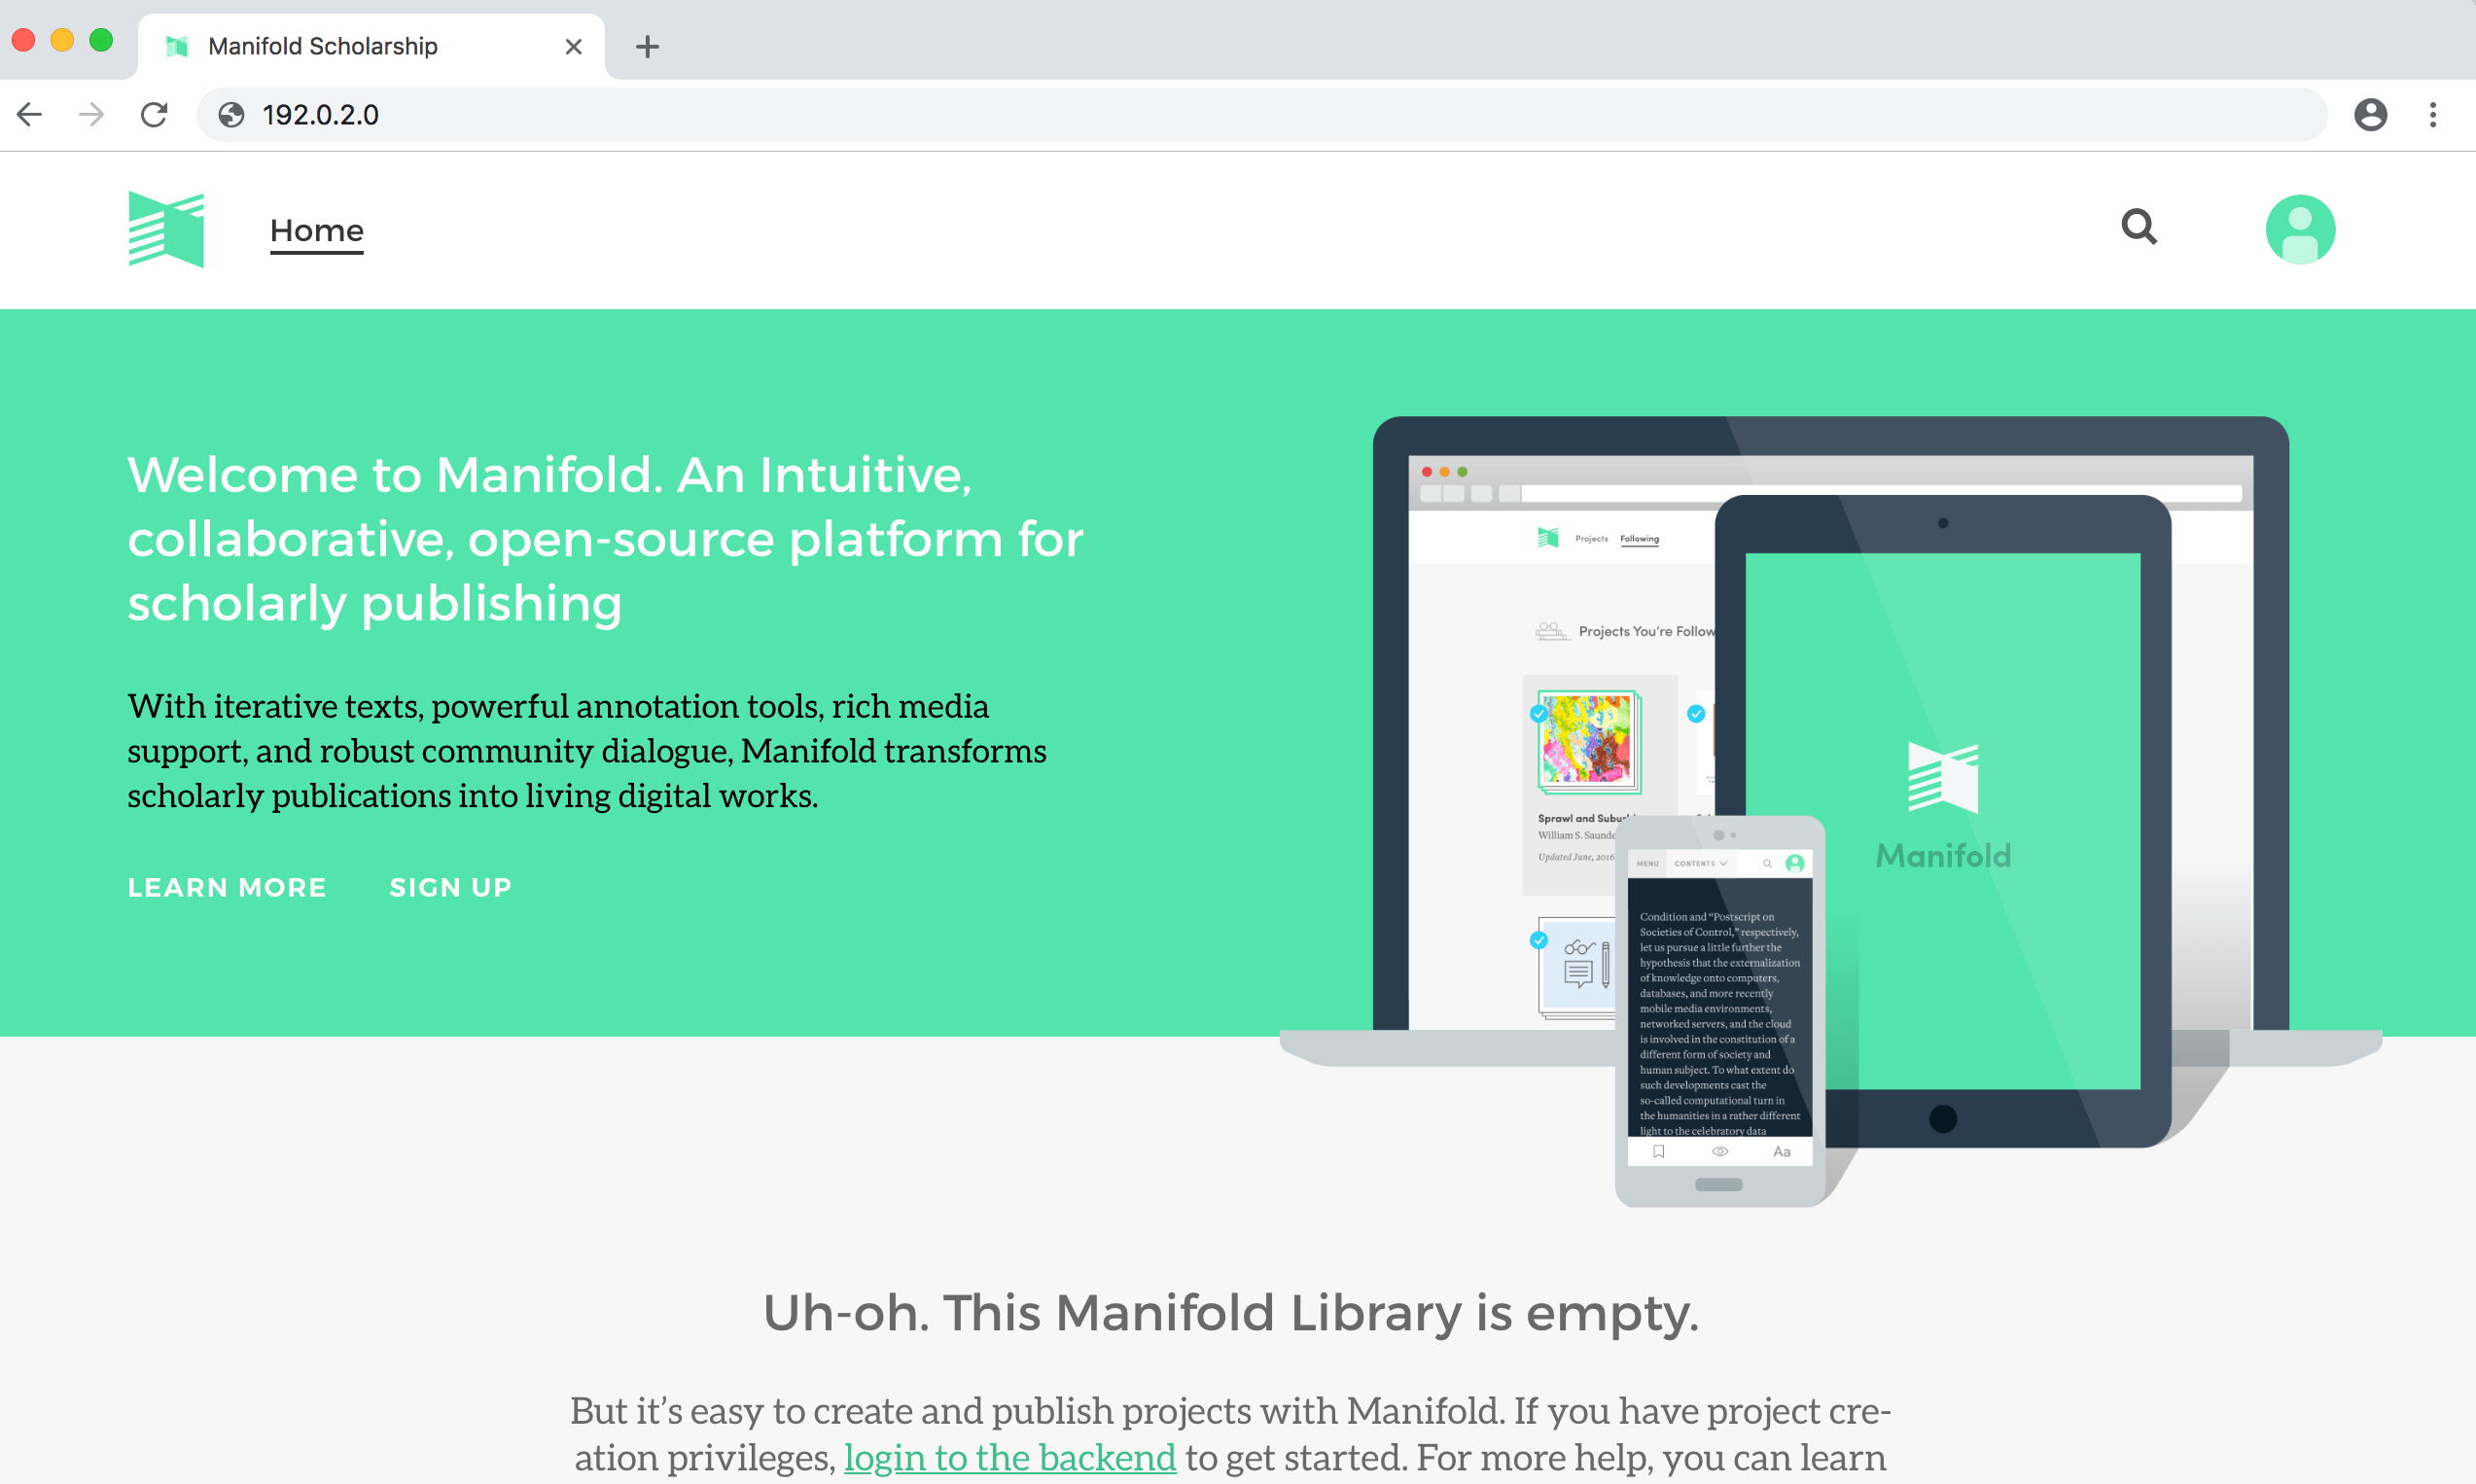
You can now visit either the URL or the IP address of your server. You should see an empty Manifold home page.
With the Manifold app being served, you can continue to the next step.
Step 4 — Access the Backend
All content that is stored in Manifold (including texts, projects, authors, resources, and users) is managed through Manifold’s backend web interface via the /backend path.
In order to access the backend, you will need to make an administrative user on your server. You’ll be calling a command to create this administrative user through the manifold-api executable.
To use this command, you’ll need to input your own details, including your email address, your password, your first name and your last name, in the following format:
- sudo manifold-api manifold:user:create:admin["your_email@domain.com","password","first_name","lastName"]
Substitute your own information in the command above, as in the following example:
- sudo manifold-api manifold:user:create:admin["virginia@woolf.com","l1ghth0us3","Virginia","Woolf"]
Once you run the command, you’ll receive output similar to the following:
OutputINFO: A User has been created. Its ID is 4a38dbb4-212b-4387-ad32-5e014459cd11
Once you’ve created this user, return to your browser and click on the avatar icon in the top right corner of Manifold to login.
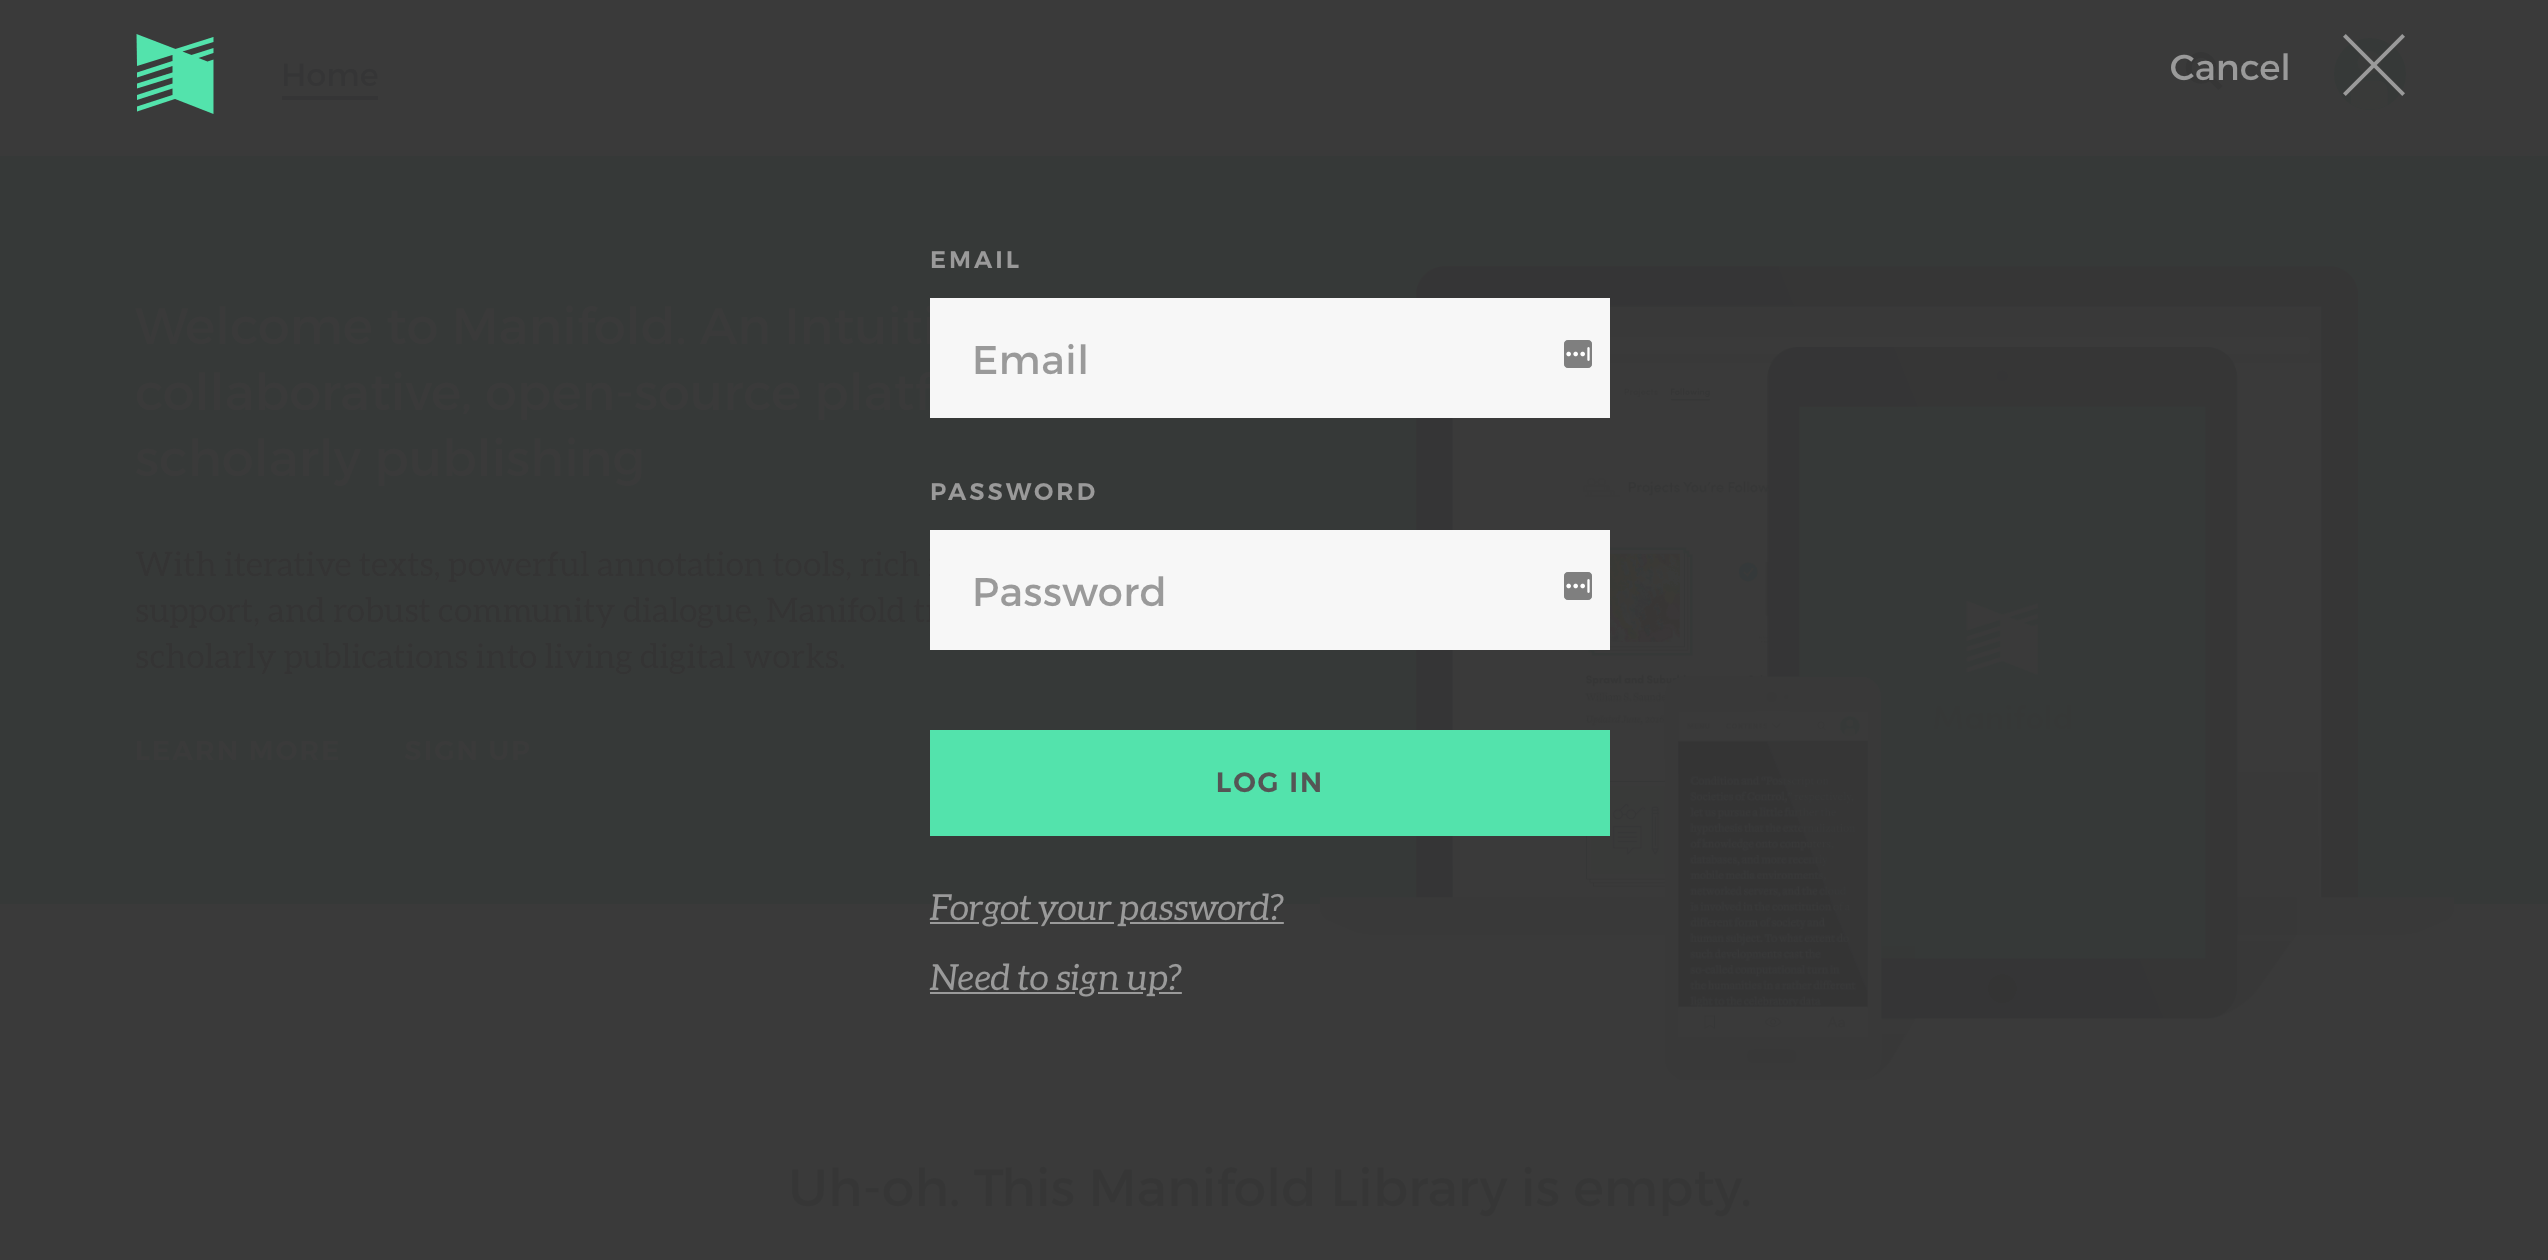
After you input your credentials and login successfully, you’ll see an ENTER ADMIN MODE button in the header.
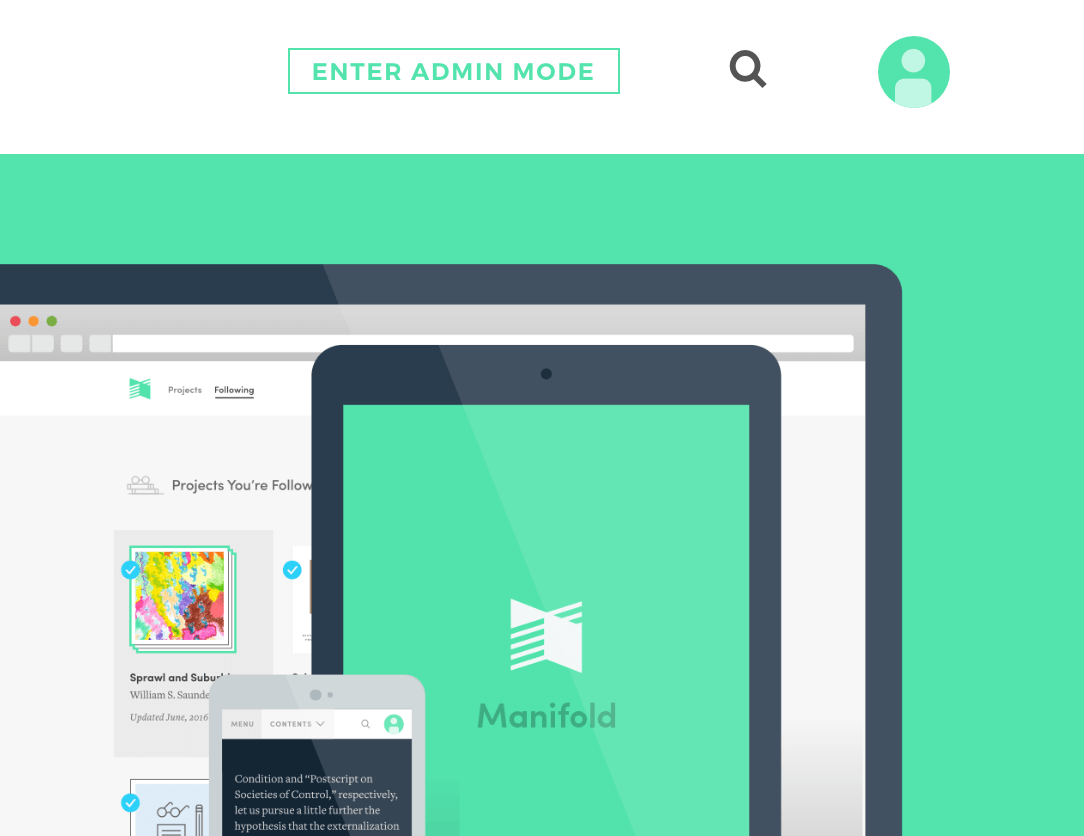
Click this button to access Manifold’s backend.
Step 5 — Create a Project
From the backend, you’ll be taken to where your future projects will live.

To create a new project, click on Projects on the top menu bar, then on the Add a New Project button. You will be prompted to enter a title and an optional subtitle and description. For demonstration purposes, you can upload the free How To Code in Python 3 eBook, so you can enter How To Code in Python 3 as the title.
With that information entered, you can save the project and press Continue.
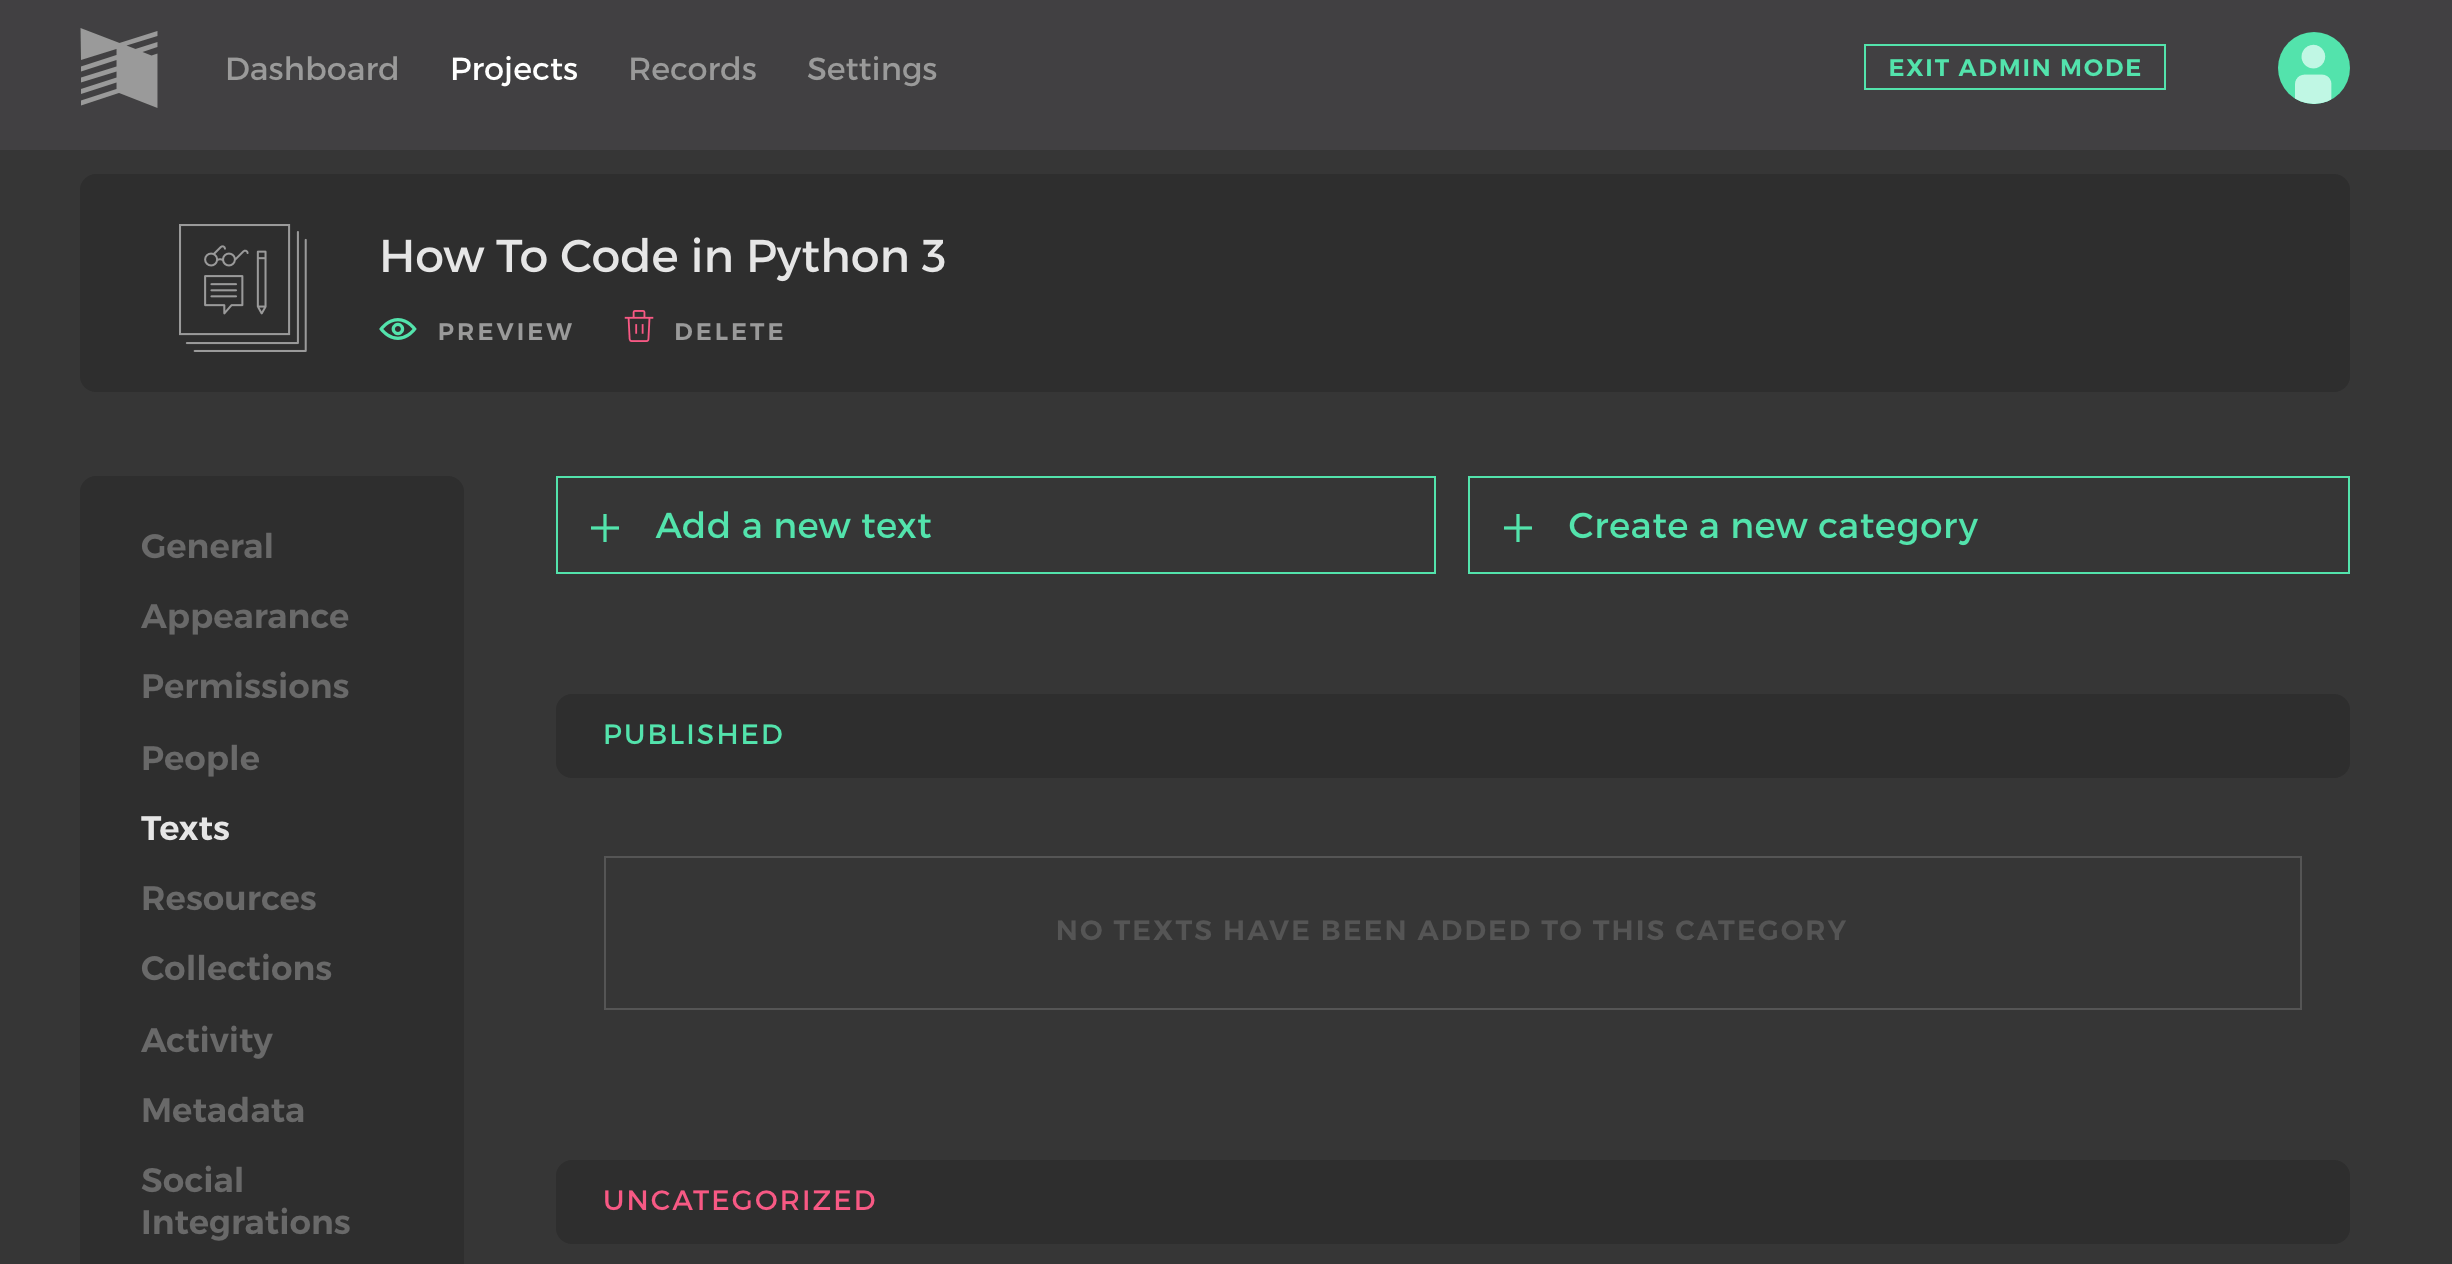
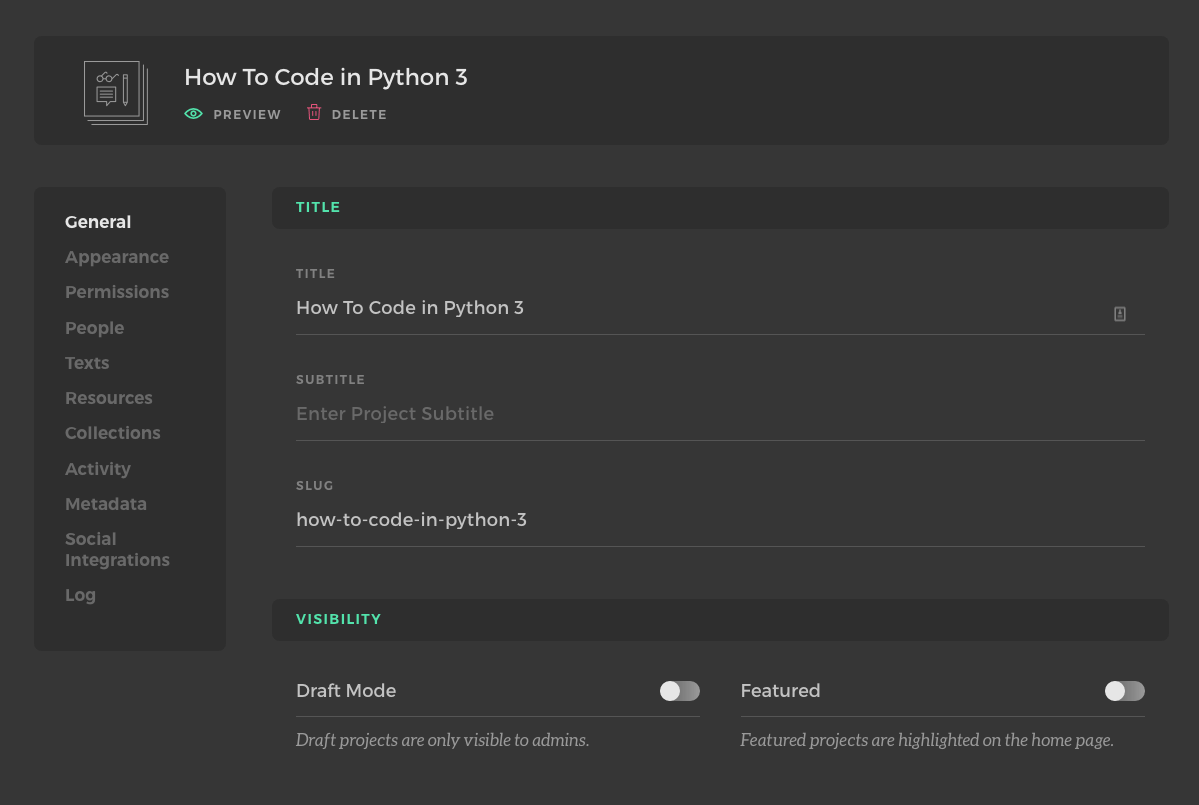
When you create a new project, it is automatically saved in draft mode. Projects that are drafts are only visible to administrative users who are logged in. Using the tabs on the left of the detail view of your project, you can add a thumbnail, upload a hero image or banner for the public-facing project page, as well as add metadata and additional resources.
Since Manifold provides you with a repository for texts, the first thing you’ll likely want to do is add a text. In order to ingest the text file to your project, click on the texts tab.
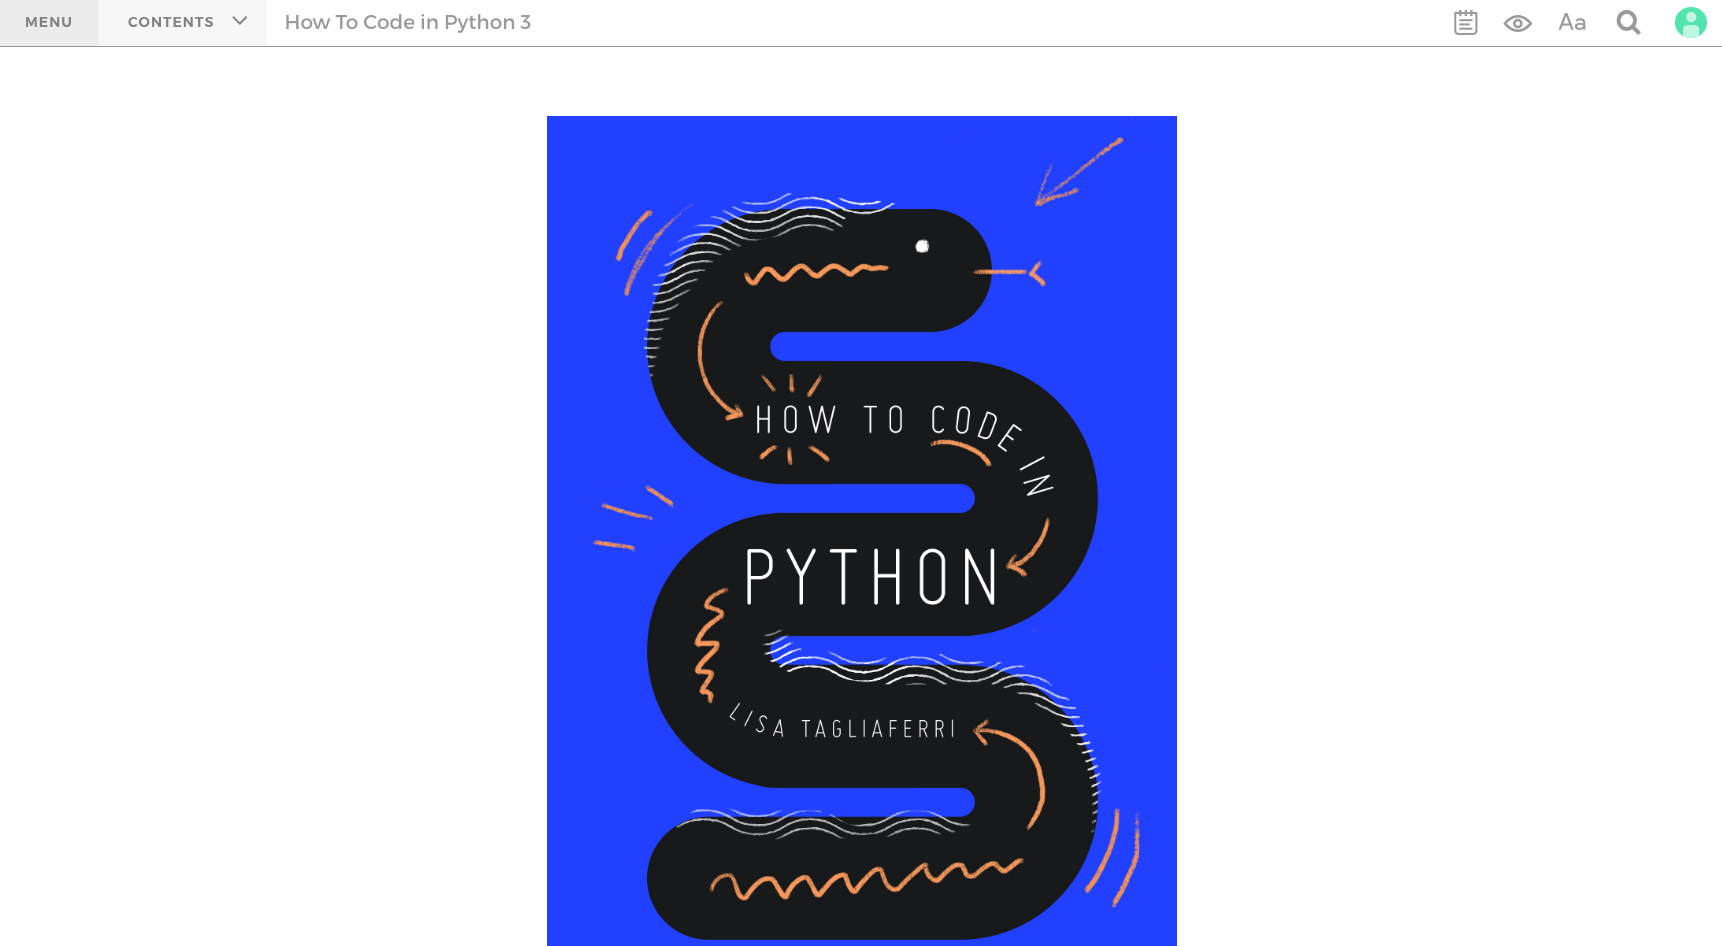
You can upload EPUBs, Markdown and HTML files, or Google Docs to Manifold. If you’re going to be working with Google Docs you will need to perform some additional configuration. For demonstration purposes, we’ll be uploading the How To Code in Python 3 EPUB into our Manifold installation. You can link to the eBook’s EPUB directly using this link:
https://assets.digitalocean.com/books/python/how-to-code-in-python.epub
To bring in the text, click on the Add a new text button to begin the ingestion process.
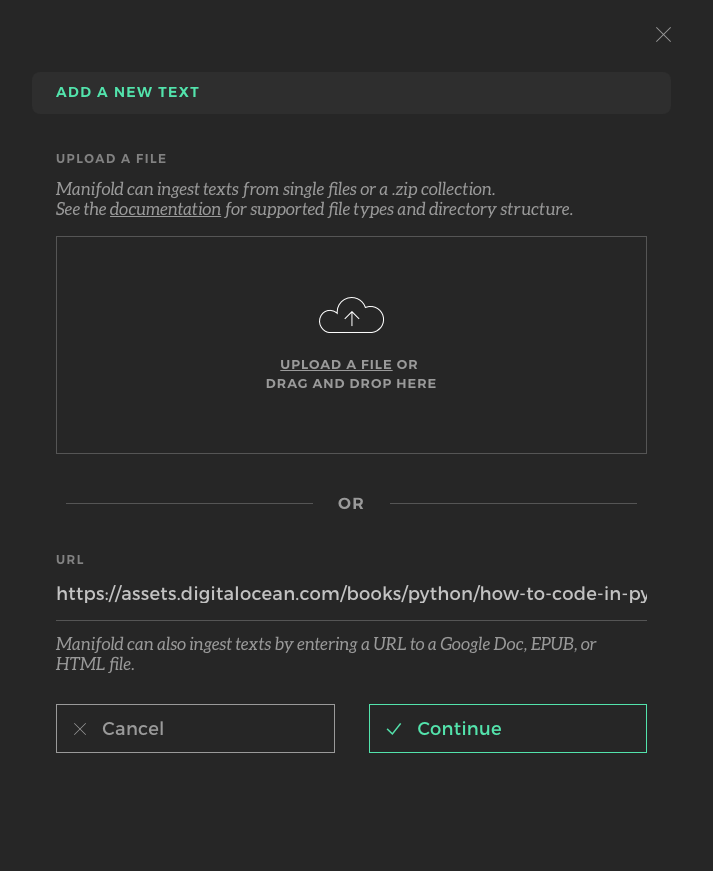
In our demonstration, we’ll use the link above, but you can alternatively upload or drag a file onto the cloud icon to upload a file from your local hard drive. When you have staged the file, you can press Continue. The app will connect to the Manifold websocket, and you can now click on Ingest to commence the upload process.
Depending on the hosting environment and the size of the file you’re uploading, it may take a few minutes for Manifold to ingest the text. You should see a log showing the status output of the ingestion. When this process is complete, you’ll see a Complete button at the bottom of the dialog box.
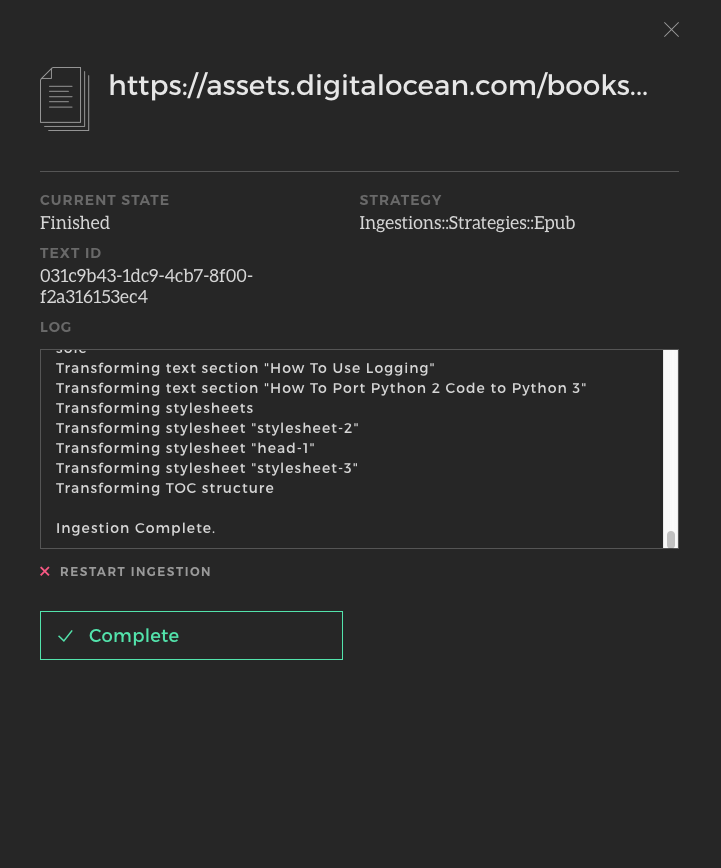
Once you press the Complete button, you’ll be returned to your project.
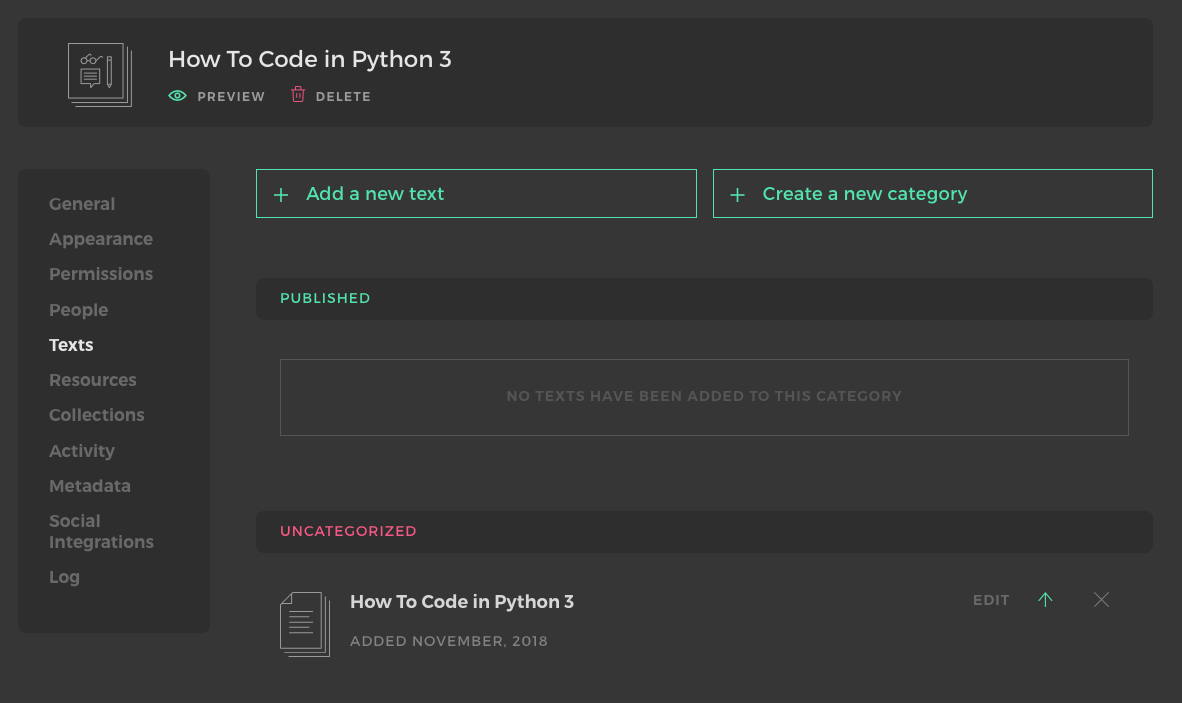
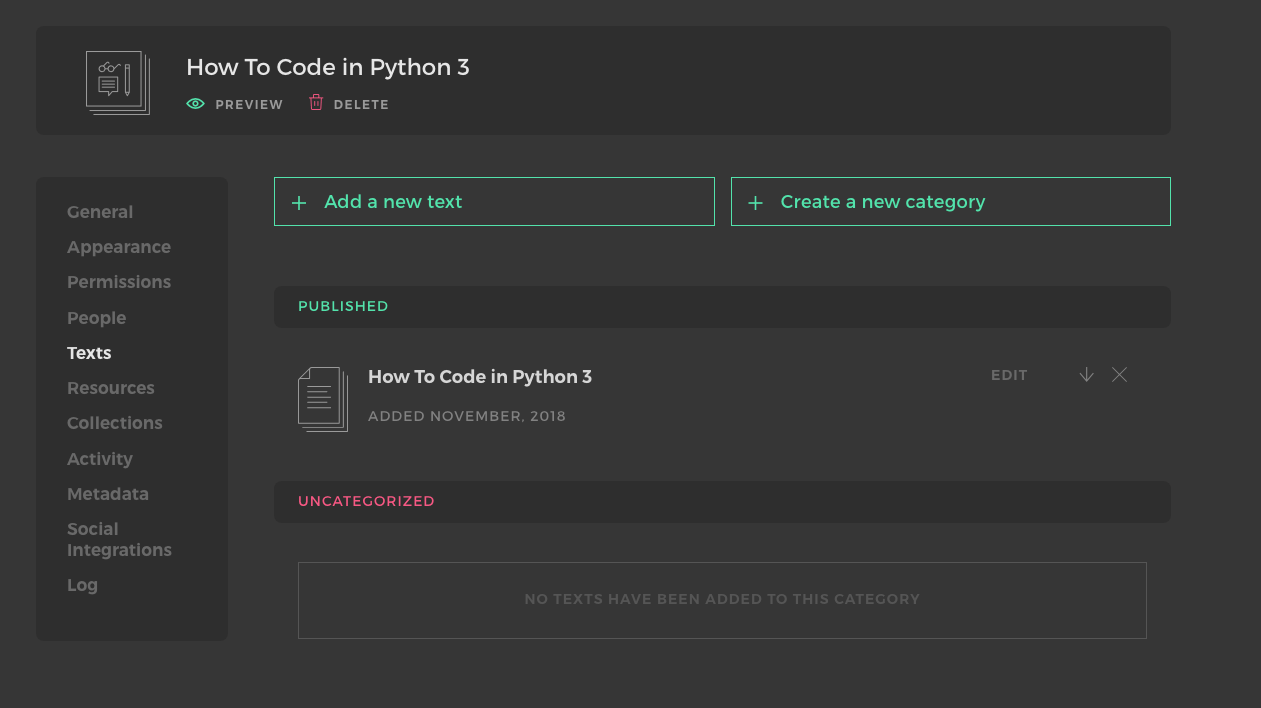
You’ll see your text added under UNCATEGORIZED. Use the up arrow to move the file into the PUBLISHED state.
Click the PREVIEW link below the project title next to the eye icon to view your current project. On the preview side, you should see a START READING button below the title.
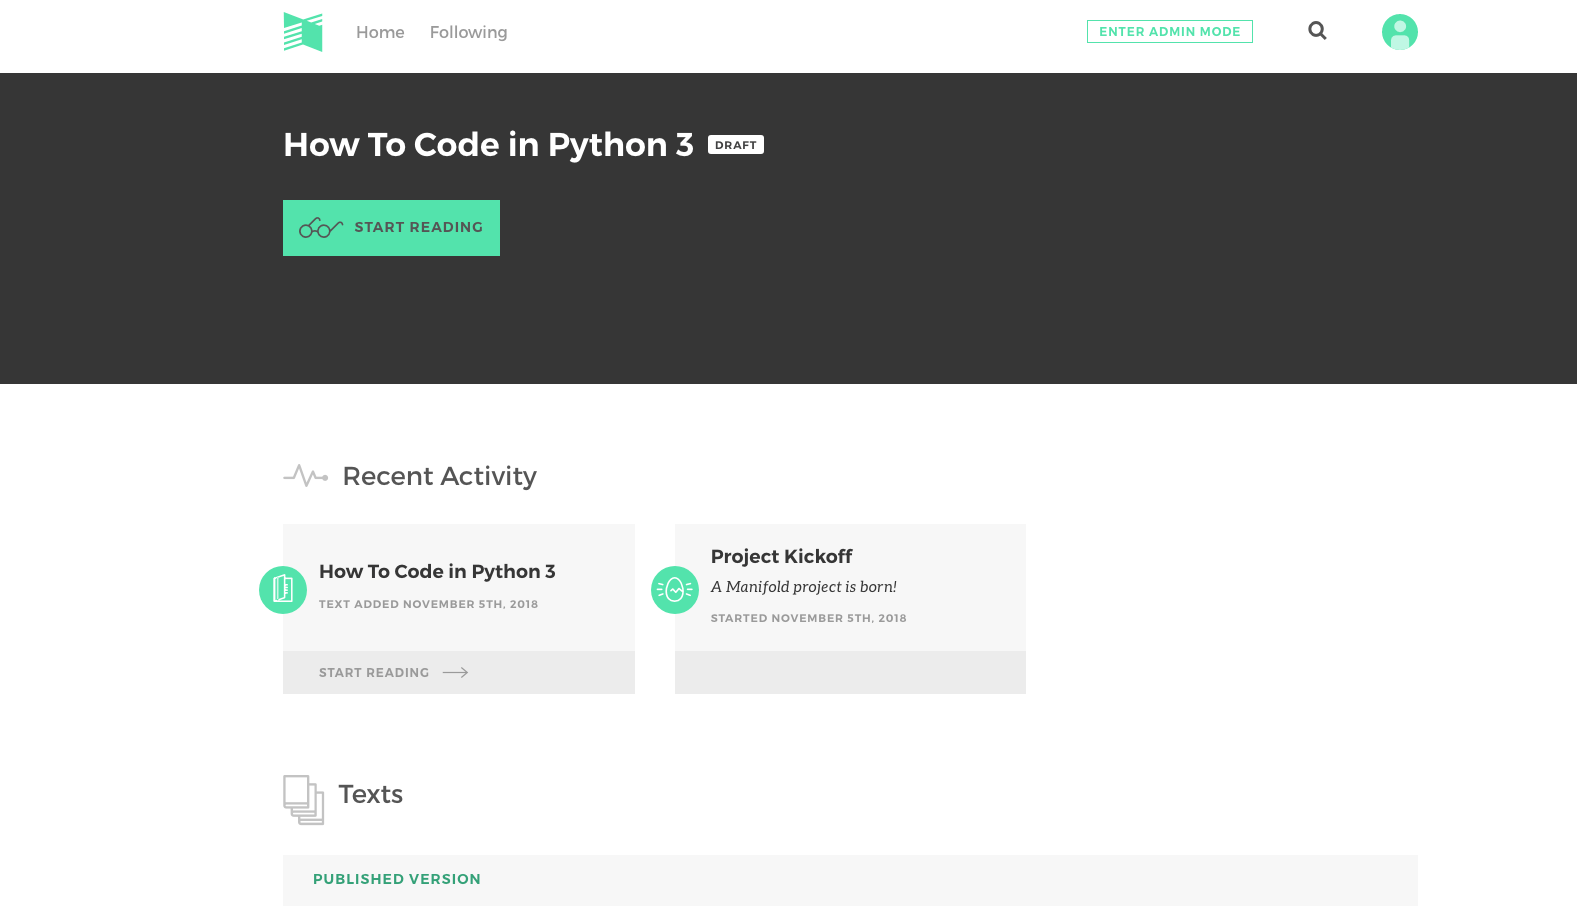
Once you press this button, the text should open in the Manifold reader.
When you are satisfied with your project, from the General tab of the administrative interface, you can toggle the visibility to turn off Draft Mode.
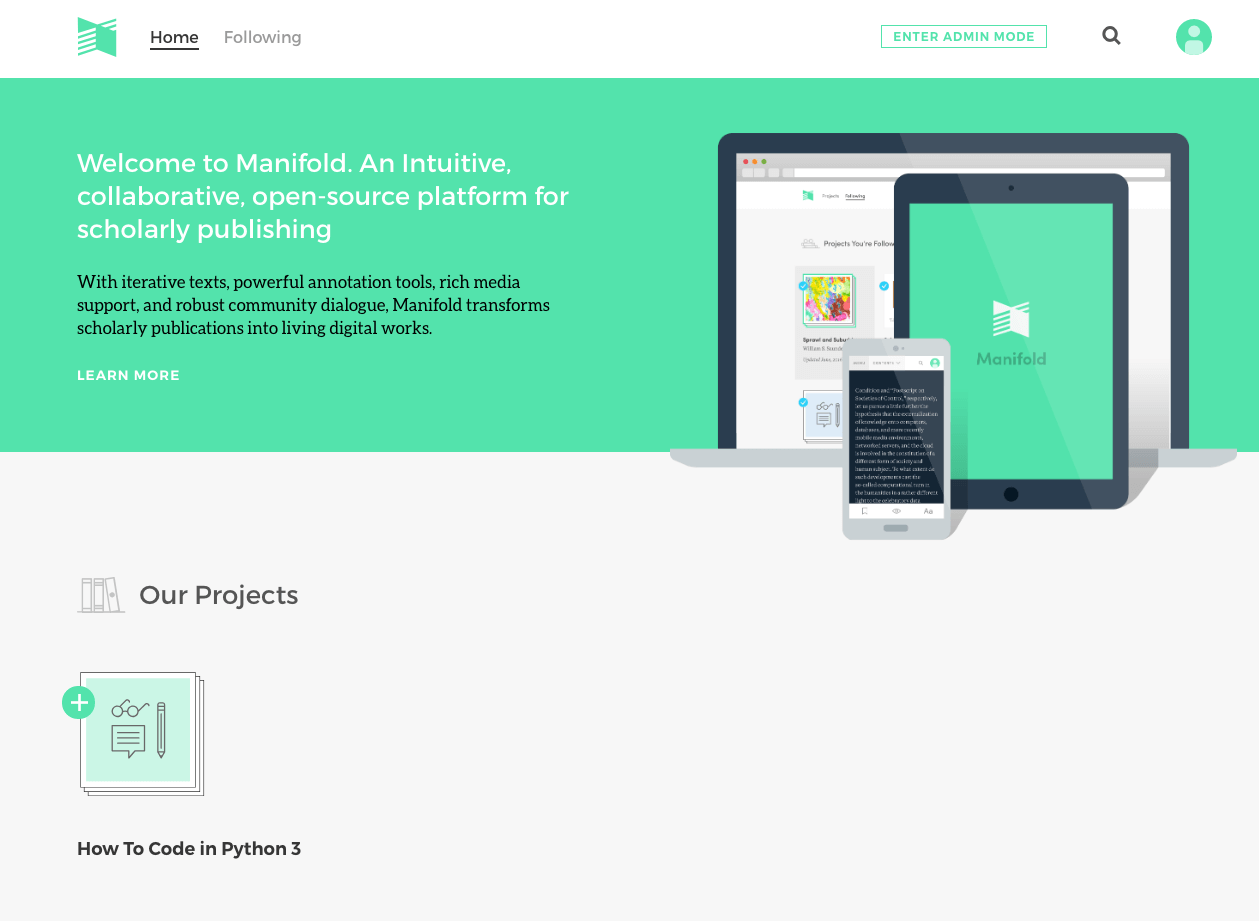
Now, the project should be available on your main page.
At this point, you can continue working on your project to add metadata, images, and more.
Note that if you have a domain associated with your Manifold page, and are expecting users to contribute files, it is best practices to secure your website and access it via the HTTPS protocol. To learn about securing Manifold with the free certificate authority Let’s Encrypt, read our tutorial, “An Introduction to Let’s Encrypt”
Conclusion
Congratulations, you completed your Manifold installation and created your first project! You should now have Manifold installed on your Ubuntu 18.04 server. If all went as planned, you’re well on your way to building out your own projects and publishing your own texts on Manifold.
To learn more about the Manifold project, its development, and the university presses using it, check out the following links:
- Manifold’s GitHub repository
- Follow Manifold on Twitter
- Read the Building Manifold Development Blog
- Join the Manifold Community Slack channel
- Visit the Manifold website for official documentation
If you run into any issues while using this software, the Manifold team welcomes feedback; you can get in touch with them by consulting the getting support section of their docs.
Thanks for learning with the DigitalOcean Community. Check out our offerings for compute, storage, networking, and managed databases.
About the author(s)
English PhD student and Digital Fellow to Manifold Scholarship at the Graduate Center, CUNY.
Still looking for an answer?
This textbox defaults to using Markdown to format your answer.
You can type !ref in this text area to quickly search our full set of tutorials, documentation & marketplace offerings and insert the link!
Anyone have any info on using LetsEncrypt and converting this application to SSL?
Great Tutorial. Any direction how to install Manifold in a sub-domain and in primary domain a simple html website?
 This work is licensed under a Creative Commons Attribution-NonCommercial- ShareAlike 4.0 International License.
Become a contributor for community
Get paid to write technical tutorials and select a tech-focused charity to receive a matching donation.

DigitalOcean Documentation
Full documentation for every DigitalOcean product.

Resources for startups and AI-native businesses
The Wave has everything you need to know about building a business, from raising funding to marketing your product.
The developer cloud
Scale up as you grow — whether you're running one virtual machine or ten thousand.

Start building today
From GPU-powered inference and Kubernetes to managed databases and storage, get everything you need to build, scale, and deploy intelligent applications.
