
Status: Deprecated
This article covers a version of Ubuntu that is no longer supported. If you are currently operate a server running Ubuntu 12.04, we highly recommend upgrading or migrating to a supported version of Ubuntu:
- Upgrade to Ubuntu 14.04.
- Upgrade from Ubuntu 14.04 to Ubuntu 16.04
- Migrate the server data to a supported version
Reason: Ubuntu 12.04 reached end of life (EOL) on April 28, 2017 and no longer receives security patches or updates. This guide is no longer maintained.
See Instead:
This guide might still be useful as a reference, but may not work on other Ubuntu releases. If available, we strongly recommend using a guide written for the version of Ubuntu you are using. You can use the search functionality at the top of the page to find a more recent version.
About Ruby on Rails
Ruby on Rails is an application stack that provides developers with a framework to quickly create a variety of web applications.
Rails can be installed on a virtual private server with a variety of packages, but it can also be download manually, from source. This tutorial will go over the manual installation.
Setup
The steps in this tutorial require the user to have root privileges. You can see how to set that up in theInitial Server Setup with Ubuntu in steps 3 and 4.
Step One—Download Ruby
Before you begin, make sure that your repository is up to date:
sudo apt-get update
Once the update finishes, we can start the ruby download:
Create a directory for the ruby download:
mkdir ~/downloads
Then switch into that directory:
cd ~/downloads
And begin downloading ruby:
sudo wget ftp://ftp.ruby-lang.org/pub/ruby/1.9/ruby-1.9.3-p0.tar.gz
Keep in mind that you can always access the latest version of ruby from the Ruby on Rails website: http://rubyonrails.org/download
Once you have downloaded ruby, download the dependancies to your virtual server. These will help later to make the installation as smooth as possible.
sudo apt-get install build-essential openssl libreadline6 libreadline6-dev curl git-core zlib1g zlib1g-dev libssl-dev libyaml-dev libsqlite3-dev sqlite3 libxml2-dev libxslt-dev autoconf libc6-dev ncurses-dev automake libtool bison nodejs subversion
After the dependancies are installed on your VPS, unzip the ruby file:
tar xvfz ruby-1.9.3-p0.tar.gz
Once the process has completed, enter into the downloaded directory.
cd ruby-1.9.3-p0
Step Two—Install Ruby
Inside the Ruby directory we have to run the three standard commands to install the software.
First:
./configure
"Configure" generates the make file and also checks that the server has all of the required dependancies. After that, still in the directory, you need to run the "make" command:
make
This may take a bit longer. Once it finishes, use make install:
sudo make install
Step Three—Install Gems
Once you have thoroughly unpacked the ruby code, the next step is to address the ruby gems. Since you installed the ruby package from the source, the gems should already be downloaded. However, you may need to update them:
sudo gem update --system
Step Four—Install Rails
After the gems are all up to date, you can complete the manual installation by setting up rails:
sudo gem install rails
With that, you have Ruby on Rails installed on your server.
Step Five—See Rails Online
After you have installed Ruby on Rails, you will be all set to start putting your ruby apps online.
To access the Ruby server, you simply need to make a new Ruby on Rails project:
rails new project_name
Enter into that directory:
cd project_name
And then turn on the rails server:
rails server
Step Six—RESULTS: Access Your Ruby Server
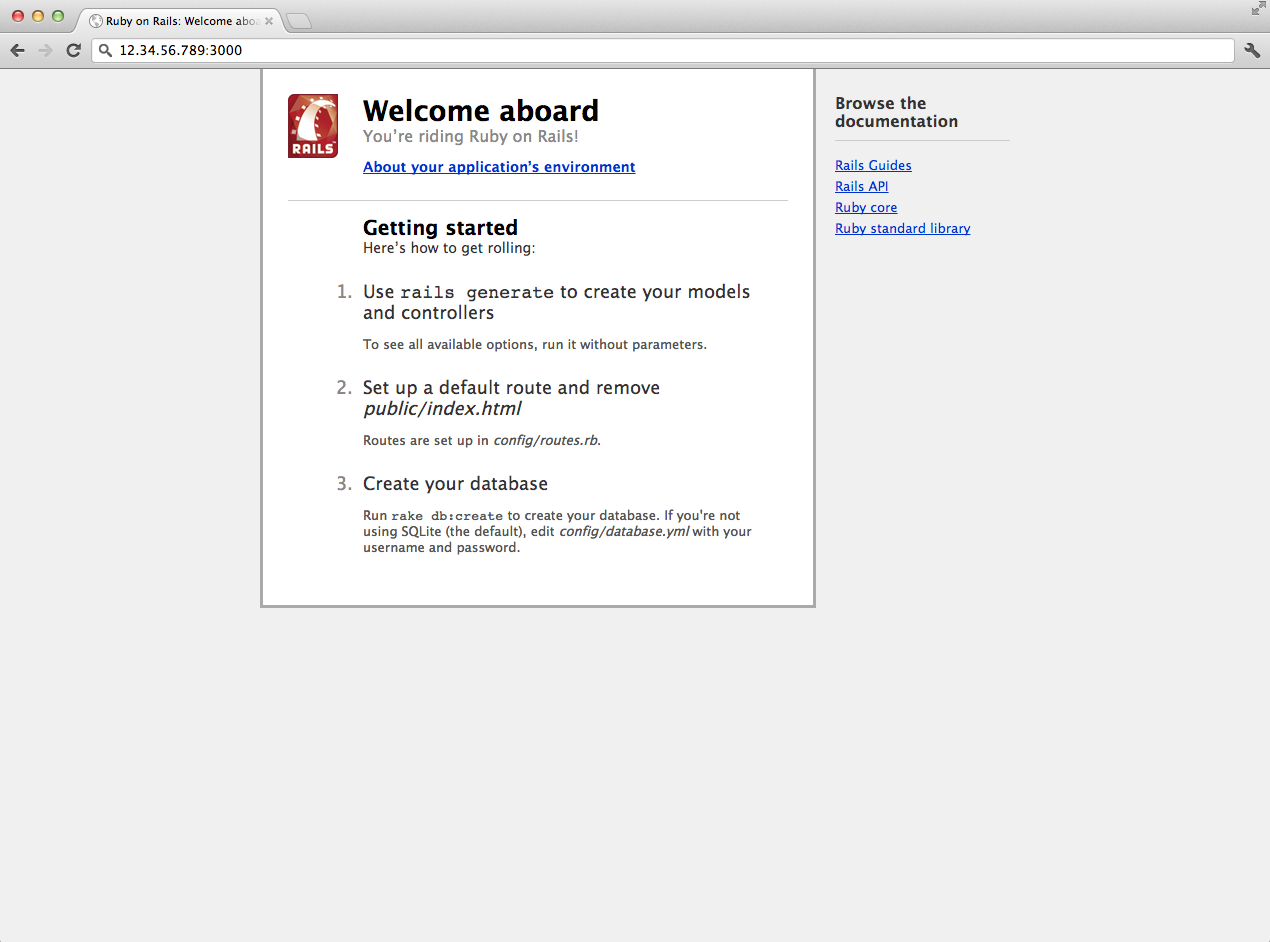
Once Ruby on Rails is installed, you can access your virtual private server by accessing your domain or IP address (ie. 12.34.56.789:3000).
The page should look like this.
Excellent—you have now installed Ruby on Rails from source.
See More
Once you have installed Ruby on Rails, you can proceed to Create a SSL Certificate for your site or Install an FTP server
Thanks for learning with the DigitalOcean Community. Check out our offerings for compute, storage, networking, and managed databases.
About the author
Former Director of Community at DigitalOcean. Expert in cloud topics including LAMP Stack, CentOS, Ubuntu, MySQL, SSL certificates, and more.
Still looking for an answer?
This textbox defaults to using Markdown to format your answer.
You can type !ref in this text area to quickly search our full set of tutorials, documentation & marketplace offerings and insert the link!
Hello,
I believe that using “sudo checkinstall” is better than “sudo make install”. Thanks a lot for nice tutorials :)
One sugestion: Change sudo “gem install rails” to “sudo gem install rails -V”. Only because it appears that when you do not use -V nothing happens.
Followed the instructions step by step on ubuntu server 12.04x64 and worked exactly as intended. Thanks a lot guys ! You make my life easier. Droplets are my best spent money !
Great tutorial, shouldn’t we: -Delete the rails download files: rm -rf downloads/
Ruby rails development has become the most preferred open-source platform over the years especially for dynamic web-app development…
Hi,
I’m new to Rails. I’ve followed every step of the way with this tutorial. The only trouble had is in the end, I can’t access MYIPADDRESS:3000 tried both to open my rails server ways:
- rails server 2)rails server -b MYIPADDRESS -p 3000 when i went to MYIPADDRESS:3000, it would just hang for a minute or to and says, “failed to open page”
how do I delete all for it??? it is using 10% of my servers memory all the time.
VirtualBox + Desktop Ubuntu 12.04 LTS (x64) + this tutorial + 15-20 min = worked exactly as u described! Thanx alot :)
 This work is licensed under a Creative Commons Attribution-NonCommercial- ShareAlike 4.0 International License.
Become a contributor for community
Get paid to write technical tutorials and select a tech-focused charity to receive a matching donation.

DigitalOcean Documentation
Full documentation for every DigitalOcean product.

Resources for startups and AI-native businesses
The Wave has everything you need to know about building a business, from raising funding to marketing your product.
The developer cloud
Scale up as you grow — whether you're running one virtual machine or ten thousand.

Start building today
From GPU-powered inference and Kubernetes to managed databases and storage, get everything you need to build, scale, and deploy intelligent applications.
