
Spin up Ubuntu 12.10 x64 droplet:

We recommend using 64 bit distribution as it would let you scale your droplet a lot easier in the future.
Step 1 - Install LAMP stack
To install a LAMP (Linux/Apache/MySQL/PHP) stack on Ubuntu, we will set our dpkg frontend to "noninteractive".
This lets you complete installation process without being prompted, and speeds up the process.
We should also install sendmail as it will be used to send e-mails to new forum users, and password reset requests.
export DEBIAN_FRONTEND=noninteractive
apt-get -y install apache2 mysql-server mysql-client php5 php5-mysql php5-gd sendmail
Step 2 - Create A Database
We will create database 'SMF' and user 'SMF' with password 'PassWord', make sure to change it to your own value:
mysqladmin create SMF
mysql -Bse "create user 'SMF'@'localhost' identified by 'PassWord';"
mysql -Bse "grant all privileges on \`SMF\`.* to 'SMF'@'localhost';"
mysqladmin flush-privileges
Step 3 - Install Simple Machines Forum
You can find latest version of SMF from their website.
We will download latest version and copy it over into Apache's default folder:
rm -rf /var/www/*
cd /var/www
wget http://mirror.ord.simplemachines.org/downloads/smf_2-0-4_install.tar.gz
tar xvfz smf_2-0-4_install.tar.gz
rm -rf smf_2-0-4_install.tar.gz
Set Correct Directory and File Permissions
cd /var/www
for dirs in attachments avatars cache Packages Packages/installed.list Smileys Themes agreement.txt Settings.php Settings_bak.php; do chmod 777 $dirs; done
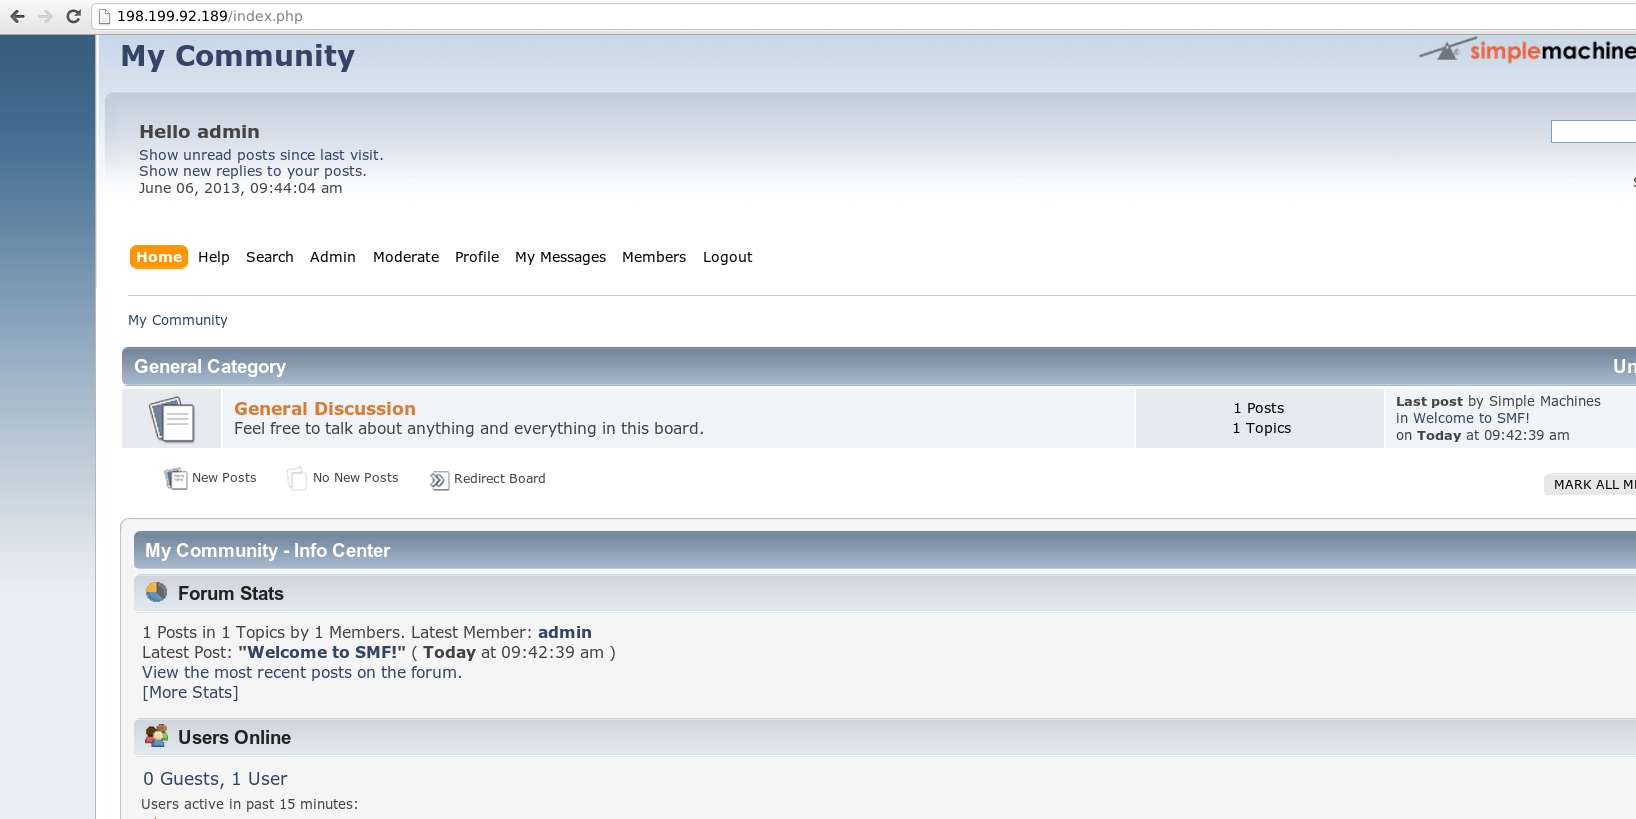
Now you can finish installation by navigating to your droplet's IP address:

For database credentials, enter the following values, replacing PassWord with your own value from Step 2 above:
Server name: localhost
Username: SMF
Password: PassWord
Database name: SMF
Table prefix: smf_
If you want to setup multiple forums on same database, you would have to set a unique Table prefix for each forum.

In the next step you can customize your forum name, forum URL, and other settings:

Your installer will populate the database with tables and required entries:

In this next step, you will be asked to create an admin account:

Your installation is now (almost) complete:
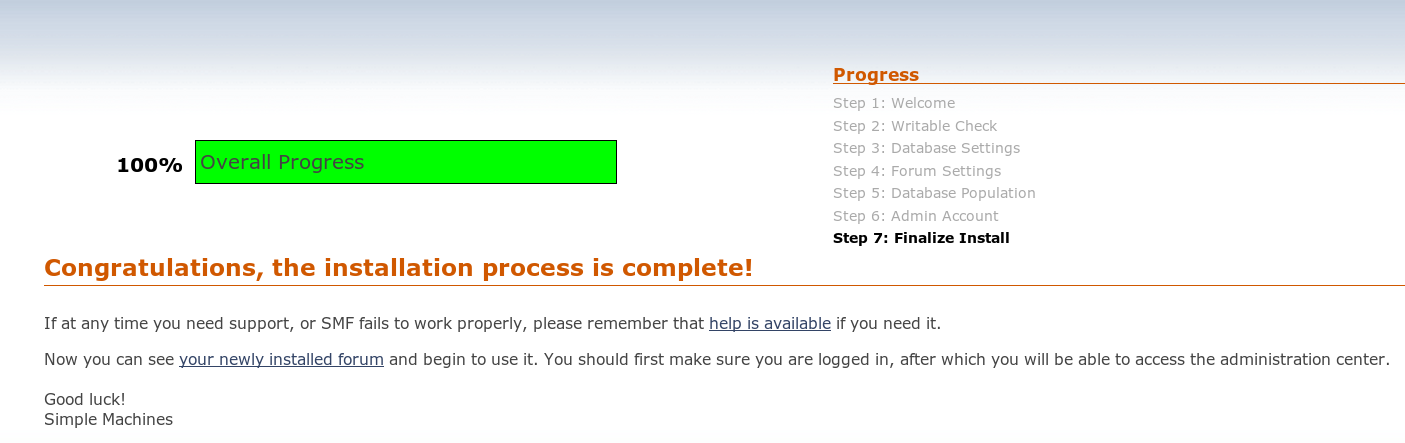
To finish installation, remove install.php file:
rm -rf /var/www/install.php
Setup CAPTCHA
CAPTCHA stands for “Completely Automated Public Turing test to tell Computers and Humans Apart”, and is used to prevent spamming on your forums.
You can prevent forum spamming by requiring new users to pass this test. This module can be downloaded from Simple Machines mods - Anti Spam: KeyCAPTCHA.
This module protects new user registration, forum searching, new posts, private messaging, and quick replies by guests.
A demo of KeyCAPTCHA is available at author's website.
Integrating Simple Machines Forum with Wordpress
Using our One-Click Install WordPress on Ubuntu 12.10 with DigitalOcean Application and Simple Machines Wordpress 3.0+ User Integration you can integrate your forum with your blog.
This plugin would let your users be registered in both databases at the same time. It would also synchronize profile and role updates between your forum and blog.
You can install it on a new or existing Simple Machines forum and Wordpress installation.
This plugin would migrate existing users to both SMF and Wordpress databases.
Login and logout out process is simplified as you would only need to do it on either forum or blog to be logged into or logged out of both.
And you are all done!
Thanks for learning with the DigitalOcean Community. Check out our offerings for compute, storage, networking, and managed databases.
About the author
Still looking for an answer?
This textbox defaults to using Markdown to format your answer.
You can type !ref in this text area to quickly search our full set of tutorials, documentation & marketplace offerings and insert the link!
Thanks for the basics. I used it to build an smf_2-0-12_install on Ubunut 16.0.4 Some observations, - the LAMP/16.04 has php7 as default - and smf only supports php5.6 Conv php to 5.6 Target directory is /var/www/html Once installed the owner ship needs to be changed sudo chown -R www-data:www-data /var/www/html/
Finally, after running install.php, I still had issues and I needed to install repair_settings.php follow it suggestions and then its worked.
 This work is licensed under a Creative Commons Attribution-NonCommercial- ShareAlike 4.0 International License.
Become a contributor for community
Get paid to write technical tutorials and select a tech-focused charity to receive a matching donation.

DigitalOcean Documentation
Full documentation for every DigitalOcean product.

Resources for startups and AI-native businesses
The Wave has everything you need to know about building a business, from raising funding to marketing your product.
The developer cloud
Scale up as you grow — whether you're running one virtual machine or ten thousand.

Start building today
From GPU-powered inference and Kubernetes to managed databases and storage, get everything you need to build, scale, and deploy intelligent applications.
