Not using Ubuntu 16.04?
Choose a different version or distribution.
Introduction
Jekyll is a static-site generator that provides some of the benefits of a Content Management System (CMS) while avoiding the performance and security issues introduced by such database-driven sites. It is “blog-aware,” and includes special features to handle date-organized content, although its usefulness is not limited to blogging sites. Jekyll is well-suited for people who need to work off-line, prefer using lightweight editors to web forms for content maintenance, and wish to use version control to track changes to their website.
In this tutorial, we will install a Jekyll 3.7.3 development site on Ubuntu 16.04. In later tutorials, we’ll explore the content generated here, publish a static site to the same server, and eventually deploy to a production location.
Prerequisites
To follow this tutorial, you will need:
- An Ubuntu 16.04 server with a non-root user with sudo privileges: You can learn more about how to set up a user with these privileges in our Initial Server Setup with Ubuntu 16.04 guide.
Once you’ve completed this prerequisite, you’re ready to install Jekyll and its dependencies.
Step 1 — Installing Jekyll
We’ll start by updating our package list to be sure we have the latest information on the newest versions of packages and their dependencies:
- sudo apt-get update
Then we’ll install Ruby and its development libraries as well as make and build-essential so that Jekyll’s libraries will compile once we install Jekyll:
- sudo apt-get install ruby ruby-dev make build-essential
When that is complete, we will move on to adding two lines to our .bashrc file to instruct Ruby’s gem package manager to place gems in our user’s home folder. This avoids complications that can arise from system-wide installations, while also adding the local jekyll command to the user’s PATH.
Open .bashrc by typing the following:
- nano .bashrc
At the bottom of the file, add the following lines:
# Ruby exports

export GEM_HOME=$HOME/gems
export PATH=$HOME/gems/bin:$PATH
Save and close the file. To activate the exports, run the following:
- source ~/.bashrc
When that’s complete, we’ll use gem to install Jekyll itself as well as Bundler, which manages Gem dependencies:
- gem install jekyll bundler
Next, we’ll make sure that our firewall settings allow traffic to and from Jekyll’s development web server.
Step 2 — Opening the Firewall
We’ll begin by checking the firewall status to see if it’s enabled. If so, we’ll ensure traffic to our site is permitted so we will be able to view our development site in a web browser.
- sudo ufw status
In this case, only SSH is allowed through:
OutputStatus: active
To Action  From
-- ------  ----
OpenSSH ALLOW   Anywhere
OpenSSH (v6)   ALLOW   Anywhere (v6)
You may have other rules in place or no firewall rules at all. Since only SSH traffic is permitted in this case, we’ll need to open port 4000, the default port for the Jekyll development server:
- sudo ufw allow 4000
Let’s double-check the status:
- sudo ufw status
Now our firewall rules look like:
OutputTo                         Action      From
--                         ------      ----
OpenSSH                    ALLOW       Anywhere
4000                       ALLOW       Anywhere
OpenSSH (v6)               ALLOW       Anywhere (v6)
4000 (v6)                  ALLOW       Anywhere (v6)
With the software installed and the necessary port open, we’re ready to create the development site.
Step 3 — Creating a New Development Site
From our home directory, we’ll use Jekyll’s new command to create scaffolding for a site in a sub-directory called www:
- cd ~
- jekyll new www
The jekyll new command initiates bundle install to install the required dependencies, and automatically installs a theme called Minima. Following successful installation, you should see output like the following:
OutputNew jekyll site installed in /home/sammy/www.
Jekyll’s new command creates the following directories and files:
...
├── 404.html
├── about.md
├── _config.yml
├── Gemfile
├── Gemfile.lock
├── index.md
├── _posts
│   └── 2018-03-19-welcome-to-jekyll.markdown
└── _site
These aren’t the actual web site files. They are the source files which Jekyll will use to create the static site. Jekyll relies on specific names, naming patterns, and directory structures to parse the different sources of content and assemble them into a static site. It’s important to use the existing structure and follow Jekyll’s naming conventions when adding new posts and pages.
Tip: tree is a useful command for seeing file and directory structures from the command-line. You can install it with the following command:
- sudo apt-get install tree
To use it, cd into the directory you want and type tree or provide the path to the starting point with tree /home/sammy/www
Step 4 — Starting Jekyll’s Web Server
Jekyll’s built-in lightweight web server is tailored to support site development by monitoring the files in the directory and automatically regenerating the static site any time a change is saved. Because we are working on a remote server, we’ll specify the host address in order to browse the site from our local machine. If you are working on a local machine, you can run jekyll serve without the host setting and connect with http://localhost:4000.
- cd ~/www
- jekyll serve --host=203.0.113.0
Output of jekyll serverConfiguration file: /home/sammy/www/_config.yml
            Source: /home/sammy/www
       Destination: /home/sammy/www/_site
 Incremental build: disabled. Enable with --incremental
      Generating...
                    done in 0.645 seconds.
 Auto-regeneration: enabled for '/home/sammy/www'
    Server address: http://203.0.113.0:4000/
  Server running... press ctrl-c to stop.
When we invoked jekyll serve, Jekyll parsed the configuration and content files into a new directory, _site and started serving the content in that _site folder:
...
├── 404.html
├── about.md
├── _config.yml
├── Gemfile
├── Gemfile.lock
├── index.md
├── _posts
│   └── 2018-03-19-welcome-to-jekyll.markdown
└── _site
    ├── 404.html
    ├── about
    │   └── index.html
    ├── assets
    │   ├── main.css
    │   └── minima-social-icons.svg
    ├── feed.xml
    ├── index.html
    └── jekyll
        └── update
            └── 2018
                └── 03
                    └── 19
                        └── welcome-to-jekyll.html
It also started watching the current directory, www, for changes. As soon as a change to a post or page is saved, the static site will automatically be rebuilt, so it’s important not to make changes directly to files in the _site folder.
If we leave this terminal open with the development server running in the foreground when working on our site, we will receive immediate feedback as we add pages and posts and change content.
Note: If you’re working with a large site, enabling the --incremental build can speed up the rebuild each time you make a change by only regenerating the files that are changed, but we don’t need it for this small site. You can learn more about this experimental feature on the Jekyll website.
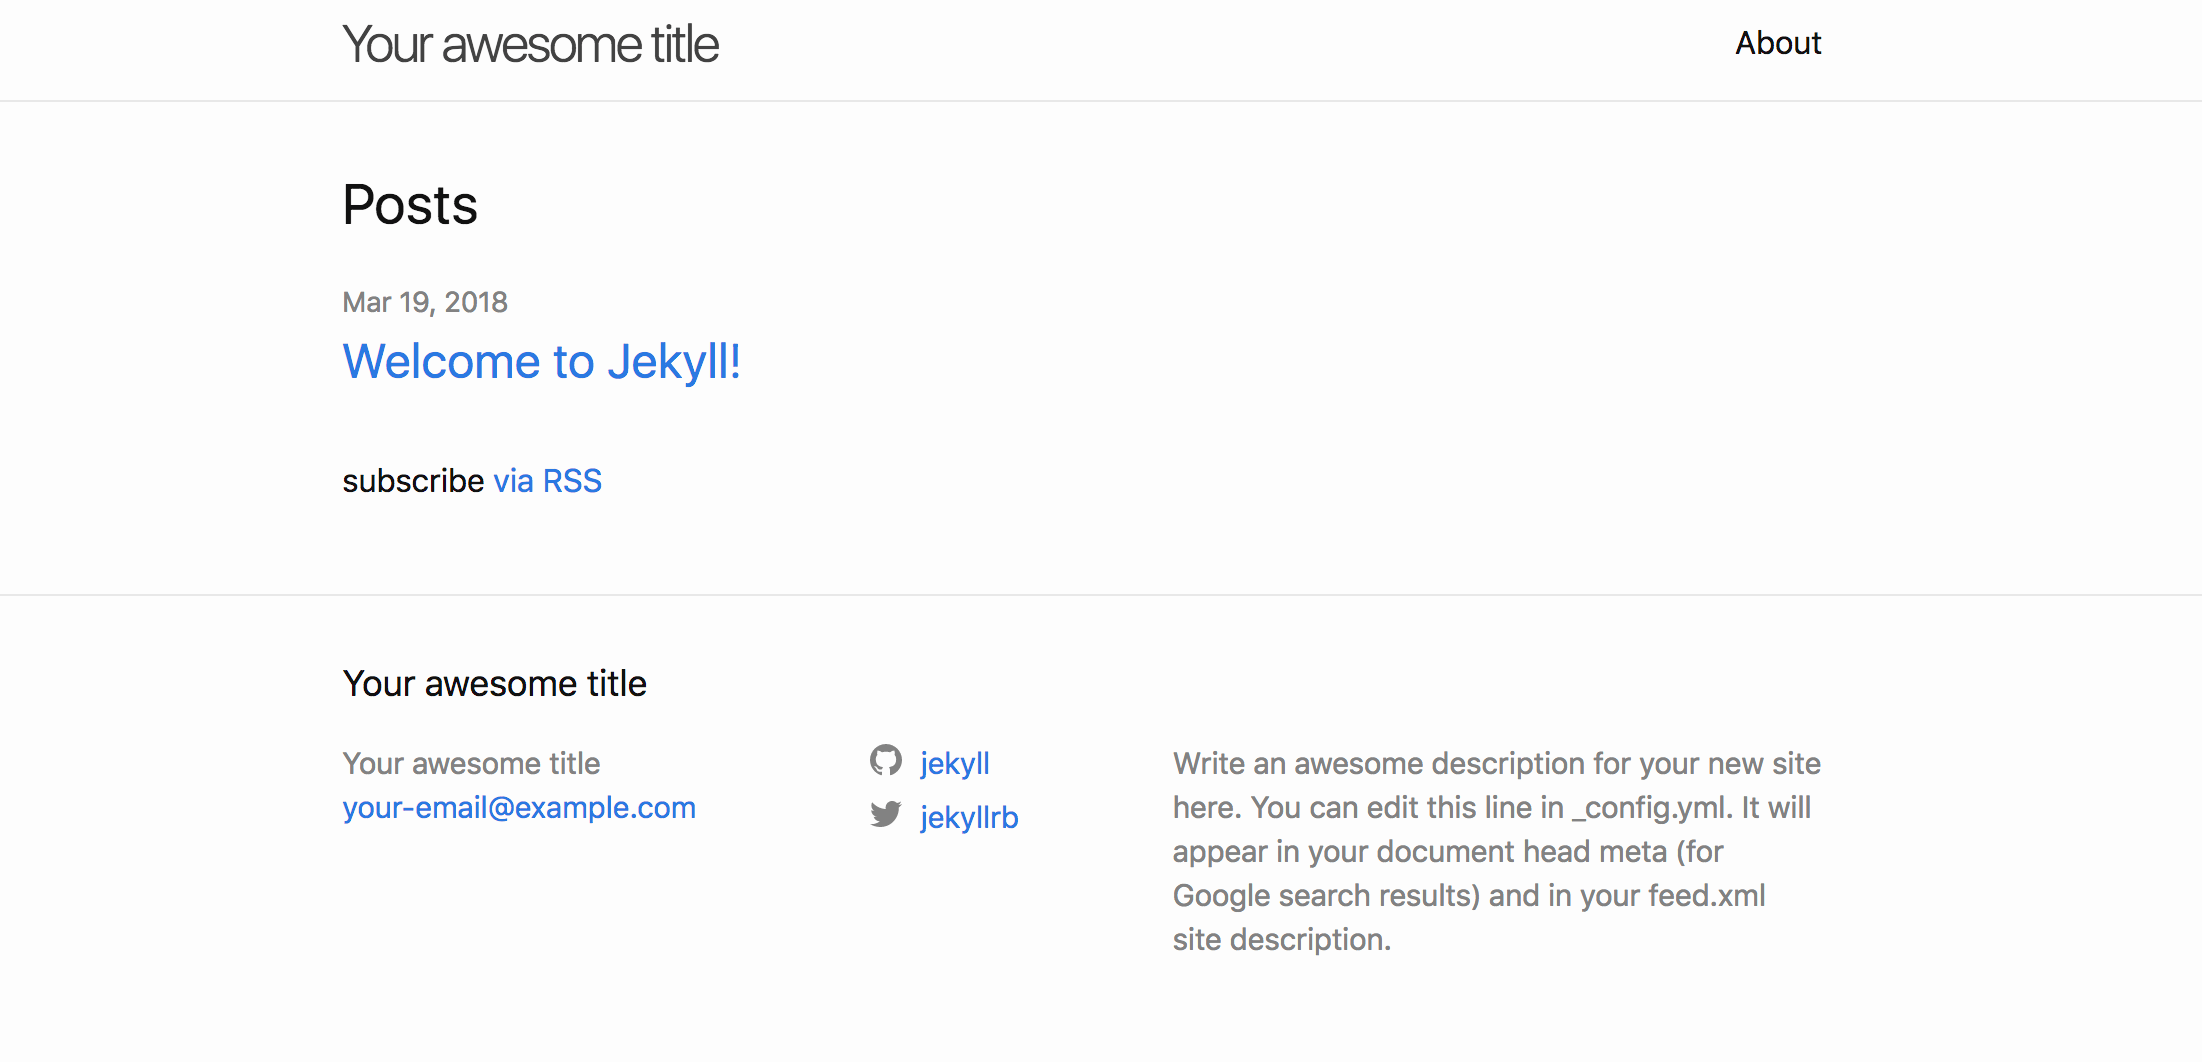
The site is now available. In a web browser, we can visit it at the server address and port shown in the the output from jekyll serve:
Conclusion
In this tutorial, we installed Jekyll and created a development site with some automatically-generated content. In our next guide, we will explore this content to illustrate how Jekyll transforms the source files into a static site and inform the decisions about our configuration settings.
Thanks for learning with the DigitalOcean Community. Check out our offerings for compute, storage, networking, and managed databases.
About the author
Still looking for an answer?
This textbox defaults to using Markdown to format your answer.
You can type !ref in this text area to quickly search our full set of tutorials, documentation & marketplace offerings and insert the link!
just reading this http://stackoverflow.com/questions/2119064/sudo-gem-install-or-gem-install-and-gem-locations
I just did that sudo gem … from this tutorial, hope it will be fine at the end or should I purge everything related and start again ?
 This work is licensed under a Creative Commons Attribution-NonCommercial- ShareAlike 4.0 International License.
Become a contributor for community
Get paid to write technical tutorials and select a tech-focused charity to receive a matching donation.

DigitalOcean Documentation
Full documentation for every DigitalOcean product.

Resources for startups and AI-native businesses
The Wave has everything you need to know about building a business, from raising funding to marketing your product.
The developer cloud
Scale up as you grow — whether you're running one virtual machine or ten thousand.

Start building today
From GPU-powered inference and Kubernetes to managed databases and storage, get everything you need to build, scale, and deploy intelligent applications.
