
Introduction
The traditional Customer Relationship Management (CRM) model of data management is tailored for business-to-many-customers relationships. CRM software strives to organize and analyze the large amounts of data that businesses gather from customers, while also providing assistance in coordinating channels of communication. In order to help businesses strengthen the relationships they have with each of their many individual customers, CRM software generates insights with the goal of improving customer satisfaction, customer retention, sales growth, and more.
The team behind Monica calls their product a “Personal CRM”. Monica takes the business principles mentioned previously, and applies them to personal relationships between everyday people. Everything you want to remember about your friends and family can be stored and organized in Monica.
This tutorial will guide you through a full, manual installation of Monica. This version of Monica is fully featured, completely free and open-source, and provides you the most granular control over your setup.
Prerequisites
Before starting, you must have the following:
- An Ubuntu 20.04 server with at least 1.5 GB of RAM, set up according to our initial server setup guide for Ubuntu 20.04, with a non-root user with
sudoprivileges and a firewall enabled.
Warning: If your server has less than 1.5 GB of RAM, the Yarn tasks within this installation tutorial will not only take much longer, but can potentially fail to finish. This makes the installation impossible to complete. In that scenario, switching to a server with a higher amount of RAM is the only solution.
- A LAMP stack installed on your server. You can set this up by following Steps 1 through 3 of How To Install Linux, Apache, MySQL, PHP (LAMP) stack on Ubuntu 20.04.
- The latest version of Node.js installed on your server, using a NodeSource PPA as detailed in Option 2 of How To Install Node.js on Ubuntu 20.04.
Step 1 — Creating a MySQL Database and User for Persistent Storage
Monica needs a place to store all your inputted data, and the team behind Monica recommends using MySQL. MySQL has proven to be reliable in many production environments, and is a part of the LAMP (Linux operating system, Apache web server, MySQL database, PHP programming language) tech stack that Monica employs.
You will need to create a database and MySQL user for use with Monica, then grant that user the appropriate privileges.
Begin by logging into the MySQL console:
- sudo mysql
Create a database configured to handle Monica’s data, substituting with your preferred database name:
- CREATE DATABASE monicadb CHARACTER SET utf8mb4 COLLATE utf8mb4_unicode_ci;
Create a new user with a username and password of your choosing. Every database action you commit with Monica is done through this user, so remember the username and password you choose:
- CREATE USER 'sammy'@'localhost' IDENTIFIED BY 'strong_mysql_password';
Grant this new user privileges against the new database you just created:
- GRANT ALL ON monicadb.* TO 'sammy'@'localhost';
In order for the new privileges you just granted to take effect, reload the grant tables of MySQL:
- FLUSH PRIVILEGES;
You can now exit the MySQL console by entering:
- exit
You have finished preparing your database, ensuring that all data you input into Monica will persist.
Step 2 — Cloning and Configuring Monica
Installing Monica requires you to clone it from the official Monica code repository.
First, you need the proper permissions to clone Monica into the default Apache site directory using git. Use chown to set your current Linux user as the owner of this directory in order to gain the proper permissions:
- sudo chown -R $USER:$USER /var/www
By default on Ubuntu, Apache serves content out of the /var/www/html/ directory. The following command uses git to clone the Monica repository into a directory named /var/www/monica/. Later on in this guide, you will set up an Apache virtual host to serve Monica from this directory:
- git clone https://github.com/monicahq/monica.git /var/www/monica
After running this command, you have a clone of the official Monica repository at /var/www/monica. Although you now have a workable clone, you have to select the latest version of Monica. Use git to fetch the latest metadata, which includes the git tags that points towards the latest version of Monica, then use checkout to select a version for use.
First, move into your cloned repository:
- cd /var/www/monica
Then fetch the latest data from git:
- git fetch
Next, checkout the latest version of Monica using git, which is marked by the git tags you obtained through fetch. To choose the latest version, check the Monica release page. At the time of writing, Monica’s latest version is 3.7.0, but substitute accordingly:
- git checkout tags/v3.7.0
Now that you have the latest version, you can start configuring Monica. Monica relies on environment variables for configuration. An example configuration file is provided by the Monica team, but you won’t be editing it directly. Instead, make your own copy of this configuration file by running the following command:
- cp .env.example .env
Open your newly copied configuration file with nano, or your preferred text editor:
- nano .env
In this file, set your MySQL credentials. Make sure they are accurate to how you set up your database in Step 1. Scroll down in the file until you find the following lines, and substitute your data accordingly:
. . .
DB_DATABASE=monicadb
DB_USERNAME=sammy
DB_PASSWORD=strong_mysql_password
. . .
Once inserted, save and exit your text editor. If you are using nano, press CTRL+O to save your file, then press CTRL+X to exit.
Step 3 — Installing PHP Plugins and Package Managers
Now that Monica is configured and tied to a database, it’s time to set up a frontend to actually interact with Monica. You already have PHP and Node.js installed as prerequisites for this tutorial. You also need to install PHP plugins, Composer with the Laravel framework, and Yarn to construct a frontend appropriate for Monica.
Start by installing the PHP plugins required by Monica:
- sudo apt install php-bcmath php-cli php-curl php-common \
- php-fpm php-gd php-gmp php-intl php-json php-mbstring \
- php-mysql php-opcache php-redis php-xml php-zip
Next, install Composer, which acts as the dependency manager for PHP. Composer is also the preferred dependency manager of Laravel, which is the web framework that powers Monica using PHP.
Download the official Composer installer into /tmp, a temporary folder which is a good location for throwaway installation files to avoid clutter on your server:
- curl -sS https://getcomposer.org/installer -o /tmp/composer-setup.php
Install Composer, specifying the actual installation location and naming convention with the --install-dir and --filename flags:
- sudo php /tmp/composer-setup.php --install-dir=/usr/local/bin/ --filename=composer
With Composer installed, you need to install another dependency manager: Yarn. Whereas Composer is a dependency manager for PHP, Yarn handles JavaScript dependencies. With Node.js already installed in the prerequisites, you have access to the preferred way of installing Yarn, which is through npm.
npm is also a JavaScript package manager, and while Yarn and npm have overlapping functionality, Yarn was built to address different needs. This includes addressing concerns with npm relating to its stability and security.
The conventional method of installing Yarn is to install it globally. This ensures all testing and automation tools in a project use the exact same version of Yarn, preventing inconsistency. Install Yarn by entering:
- sudo npm install --global yarn
With your package managers installed, the next step is having Composer and Yarn actually install the packages and assets they manage.
Step 4 — Installing Dependency Packages and Preparing Assets
Composer handles the installation of all the PHP dependency packages required by Monica. In the following command, --no-interaction skips confirmation prompts during the process, since there is an unwieldy amount of dependencies to be installed. --no-dev skips the installation of development tools you won’t need. To install Composer, enter:
- composer install --no-interaction --no-dev
As long as the command completes successfully, it’s okay if the output is not exactly the same as this example:
OutputInstalling dependencies from lock file
Verifying lock file contents can be installed on current platform.
Package operations: 183 installs, 0 updates, 0 removals

. . .

Package manifest generated successfully.
92 packages you are using are looking for funding.
Use the `composer fund` command to find out more!
> Illuminate\Foundation\ComposerScripts::postInstall
Next, use Yarn to install the JavaScript front-end packages required by Monica:
- yarn install
Any dependency warnings are normal and not critical as long as the installation goes through completely:
Outputyarn install v1.22.18
[1/5] Validating package.json...
[2/5] Resolving packages...
[3/5] Fetching packages...
[4/5] Linking dependencies...
warning " > laravel-mix@6.0.41" has unmet peer dependency "@babel/core@^7.15.8".

. . .

Done in 5.85s.
Done in 80.32s.
Monica comes with static assets such as fonts, images, JavaScript and CSS files that must be prepared before they can be served by the Monica front-end site. It also comes with a production script that automates this process for you. Use the yarn run command, which takes a script name as an argument. This may take a long time, since it involves preparing static assets:
- yarn run production
Again, it is normal to have multiple dependency and deprecation warnings. This can be safely ignored as long as the command completes.
Outputyarn run v1.22.18
$ php artisan lang:generate -vvv
Created: public/js/langs/vi.json
Created: public/js/langs/es.json
Created: public/js/langs/tr.json

. . .

webpack compiled successfully
Done in 79.24s.
With the dependencies put in place by Composer and Yarn, you still need to finish setting up the Laravel framework. Every Laravel project requires the APP_KEY environmental variable to be set. This is usually done automatically in a conventional Laravel project, but since you are cloning an existing Laravel project from the Monica repository, you must do this manually.
This is a very common task, so the Laravel team has provided the following command to generate and set your application key:
- php artisan key:generate
With your application key set, you can now prepare Laravel for use specifically with Monica. The next command sets up Laravel for a production environment. Laravel initializes the necessary database migrations, clears caches, seeds the database, sets up symlinks, and creates your first Monica account.
Enter the following, substituting your desired email and password for your first Monica account:
- php artisan setup:production --email=your_email_address --password=your_password -v
When prompted, type yes to confirm setup and hit ENTER to continue.
Output You are about to setup and configure Monica. Do you wish to continue? (yes/no) [no]:
 > yes

✓ Maintenance mode: on
'/usr/bin/php7.4' 'artisan' down --retry="10"

✓ Clear config cache
'/usr/bin/php7.4' 'artisan' config:clear

. . .


Setup is done. Have fun.
Monica’s dependencies are now fully installed, and your first Monica account has been created.
Step 5 — Setting Up a Cron Job to Keep Background Processes Running
Monica requires several background processes to always be running. This provides functionality such as scheduled reminders and periodically calculating statistics, with a comprehensive list found here.
Monica manages this through the use of cron, which specializes in handling scheduled or periodic tasks. You can add these by first entering:
- sudo crontab -u www-data -e
If this is your first time using crontab, you’ll be prompted to choose your preferred text editor. To choose nano, type 1 and then hit ENTER. Now, you can add Monica’s periodic Laravel tasks as a scheduled cron. Since output and error logs for these scheduled tasks are not needed, you can set /dev/null as the destination, which equates to the data being discarded. Insert the following at the end of the file:
* * * * * php /var/www/monica/artisan schedule:run >> /dev/null 2>&1
When you are done, save and exit your text editor. WIth that, you have ensured that Monica always provides you with the latest statistics and reminders by allowing it to periodically run tasks in the background.
Step 6 — Configuring Apache to Serve Your Monica Frontend
Now that your frontend for Monica is set up, you can now prepare your Apache web server by modifying directory permissions and enabling required modules.
First, grant your server’s www-data user and group access to your static assets so they can be served through the internet:
- sudo chown -R www-data:www-data /var/www/monica/storage
Next, you will point your Apache web server to the location where Monica currently exists on your system. This requires setting up an Apache configuration file, but that file needs the rewrite module to be enabled. This module allows you to rewrite URLs into cleaner, readable paths based on conditions you set.
Enable the Apache rewrite module by entering:
- sudo a2enmod rewrite
Now you can use the rewrite module in your Apache configuration files. Create your main Apache configuration file for Monica by entering:
- sudo nano /etc/apache2/sites-available/monica.conf
For a new installation, the Monica team recommends the following Apache configuration. This configuration provides the basic setup for Apache including the handling of requests for Monica web pages, the serving of static assets such as JavaScript, CSS, and images, and the configuring of error and access logs.
Monica comes configured to accept either your server IP or, if you have one set up, your server domain name. Insert the following into your Apache configuration file, substituting one of these in place of server_domain_or_IP:
<VirtualHost *:80>
    ServerName server_domain_or_IP

    ServerAdmin webmaster@localhost
    DocumentRoot /var/www/monica/public

    <Directory /var/www/monica/public>
        Options Indexes FollowSymLinks
        AllowOverride All
        Require all granted
    </Directory>

    ErrorLog ${APACHE_LOG_DIR}/error.log
    CustomLog ${APACHE_LOG_DIR}/access.log combined
</VirtualHost>
When you are done, save and exit your text editor.
To begin using your Monica site, first enable your new site, then disable the default site that comes with all Apache installations.
First, enable your new Monica site:
- sudo a2ensite monica.conf
Then, disable the default Apache landing page:
- sudo a2dissite 000-default.conf
You are now ready to start up your web server. In order to serve pages more optimally, the Monica team recommends using PHP’s FPM (FastCGI Process Manager) which optimizes the interaction between PHP and your Apache web server. FPM, in comparison to the original FastCGI implementation for PHP, is much more performant in its handling of processes spawned from requests to your web server.
To use FastCGI, first enable it, then set the variables to be sent to the FastCGI module. Enter the following to enable FastCGI in Apache:
- sudo a2enmod proxy_fcgi setenvif
To enable FPM, first enable its configuration file. This file exists with a name containing the PHP version you are currently running. You can find your PHP’s current version by entering:
- php -v
Your PHP version is outputted in response. You only have to note the first two numbers in the PHP version number.
OutputPHP 7.4.3 (cli) (built: Mar  2 2022 15:36:52) ( NTS )
Copyright (c) The PHP Group
Zend Engine v3.4.0, Copyright (c) Zend Technologies
    with Zend OPcache v7.4.3, Copyright (c), by Zend Technologies
With this version number, you can enable FPM by entering the following, substituting your PHP version accordingly:
- sudo a2enconf php7.4-fpm
FPM now needs to be restarted before it can function:
- sudo systemctl restart php7.4-fpm
With your changes in place, validate your Apache configuration file:
- sudo apache2ctl configtest
As long as the Syntax OK line is outputted, other warnings can be ignored. Finally, restart Apache to put all the previous changes into effect:
- sudo systemctl restart apache2
Open your web browser and enter your server’s domain name or IP into the address bar:
http:
The following screen of Monica loads in response:
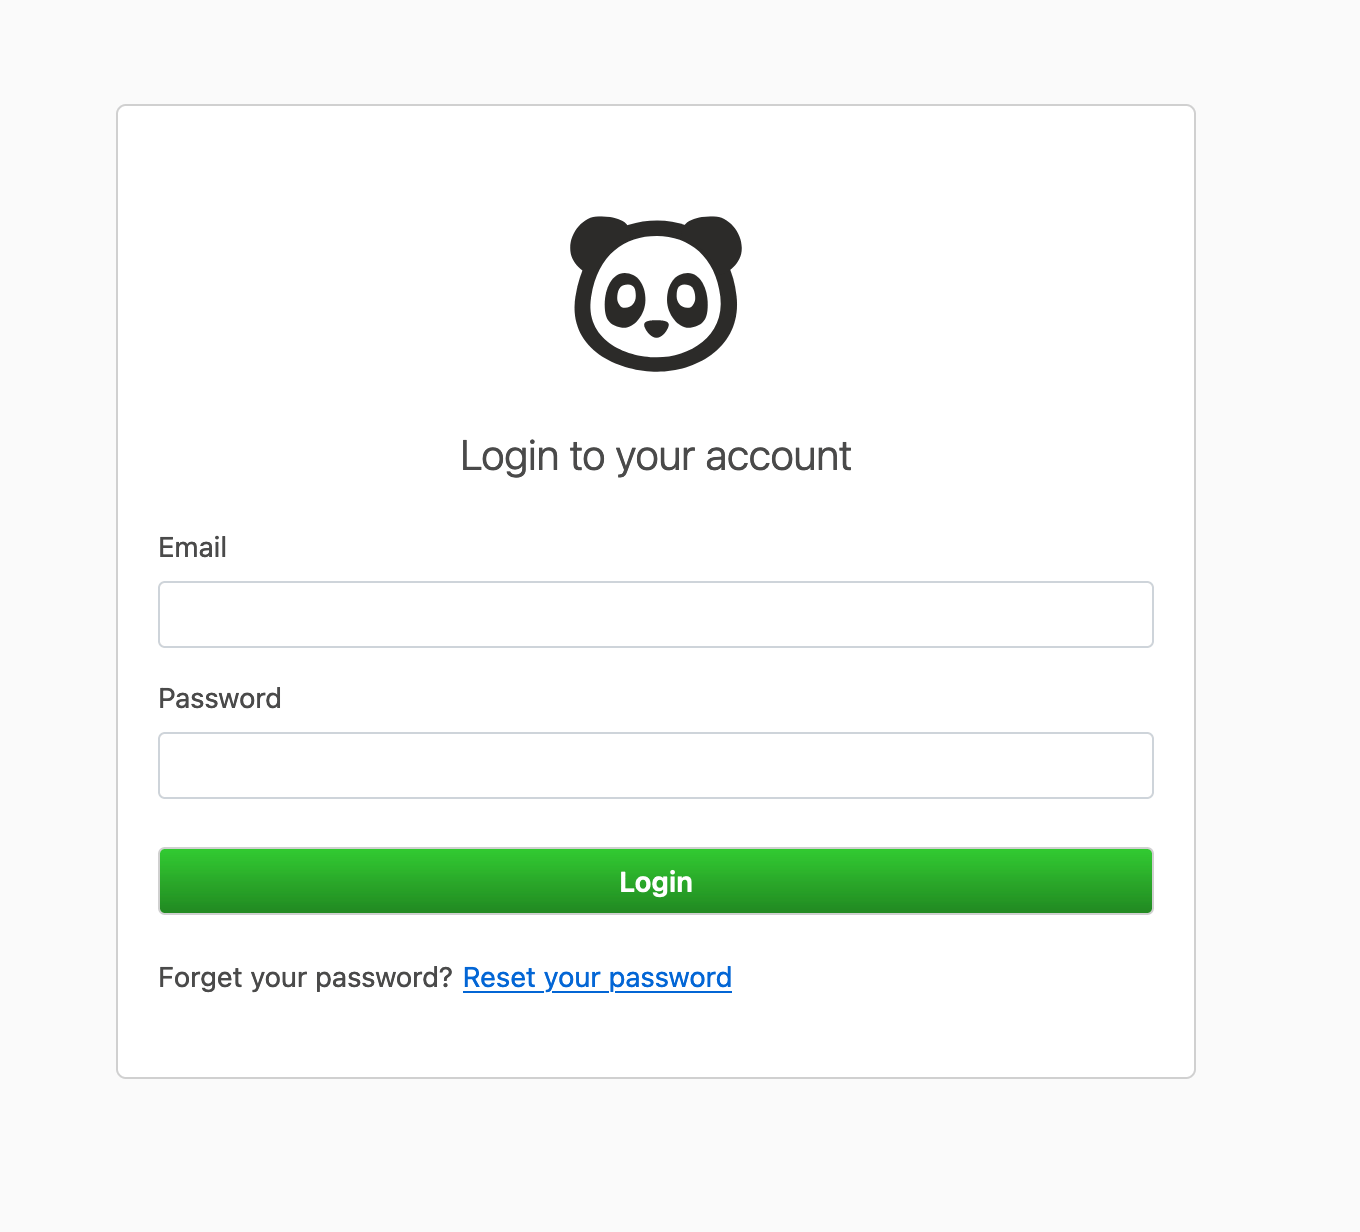
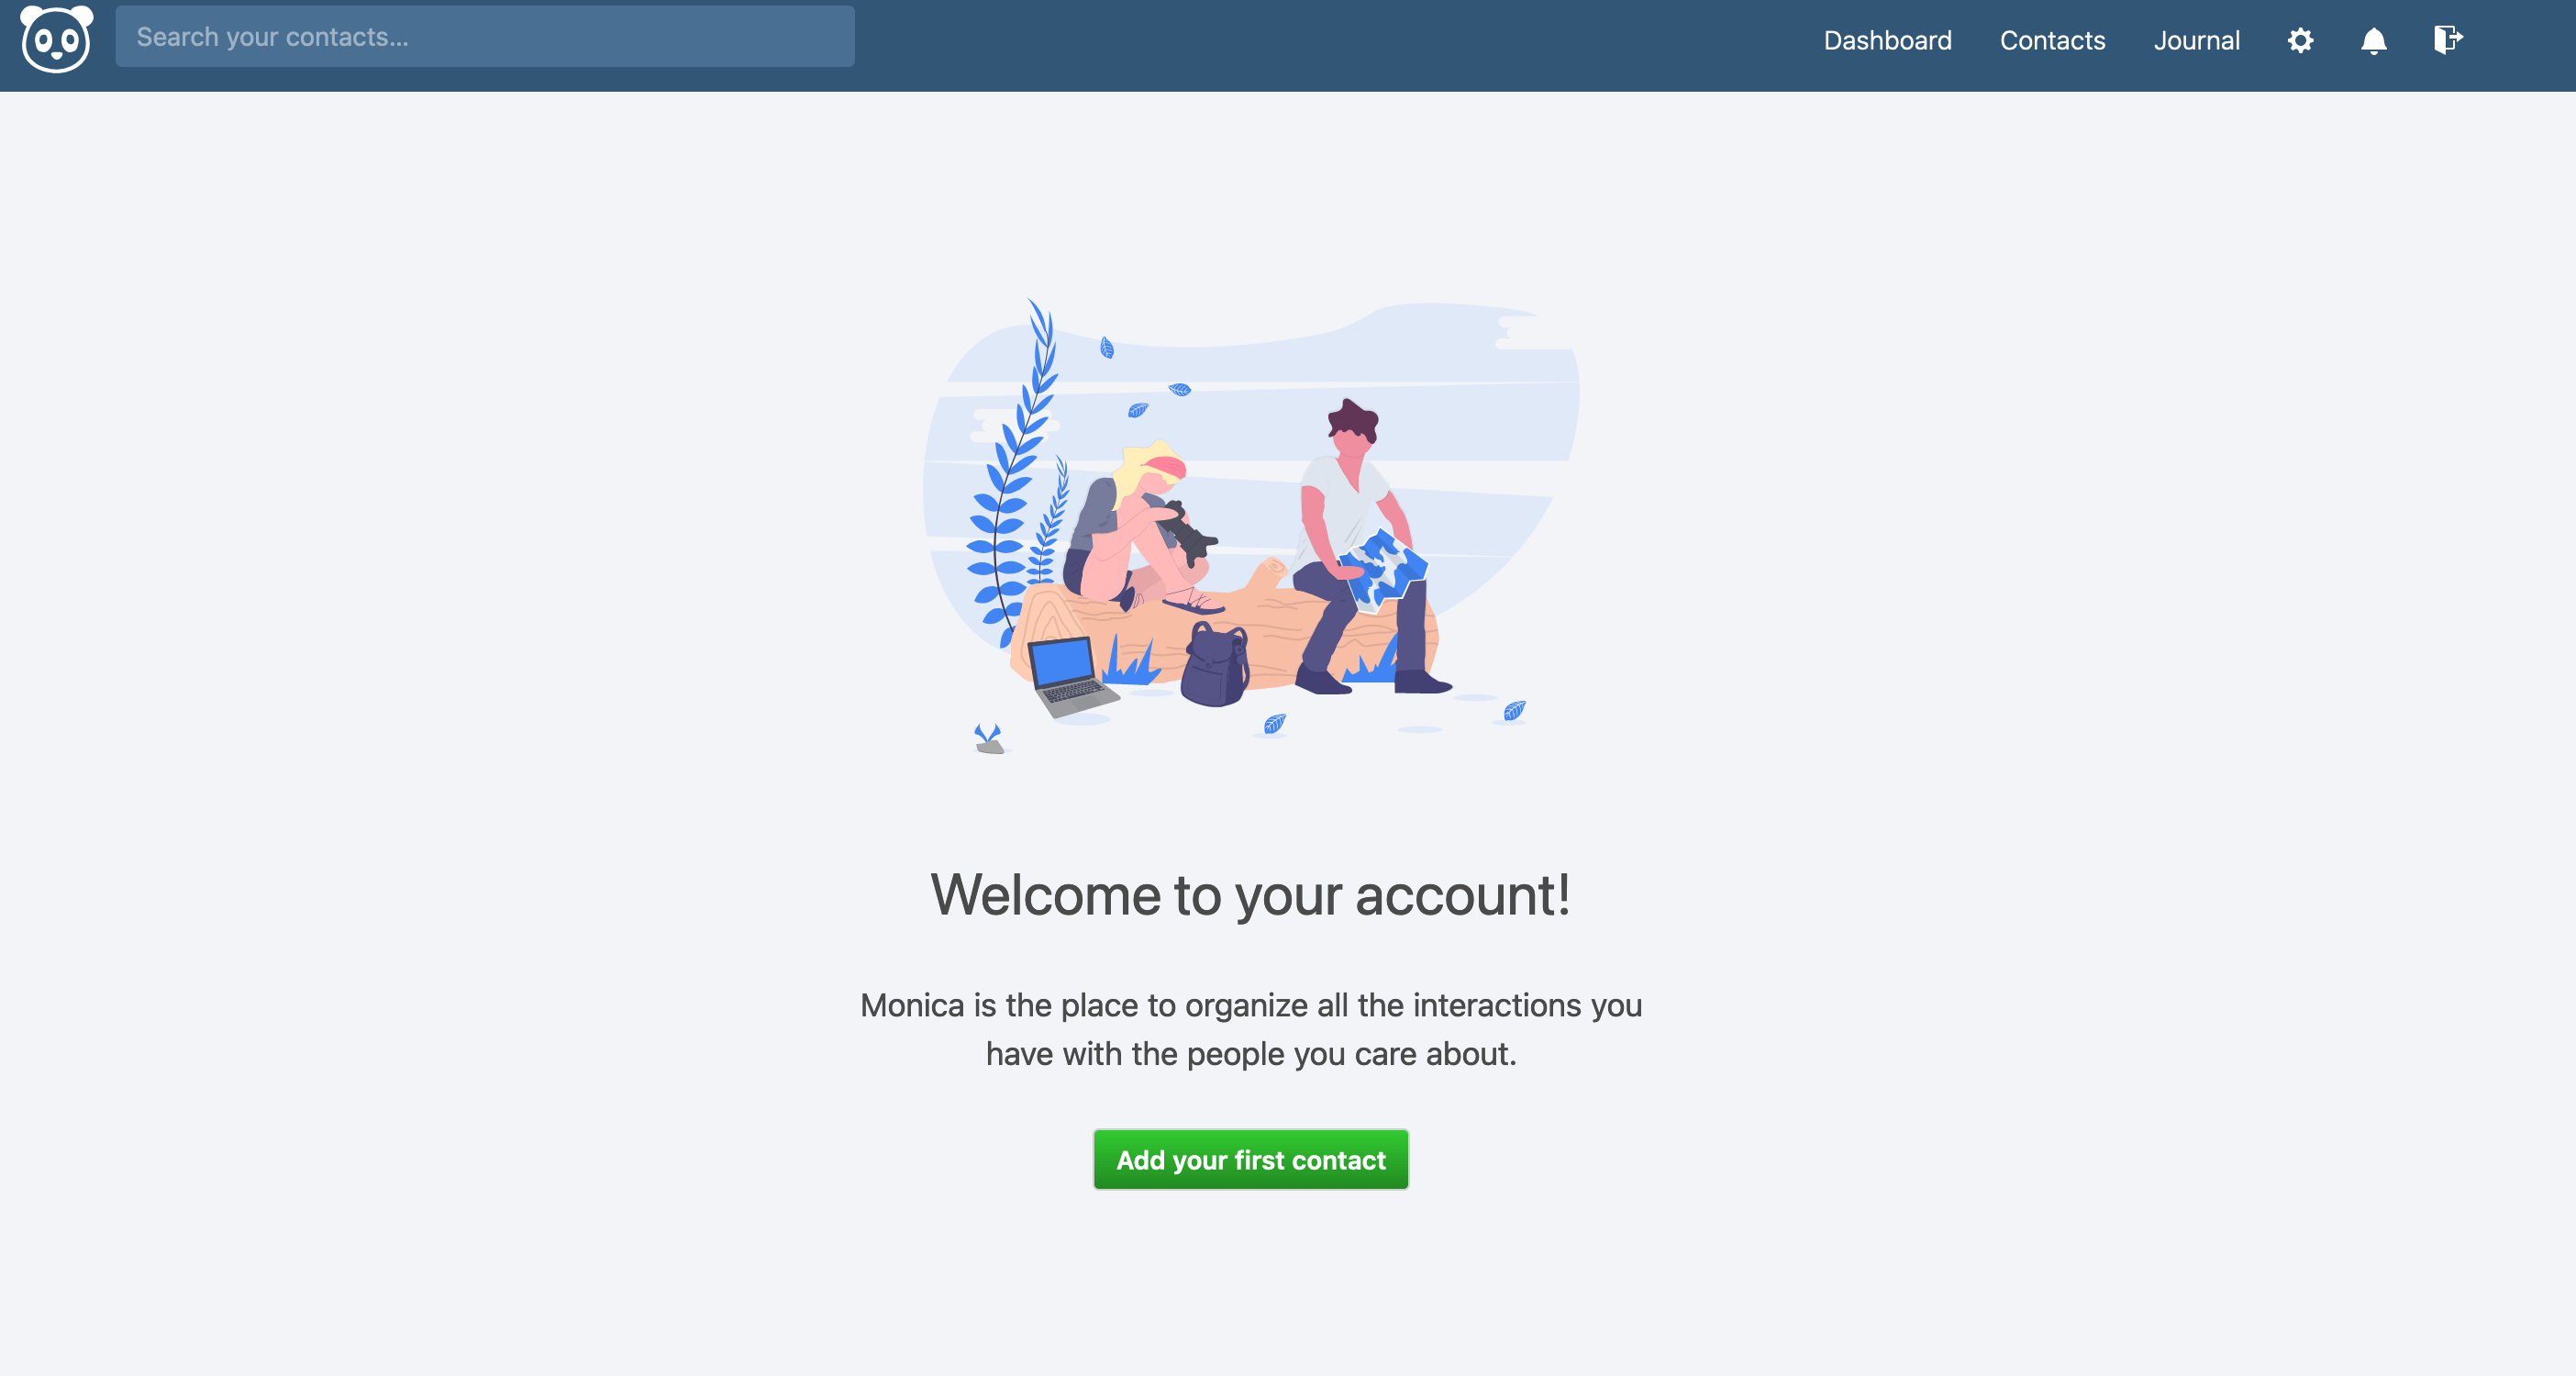
Now you can log into your previously created Monica account with your_email_address and your_password to access the Monica home page.
Step 7 — Installing Certbot and Setting Up TLS Certificates
Your Monica site is now operational, but if you are planning on making your data accessible through the internet with a server domain, it is highly recommended to secure it with TLS encryption. Currently, your site is accessible through HTTP which is suitable for testing and usage on your local machine.
To secure it, you need to change a setting in Monica to allow only HTTPS traffic to your Monica site. HTTPS requires a TLS certificate, so install Certbot to obtain a TLS certificate through the Let’s Encrypt free certificate authority.
First, open .env:
- nano .env
The setting you need to change is APP_ENV. By default, it is set to local to allow HTTP traffic. Change it to production to limit traffic to only HTTPS. Find and edit the line:
. . .
APP_ENV=production
. . .
When you are done, save and exit your text editor.
Assuming you followed the prerequisite to install Apache, your firewall only allows connections on port 80 for HTTP traffic. In order to also allow HTTPS traffic, add this firewall rule:
- sudo ufw allow 'Apache Full'
Additionally, you should delete the previously applied Apache firewall rule that is now redundant:
- sudo ufw delete allow 'Apache'
With your firewall now ready, install Certbot and the Certbot plugin that integrates it with Apache:
- sudo apt install certbot python3-certbot-apache
This Apache plugin allows Certbot to look in your Apache configuration files, and interactively prompt you with the server domains you already set up in monica.conf. To start the interactive process of creating a TLS certificate for your domain, run the following command:
- sudo certbot --apache
Enter your valid email address and accept the terms of service. Certbot will detect your server_domain set previously in monica.conf, and ask if you would like to redirect all HTTP traffic to HTTPS. Accept this redirect option, because Monica is now set to only allow HTTPS traffic.
Certbot will download your certificate and automatically reload Apache with the new configuration and certificates.
OutputCongratulations! You have successfully enabled https://test.do-community.com
. . .
Visit your website again, and it will automatically redirect you from HTTP to HTTPS. Your site is now secured with TLS encryption.
Conclusion
You have now completed your setup of Monica, and are ready to start using it. Monica is built around a web interface that is meant to be intuitive to use. For more information on Monica, check out the official Monica repository.
If you are interested in other self-hosted tools that actually are for businesses, you can check out How To Install Odoo on Ubuntu 20.04 with Docker. Odoo is an open-source enterprise resource planning (ERP) tool, serving business needs like accounting, payroll, inventory management, and more.
Thanks for learning with the DigitalOcean Community. Check out our offerings for compute, storage, networking, and managed databases.
About the author
Still looking for an answer?
This textbox defaults to using Markdown to format your answer.
You can type !ref in this text area to quickly search our full set of tutorials, documentation & marketplace offerings and insert the link!
 This work is licensed under a Creative Commons Attribution-NonCommercial- ShareAlike 4.0 International License.
Become a contributor for community
Get paid to write technical tutorials and select a tech-focused charity to receive a matching donation.

DigitalOcean Documentation
Full documentation for every DigitalOcean product.

Resources for startups and AI-native businesses
The Wave has everything you need to know about building a business, from raising funding to marketing your product.
The developer cloud
Scale up as you grow — whether you're running one virtual machine or ten thousand.

Start building today
From GPU-powered inference and Kubernetes to managed databases and storage, get everything you need to build, scale, and deploy intelligent applications.
