
Introduction
ParcelJS describes itself as a blazingly fast, zero-configuration web application bundler.
Parcel is based on the premise that building apps with JavaScript bundlers could be easier. Webpack provides greater configurability, but there may be use cases where you do not require that degree of configuration.
This is where Parcel comes in. It touts itself as a fast bundle tool with zero configuration — all you need to do is just point it at the entry point of your application.
Parcel also offers the following features:
- Fast bundle times - Parcel has a considerably faster time than other bundling tools out there. Below is a screenshot of the Parcel page on GitHub.

- Assets Bundling - Parcel has out-of-the-box support for JS, CSS, HTML, file assets.
- Automatic transforms - All your code is automatically transformed using Babel, PostCSS, and PostHTML.
- Code Splitting - Parcel allows you to split your output bundle by using the dynamic import() syntax.
- Hot module replacement (HMR) - Parcel automatically updates modules in the browser as you make changes during development, no configuration needed.
- Error Logging - Parcel prints syntax highlighted code frames when it encounters errors to help you pinpoint the problem.
One other thing to note about Parcel is that it allows developers to use an index.html file as an entry point as opposed to JS modules.
In this tutorial, you will set up a React web app with Parcel.
Prerequisites
To complete this tutorial, you will need:
- Node.js installed locally, which you can do by following How to Install Node.js and Create a Local Development Environment.
This tutorial was verified with Node v14.4.0, npm v6.14.5, parcel-bundler v1.12.4, react v16.13.1, and react-dom v16.13.1.
Step 1 — Getting Started with Parcel
First, create a new working directory:
- mkdir parcel-test
Then, navigate to the new working directory:
- cd parcel-test
And install Parcel globally by running the command below in your terminal:
- npm install -g parcel-bundler
The next thing to do is create a package.json file in your directory. You can do this by running the command below:
- npm init -y
That generates a working package.json for you:
{
  "name": "parcel-test",
  "version": "1.0.0",
  "description": "",
  "main": "index.js",
  "scripts": {
    "test": "echo \"Error: no test specified\" && exit 1"
  },
  "keywords": [],
  "author": "",
  "license": "ISC"
}
Parcel can take any type of file as its entry point, but an HTML or JavaScript file is a good place to start. If you link your main JavaScript file in the HTML using a relative path, Parcel will also process it for you.
Create an index.html and add the following content to them:
<html>
<body>
  <script src="./index.js"></script>
</body>
</html>
This creates a basic web page that references a JavaScript file.
Next, create an index.js file and add the following content to them:
console.log("hello world");
This creates a script that outputs a "hello world" message to the console.
Now that the files are created, you are ready to run the app. Parcel comes with a development server built in which will automatically rebuild your app as you change files and supports hot module replacement for fast development.
To run the app, run the terminal command below:
- parcel index.html
You can now open http://localhost:1234/ in your browser:
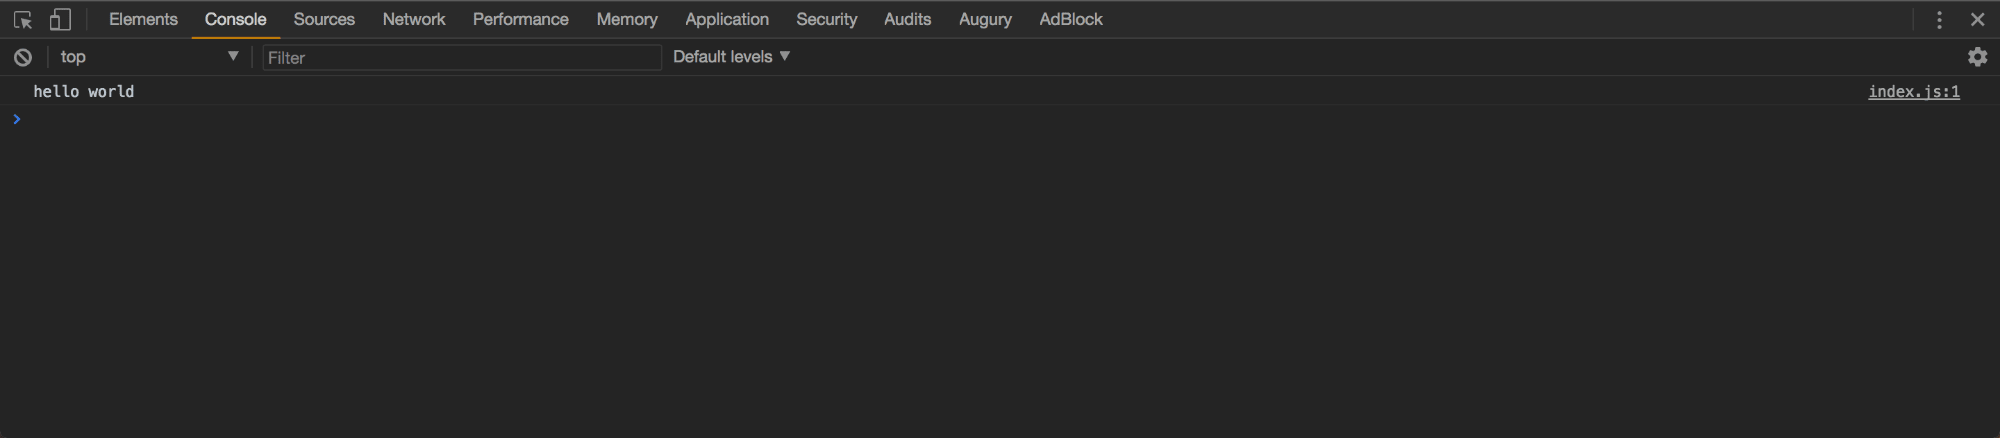
Check the console for the expected output.
Step 2 — Setting Up a Project with Parcel and React
Next, you will set up a React project with Parcel.
Before you continue, you’ll need to install some dependencies:
- npm install react react-dom
The dependencies above will install React and react-dom in your application. Since React is written in ES6, we’ll need a way to transform the code. Parcel does that for you with no need for configurations. All you have to do is install the presets and Parcel does the heavy lifting for you.
- npm install --save-dev babel-preset-env babel-preset-react
Once the dependencies are installed, create a .babelrc file and edit it with the following:
{
  "presets": ["env", "react"]
}
Now Babel is configured to transform ES6/ES7 JavaScript into a meaningful JavaScript bundle for browsers.
Next, you can begin to create the React app and its components.
Open up the index.html file and replace it with the code below.
<!DOCTYPE html>
<html>
<head>
  <title>React starter app</title>
  <link rel="stylesheet" href="https://cdnjs.cloudflare.com/ajax/libs/bulma/0.6.2/css/bulma.min.css">
</head>
<body>
  <div id="app"></div>
  <script src="./src/index.js"></script>
</body>
</html>
This code adds a <title> and a <div id="app">. It also adds Bulma CSS framwork for basic styling. It also references a new index.js file that we will create next.
Next up, create a directory named src:
- mkdir src
And in this directory create an index.js file and add the following lines of code:
import React from 'react';
import ReactDOM from 'react-dom';
import Header from './components/Header';

class HelloMessage extends React.Component {
  render() {
    return (
      <div>
        <Header />
        <div className="container">
          <h1>Hello {this.props.name}</h1>
        </div>
      </div>
    );
  }
}

let App = document.getElementById('app');

ReactDOM.render(<HelloMessage name="Yomi" />, App);
This is a basic React starting app. The HelloMessage component will be rendered in the index.html file in the div with an id of app.
Next, create a Header component.
Back in the working directory, create a components directory:
- mkdir -p src/components
And in this directory create a JavaScript file named Header.js and add the following lines of code:
import React from 'react';
import ParcelLogo from '../img/parcel-logo.svg';

const Header = () => (
  <header>
    <nav className="navbar" role="navigation" aria-label="main navigation">
      <div className="navbar-brand">
        <a className="navbar-item" href="/">
          <img width="120" src={ParcelLogo} alt="" />
        </a>
      </div>
    </nav>
  </header>
);

export default Header;
Next, let’s create the ParcelLogo.
Back in the working directory, create an img directory:
- mkdir -p src/img
And in this directory create a SVG file named parcel-logo.svg and add the following lines of code:
<svg xmlns="http://www.w3.org/2000/svg" viewBox="0 0 1068.58691 218.40186" fill="#E7DACB"><title>Asset 1</title><path d="M134.10156,41.99756c25.2002,0,42.6001,17.40039,42.6001,42.60059v54.60059c0,25.2002-17.3999,42.60059-42.6001,42.60059H66.90088v76.20117H23.7002V41.99756Zm24,46.80078c0-18.6001-10.80029-29.40039-29.40039-29.40039H42.30029V240.6001h6V164.39893h80.40088c18.6001,0,29.40039-10.7998,29.40039-29.40039ZM128.70117,65.39795c15.00049,0,23.40039,8.40039,23.40039,23.40039v46.2002c0,15.00049-8.3999,23.40039-23.40039,23.40039H48.30029v-93.001Zm-5.3999,75.60107c6.6001,0,10.2002-3.6001,10.2002-10.2002V92.99854c0-6.6001-3.6001-10.2002-10.2002-10.2002H66.90088V140.999Z" transform="translate(-23.7002 -40.79785)"/><path d="M223.79834,258.00049H179.09766L248.69873,41.99756h50.40039L368.7002,258.00049h-46.501l-14.09961-48.60156H238.19873ZM343.19922,240.6001l-55.5-181.20215H260.09863L203.69824,240.6001h5.7002l15-48.60059H322.7998L337.499,240.6001ZM263.69873,65.39795,226.19824,185.99951H320.999L284.09912,65.39795Zm9.8999,24.00049,22.80029,79.20068h-46.2002Z" transform="translate(-23.7002 -40.79785)"/><path d="M509.99512,258.00049l-34.7998-80.10107H440.39453v80.10107h-43.2002V41.99756H507.2959c25.2002,0,42.59961,17.40039,42.59961,42.60059v50.70068c0,20.3999-11.39941,35.7002-29.39941,40.80029l36,81.90137Zm18.90039-17.40039-34.7998-79.80127h7.7998c18.60059,0,29.40039-10.7998,29.40039-29.3999V88.79834c0-18.6001-10.7998-29.40039-29.40039-29.40039H415.79492V240.6001h6V160.79883h66L522.5957,240.6001ZM525.2959,131.39893c0,15-8.40039,23.3999-23.40039,23.3999H421.79492V65.39795h80.10059c15,0,23.40039,8.40039,23.40039,23.40039Zm-28.80078,6.2998c6.60059,0,10.2002-3.6001,10.2002-10.2002v-34.5c0-6.6001-3.59961-10.2002-10.2002-10.2002H440.39453v54.90039Z" transform="translate(-23.7002 -40.79785)"/><path d="M697.49316,91.79834c0-6.6001-3.59961-10.2002-10.2002-10.2002h-46.7998c-6.60059,0-10.2002,3.6001-10.2002,10.2002V208.19971c0,6.59961,3.59961,10.19922,10.2002,10.19922H687.293c6.60059,0,10.2002-3.59961,10.2002-10.19922V181.79932h43.20117V216.6001c0,25.19922-17.40039,42.59961-42.60059,42.59961H629.69238c-25.2002,0-42.59961-17.40039-42.59961-42.59961V83.39844c0-25.20068,17.39941-42.60059,42.59961-42.60059h68.40137c25.2002,0,42.60059,17.3999,42.60059,42.60059v34.80029H697.49316Zm-4.7998-27.6001c15,0,23.40039,8.3999,23.40039,23.3999v13.80029h6V87.59814c0-18.6001-10.7998-29.40039-29.40039-29.40039H635.09277c-18.59961,0-29.40039,10.80029-29.40039,29.40039V212.39893c0,18.60059,10.80078,29.40039,29.40039,29.40039h57.60059c18.60059,0,29.40039-10.7998,29.40039-29.40039V199.19971h-6v13.19922c0,15.001-8.40039,23.40039-23.40039,23.40039H635.09277c-15,0-23.40039-8.39941-23.40039-23.40039V87.59814c0-15,8.40039-23.3999,23.40039-23.3999Z" transform="translate(-23.7002 -40.79785)"/><path d="M920.38965,41.99756V82.79834H822.28809v44.40039h79.501V167.999h-79.501v49.20068h98.10156v40.80078H779.08789V41.99756ZM901.78906,240.6001v-6H803.68848v-84.001h79.501v-6.00049h-79.501V65.39795h98.10059v-6H797.68848V240.6001Z" transform="translate(-23.7002 -40.79785)"/><path d="M1001.68555,41.99756V217.19971h90.60156v40.80078H958.48535V41.99756Zm72.001,198.60254v-6H983.08594V59.39795h-6V240.6001Z" transform="translate(-23.7002 -40.79785)"/></svg>
Parcel also supports the import of assets like images.
One more thing to note is that Parcel also ships with Sass support. Navigate back to the working directory and install node-sass to use it:
- npm install node-sass
Once you have node-sass installed, you can import SCSS files from JavaScript files. In your index.js file, add the line of code below to the top of the file to import an SCSS file:
import './scss/app.scss'
...
Next, let’s create the app.scss file.
Back in the working directory, create a directory named scss:
- mkdir -p src/scss
And in this directory create a app.scss file and add the following lines of code:
body {
  background-color: #fefefe;
  text-align: center;

  .navbar {
    background: #21374B;
    color: #E7DACB;
    height: 50px;
  }

  h1 {
    font-size: 40px;
    margin-top: 30px;
  }
}
This code establishes some color to the <body> and <nav class="navbar"> and typography for <h1>.
Now that you’re done setting up the React app, the next step is to run it and see if it works. To accomplish that, you’ll need to configure the package.json. Add the line of code below to the package.json file:
"scripts": {
  "start": "parcel index.html"
},
This creates a script that will run with the command npm start. This script will tell Parcel to start a development server using the index.html file as an entry file.
Run the npm start command in your terminal:
- npm start
You can now open http://localhost:1234/ in your browser:
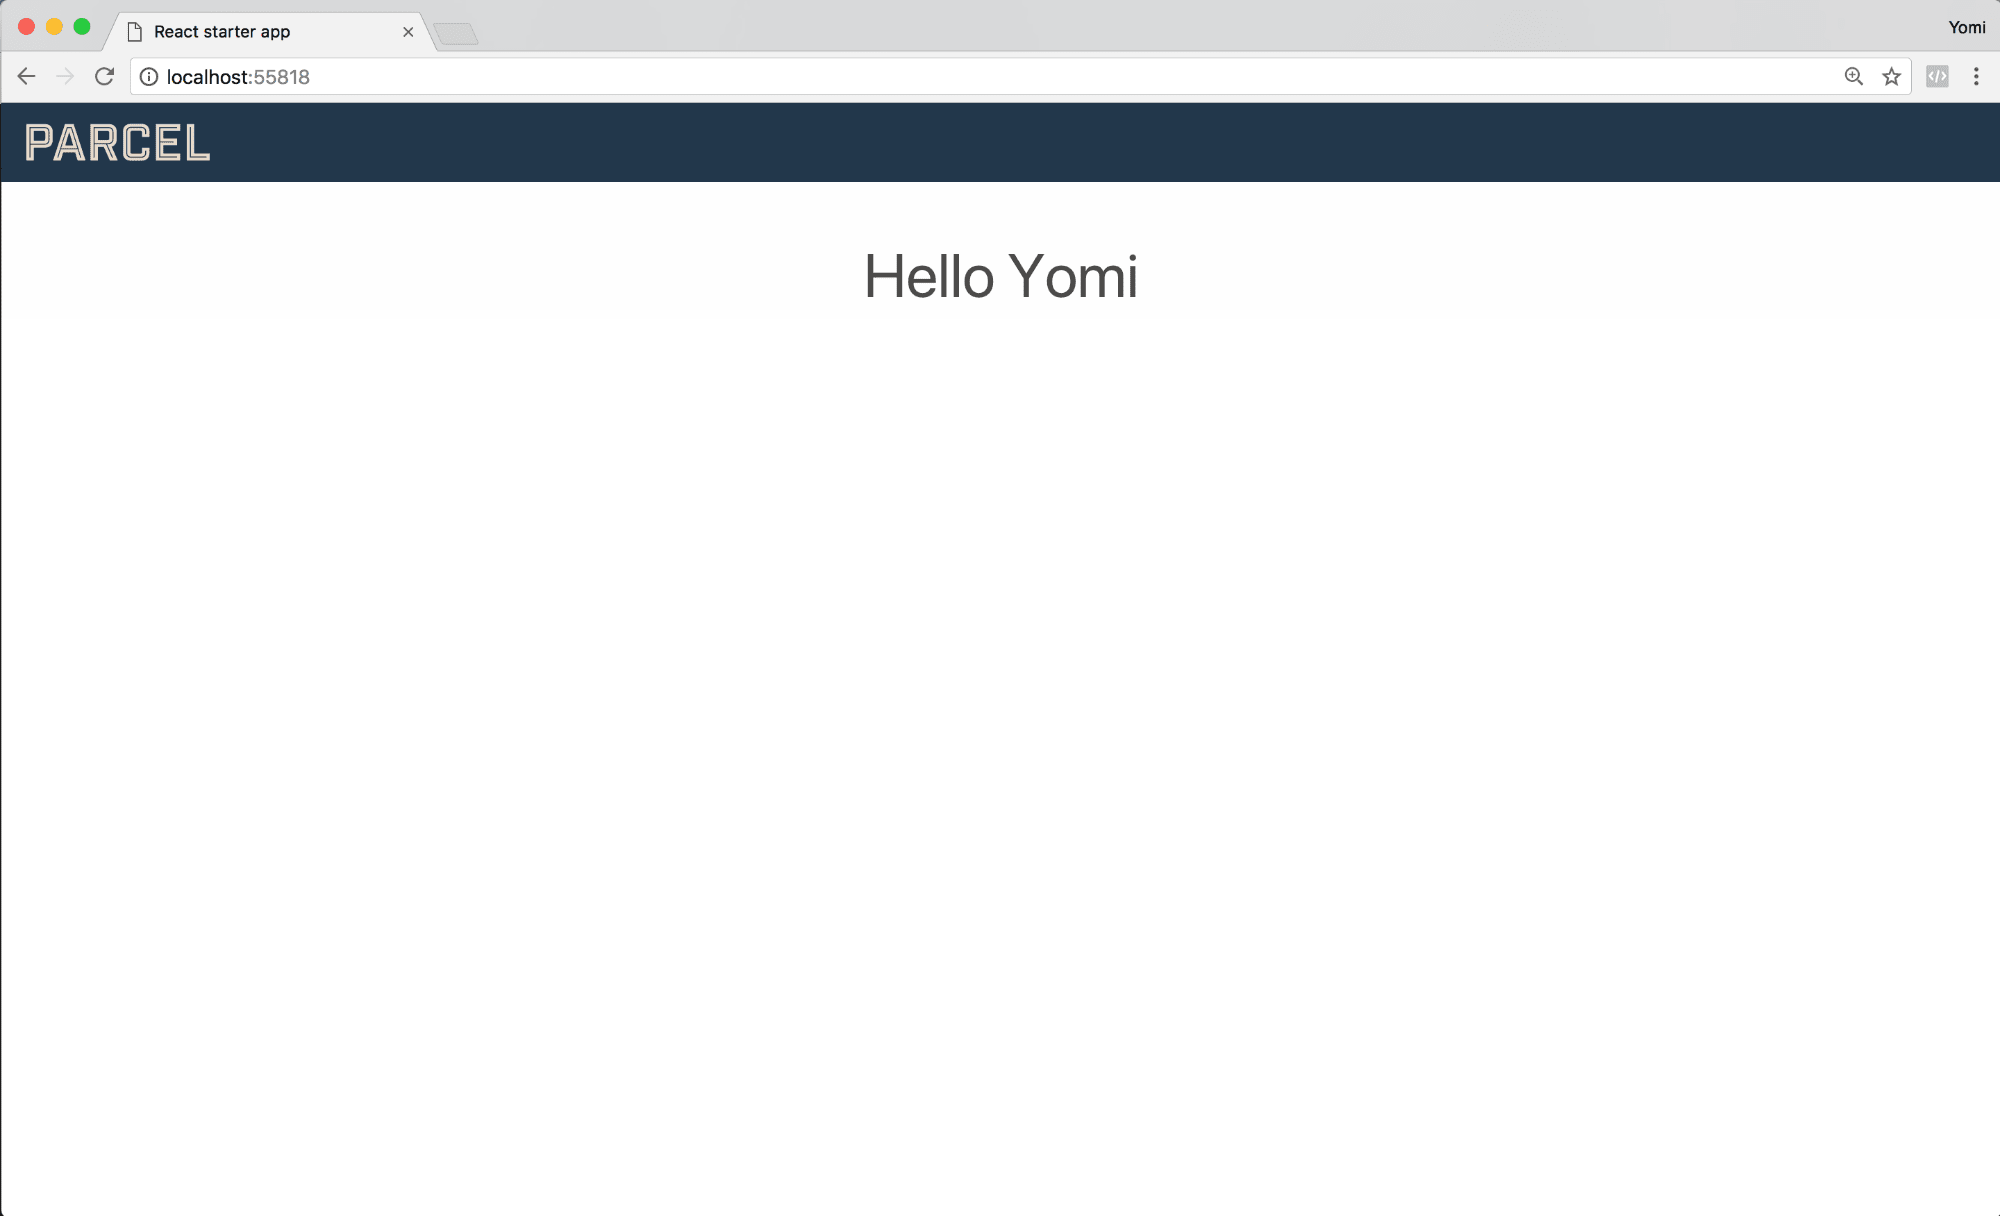
At this point, you have a React application running with hot module reloading.
Step 3 — Building for Production
To prepare your app for production with Parcel, you need to run the parcel build index.html command.
Add that to the scripts object in the package.json file:
"scripts": {
  "start": "parcel index.html",
  "build": "parcel build index.html"
},
Once you run the npm run build command, Parcel disables watch mode and hot module replacement so it will only build once.
- npm run build
It also enables the minifier for all output bundles to reduce file size. The build command also enables production mode which also sets the NODE_ENV=production environment variable.
Parcel also gives you some options in which you can use to choose how your app is prepared for production mode.
If you’d prefer another directory for Parcel to put the production files in (dist is the default directory), you can specify that by appending --out-dir directory-name at the end of the build key in package.json:
"scripts": {
  "start": "parcel index.html",
  "build": "parcel build index.html --out-dir directory-name"
},
If you’d like to disable minification which is the default setting, you can do that by appending --no-minify at the end of the build key in package.json so it looks like this:
"scripts": {
  "start": "parcel index.html",
  "build": "parcel build index.html --no-minify"
},
If you’d like to disable filesystem caching, you can do that by appending --no-cache at the end of the build key in package.json so it looks like this:
"scripts": {
  "start": "parcel index.html",
  "build": "parcel build index.html --no-cache"
},
You can read more about the different options in the official documentation.
Conclusion
In this tutorial, you bundled a web app with Parcel. Parcel is still relatively new and its support keeps growing in numbers every day. Its use case might be different from Webpack, but it’s a bundle tool that can be considered in your everyday web development.
You can check out the Parcel repo to see issues and submit pull requests.
Thanks for learning with the DigitalOcean Community. Check out our offerings for compute, storage, networking, and managed databases.
About the author
Still looking for an answer?
This textbox defaults to using Markdown to format your answer.
You can type !ref in this text area to quickly search our full set of tutorials, documentation & marketplace offerings and insert the link!
 This work is licensed under a Creative Commons Attribution-NonCommercial- ShareAlike 4.0 International License.
Become a contributor for community
Get paid to write technical tutorials and select a tech-focused charity to receive a matching donation.

DigitalOcean Documentation
Full documentation for every DigitalOcean product.

Resources for startups and AI-native businesses
The Wave has everything you need to know about building a business, from raising funding to marketing your product.
The developer cloud
Scale up as you grow — whether you're running one virtual machine or ten thousand.

Start building today
From GPU-powered inference and Kubernetes to managed databases and storage, get everything you need to build, scale, and deploy intelligent applications.
