By Savic and Kathryn Hancox

The author selected the Free and Open Source Fund to receive a donation as part of the Write for DOnations program.
Introduction
With developer tools moving to the cloud, the creation and adoption of cloud IDE (Integrated Development Environment) platforms is growing. Cloud IDEs are accessible from every type of modern device through web browsers, and they offer numerous advantages for real-time collaboration scenarios. Working in a cloud IDE provides a unified development and testing environment for you and your team, while minimizing platform incompatibilities. Because they are natively based on cloud technologies, they are able to make use of the cluster to achieve tasks, which can greatly exceed the power and reliability of a single development computer.
Eclipse Theia is an extensible cloud IDE running on a remote server and accessible from a web browser. Visually, it’s designed to look and behave similarly to Microsoft Visual Studio Code, which means that it supports many programming languages, has a flexible layout, and has an integrated terminal. What separates Eclipse Theia from other cloud IDE software is its extensibility; it can be modified using custom extensions, which allow you to craft a cloud IDE suited to your needs.
In this tutorial, you will set up the default version of the Eclipse Theia cloud IDE platform on your DigitalOcean Kubernetes cluster and expose it at your domain, secured with Let’s Encrypt certificates and requiring the visitor to authenticate. In the end, you’ll have Eclipse Theia running on your Kubernetes cluster available via HTTPS and requiring the visitor to log in.
Prerequisites
- A DigitalOcean Kubernetes cluster with your connection configured as the
kubectldefault. Instructions on how to configurekubectlare shown under the Connect to your Cluster step when you create your cluster. To create a Kubernetes cluster on DigitalOcean, read the Kubernetes Quickstart. - The Helm 3 package manager installed on your local machine. Complete Step 1 of the How To Install Software on Kubernetes Clusters with the Helm 3 Package Manager tutorial.
- The Nginx Ingress Controller installed on your cluster using Helm in order to use ExternalDNS with Ingress Resources. To do this, follow How to Set Up an Nginx Ingress on DigitalOcean Kubernetes Using Helm.
- A fully registered domain name. This tutorial will use
theia.your_domainthroughout. You can purchase a domain name on Namecheap, get one for free on Freenom, or use the domain registrar of your choice.
Step 1 — Installing and Exposing Eclipse Theia
To begin you’ll install Eclipse Theia to your DigitalOcean Kubernetes cluster. Then, you will expose it at your desired domain using an Nginx Ingress.
Since you created two example deployments and a resource as part of the prerequisites, you can freely delete them by running the following commands:
- kubectl delete -f hello-kubernetes-ingress.yaml
- kubectl delete -f hello-kubernetes-first.yaml
- kubectl delete -f hello-kubernetes-second.yaml
For this tutorial, you’ll store the deployment configuration on your local machine, in a file named eclipse-theia.yaml. Create it using the following command:
- nano eclipse-theia.yaml
Add the following lines to the file:
apiVersion: v1
kind: Namespace
metadata:
  name: theia
---
apiVersion: networking.k8s.io/v1
kind: Ingress
metadata:
  name: theia-next
  namespace: theia
spec:
  ingressClassName: nginx
  rules:
  - host: theia.your_domain
    http:
      paths:
      - path: /
        pathType: Prefix
        backend:
          service:
            name: theia-next
            port:
              number: 80
---
apiVersion: v1
kind: Service
metadata:
 name: theia-next
 namespace: theia
spec:
 ports:
 - port: 80
   targetPort: 3000
 selector:
   app: theia-next
---
apiVersion: apps/v1
kind: Deployment
metadata:
  labels:
    app: theia-next
  name: theia-next
  namespace: theia
spec:
  selector:
    matchLabels:
      app: theia-next
  replicas: 1
  template:
    metadata:
      labels:
        app: theia-next
    spec:
      containers:
      - image: francoisvans/theia-docker-test
        imagePullPolicy: Always
        name: theia-next
        ports:
        - containerPort: 3000
This configuration defines a Namespace, a Deployment, a Service, and an Ingress. The Namespace is called theia and will contain all Kubernetes objects related to Eclipse Theia, separated from the rest of the cluster. The Deployment consists of one instance of the Theia Docker image with the port 3000 exposed on the container. The Service looks for the Deployment and remaps the container port to the usual HTTP port, 80, allowing in-cluster access to Eclipse Theia.
The Ingress contains a rule to serve the Service at port 80 externally at your desired domain. In its annotations, you specify that the Nginx Ingress Controller should be used for request processing. Remember to replace theia.your_domain with your desired domain that you’ve pointed to your cluster’s Load Balancer, then save and close the file.
Save and exit the file.
Then, create the configuration in Kubernetes by running the following command:
- kubectl apply -f eclipse-theia.yaml
The output will look similar to this:
Outputnamespace/theia created
ingress.networking.k8s.io/theia-next created
service/theia-next created
deployment.apps/theia-next created
You can watch the Eclipse Theia pod creation by running:
- kubectl get pods -w -n theia
The output will look like this:
OutputNAME                          READY   STATUS    RESTARTS   AGE
theia-next-6f6b98dd4f-qknhb   1/1     Running   0          2m30s
After some time, the status will turn to RUNNING, which means you’ve successfully installed Eclipse Theia to your cluster.
Navigate to your domain in your browser. You’ll see the default Eclipse Theia editor GUI:
You’ve deployed Eclipse Theia to your DigitalOcean Kubernetes cluster and exposed it at your desired domain with an Ingress. Next, you’ll secure access to your Eclipse Theia deployment by enabling login authentication.
Step 2 — Enabling Login Authentication For Your Domain
In this step, you’ll enable username and password authentication for your Eclipse Theia deployment. You’ll achieve this by first curating a list of valid login combinations using the htpasswd utility. Then, you’ll create a Kubernetes secret containing that list and configure the Ingress to authenticate visitors according to it. In the end, your domain will only be accessible when the visitor inputs a valid username and password combination. This will prevent guests and other unwanted visitors from accessing Eclipse Theia.
The htpasswd utility comes from the Apache web server and is used for creating files that store lists of login combinations. The format of htpasswd files is one username:hashed_password combination per line, which is the format the Nginx Ingress Controller expects the list to conform to.
First, update the package manager cache:
- sudo apt update
Then, install htpasswd on your system by running the following command:
- sudo apt install apache2-utils -y
You’ll store the list in a file called auth. Create it by running:
- touch auth
This file needs to be named auth because the Nginx Ingress Controller expects the secret to contain a key called data.auth. If it’s missing, the controller will return HTTP 503 Service Unavailable status.
Add a username and password combination to auth by running the following command:
- htpasswd auth username
Remember to replace username with your desired username. You’ll be asked for an accompanying password and the combination will be added into the auth file. You can repeat this command for as many users as you wish to add.
Note: If the system you are working on does not have htpasswd installed, you can use a Dockerized version instead.
You’ll need to have Docker installed on your machine. For instructions on how to do so, visit the official docs.
Run the following command to run a dockerized version:
- docker run --rm -it httpd htpasswd -n <username>
Remember to replace <username> with the username you want to use. You’ll be asked for a password. The hashed login combination will be written out on the console, and you’ll need to manually add it to the end of the auth file. Repeat this process for as many logins as you wish to add.
When you are done, create a new secret in Kubernetes with the contents of the file by running the following command:
- kubectl create secret generic theia-basic-auth --from-file=auth -n theia
You can see the secret with:
- kubectl get secret theia-basic-auth -o yaml -n theia
The output will look like:
OutputapiVersion: v1
data:
  auth: ...
kind: Secret
metadata:
  creationTimestamp: "2021-12-31T17:16:29Z"
  name: theia-basic-auth
  namespace: theia
  resourceVersion: "32437"
  uid: 47461e23-e281-411b-acfd-cea82fcde41b
type: Opaque
Next, you’ll need to edit the Ingress to make it use the secret. Open the deployment configuration for editing:
- nano eclipse-theia.yaml
Add the highlighted lines to your file:
apiVersion: v1
kind: Namespace
metadata:
  name: theia
---
apiVersion: networking.k8s.io/v1
kind: Ingress
metadata:
  name: theia-next
  namespace: theia
  annotations:
    nginx.ingress.kubernetes.io/auth-type: basic
    nginx.ingress.kubernetes.io/auth-secret: theia-basic-auth
    nginx.ingress.kubernetes.io/auth-realm: 'Authentication Required - Eclipse Theia'
spec:
  ingressClassName: nginx
  rules:
  - host: theia.your_domain
    http:
      paths:
      - path: /
        pathType: Prefix
        backend:
          service:
            name: theia-next
            port:
              number: 80
...
First, in the auth-type annotation, you specify that the authentication type is basic. This means that Nginx will require the user to type in a username and password. Then, in auth-secret, you specify that the secret that contains the list of valid combinations is theia-basic-auth, which you’ve just created. The remaining auth-realm annotation specifies a message that will be shown to the user as an explanation of why authentication is required. You can change the message contained in this field to your liking.
Save and close the file.
To propagate the changes to your cluster, run the following command:
- kubectl apply -f eclipse-theia.yaml
You’ll see the output:
Outputnamespace/theia unchanged
ingress.networking.k8s.io/theia-next configured
service/theia-next unchanged
deployment.apps/theia-next unchanged
Navigate to your domain in your browser, where you’ll now be asked to log in.
You’ve enabled basic login authentication on your Ingress by configuring it to use the secret containing the hashed username and password combinations. In the next step, you’ll secure access further by adding TLS certificates, so that the traffic between you and your Eclipse Theia deployment stays encrypted.
Step 3 — Applying Let’s Encrypt HTTPS Certificates
Next you will secure your Eclipse Theia installation by applying Let’s Encrypt certificates to your Ingress, which Cert-Manager will automatically provision. After completing this step, your Eclipse Theia installation will be accessible via HTTPS.
Open eclipse-theia.yaml for editing:
- nano eclipse-theia.yaml
Add the highlighted lines to your file, making sure to replace the placeholder domain with your own:
apiVersion: v1
kind: Namespace
metadata:
  name: theia
---
apiVersion: networking.k8s.io/v1
kind: Ingress
metadata:
  name: theia-next
  namespace: theia
  annotations:
    nginx.ingress.kubernetes.io/auth-type: basic
    nginx.ingress.kubernetes.io/auth-secret: theia-basic-auth
    nginx.ingress.kubernetes.io/auth-realm: 'Authentication Required - Eclipse Theia'
    cert-manager.io/cluster-issuer: letsencrypt-prod
spec:
  tls:
  - hosts:
    - theia.your_domain
    secretName: theia-prod
  ingressClassName: nginx
  rules:
  - host: theia.your_domain
    http:
      paths:
      - path: /
        pathType: Prefix
        backend:
          service:
            name: theia-next
            port:
              number: 80
...
First, you specify the letsencrypt-prod ClusterIssuer you created as part of the prerequisites as the issuer that will be used to provision certificates for this Ingress. Then, in the tls section, you specify the exact domain that should be secured, as well as a name for a secret that will be holding those certificates.
Save and exit the file.
Apply the changes to your cluster by running the following command:
- kubectl apply -f eclipse-theia.yaml
The output will look like:
Outputnamespace/theia unchanged
ingress.networking.k8s.io/theia-next configured
service/theia-next unchanged
deployment.apps/theia-next unchanged
It will take a few minutes for the certificates to be provisioned and fully applied. You can track the progress by observing the output of the following command:
- kubectl describe certificate theia-prod -n theia
When it finishes, the end of the output will look similar to this:
Output...
Events:
  Type    Reason        Age   From          Message
  ----    ------        ----  ----          -------
  Normal  GeneratedKey  42m   cert-manager  Generated a new private key
  Normal  Requested     42m   cert-manager  Created new CertificateRequest resource "theia-prod-3785736528"
  Normal  Issued        42m   cert-manager  Certificate issued successfully
Refresh your domain in your browser. You’ll see a green padlock shown on the leftmost side of the address bar signifying that the connection is secure.
You’ve configured the Ingress to use Let’s Encrypt certificates thus making your Eclipse Theia deployment more secure. Now you can review the default Eclipse Theia user interface.
Step 4 — Using the Eclipse Theia Interface
In this section, you’ll explore some of the features of the Eclipse Theia interface.
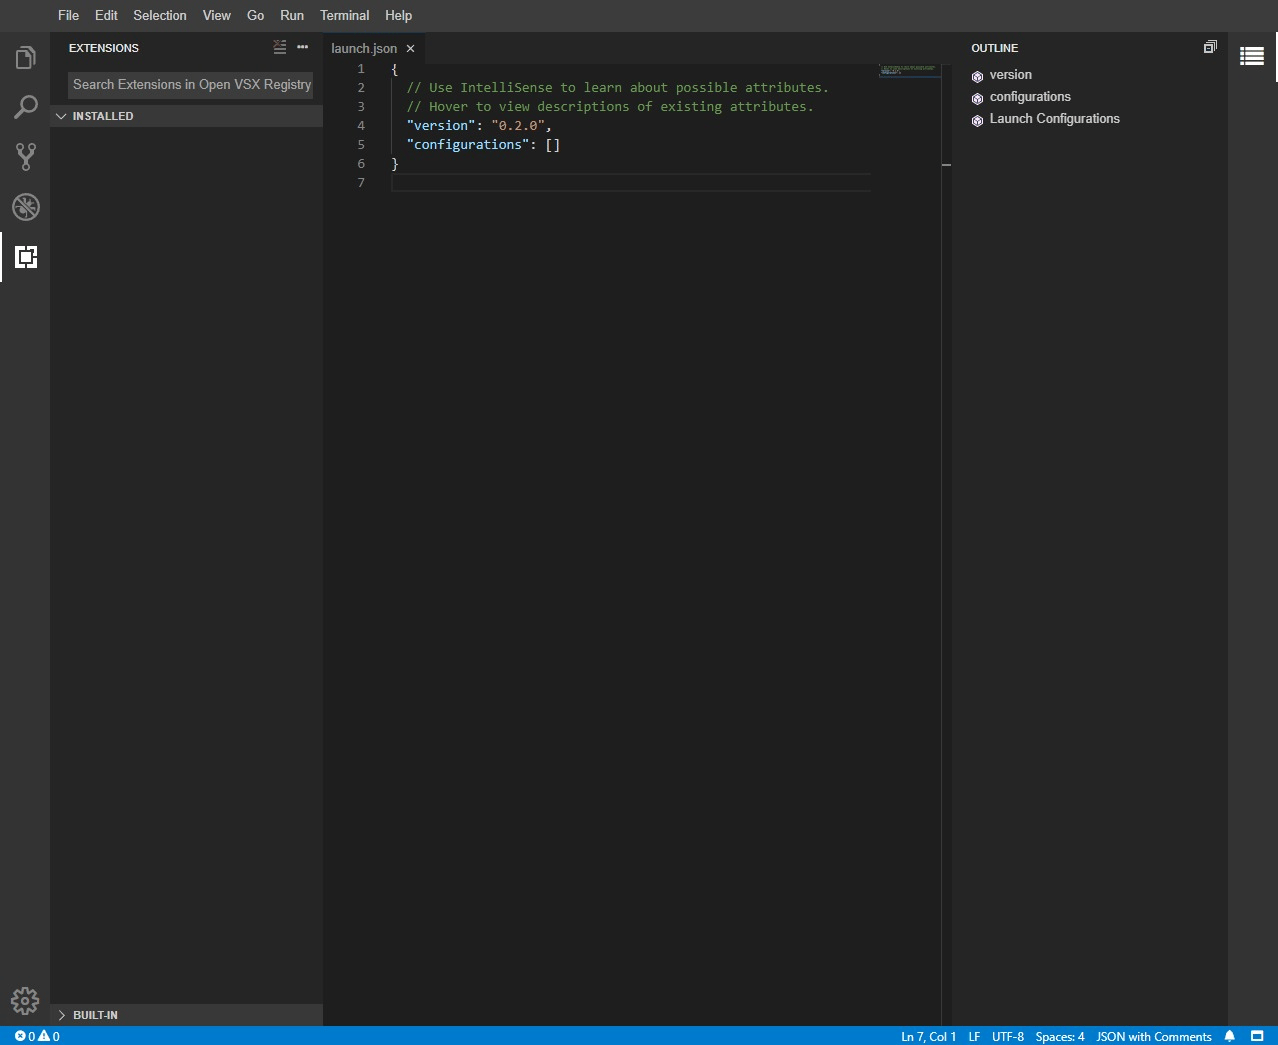
On the left-hand side of the IDE, there is a vertical row of four buttons opening the most commonly used features in a side panel.
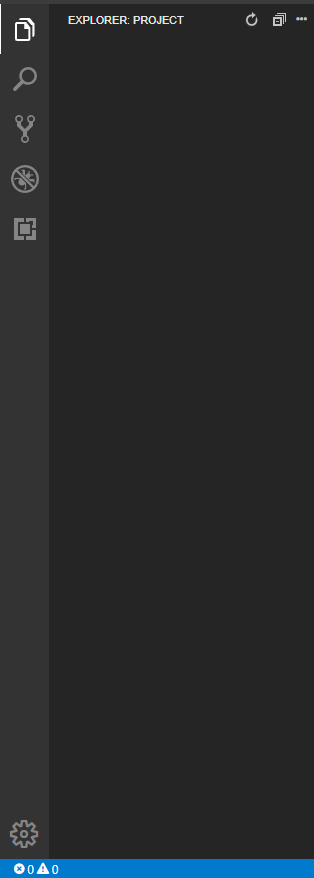
This bar is customizable so you can move these views to a different order or remove them from the bar. By default, the first view opens the Explorer panel that provides tree-like navigation of the project’s structure. You can manage your folders and files here—creating, deleting, moving, and renaming them as necessary.
After creating a new file through the File menu, you’ll see an empty file open in a new tab. Once saved, you can view the file’s name in Explorer side panel. To create folders, right click on the Explorer sidebar and click on New Folder. You can expand a folder by clicking on its name as well as dragging and dropping files and folders to upper parts of the hierarchy to move them to a new location.
The next option provides access to search and replace functionality. Following it, the next one provides a view of source control systems that you may be using, such as Git.
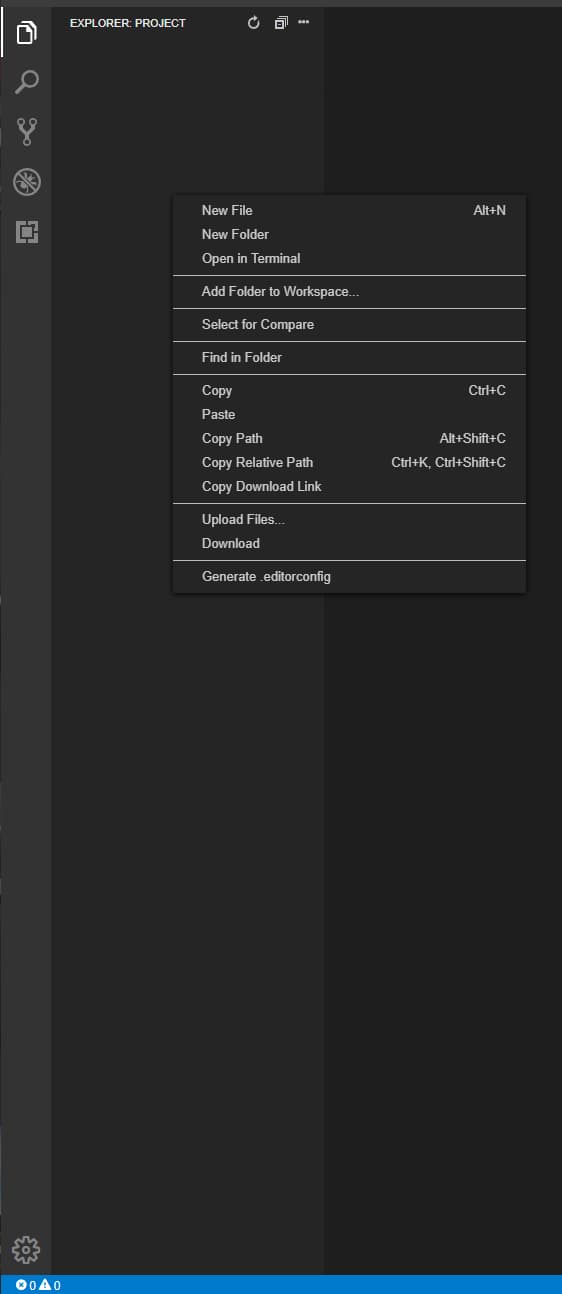
The next view is the debugger option, which provides all the common actions for debugging in the panel. You can save debugging configurations in the launch.json file.
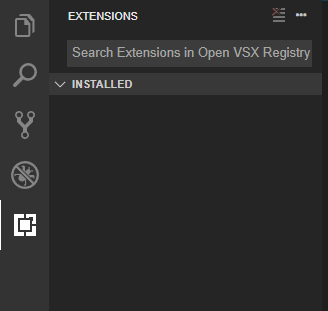
The final option allows you to view and install extensions:
The central part of the GUI is your editor, which you can separate by tabs for your code editing. You can change your editing view to a grid system or to side-by-side files. Like all modern IDEs, Eclipse Theia supports syntax highlighting for your code.
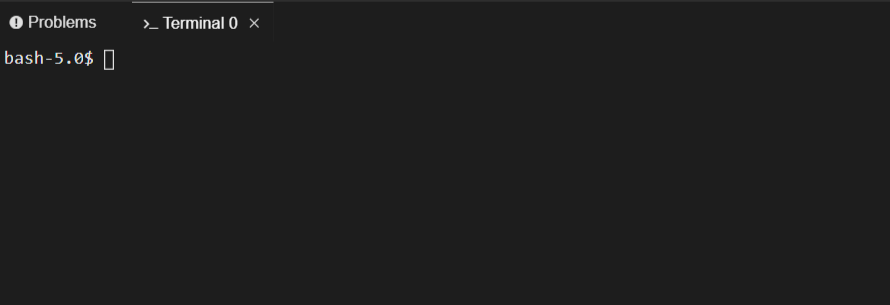
You can gain access to a terminal by typing CTRL+SHIFT+` , or by clicking on Terminal in the upper menu, and selecting New Terminal. The terminal will open in a lower panel and its working directory will be set to the project’s workspace, which contains the files and folders shown in the Explorer side panel.
If you wish to destroy the Eclipse Theia deployment on your cluster, run the following command:
- kubectl delete -f eclipse-theia.yaml
You’ve explored a high-level overview of the Eclipse Theia interface and reviewed some of the most commonly used features.
Conclusion
You now have Eclipse Theia, a versatile cloud IDE, installed on your DigitalOcean Kubernetes cluster. You’ve secured it with a free Let’s Encrypt TLS certificate and set up the instance to require a login from the visitor. You can work on your source code and documents with it individually or collaborate with your team. You can also try building your own version of Eclipse Theia if you need additional functionality. For further information on how to do that, visit the Theia docs.
Thanks for learning with the DigitalOcean Community. Check out our offerings for compute, storage, networking, and managed databases.
About the author(s)
Expert in cloud topics including Kafka, Kubernetes, and Ubuntu.
Former Senior Technical Editor at DigitalOcean, with a strong focus on DevOps and System Administration content. Areas of expertise include Terraform, PyTorch, Python, and Django.
Still looking for an answer?
This textbox defaults to using Markdown to format your answer.
You can type !ref in this text area to quickly search our full set of tutorials, documentation & marketplace offerings and insert the link!
So they forked VS Code and named it differently. Shame. By the way, VS Code is now capable of working remotely and accessible from the browser. Why would anyone need any other cloud IDE?
 This work is licensed under a Creative Commons Attribution-NonCommercial- ShareAlike 4.0 International License.
Become a contributor for community
Get paid to write technical tutorials and select a tech-focused charity to receive a matching donation.

DigitalOcean Documentation
Full documentation for every DigitalOcean product.

Resources for startups and AI-native businesses
The Wave has everything you need to know about building a business, from raising funding to marketing your product.
The developer cloud
Scale up as you grow — whether you're running one virtual machine or ten thousand.

Start building today
From GPU-powered inference and Kubernetes to managed databases and storage, get everything you need to build, scale, and deploy intelligent applications.
