By Brian Boucheron, Savic and Kathryn Hancox

Introduction
Helm is a package manager for Kubernetes that allows developers and operators to more easily configure and deploy applications on Kubernetes clusters.
Helm packages are called charts, and they contain templates of resource definitions that deploy and configure given apps with minimal effort required from the user. With templating, you can manage the chart, its settings and behavior by passing in variable definitions without modifying the actual chart. Customized resource definitions, as well as modifications to already deployed definitions, Helm automatically manages. A deployed chart, with possible customizations, is called a release.
In this tutorial, you’ll set up Helm 3 and learn how to install, upgrade, roll back, and manage charts and releases. You’ll also learn to create and package your own charts, as well as set up chart repositories, which host charts that you can install right away.
Prerequisites
-
A Kubernetes cluster with role-based access control (RBAC) enabled. For further information about releases, you can check the Helm releases page.
-
The
kubectlcommand-line tool installed on your local machine, configured to connect to your cluster. You can read more about installingkubectlin the official documentation.You can test your connectivity with the following command:
- kubectl cluster-info
If you receive no errors, you’re connected to the cluster. If you access multiple clusters with
kubectl, be sure to verify that you’ve selected the correct cluster context by running:- kubectl config get-contexts
The output will list the available configurations:
OutputCURRENT   NAME                    CLUSTER                 AUTHINFO                      NAMESPACE
*         do-fra1-helm3-example   do-fra1-helm3-example   do-fra1-helm3-example-admin
Here, the asterisk (
*) indicates that we are connected to thedo-fra1-helm3-examplecluster. To switch clusters, run:- kubectl config use-context context-name
When you are connected to the correct cluster, continue to Step 1 to begin installing Helm.
Step 1 — Installing Helm 3
In this section, you’ll install Helm 3 using the officially provided shell script.
Start off by navigating to /tmp, where you’ll store the install script by running:
- cd /tmp
Download the script with the following command:
- curl -fsSL -o get_helm.sh https://raw.githubusercontent.com/helm/helm/master/scripts/get-helm-3
You can examine get_helm.sh in your text editor to ensure it’s safe.
Make it executable by setting its permissions to the following:
- chmod u+x get_helm.sh
Finally, run it to install Helm 3:
- ./get_helm.sh
You’ll receive output similar to the following:
OutputDownloading https://get.helm.sh/helm-v3.5.2-linux-amd64.tar.gz
Verifying checksum... Done.
Preparing to install helm into /usr/local/bin
helm installed into /usr/local/bin/helm
You have Helm 3 installed on your machine. You’ll now learn about chart repositories and how to use them.
Step 2 — Setting Up Chart Repositories
Helm charts are stored in chart respositories that it is possible for anyone to host. By default, Helm 3 does not come preconfigured with any repository. Previous versions of Helm included a central curated chart repository; however, Helm 3’s design deliberately evolved to chart developers managing their own repository, allowing for more freedom and quicker releases. This means that for each chart you wish to use, you’ll need to make sure that you add the hosting repository to your Helm installation.
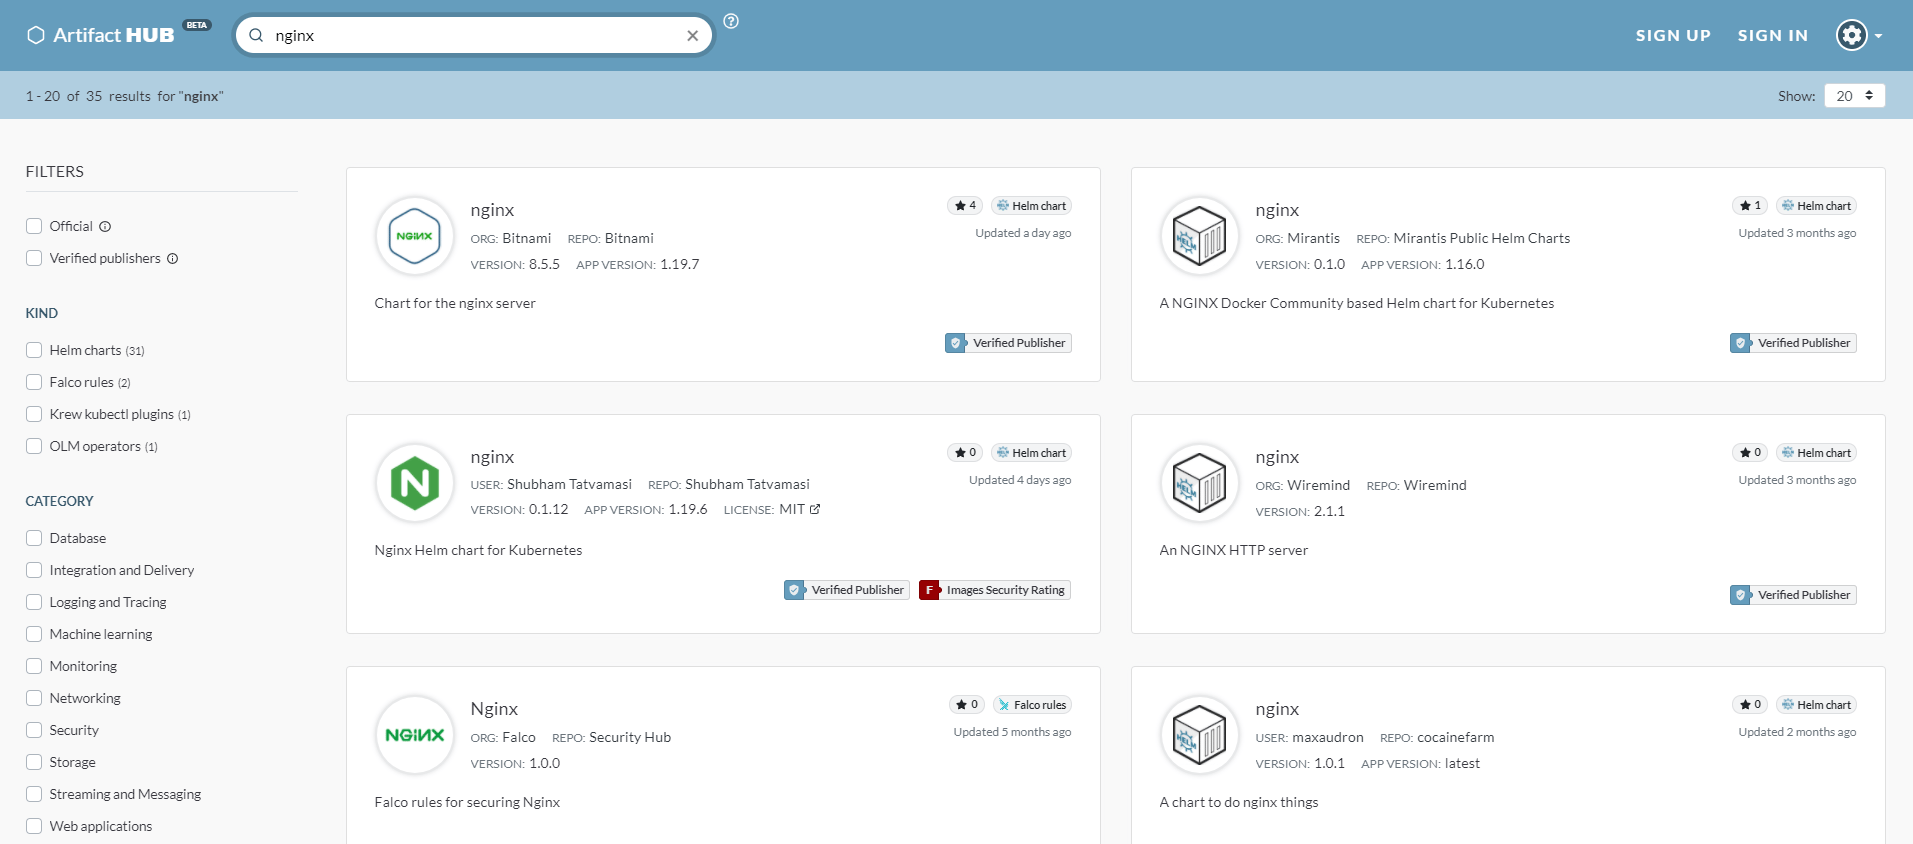
To help you find the right repository, you can use ArtifactHub.io, an open source website managed by the CNCF that catalogues Helm charts and their repositories. It also tracks popular and useful charts that other CNCF projects use, so it differs from the stable repository that previous versions of Helm worked from. For common projects, such as Nginx ingresses or monitoring tools, it’s a great source.
You can search for a chart that you’d like to install via the home page. Searching for nginx will show all indexed charts that are related to it.
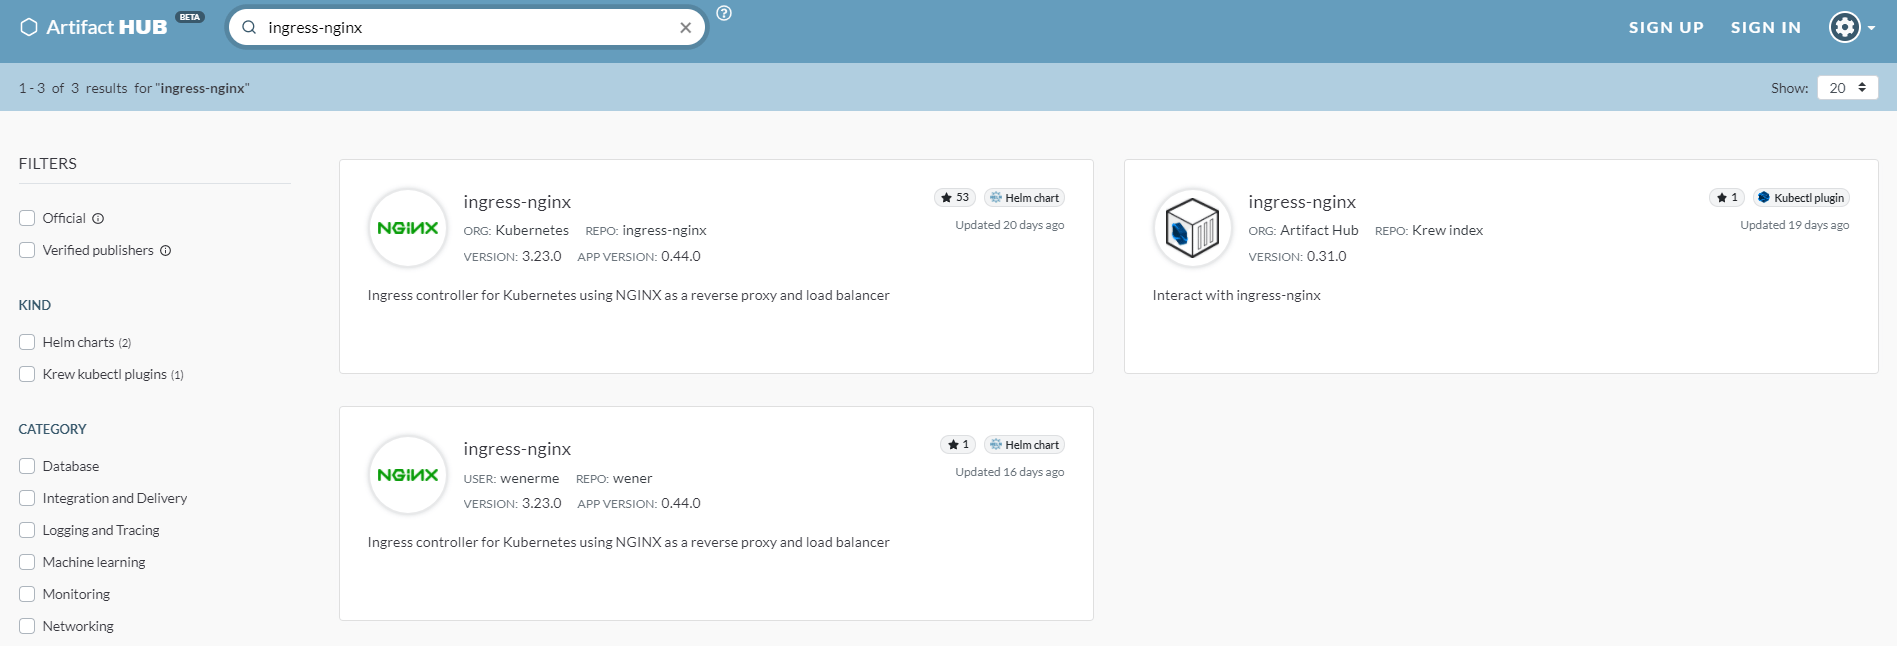
You’ll install the community edition managed by the Kubernetes team. Search for ingress-nginx to find it in your results. Select it to access its page.
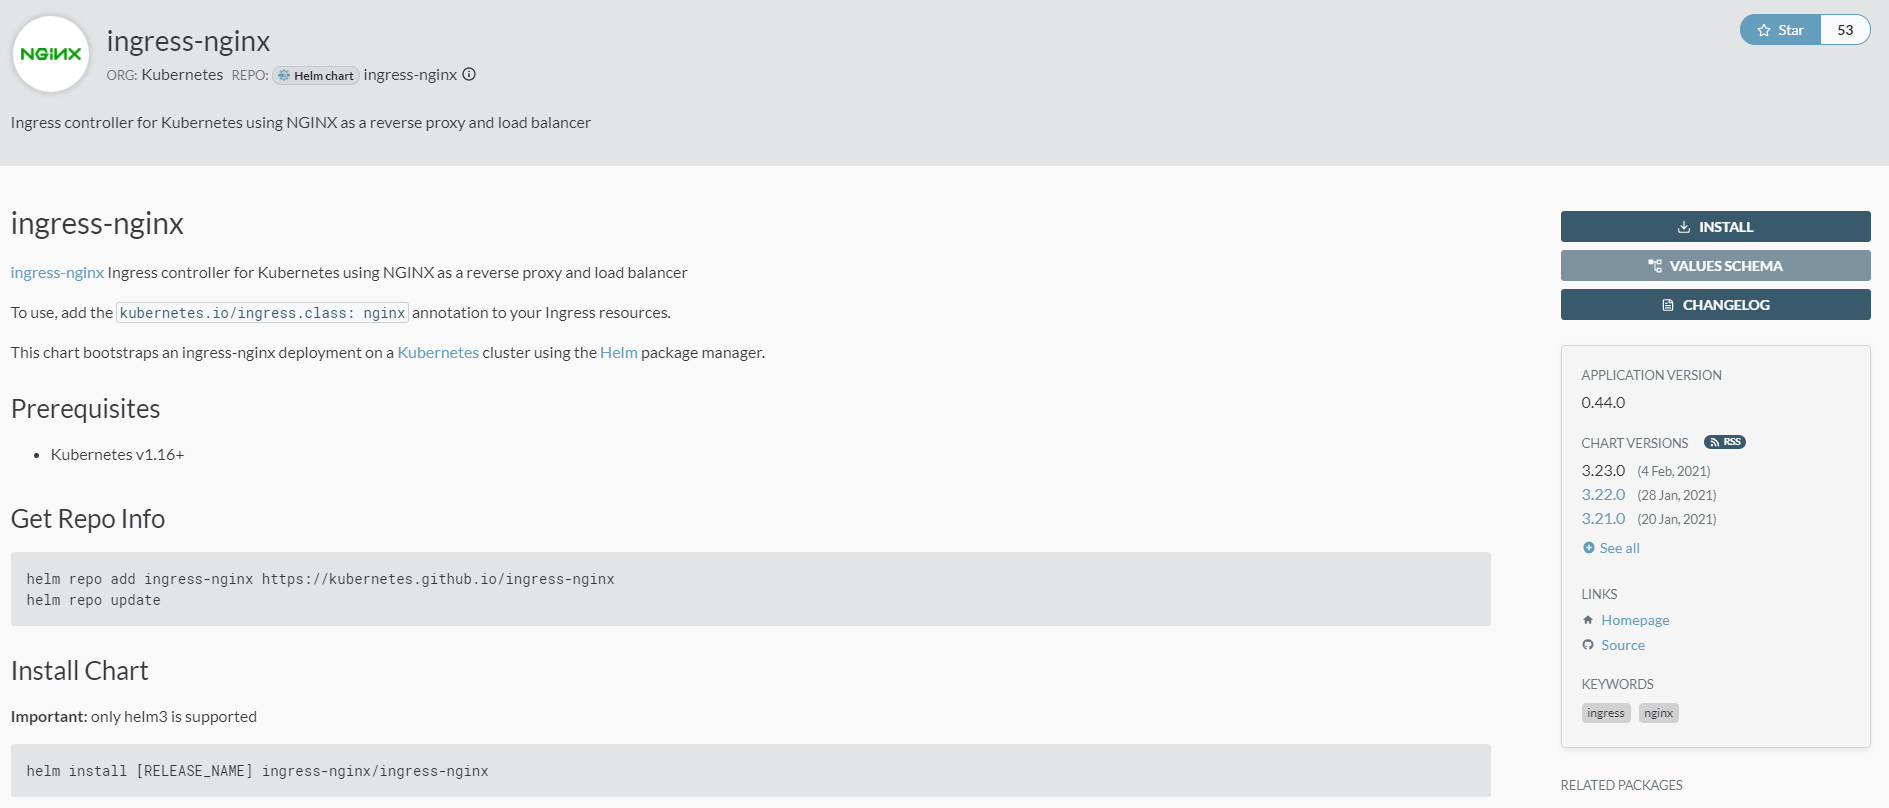
Each chart should have a description detailing what it does, coupled with commands for adding its repository to your installation and installing the chart. If it does not, you can still get the necessary commands by pressing on the INSTALL button on the right of the page.
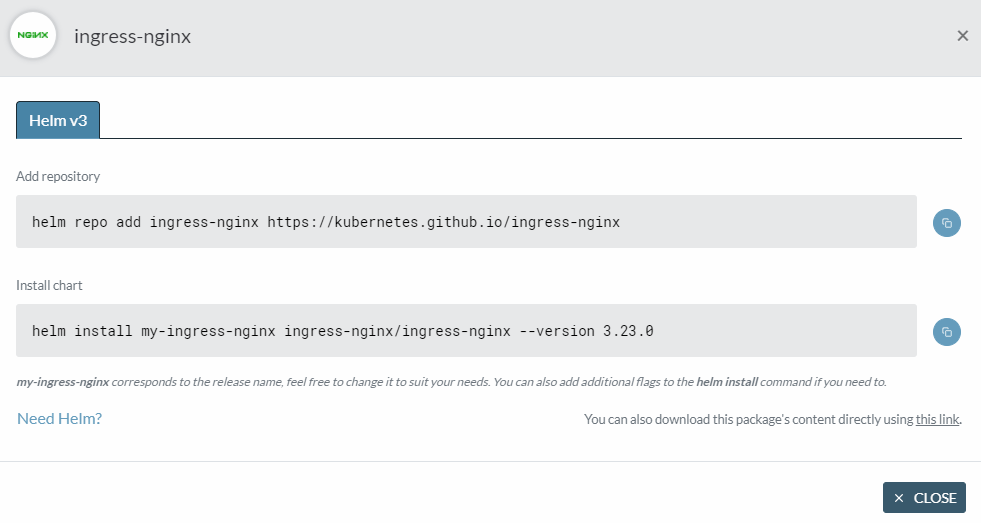
You can click the blue button next to a command to copy it. Do so for the first command, and run it:
- helm repo add ingress-nginx https://kubernetes.github.io/ingress-nginx
To add a repository to Helm, you run helm repo add. The parameters it accepts are the name of the repo and its location.
The output will be:
Output"ingress-nginx" has been added to your repositories
When you add a new repo, you need to let Helm know what it contains by running:
- helm repo update
You’ll receive the following output, showing that the update was successful:
OutputHang tight while we grab the latest from your chart repositories...
...Successfully got an update from the "ingress-nginx" chart repository
Update Complete. ⎈Happy Helming!⎈
In this step, you’ve learned about ArtifactHub and what it offers. You’ve also added a new repo to your Helm installation. In the next step, you’ll install a Helm chart.
Step 3 — Installing a Helm Chart
In the previous section, you’ve added the repo for the ingress-nginx chart. You’ll now install it to your cluster.
Each chart has configuration variables that you can set to modify its behavior. These variables are stored in a file called values.yaml that is part of the chart. Unless you’ve downloaded the chart to your machine, you’ll have to run the following command to view it:
- helm show values chart_name
To show available variables for ingress-nginx, replace chart_name:
- helm show values ingress-nginx/ingress-nginx
The output will be long showing the contents of values.yaml for ingress-nginx.
To install a chart, you can use helm install:
- helm install release_name repository/chart_name
A release is a deployed instance of the chart, and here you’re calling it ingress-nginx.
This command would install the chart to your cluster with the default values of variables. If you wish to modify some of them, you can pass in the new variable values using --set:
- helm install ingress-nginx/ingress-nginx --set variable_name=variable_value
You can repeat --set for as many variables as you need. Since we won’t be customizing it now, install it as is by running:
- helm install ingress-nginx ingress-nginx/ingress-nginx
The output will be similar to the following:
OutputNAME: ingress-nginx
LAST DEPLOYED: Wed Feb 24 10:12:37 2021
NAMESPACE: default
STATUS: deployed
REVISION: 1
TEST SUITE: None
NOTES:
The ingress-nginx controller has been installed.
It may take a few minutes for the LoadBalancer IP to be available.
You can watch the status by running 'kubectl --namespace default get services -o wide -w ingress-nginx-controller'
...
Note that the NAME corresponds to the name of release you’ve specified. Helm also lists common information, such as the release status and namespace in which it’s deployed. The NOTES section varies between charts, and usually contains quick-start guidance or warns of some common pitfalls when using the chart’s resources. Here, it notes that the Load Balancer is being created and that it may take some time to complete.
To check deployed charts, use helm list:
- helm list
You’ll find that ingress-nginx is the only deployed chart at the moment:
OutputNAME            NAMESPACE       REVISION        UPDATED                                 STATUS          CHART                   APP VERSION
ingress-nginx   default         1               2021-02-24 10:12:37.281049711 +0000 UTC deployed        ingress-nginx-3.23.0    0.44.0
You can find the services it has in your cluster by running:
- kubectl get services
The output will be similar to this:
OutputNAME                                 TYPE           CLUSTER-IP      EXTERNAL-IP    PORT(S)                      AGE
ingress-nginx-controller             LoadBalancer   10.245.211.81   46.101.68.67   80:30704/TCP,443:30700/TCP   7m19s
ingress-nginx-controller-admission   ClusterIP      10.245.50.17    <none>         443/TCP                      7m19s
kubernetes                           ClusterIP      10.245.0.1      <none>         443/TCP                      83m
Now that you’ve deployed a release to your cluster, you’ll modify its configuration while it’s deployed.
Step 4 — Upgrading a Release
Once a release is deployed, you don’t have to tear it down and redeploy completely when you need to change its configuration. You can use the helm upgrade command to upgrade the release with a new version of the chart, or to set new settings.
The ingress-nginx chart exposes the controller.replicaCount variable that controls the number of deployed controller pods. By default, it’s set to one, which you can verify by listing the available pods:
- kubectl get pods
You’ll find that there is only one:
OutputNAME                                        READY   STATUS    RESTARTS   AGE
ingress-nginx-controller-7fc74cf778-kjtst   1/1     Running   0          12m
If you want more to be deployed for redundancy (for instance, three), you can upgrade the release and set the variable to 3 by running:
- helm upgrade ingress-nginx ingress-nginx/ingress-nginx --set controller.replicaCount=3 --reuse-values
You also pass in --reuse-values, which instructs Helm to base your changes on top of the deployed release, preserving the previous configuration.
In the output, Helm will bump the revision to signify that the release has been upgraded:
OutputNAME: ingress-nginx
LAST DEPLOYED: Wed Feb 24 12:07:54 2021
NAMESPACE: default
STATUS: deployed
REVISION: 2
TEST SUITE: None
NOTES:
...
You can list the available pods by running:
- kubectl get pods
You will find three pods listed, instead of one:
OutputNAME                                        READY   STATUS    RESTARTS   AGE
ingress-nginx-controller-7fc74cf778-4hk9g   1/1     Running   0          18s
ingress-nginx-controller-7fc74cf778-kjtst   1/1     Running   0          22m
ingress-nginx-controller-7fc74cf778-wz595   1/1     Running   0          18s
Next you’ll roll back changes and delete releases altogether.
Step 5 — Rolling Back and Deleting a Release
When you upgrade a release, its revision number is incremented. Internally, Helm stores all revisions of a release, allowing you to return to a previous revision if needed.
To revert the number of pods to just one, you could run helm upgrade again and manually set the number because it’s a small change. However, when working with bigger charts with many variables, manually reverting is not feasible and should be automated.
To roll back a release, use helm rollback:
- helm rollback release_name release_revision
You can use it to revert the changes you made to ingress-nginx by rolling back to revision 1:
- helm rollback ingress-nginx 1
You will receive the following output, indicating that the action was successful:
OutputRollback was a success! Happy Helming!
You can check the current revision by listing the releases:
- helm list
You’ll find that the revision is now 3, and not 1:
OutputNAME            NAMESPACE       REVISION        UPDATED                                 STATUS          CHART                   APP VERSION
ingress-nginx   default         3               2021-02-24 12:43:21.523664768 +0000 UTC deployed        ingress-nginx-3.23.0    0.44.0
Helm regards every change, including rollbacks, as a new revision to a release. You can check that revision 3 is equal to the first one by checking the number of deployed pods by running:
- kubectl get pods
You’ll find that there is only one:
OutputNAME                                        READY   STATUS    RESTARTS   AGE
ingress-nginx-controller-7fc74cf778-kjtst   1/1     Running   0          41m
To delete a release and all its revisions, you can use helm delete:
- helm delete release_name
Since you won’t be needing it anymore, delete ingress-nginx by running the following command:
- helm delete ingress-nginx
The output will be:
Outputrelease "ingress-nginx" uninstalled
You can list the releases to check that there are none:
- helm list
The output table will have no rows:
OutputNAME NAMESPACE REVISION UPDATED STATUS CHART APP VERSION
Now that the release is deleted, you can reuse its name for future deployments.
Step 6 — (Optional) Creating Custom Charts
In this optional step, you’ll learn how to create a custom chart, where to put your resource definitions, and how to package it for further distribution.
You’ll create a new chart called example-chart. Run the following command to create it:
- helm create example-chart
This will create a new directory called example-chart with the following files and structure:
charts/
templates/
├─ tests/
│  ├─ test-connection.yaml
├─ deployment.yaml
├─ hpa.yaml
├─ ingress.yaml
├─ NOTES.txt
├─ service.yaml
├─ serviceaccount.yaml
├─ _helpers.tpl
Chart.yaml
values.yaml
The resource definitions that your chart will install on target clusters are located in the templates directory. The default ones Helm created as a starting point deploy an Nginx ingress controller. Even though their file extension is YAML, they use Go’s templating syntax to stay customizable via exposed variables that you can pass in. You can verify by showing the contents of service.yaml by running:
- cat example-chart/templates/service.yaml
You’ll find that it has templating directives for generating values surrounded by double braces:
OutputapiVersion: v1
kind: Service
metadata:
  name: {{ include "mychart.fullname" . }}
  labels:
    {{- include "mychart.labels" . | nindent 4 }}
spec:
  type: {{ .Values.service.type }}
  ports:
    - port: {{ .Values.service.port }}
      targetPort: http
      protocol: TCP
      name: http
  selector:
    {{- include "mychart.selectorLabels" . | nindent 4 }}
The referenced variables are exposed to the user and defined in values.yaml. The NOTES text Helm shows after deployment is stored in NOTES.txt, and is also templated. Chart metadata, such as name, version, and version of software being deployed, is specified in Chart.yaml:
apiVersion: v2
name: mychart
description: A Helm chart for Kubernetes

...
type: application

...
version: 0.1.0

...
appVersion: "1.16.0"
To check what Helm would deploy, you can pass in --dry-run and --debug to helm install pointing at the chart directory:
- helm install example-chart --dry-run --debug ./example-chart
The output will be long and contain all the final resource definitions that would get applied to your cluster. While you’re working on your chart, you can use helm upgrade to push new versions to Kubernetes.
When it’s time to share your finished chart, you can package it for distribution by running:
- helm package ./example-chart
The output will be:
OutputSuccessfully packaged chart and saved it to: .../example-chart-0.1.0.tgz
The packaged chart can be installed just like the ones from added repositories:
- helm install example-chart example-chart-0.1.0.tgz
In this step you’ve created a custom chart and deployed it. You’ve also packaged it, and learned about its structure.
Conclusion
You now know how to use Helm to install and upgrade software deployed to your Kubernetes cluster. You’ve added chart repositories, and learned why they’re important and how ArtifactHub can help you find them. You’ve also created a new custom chart and learned about release revisions and how to roll back if necessary.
For more information on creating custom charts, visit the official guide.
Thanks for learning with the DigitalOcean Community. Check out our offerings for compute, storage, networking, and managed databases.
About the author(s)
Senior Technical Writer at DigitalOcean
Expert in cloud topics including Kafka, Kubernetes, and Ubuntu.
Former Senior Technical Editor at DigitalOcean, with a strong focus on DevOps and System Administration content. Areas of expertise include Terraform, PyTorch, Python, and Django.
Still looking for an answer?
This textbox defaults to using Markdown to format your answer.
You can type !ref in this text area to quickly search our full set of tutorials, documentation & marketplace offerings and insert the link!
HELM url stale…
$ helm repo add stable https://kubernetes-charts.storage.googleapis.com Error: repo “https://kubernetes-charts.storage.googleapis.com” is no longer available; try “https://charts.helm.sh/stable” instead
$ helm repo add stable https://charts.helm.sh/stable “stable” has been added to your repositories
 This work is licensed under a Creative Commons Attribution-NonCommercial- ShareAlike 4.0 International License.
Become a contributor for community
Get paid to write technical tutorials and select a tech-focused charity to receive a matching donation.

DigitalOcean Documentation
Full documentation for every DigitalOcean product.

Resources for startups and AI-native businesses
The Wave has everything you need to know about building a business, from raising funding to marketing your product.
The developer cloud
Scale up as you grow — whether you're running one virtual machine or ten thousand.

Start building today
From GPU-powered inference and Kubernetes to managed databases and storage, get everything you need to build, scale, and deploy intelligent applications.
