By Jeremy Morris and Lisa Tagliaferri

Introduction
Python Decouple is a Python library aimed at making it easier for developers to separate their configuration settings from code. Originally designed for Django, it is now a generic Python tool for storing parameters and defining constant values separate from your code.
In this tutorial we will go over how to install Python Decouple and how to use it in a basic Django application utilizing DigitalOcean’s object storage solution, Spaces.
Prerequisites
In order to be adequately prepared for this tutorial, you will need the following:
- A non-root user account with
sudoprivileges set up on an Ubuntu or Debian Linux server. If you haven’t set this up already, follow the initial server setup for Ubuntu 16.04 or Debian tutorial. - A DigitalOcean Space and a generated API key. For guidance on this, you can follow this tutorial to create a Space and set up the API key.
With an initial server setup and a DigitalOcean Space and API key, you’re ready to get started.
Step 1 — Set Up a Virtual Environment
Before we begin, if you haven’t done so already, now is a good time to update and upgrade your server.
- sudo apt-get update && sudo apt-get -y upgrade
Your server should have shipped with Python 3. Run the following command to verify that it is installed:
- sudo apt-get install python3
Next, let’s install pip the package manager for Python.
- sudo apt-get install -y python3-pip
Finally, we will need to install the virtualenv module so that we can set up our programming environment:
- sudo pip3 install virtualenv
For further guidance and information on the setup and utilization of programming environments, check out this tutorial on setting up a virtual environment.
We are now ready to move into our Python programming environment.
Step 2 — Create Django App and Install Dependencies
We must next create the Django app and install the required dependencies in order to utilize DigitalOcean Spaces and Python Decouple.
While in the server’s home directory, we have to create the directory that will contain our Django application. Run the following command to create a directory called django-apps, or another name of your choice. Then navigate to the directory.
- mkdir django-apps
- cd django-apps
While inside the django-apps directory, create your virtual environment. Let’s call it env.
- virtualenv env
Now, activate the virtual environment with the following command:
- . env/bin/activate
You’ll know it’s activated once the prefix is changed to (env), which will look similar to the following depending on what directory you are in:
-
Within the environment, install the Django package using pip. Installing Django allows us to create and run Django applications. To learn more about Django, read our tutorial series on Django Development.
- pip install django
Now let’s create a Django project called mysite using the following command:
- django-admin startproject mysite
Next, we need to install Boto 3, an AWS SDK for Python, which will allow us to integrate object storage solutions, like DigitalOcean Spaces, with our Django application.
At the time of writing, Boto 3 has explicit compatibility with S3. Because of Space’s interoperability with S3, Spaces is also compatible with Boto 3. For more details on the comparisons between Amazon S3 and DigitalOcean Spaces object storage read the Spaces docs.
Run the following command to install Boto 3:
- pip install boto3
We also need to install django-storages, a collection of custom storage backends for Django and boto3.
- pip install django-storages
Finally, let’s install Python Decouple**.
- pip install python-decouple
You have setup your dependencies within the environment of your Django app and are now ready to set up static and template directories.
Step 3 — Add Directories and Assets
With our environment set up with all dependencies, you can now switch to the mysite/mysite directory,
- cd ~/django-apps/mysite/mysite
Within the mysite/mysite directory, run the following commands to create the static and template directories.
- mkdir static && mkdir templates
We’ll next create the subdirectories for images and CSS to live within the static directory.
- mkdir static/img && mkdir static/css
Once you’ve made the directories, we’ll download a test file that we’ll eventually add to our object storage. Switch to the img directory since we’ll be downloading an image.
- cd ~/django-apps/mysite/mysite/static/img
Within this directory, we’ll download the DigitalOcean logo image using Wget’s wget command. This is a commonly used GNU program, preinstalled on Ubuntu distros, to retrieve content from web servers.
- wget https://assets.digitalocean.com/logos/DO_Logo_icon_blue.png
Once you hit ENTER, you’ll see output similar to the following:
OutputResolving www.digitalocean.com (www.digitalocean.com)... 104.16.24.4, 104.16.25.4
Connecting to www.digitalocean.com (www.digitalocean.com)|104.16.24.4|:443... connected.
HTTP request sent, awaiting response... 200 OK
Length: 1283 (1.3K) [image/png]
Saving to: ‘DO_Logo_icon_blue.png’

DO_Logo_icon_blue-6edd7377 100%[=====================================>]   1.25K  --.-KB/s    in 0s

2017-11-05 12:26:24 (9.60 MB/s) - ‘DO_Logo_icon_blue.png’ saved [1283/1283]
At this point, if you run the command ls, you’ll notice that an image named DO_Logo_icon_blue.png now exists in the static/img/ directory.
With these directories set up and the image we’ll be storing downloaded to the server, we can move on to editing the files associated with our Django app.
Step 4 — Edit CSS and HTML Files
We’ll start by editing the style sheet. You should move into the css directory so that we can add a basic style sheet for our web app.
- cd ~/django-apps/mysite/mysite/static/css
Use nano, or another text editor of your choice, to edit the document.
- nano app.css
Once the file opens, add the following CSS:
body {
  margin: 0;
  background-color: #f1f1f1;
  font-family: "Helvetica Neue", Helvetica, Arial, sans-serif;
}

.container {
  width: 80%;
  border: 1px solid #ddd;
  background-color: #fff;
  padding: 20px;
  margin: 40px auto;
}

form {
  margin-bottom: 20px;
  padding: 10px;
  border: 1px solid #ff9900;
  width: 350px;
}

table {
  border-collapse: collapse;
  width: 100%;
}

table td,
table th {
  border: 1px solid #eceeef;
  padding: 5px 8px;
  text-align: left;
}

table thead {
  border-bottom: 2px solid #eceeef;
}
Once you are finished, you can save and close the file.
From here, navigate to the templates directory.
- cd ~/django-apps/mysite/mysite/templates
We need to open a file called home.html and add HTML into it for how our basic web app will be displayed. Using nano, open the file so it’s ready for editing:
- nano home.html
Within the document, add the following:
{% load static %}
<!DOCTYPE html>
<html>
<head>
  <meta charset="utf-8">
  <title>Spaces + Django Tutorial</title>
  <link rel="stylesheet" type="text/css" href="{% static 'css/app.css' %}">
</head>
<body>
  <center>
  <header>
    <h1>Spaces + Django Tutorial</h1>
  </header>
  <main>
    <img src="{% static 'img/DO_Logo_icon_blue.png' %}">
    <h2>Congratulations, you’re using Spaces!</h2>
  </main>
  </center>
</body>
</html>
Save and close the file. The last file we will update is the urls.py file so that it points to your newly created home.html file. We need to move into the following directory:
- cd ~/django-apps/mysite/mysite
Use nano to edit the urls.py file.
- nano urls.py
You can delete everything in the file and then add the following:
from django.conf.urls import url
from django.views.generic import TemplateView


urlpatterns = [
    url(r'^$', TemplateView.as_view(template_name='home.html'), name='home'),
]
With these files set up, we can next work on configuring our settings in order to integrate with object storage.
Step 5 — Use Python Decouple to Abstract Spaces Credentials
Within your virtual environment, navigate to the location of the settings.py file. This is where we will create the settings.ini file to store your credentials separately.
- cd ~/django-apps/mysite/mysite
Create the settings.ini file using touch, a Linux command that creates new, empty files in the directory from which it is called.
- touch settings.ini
The settings file being created will have an .ini file extension. This file will be looked at by Python Decouple for settings data, and it is also where your settings file will refer to for the API key. You can also use .env as an alternative extension to .ini.
Now, open the settings.ini file using your favorite text editor, such as nano.
- nano settings.ini
In this document, we’ll have a section header, [settings], required by Python Decouple, and will add our Spaces credentials by assigning them to variables. Your full file should look like the following:
[settings]
SPACES_ACCESS_KEY=your-spaces-access-key
SPACES_SECRET_ACCESS_KEY=your-spaces-secret-access-key
In order to access these credentials, we’ll need to refer to the settings.ini file from the settings.py file.
In the next step, we’ll go through configuring the settings.py file completely.
Step 6 — Update Settings
Now it’s time to update your settings file with your Spaces credentials so that we can take advantage of the page we’ve setup to display the image.
Ensure that you’re in the correct location to access your settings file.
- cd ~/django-apps/mysite/mysite
Open the file for editing with nano or another text editor:
- nano settings.py
At the top of the file, we’ll need to add an import statement in order to use the config module from Decouple.
...
import os
from decouple import config
...
Move down in the file to the allowed hosts and add your server IP.
...
ALLOWED_HOSTS = ['your-server-ip']
...
Then add storages to the installed apps section of the settings file and remove django.contrib.admin since we won’t be using that in this tutorial. It should look like the following.
...
# Application definition

INSTALLED_APPS = [
    'django.contrib.auth',
    'django.contrib.contenttypes',
    'django.contrib.sessions',
    'django.contrib.messages',
    'django.contrib.staticfiles',
    'storages'
]
...
Replace and add the highlighted text to the TEMPLATES section of the settings file, so that the project knows where to locate your home.html file.
...
TEMPLATES = [
    {
        'BACKEND': 'django.template.backends.django.DjangoTemplates',
        'DIRS': [os.path.join(BASE_DIR, 'mysite/templates')],
        'APP_DIRS': True,
        'OPTIONS': {
            'context_processors': [
                'django.template.context_processors.debug',
                'django.template.context_processors.request',
                'django.contrib.auth.context_processors.auth',
                'django.contrib.messages.context_processors.messages',
            ],
        },
    },
]
...
Finally, let’s update your settings at the bottom of the file. We’ll be adding the following below the # Static files section. The first two lines add the reference to the settings.ini file, so that it can retrieve the configuration parameters.
Below that, be sure to add your own bucket name. At the time of writing, NYC3 is the only region where Spaces currently are, so that is being passed as the endpoint URL.
For a terminal location, add the directory into which you would like to import your files. You can add a directory through your Spaces interface in-browser.
...
# Static files (CSS, JavaScript, Images)
# https://docs.djangoproject.com/en/1.11/howto/static-files/

AWS_ACCESS_KEY_ID = config('SPACES_ACCESS_KEY')
AWS_SECRET_ACCESS_KEY = config('SPACES_SECRET_ACCESS_KEY')
AWS_STORAGE_BUCKET_NAME = 'your-storage-bucket-name'
AWS_S3_ENDPOINT_URL = 'https://nyc3.digitaloceanspaces.com'
AWS_S3_OBJECT_PARAMETERS = {
    'CacheControl': 'max-age=86400',
}
AWS_LOCATION = 'your-spaces-files-folder'

STATICFILES_DIRS = [
    os.path.join(BASE_DIR, 'mysite/static'),
]
STATIC_URL = 'https://%s/%s/' % (AWS_S3_ENDPOINT_URL, AWS_LOCATION)
STATICFILES_STORAGE = 'storages.backends.s3boto3.S3Boto3Storage'
Now we’ve abstracted our Spaces credentials away from the Python code and our settings file is ready to integrate our Django app with object storage.
Let’s run the Django web application to verify that everything has been setup correctly.
Step 7 — Collect Static Files
Now we’ll run collectstatic and you’ll notice files being transferred, including the image that we’ve saved in our static directory. It will get transferred to the Spaces location that we’ve identified in the settings file.
To accomplish this, let’s navigate to ~/django-apps/mysite/ :
- cd ~/django-apps/mysite
Within the directory, run the following command:
- python manage.py collectstatic
You’ll see the following output and should respond yes when prompted.
OutputYou have requested to collect static files at the destination
location as specified in your settings.

This will overwrite existing files!
Are you sure you want to do this?

Type 'yes' to continue, or 'no' to cancel:
Then you’ll see some more output telling you the file has been copied to Spaces.
OutputCopying '/root/django-apps/mysite/mysite/static/css/app.css'

1 static file copied, 1 unmodified.
At this point, if you return to your bucket from your DigitalOcean Cloud account, you’ll see the css and img directories added to the folder you pointed them to, with app.css in the css directory, and the DO-Logo_icon_blue-.png image in the img directory.
Step 8 — Run the Application
If you have a UFW firewall set up, let’s first allow inbound traffic to pass through port 8000 by issuing the following command:
- sudo ufw allow 8000
With your virtual environment still activated, let’s navigate to the location of the manage.py file and run the application, using the following commands:
- cd ~/django-apps/mysite
- python manage.py runserver <your-server-ip>:8000
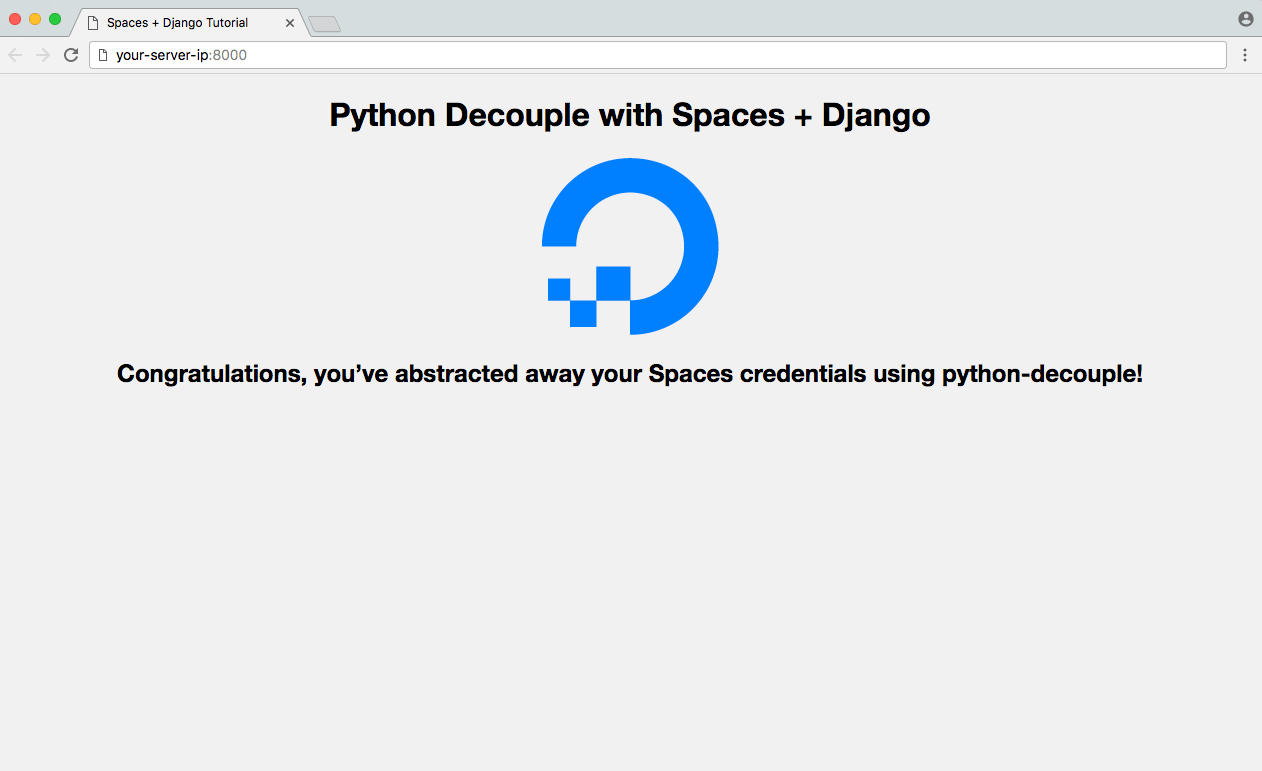
In a web browser, navigate to the http://your-server-ip:8000 to see the result of the Django application you’ve created. You will see the following output in your browser:
When you are done with testing your app, you can press CTRL + C to stop the runserver command. This will return you to the your programming environment.
When you are ready to leave your Python environment, you can run the deactivate command:
- deactivate
Deactivating your programming environment will put you back to the terminal command prompt.
Conclusion
In this tutorial you have successfully created a Django application that serves files from DigitalOcean Spaces while abstracting away the Spaces credentials from the Python code. In the process you’ve learned about static files, how to manage static files, how to serve them from a cloud service and how to decouple your configuration parameters from your python settings file.
You can continue learning about web development with Python and Django by reading our tutorial series on Django Development.
Thanks for learning with the DigitalOcean Community. Check out our offerings for compute, storage, networking, and managed databases.
About the author(s)
Software Engineer at DigitalOcean
Community and Developer Education expert. Former Senior Manager, Community at DigitalOcean. Focused on topics including Ubuntu 22.04, Ubuntu 20.04, Python, Django, and more.
Still looking for an answer?
This textbox defaults to using Markdown to format your answer.
You can type !ref in this text area to quickly search our full set of tutorials, documentation & marketplace offerings and insert the link!
Just adding that if you gonna use the CDN url just add the AWS_S3_ADDRESSING_STYLE = 'virtual' to the settings.py.
(:
 This work is licensed under a Creative Commons Attribution-NonCommercial- ShareAlike 4.0 International License.
Become a contributor for community
Get paid to write technical tutorials and select a tech-focused charity to receive a matching donation.

DigitalOcean Documentation
Full documentation for every DigitalOcean product.

Resources for startups and AI-native businesses
The Wave has everything you need to know about building a business, from raising funding to marketing your product.
The developer cloud
Scale up as you grow — whether you're running one virtual machine or ten thousand.

Start building today
From GPU-powered inference and Kubernetes to managed databases and storage, get everything you need to build, scale, and deploy intelligent applications.
