Software Developer

The author selected the Free Software Foundation to receive a donation as part of the Write for DOnations program.
Introduction
WP-CLI is a command-line tool for WordPress development and administrative tasks. It provides several commands that you can use to manage your WordPress website without needing to log in to the dashboard and navigate through the pages.
Using WP-CLI to manage your WordPress installation over the conventional interface process helps to speed up your workflow. For many aspects of your website, you can also use WP-CLI in Bash scripts to automate tasks that are tedious or take a long time to perform.
In this tutorial, you’ll use many of the features of WP-CLI and discover how it can fit into your workflow. You’ll cover common operations such as managing plugins and themes, creating content, working with the database, and updating WordPress. The capabilities of WP-CLI go beyond this tutorial; however, you’ll be able to transfer the skills from this tutorial to work with the more common options of other WP-CLI features.
Prerequisites
To follow this tutorial, you’ll need a secure WordPress installation. If you need to set up WordPress, you can follow these tutorials for your chosen server distribution:
- A server that is configured with a non-root
sudouser. You can follow one of our Initial Server Setup Guides for this. - Linux, Apache, MySQL, PHP (LAMP stack) installed on your server. Follow How To Install Linux, Apache, MySQL, PHP (LAMP) stack for your server’s distribution.
- A secure WordPress installation. You can set this up by following How To Install WordPress with a LAMP Stack.
Note: It’s also possible to install WordPress with WP-CLI if you don’t have an existing setup, but we won’t be covering that aspect in this article.
Step 1 — Installing WP-CLI
In this step, you’ll install the latest version of the WP-CLI tool on your server. The tool is packaged in a Phar file, which is a packaging format for PHP applications that makes app deployment and distribution convenient.
You can download the Phar file for WP-CLI through curl:
- curl -O https://raw.githubusercontent.com/wp-cli/builds/gh-pages/phar/wp-cli.phar
Once you have downloaded the file, run the following command to verify that it is working:
- php wp-cli.phar --info
You will receive the following output:
OutputOS:     Linux 5.4.0-51-generic #56-Ubuntu SMP Mon Oct 5 14:28:49 UTC 2020 x86_64
Shell:  /bin/bash
PHP binary:     /usr/bin/php7.4
PHP version:    7.4.3
php.ini used:   /etc/php/7.4/cli/php.ini
WP-CLI root dir:        phar://wp-cli.phar/vendor/wp-cli/wp-cli
WP-CLI vendor dir:      phar://wp-cli.phar/vendor
WP_CLI phar path:       /home/ayo
WP-CLI packages dir:
WP-CLI global config:
WP-CLI project config:
WP-CLI version: 2.4.0
Next, make the file executable with the following command:
- chmod +x wp-cli.phar
At this point, you can execute the wp-cli.phar file directly to access the WP-CLI tool. To make it available globally on the system, move it to your /usr/local/bin/ directory and rename it to wp. This ensures that you can access WP-CLI from any directory by entering the wp command at the start of a prompt:
- sudo mv wp-cli.phar /usr/local/bin/wp
Now, you will be able to issue the following command to check the installed version of WP-CLI:
- wp cli version
OutputWP-CLI 2.4.0
In this step, you installed WP-CLI on your server. You can check out alternative installation methods in the documentation. In subsequent sections, you’ll explore the tasks you can accomplish through the WP-CLI interface.
Step 2 — Configuring WordPress Plugins
It can be tedious to install and manage WordPress plugins through the admin user interface. It’s possible to offload such tasks to WP-CLI to make the process much faster. In this section you will learn to install, update, and delete plugins on a WordPress site through the command line.
Before you proceed, make sure you are in the directory of your WordPress installation:
- cd /var/www/wordpress
Remember to change the highlighted directory name to the directory that contains your WordPress installation. This might be your domain name, if you followed the prerequisite tutorials.
Listing Current Plugins
You can list the currently installed plugins on a WordPress site with the following command:
- wp plugin list
It displays a list of plugin names along with their status, version, and an indication of an available update.
Output+---------+----------+-----------+---------+
| name    | status   | update    | version |
+---------+----------+-----------+---------+
| akismet | inactive | available | 4.1.7   |
| hello   | inactive | none      | 1.7.2   |
+---------+----------+-----------+---------+
Searching for Plugins
You can search for plugins through the search bar on the WordPress plugin repository page or you can use the following command for quicker access:
- wp plugin search seo
Once you run this command, you will receive a list of the top 10 plugins that match the search term (as of early 2021). The expected output for the seo query is:
OutputSuccess: Showing 10 of 4278 plugins.
+------------------------------------------------------------+---------------------+--------+
| name                                                       | slug                | rating |
+------------------------------------------------------------+---------------------+--------+
| Yoast SEO                                                  | wordpress-seo       | 98     |
| All in One SEO                                             | all-in-one-seo-pack | 92     |
| Rank Math – SEO Plugin for WordPress                 | seo-by-rank-math    | 98     |
| The SEO Framework                                          | autodescription     | 98     |
| SEOPress, on-site SEO                                      | wp-seopress         | 98     |
| Slim SEO – Fast & Automated WordPress SEO Plugin | slim-seo            | 92     |
| W3 Total Cache                                             | w3-total-cache      | 88     |
| LiteSpeed Cache                                            | litespeed-cache     | 98     |
| SEO 2021 by Squirrly (Smart Strategy)                      | squirrly-seo        | 92     |
| WP-Optimize – Clean, Compress, Cache.                | wp-optimize         | 96     |
+------------------------------------------------------------+---------------------+--------+
You can go to the next page by using the --page flag:
- wp plugin search seo --page=2
Take note of the value in the slug column. You’ll use this value to install or update the plugin on the command line.
Installing Plugins
You can install one or more plugins by using the wp plugin install command. You find the name of the plugin you want to install (in the slug column) and pass it as an argument to wp plugin install. You can also find the name of the plugin in the URL of the plugin page.

- wp plugin install jetpack wordpress-seo gutenberg
The output indicates the progress and completion of the installation of each of the plugins:
OutputInstalling Jetpack – WP Security, Backup, Speed, & Growth (9.3.1)
Downloading installation package from https://downloads.wordpress.org/plugin/jetpack.9.3.1.zip...
Unpacking the package...
Installing the plugin...
Plugin installed successfully.
Installing Yoast SEO (15.6.2)
Downloading installation package from https://downloads.wordpress.org/plugin/wordpress-seo.15.6.2.zip...
Unpacking the package...
Installing the plugin...
Plugin installed successfully.
Installing Gutenberg (9.8.1)
Downloading installation package from https://downloads.wordpress.org/plugin/gutenberg.9.8.1.zip...
Unpacking the package...
Installing the plugin...
Plugin installed successfully.
Success: Installed 3 of 3 plugins.
You can run the wp plugin list command again to confirm that you’ve installed the plugins successfully:
Output+---------------+----------+-----------+---------+
| name          | status   | update    | version |
+---------------+----------+-----------+---------+
| akismet       | inactive | available | 4.1.7   |
| gutenberg     | inactive | none      | 9.8.1   |
| hello         | inactive | none      | 1.7.2   |
| jetpack       | inactive | none      | 9.3.1   |
| wordpress-seo | inactive | none      | 15.6.2  |
+---------------+----------+-----------+---------+
If you want to install a plugin from a remote source other than the WordPress plugin repository, you can pass the zip file’s URL as an argument to wp plugin install. This can be helpful for installing custom or premium plugins. For example, the following command will install the myplugin.zip file hosted on example.com. Make sure to replace the highlighted URL with a link to the plugin zip file before running the command:
- wp plugin install https://example.com/wp-content/uploads/myplugin.zip
To install an older version of a plugin in the WordPress repository, specify the desired plugin version through the --version flag:
- wp plugin install jetpack --version=8.0
Activating and Deactivating Plugins
You can install and activate plugins in one go by appending the --activate flag to wp plugin install:
- wp plugin install redirection --activate
OutputInstalling Redirection (5.0)
Downloading installation package from https://downloads.wordpress.org/plugin/redirection.zip...
Using cached file '/home/ayo/.wp-cli/cache/plugin/redirection-5.0.zip'...
Unpacking the package...
Installing the plugin...
Plugin installed successfully.
Activating 'redirection'...
Warning: Plugin 'redirection' is already active.
Success: Installed 1 of 1 plugins.
To activate or deactivate one or more plugins, use the wp plugin activate and wp plugin deactivate commands respectively:
- wp plugin activate jetpack gutenberg
- wp plugin deactivate jetpack gutenberg
Or you can use the --all flag to activate or deactivate all plugins at once. This is useful if you want to debug a problem in your WordPress installation:
- wp plugin activate --all
- wp plugin deactivate --all
Updating Plugins
You can update plugins through the wp plugin update command. You can choose to update a set of plugins or all of them at once by appending the --all flag. For example, to update the akismet plugin, you can run the following command:
- wp plugin update akismet
You would receive output similar to:
OutputEnabling Maintenance mode...
Downloading update from https://downloads.wordpress.org/plugin/akismet.4.1.8.zip...
Unpacking the update...
Installing the latest version...
Removing the old version of the plugin...
Plugin updated successfully.
Disabling Maintenance mode...
+---------+-------------+-------------+---------+
| name    | old_version | new_version | status  |
+---------+-------------+-------------+---------+
| akismet | 4.1.7       | 4.1.8       | Updated |
+---------+-------------+-------------+---------+
Success: Updated 1 of 1 plugins.
Deleting plugins
To delete WordPress plugins, you can use the wp plugin delete command. You can specify one or more plugins to delete like the following:
- wp plugin delete redirection
Your output will confirm the deletion:
OutputDeleted 'redirection' plugin.
Success: Deleted 1 of 1 plugins.
You can also delete all the installed plugins in one go by appending the --all flag instead of specifying the plugin names one after the other:
- wp plugin delete --all
In this step, you’ve used WP-CLI to manage the plugins on your WordPress website. It’s much faster to perform actions compared to clicking through the admin dashboard. In the next section, you’ll leverage WP-CLI for installing and managing WordPress themes.
Step 3 — Configuring Themes
The process of managing themes through WP-CLI is almost identical to the way you can use it to manage plugins. In this section, you’ll source and apply new themes to a WordPress website through the wp theme subcommand.
First, check what themes you currently have installed on the website:
- wp theme list
You’ll receive a list of the installed themes:
Output+-----------------+----------+-----------+---------+
| name            | status   | update    | version |
+-----------------+----------+-----------+---------+
| twentynineteen  | inactive | available | 1.8     |
| twentytwenty    | inactive | none      | 1.6     |
| twentytwentyone | active   | available | 1.0     |
+-----------------+----------+-----------+---------+
There are three themes currently installed and the active one is twentytwentyone. If you want to find something with more features, you can try a search like the following:
- wp theme search color
The output shows there are 832 themes that match the color search term:
OutputSuccess: Showing 10 of 832 themes.
+---------------------+---------------------+--------+
| name                | slug                | rating |
+---------------------+---------------------+--------+
| Color               | color               | 0      |
| All Colors          | all-colors          | 100    |
| Color Blog          | color-blog          | 98     |
| Color Block         | color-block         | 0      |
| X Blog color        | x-blog-color        | 0      |
| Multicolor Business | multicolor-business | 0      |
| ColorNews           | colornews           | 100    |
| Colorist            | colorist            | 100    |
| ColorMag            | colormag            | 98     |
| MultiColors         | multicolors         | 74     |
+---------------------+---------------------+--------+
You can page through the results using the --page flag. For this example, just go ahead and install the ColorMag theme since it has a pretty good rating. The --activate flag activates the theme immediately:
- wp theme install colormag --activate
The output will confirm the installation:
OutputInstalling ColorMag (2.0.4)
Downloading installation package from https://downloads.wordpress.org/theme/colormag.2.0.4.zip...
Unpacking the package...
Installing the theme...
Theme installed successfully.
Activating 'colormag'...
Success: Switched to 'ColorMag' theme.
Success: Installed 1 of 1 themes.
If you visit your website, you’ll find that the ColorMag theme was applied successfully.
The output from the wp theme list command notes that there is an update available for both the twentynineteen and twentytwentyone themes. You can update them both using the following command:
- wp theme update --all
You’ll receive output similar to the following:
OutputDownloading update from https://downloads.wordpress.org/theme/twentynineteen.1.9.zip...
Unpacking the update...
Installing the latest version...
Removing the old version of the theme...
Theme updated successfully.
Downloading update from https://downloads.wordpress.org/theme/twentytwentyone.1.1.zip...
Unpacking the update...
Installing the latest version...
Removing the old version of the theme...
Theme updated successfully.
+-----------------+-------------+-------------+---------+
| name            | old_version | new_version | status  |
+-----------------+-------------+-------------+---------+
| twentynineteen  | 1.8         | 1.9         | Updated |
| twentytwentyone | 1.0         | 1.1         | Updated |
+-----------------+-------------+-------------+---------+
Success: Updated 2 of 2 themes.
The wp theme command offers many subcommands that can help you achieve tasks like getting the details of a theme, checking if a particular theme is installed, or even deleting one or more themes. You can explore all of the options by prepending help before the subcommand, as in wp help theme or wp help theme install.
Now that you can manage themes through WP-CLI, you’ll review the options that the tool provides for managing WordPress content.
Step 4 — Creating Posts and Pages
WP-CLI provides several ways to manage content through the command line. It can be more comfortable to write posts in the terminal if you’re familiar with a command-line editor like nano or vim.
You can browse the list of posts on the site with:
- wp post list
You’ll receive a list of posts:
Output+----+--------------+-------------+---------------------+-------------+
| ID | post_title | post_name | post_date | post_status |
+----+--------------+-------------+---------------------+-------------+
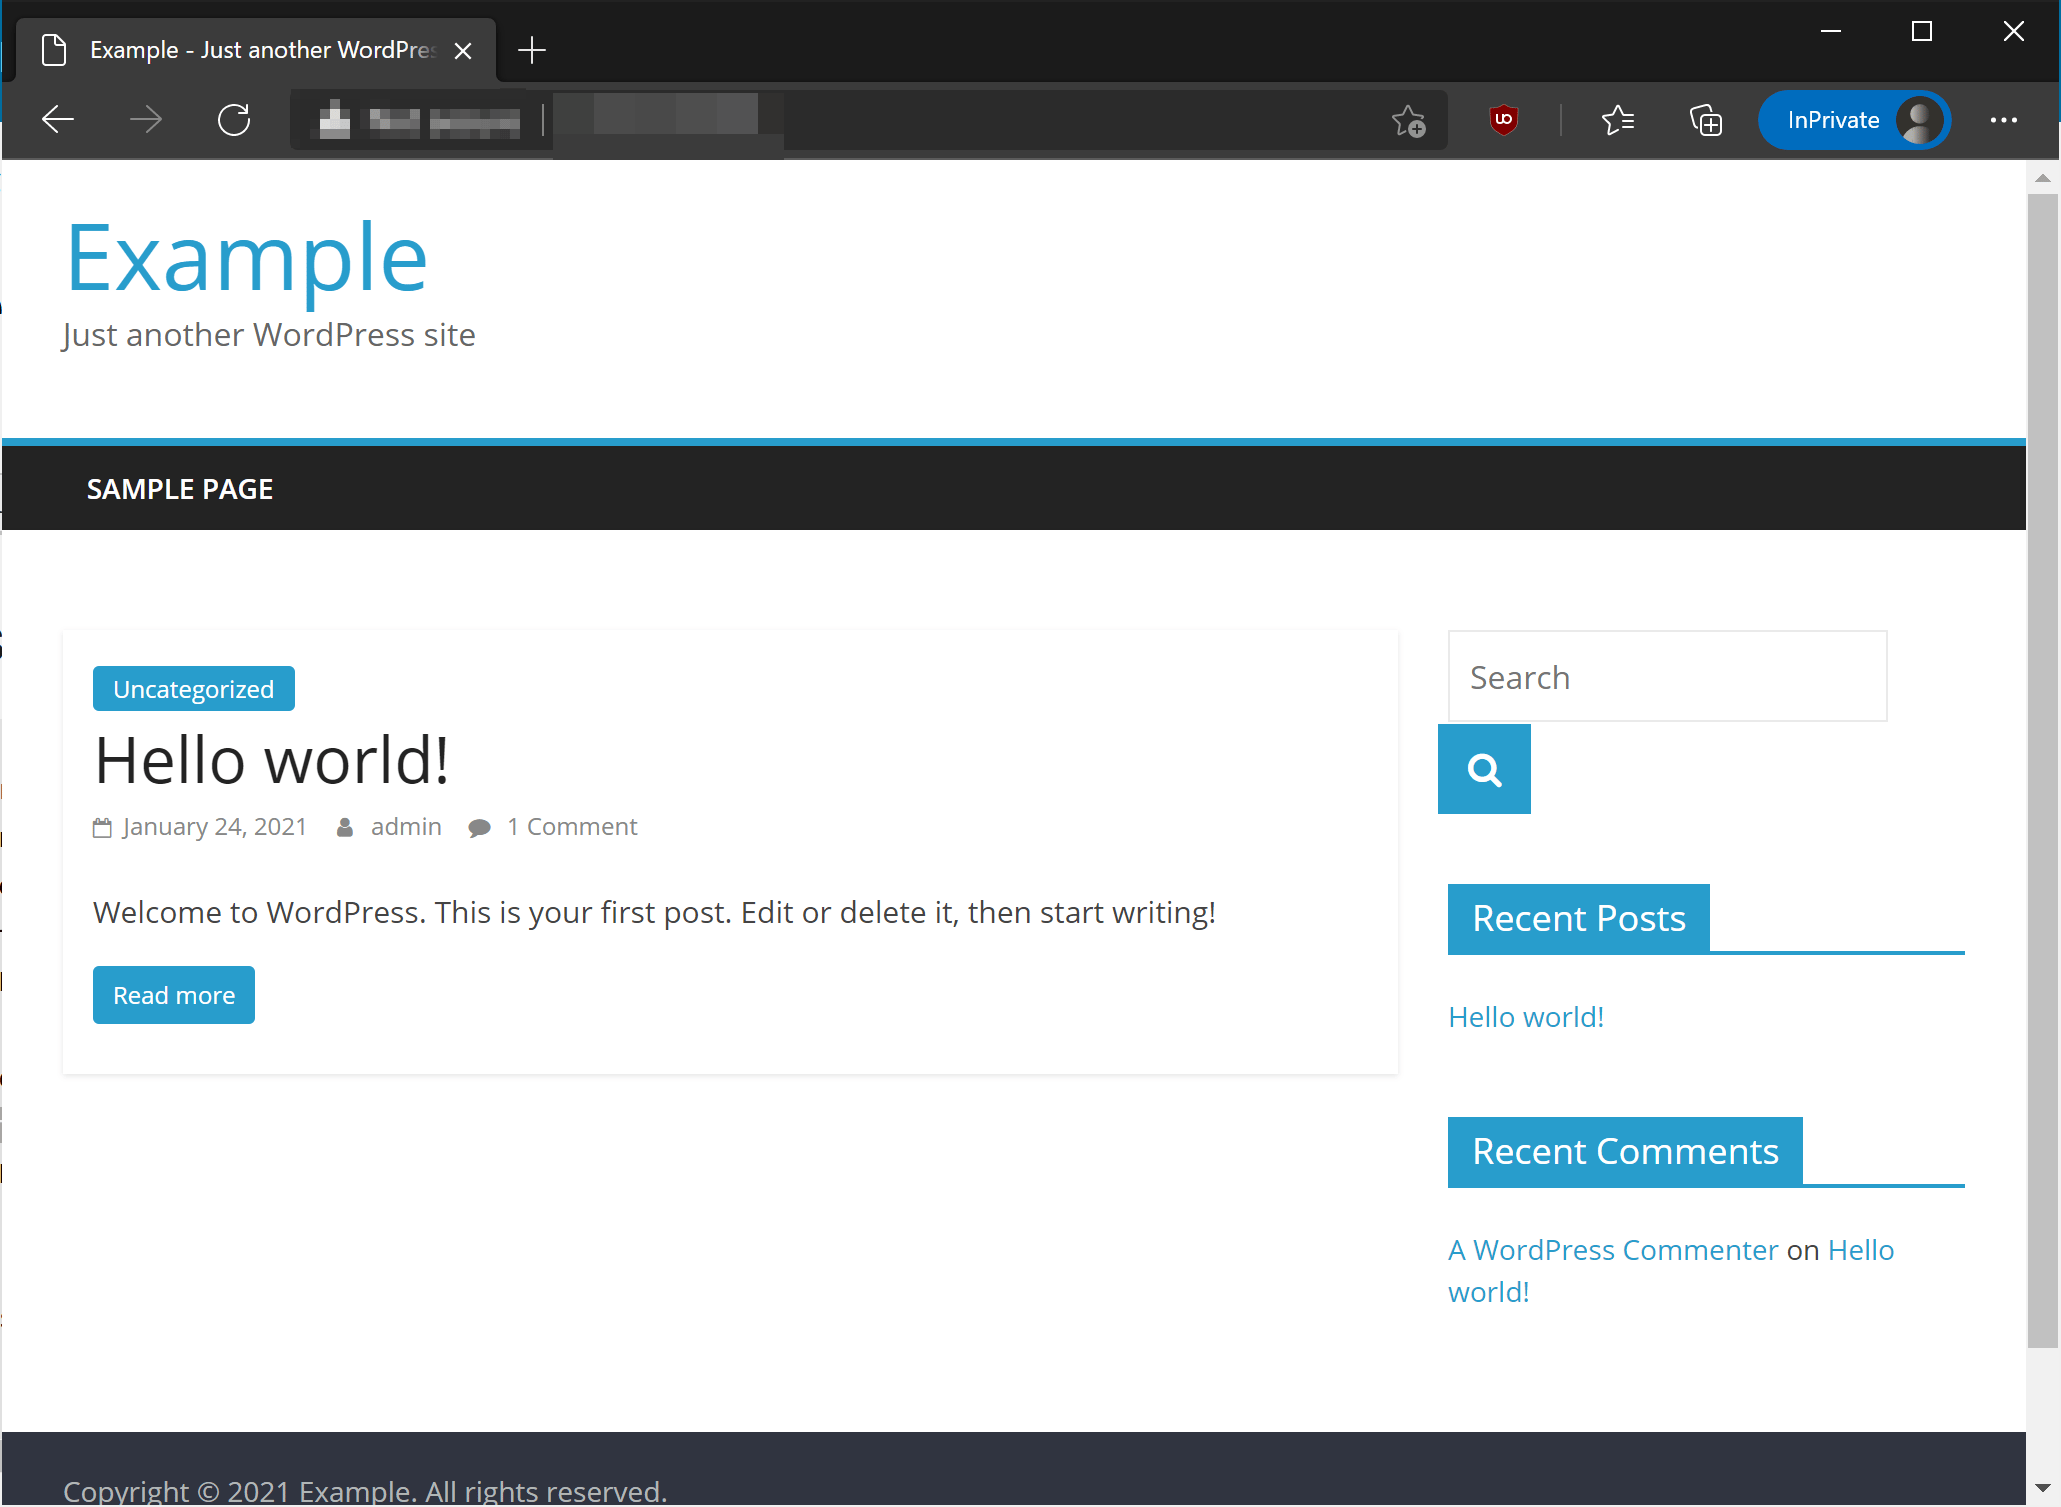
| 1 | Hello world! | hello-world | 2021-01-24 12:32:06 | publish |
+----+--------------+-------------+---------------------+-------------+
The output shows one published post with the title of Hello world! and an ID of 1. To delete this post, use the wp post delete command and pass it the post ID:
- wp post delete 1
Your output will confirm the post’s deletion:
OutputSuccess: Trashed post 1.
To create a new post, run the following command:
- wp post create --post_status=publish --post_title="Sample post created with WP-CLI" --edit
This command uses the --post_status flag to set the status of the post. Setting it to publish ensures that the post is published immediately after running the command. If you want to create a draft instead, set the --post_status flag to draft. The --post_title flag is how you can specify the title of the post, while --edit causes the post body to be opened in the default system editor (vim). You can find out the other flags that you can use in conjunction with the create subcommand by typing wp help post create in your terminal.
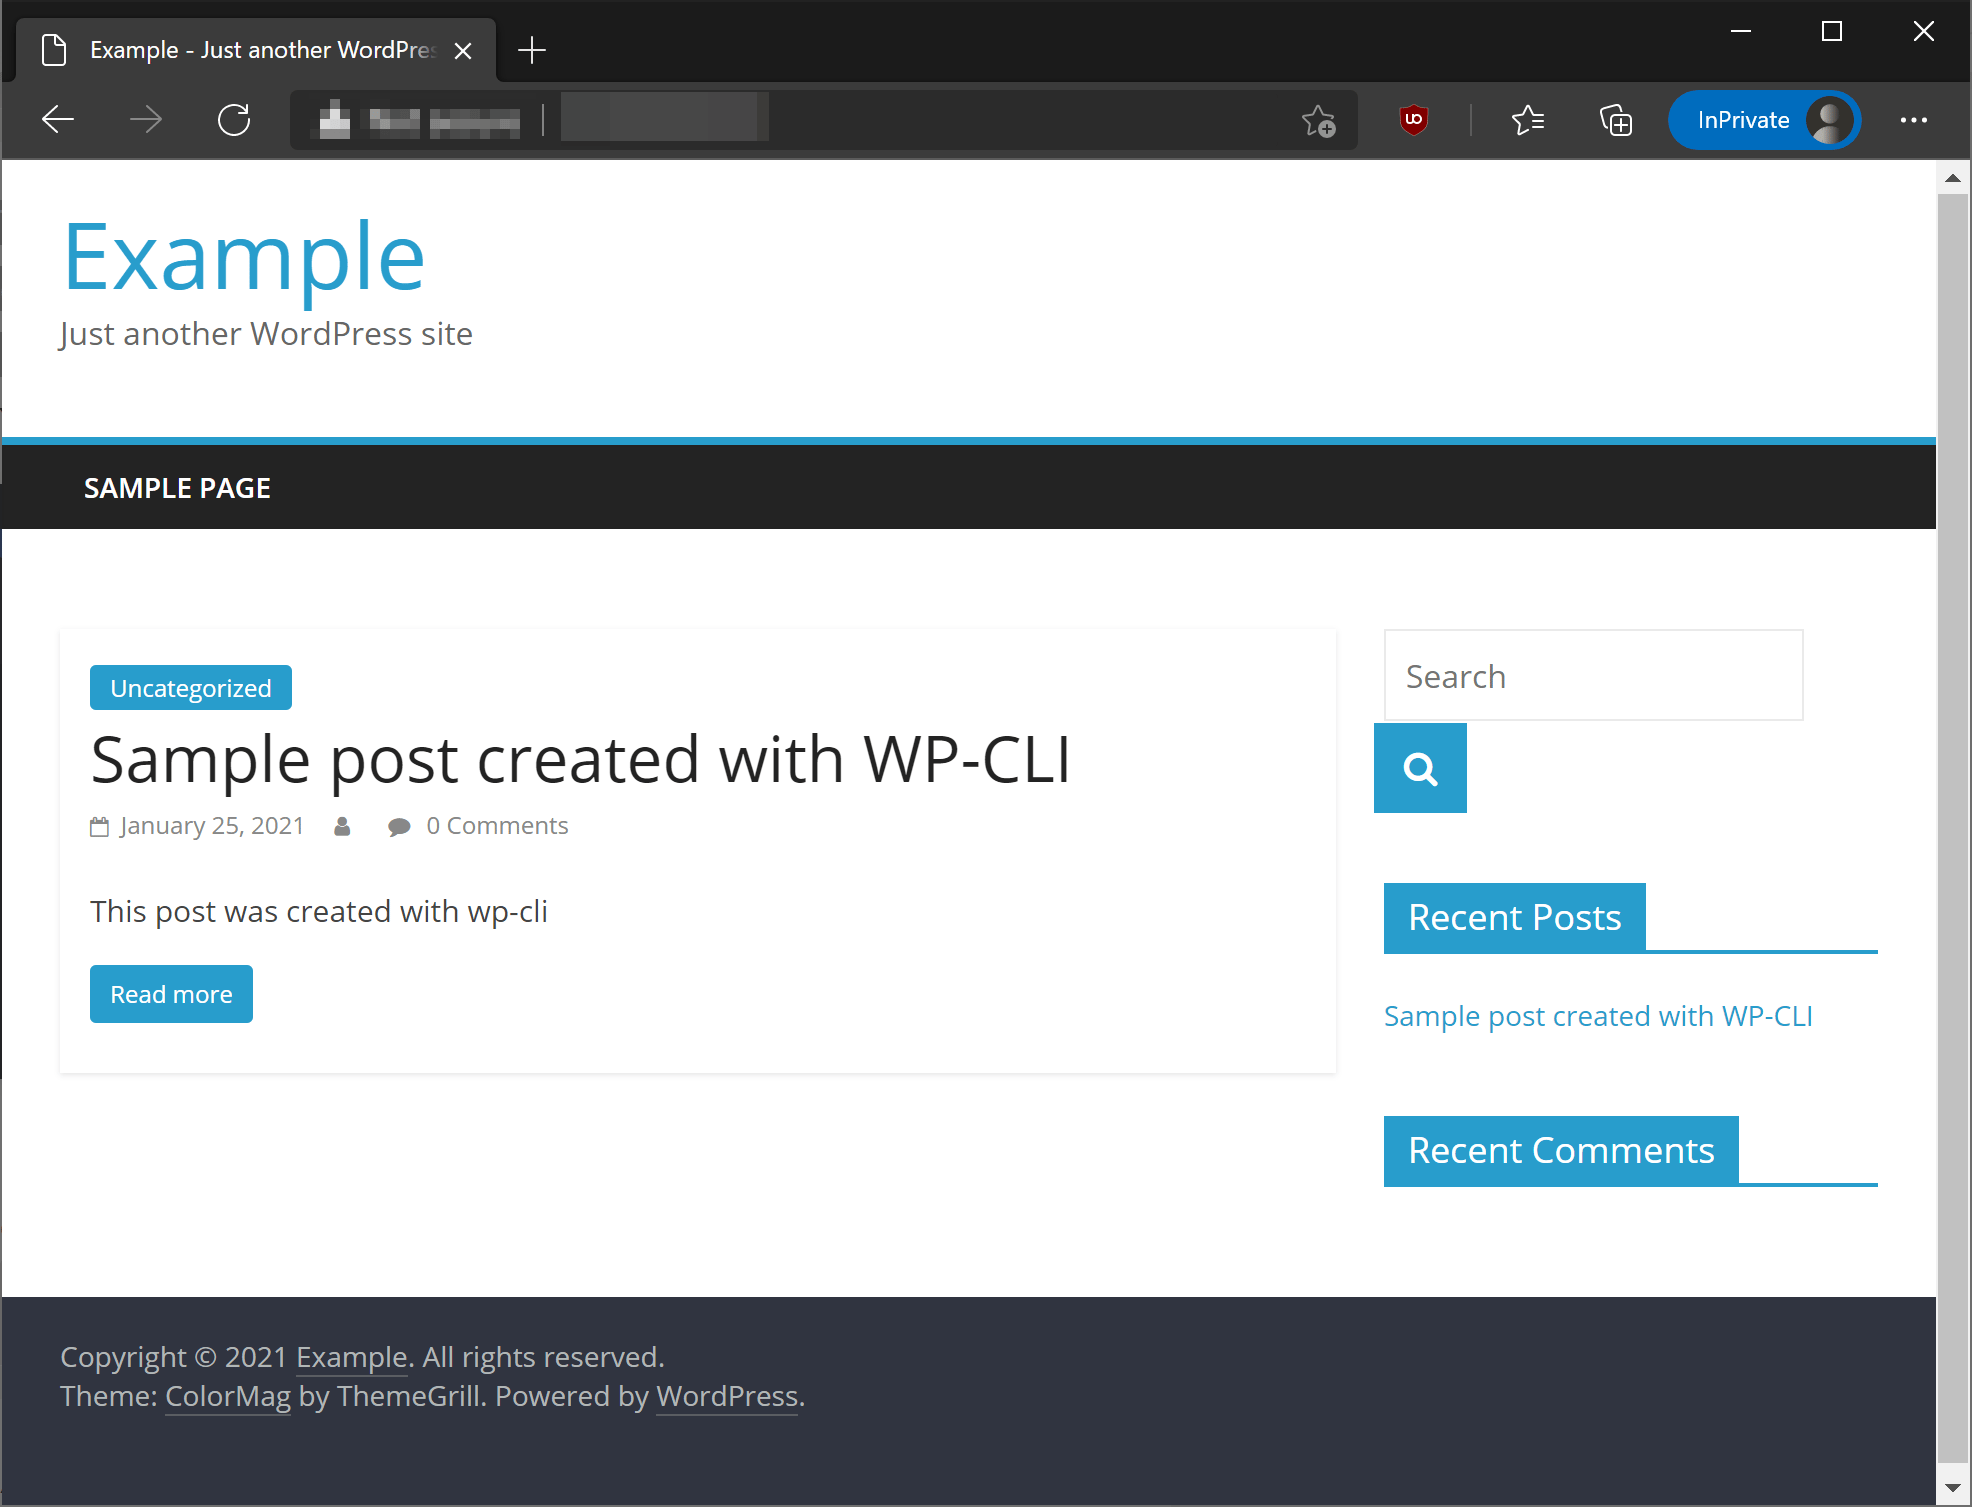
Once the vim editor is open, press the i key to enter INSERT mode then enter the content of the post into the editor. Once you’re done editing the post, exit the vim editor by pressing the ESC button then type :wq and press ENTER. You will receive the following output after exiting vim:
OutputSuccess: Created post 6.
If you enter the wp post list command again, you will find the post you just created. You can also check the frontend of the website.
Instead of writing the post on the command line, it’s also possible to import the post content from a text file. First, you need to create the file. For example:
- touch content.txt
Next, open the file in a command-line editor to add or edit your content:
- nano content.txt
Once you’re through with the edits, save and close the file by pressing CTRL-X followed by Y to save. You can import the contents of that file as a WordPress post by using the following command. All you need to do is specify the path to the file after the create subcommand. For the example file here, you would run:
- wp post create ./content.txt --post_title='Sample Post Created with WP-CLI' --post_status=publish
If you want to create a page instead of a post, append the --post_type flag and set it to page:
- wp post create --post_title="A simple page" --post_status=draft --post_type=page
Generating Posts or Pages
WP-CLI also provides an option to cleanly generate posts and pages with dummy data. This is useful if you need custom data to quickly test a theme or plugin that you are developing. The following command is to generate posts. If you don’t include additional flags, it will generate 100 posts by default.
- wp post generate
You can change the number of posts generated by using the --count flag:
- wp post generate --count=20
If you want to generate pages instead of posts, append the --post_type flag and set it to page:
- wp post generate --count=20 --post_type=page
You can also use the wp help post generate to see other available options that can help you get your desired result.
WordPress Revisions
It is not uncommon for older sites to have tens or hundreds of revisions on their main pages due to years of editing and updating content. Revisions can be helpful in case you need to revert back to a previous version of your content, but they can also hurt the performance if there are too many. You can clean up all the post revisions in the WordPress database by executing the following command:
- wp post delete $(wp post list --post_type='revision' --format=ids) --force
The command enclosed in the parenthesis is evaluated first and it will produce the ids of all the post revisions that are present passing them to the delete subcommand. The --force flag is necessary because posts of type 'revision' do not support being sent to trash.
Step 5 — Managing Your Database
One of the most useful features of WP-CLI is its ability to interact with the MySQL database. For example, if you need an interactive session, you can enter a MySQL prompt with the following command:
- wp db cli
You can then use the MySQL shell as you normally would and, once you are through with your tasks, exit the shell by typing exit.
For one-off queries, you can use the wp db query command by passing a valid SQL query as an argument to the command. For example, to list all the registered users in the WordPress database, you could run:
- wp db query "SELECT user_login,ID FROM wp_users;"
You will be presented with an output similar to the following:
Output+------------+----+
| user_login | ID |
+------------+----+
| admin      |  1 |
+------------+----+
With wp db query you can run any one-off SQL query for the WordPress database.
Backing Up and Restoring
WP-CLI also allows you to back up your WordPress database. Running this following command will place a SQL dump file in the current directory. This file contains your entire WordPress database including your posts, pages, user accounts, menus, and so on:
wp db export
Once the file is produced, you can move it to a different location for safekeeping:
OutputSuccess: Exported to 'wordpress-2021-01-25-25618e7.sql'.
You can also import a SQL dump file into your database through the wp db import command. This is useful when you are migrating a WordPress website from one location to another.
- wp db import file.sql
Searching and Replacing
Another common operation you can perform with WP-CLI is a find-and-replace operation. You can make a dry run first to find out how many instances it would modify. The first string is the search component while the second is the replacement:
- wp search-replace --dry-run 'example.com' 'example.net'
After running this, your output would be similar to the following:
OutputSuccess: 10 replacements to be made.
Once you are sure you want to proceed, remove the --dry-run flag from the previous command:
- wp search-replace 'example.com' 'example.net'
In this step, you’ve reviewed several database operations that you can perform using WP-CLI. You can also complete other operations, such as optimizing the database, viewing database tables, deleting a database, or resetting one. You can explore the other options under the wp db subcommand by typing wp help db in your terminal.
Step 6 — Updating WordPress
You can update the core WordPress file with WP-CLI. You can examine the current version of WordPress that you have installed by running:
wp core version
Output5.6
You can check for updates through the wp core check-update command. If your version is not the latest, this will produce an output similar to the following:
Output+---------+-------------+-----------------------------------------------------------------------+
| version | update_type | package_url                                                           |
+---------+-------------+-----------------------------------------------------------------------+
| 5.6.1   | minor       | https://downloads.wordpress.org/release/wordpress-5.6.1-partial-0.zip |
+---------+-------------+-----------------------------------------------------------------------+
If an update is available, you can install it with:
- wp core update
OutputUpdating to version 5.6.1 (en_US)...
PHP Warning:  Declaration of WP_CLI\Core\CoreUpgrader::download_package($package, $check_signatures = true) should be compatible with WP_Upgrader::download_package($package, $check_signatures = false, $hook_extra = Array) in phar:///usr/local/bin/wp/vendor/wp-cli/core-command/src/WP_CLI/Core/CoreUpgrader.php on line 30
Warning: Declaration of WP_CLI\Core\CoreUpgrader::download_package($package, $check_signatures = true) should be compatible with WP_Upgrader::download_package($package, $check_signatures = false, $hook_extra = Array) in phar:///usr/local/bin/wp/vendor/wp-cli/core-command/src/WP_CLI/Core/CoreUpgrader.php on line 30
Downloading update from https://downloads.wordpress.org/release/wordpress-5.6.1-partial-0.zip...
Unpacking the update...
Success: WordPress updated successfully.
You can also update to a specific version by setting the --version flag to the version number. If you want to revert to an older version, you also need to add the --force flag, but this isn’t recommended:
- wp core update --version=5.6
- wp core update --version=5.0 --force
In this final step, you updated your version of WordPress with WP-CLI.
Conclusion
For WordPress developers and adminstrator’s working on the command line, WP-CLI is a great addition to the toolbox. In this tutorial, we covered several of the more common tasks that you can perform through the command line.
WP-CLI has many more commands and options that you can familiarize yourself with to achieve even more on the command line without the web interface. Use wp help <command> to find out all the things you can do with a specific subcommand. There are also many community tools that extend WP-CLI with even more features.
For more tutorials on WordPress, check out our WordPress topic page.
Thanks for learning with the DigitalOcean Community. Check out our offerings for compute, storage, networking, and managed databases.
About the author
Still looking for an answer?
This textbox defaults to using Markdown to format your answer.
You can type !ref in this text area to quickly search our full set of tutorials, documentation & marketplace offerings and insert the link!
Hi - Is it possible to use the wp-cli without having it install wp core? One of our client sites has multiple servers on a load balancer and was not set up with wp-cli. We’d like to use it but don’t want to have to rebuild the site with it.
It’s an awesome tool, and it just saved my butt. Thanks.
One thing, though: I couldn’t export the WP database per the tutorial. The database responded that my user didn’t have sufficient rights to do that.
Also, how can I add rights to my user in mySQL with the wp-cli tool?
I’ve found it helps if the wp command runs with the same user and group settings as the web server. That way, it can get to the files in the web root.
Do this to make it run that way.
sudo chown www-data:www-data `which wp`
sudo chmod o+s,g+s `which wp`
how to select post format eg video , audio , image , gallery while posting a content using wp post create
if SSH’d into my droplet with my personal admin user, I cannot get wp cli to work at all.
PHP Warning: file_get_contents(/var/www/mysite.com/public_html/wp-config.php): Failed to open stream: Permission denied in phar:///usr/local/bin/wp/vendor/wp-cli/wp-cli/php/WP_CLI/Runner.php on line 711
I tried the commands in the previous comment, but so far no luck.
A missing step in the tutorial is user permissions! What users can use cli? and how can you add yourself?
 This work is licensed under a Creative Commons Attribution-NonCommercial- ShareAlike 4.0 International License.
Become a contributor for community
Get paid to write technical tutorials and select a tech-focused charity to receive a matching donation.

DigitalOcean Documentation
Full documentation for every DigitalOcean product.

Resources for startups and AI-native businesses
The Wave has everything you need to know about building a business, from raising funding to marketing your product.
The developer cloud
Scale up as you grow — whether you're running one virtual machine or ten thousand.

Start building today
From GPU-powered inference and Kubernetes to managed databases and storage, get everything you need to build, scale, and deploy intelligent applications.
