
Below you’ll find a quick demo on how to get GPS coordinates in your Ionic 4 project using Capacitor.
If you have not heard of Capacitor, it’s the replacement for Cordova from the Ionic team. It focuses on providing native functionality and plugins for Progressive Web Apps (PWAs), iOS and Android. It’s the future of hybrid mobile development.
Installation
Start by creating your Ionic project using the CLI:
$ ionic start coordinates tabs --type=angular --capacitor

$ cd coordinates
Setup Capacitor
Next, add Capacitor to our newly created Ionic project and include the app name and app id (ex: com.example.app). We’ll use npx to accomplish that task:
$ npx cap init coordinates com.example.app
Run Ionic build to get the www folder created:
$ ionic build
You can add your platforms with:
$ npx cap add ios
$ npx cap add android
Now, run ionic serve to build the app in your browser:
$ ionic serve
You should see the default ionic tabs dummy data. Open your project in your preferred text editor.
Open tab1.page.html, delete everything inside the ion-content tags and replace it with the markup below:
<ion-card>
  <ion-card-header>
    <ion-card-title>Coordinates</ion-card-title>
  </ion-card-header>
  <ion-card-content>
    <ion-item>Latitude: {{ latitude }}</ion-item>
    <ion-item>Longitude: {{ longitude }}</ion-item>
  </ion-card-content>
</ion-card>
Above is just a quick Ionic card that prints out the coordinates. In your app, you probably want to plug these coordinates into another plugin or service, such as Google maps, weather, etc…
In the tab1.page.ts file, import the geolocation plugin from @capcitor/core:
import { Geolocation} from '@capacitor/core';
Create a variable for longitude and latitude with a type of number:
latitude: number;
longitude: number;
In the constructor, call our soon to be created function this.getLocataion():
constructor() {
  this.getLocation();
}
Now lets create that async getLocation function and call the getCurrentPosition promise on the Geolocation class we imported:
async getLocation() {
  const position = await Geolocation.getCurrentPosition();
  this.latitude = position.coords.latitude;
  this.longitude = position.coords.longitude;
}
In the code, we assign the latitude and longitude to our previously created variables. Your screen should look like this:
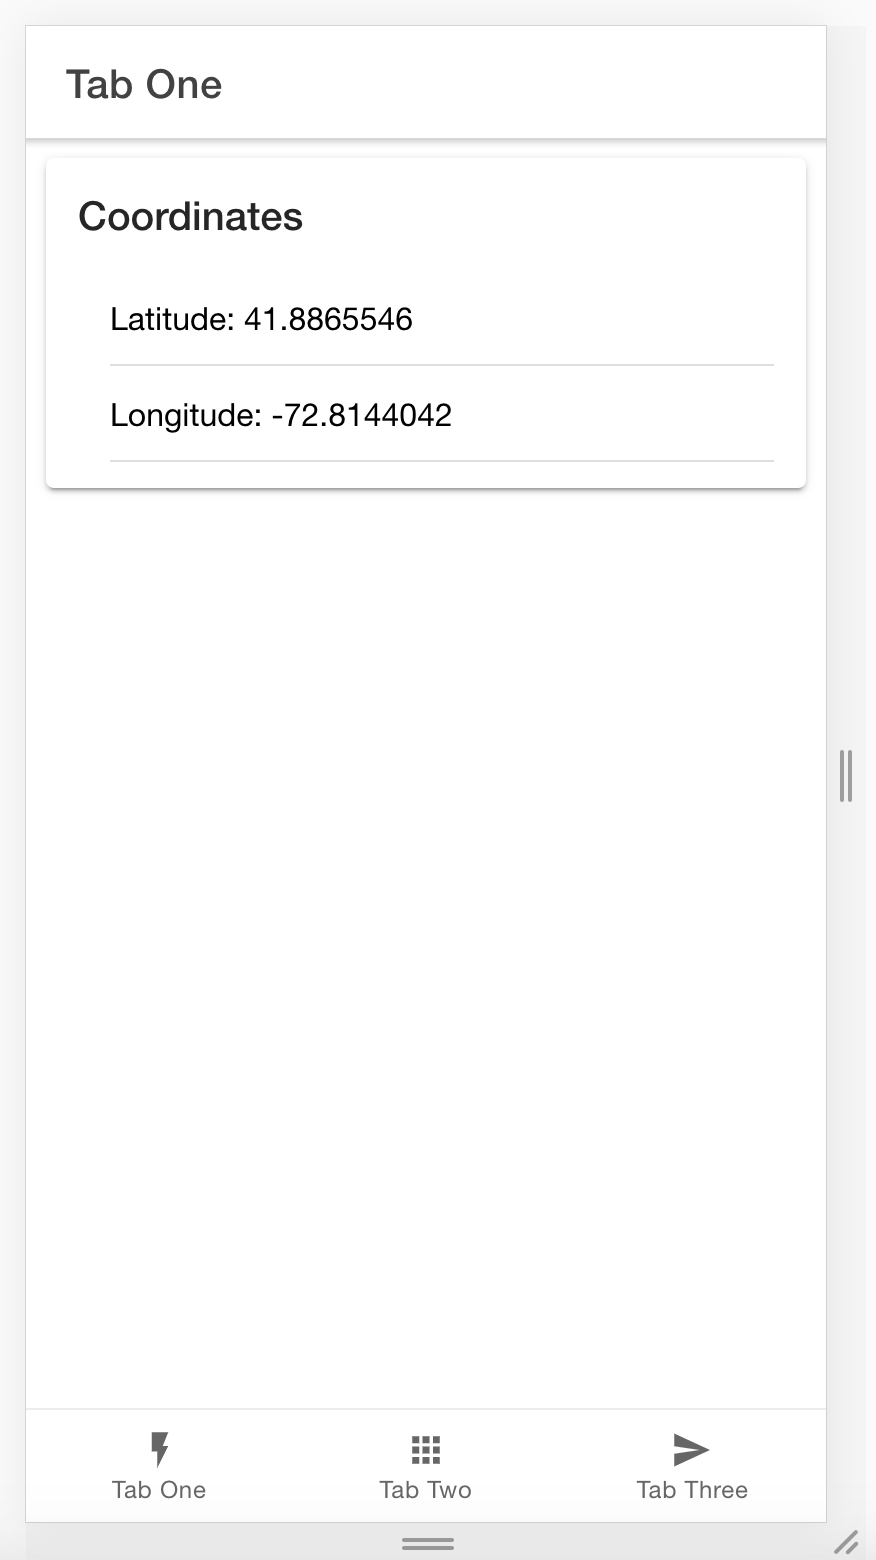
And that’s it! Simple enough! Head over to the official docs to learn more about other methods available on the Geolocation API like watchPosition and addListener as well as specific permission notes for usage with iOS and Android.
Thanks for learning with the DigitalOcean Community. Check out our offerings for compute, storage, networking, and managed databases.
About the author
Still looking for an answer?
This textbox defaults to using Markdown to format your answer.
You can type !ref in this text area to quickly search our full set of tutorials, documentation & marketplace offerings and insert the link!
 This work is licensed under a Creative Commons Attribution-NonCommercial- ShareAlike 4.0 International License.
Become a contributor for community
Get paid to write technical tutorials and select a tech-focused charity to receive a matching donation.

DigitalOcean Documentation
Full documentation for every DigitalOcean product.

Resources for startups and AI-native businesses
The Wave has everything you need to know about building a business, from raising funding to marketing your product.
The developer cloud
Scale up as you grow — whether you're running one virtual machine or ten thousand.

Start building today
From GPU-powered inference and Kubernetes to managed databases and storage, get everything you need to build, scale, and deploy intelligent applications.
