By PaulHalliday

Mobile applications built with React typically use React Native for their library of choice. Ionic has a similar mission, but achieves it in a different way.
Built with the Stencil Web Component compiler, all of the Ionic components and surrounding plugin system can be incorporated into any JavaScript project.
The best thing about this is that we can keep our own build systems in place and use Ionic to “augment” our project. We’ll take a look at this by creating a React project with Create React App.
Create a new React project
To create a new React project with create-react-app, you can either use npx or install create-react-app globally:
# Create new project without install

$ npx create-react-app react-ionic --typescript

# OR

$ npm install create-react-app -g
$ create-react-app react-ionic --typescript

# Open the project in VS Code or your editor of your choice

$ cd react-ionic
$ code .

# Run the project in the browser

$ npm run start
You’ll note that we can now use the --typescript flag to generate a TypeScript project with Create React App.
Installing Ionic in our React app
Now we’ll have to install Ionic for React (@ionic/react) and the surrounding dependencies. For React, Ionic currently depends on react-router, so we’ll need to install that as well:
$ npm install @ionic/core @ionic/react react-router react-router-dom @types/react-router @types/react-router-dom
Note that @ionic/react is still in beta at the time of this writing.
Using Ionic with React
At this stage, we can use Ionic like any other dependency in our project. Each component has been individually exported and can be imported as such.
Firstly, head over to index.tsx and add the appropriate styles within @ionic/core:
import React from 'react';
import ReactDOM from 'react-dom';

// Ionic 4 styles
import '@ionic/core/css/core.css';
import '@ionic/core/css/ionic.bundle.css';

import './index.css';
import App from './App';
import * as serviceWorker from './serviceWorker';

ReactDOM.render(<App />, document.getElementById('root'));

serviceWorker.unregister();
Then, inside of App.tsx, we can import the Ionic components and use them however we wish!
import {
  IonApp,
  IonButton,
  IonCard,
  IonCardContent,
  IonCardHeader,
  IonCardSubtitle,
  IonCardTitle,
  IonContent,
  IonHeader,
  IonTitle,
  IonToolbar,
} from '@ionic/react';
import React, { Component } from 'react';

class App extends Component {
  state = {
    chomps: 0,
  };
  unchomp = () => {
    if (this.state.chomps > 0) {
      this.setState({
        chomps: this.state.chomps -= 1,
      });
    }
  };
  chomp = () => {
    this.setState({
      chomps: this.state.chomps += 1,
    });
  };

  render() {
    return (
      <IonApp>
        <IonHeader>
          <IonToolbar color="primary">
            <IonTitle>Alligator</IonTitle>
          </IonToolbar>
        </IonHeader>
        <IonContent>
          <IonCard>
            <img src="https://images.unsplash.com/photo-1549240923-93a2e080e653?ixlib=rb-1.2.1&ixid=eyJhcHBfaWQiOjEyMDd9&auto=format&fit=crop&w=2165&q=80" />
            <IonCardHeader>
              <IonCardSubtitle>Crocco</IonCardSubtitle>
              <IonCardTitle>
                You've been chomped {this.state.chomps} times!
              </IonCardTitle>
            </IonCardHeader>
            <IonCardContent>
              <IonButton onClick={this.chomp}>Chomp</IonButton>
              <IonButton onClick={this.unchomp}>UnChomp</IonButton>
            </IonCardContent>
          </IonCard>
        </IonContent>
      </IonApp>
    );
  }
}

export default App;
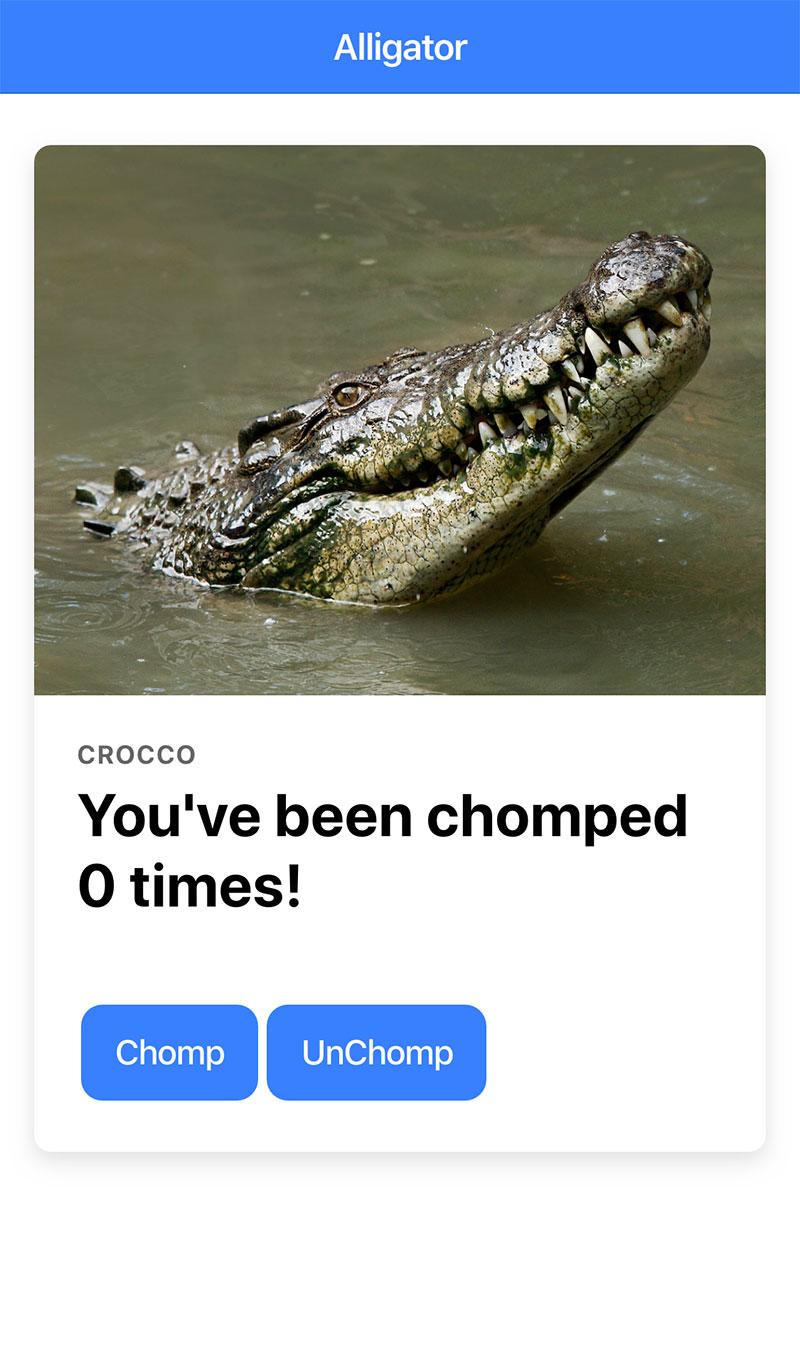
Here’s the results of our hard work:
Thanks for learning with the DigitalOcean Community. Check out our offerings for compute, storage, networking, and managed databases.
About the author
I create educational content over at YouTube and https://developer.school.
Still looking for an answer?
This textbox defaults to using Markdown to format your answer.
You can type !ref in this text area to quickly search our full set of tutorials, documentation & marketplace offerings and insert the link!
Nice. If you are visiting from the future and have Ionic 5, there are a couple of things to fix up.
First install the yarn package manager if you haven’t already. Download and install from https://yarnpkg.com.
Next, add the line “noImplicitAny”: false, to your tsconfig.json file, so it looks something like this:
{
  "compilerOptions": {
    "target": "es5",
    "lib": [
      "dom",
      "dom.iterable",
      "esnext"
    ],
    "noImplicitAny": false,
    "allowJs": true,
    "skipLibCheck": true,
    "esModuleInterop": true,
    "allowSyntheticDefaultImports": true,
    "strict": true,
    "forceConsistentCasingInFileNames": true,
    "module": "esnext",
    "moduleResolution": "node",
    "resolveJsonModule": true,
    "isolatedModules": true,
    "noEmit": true,
    "jsx": "react"
  },
  "include": [
    "src"
  ]
}
Delete the package-lock.json file. It can interfere if you mix up package managers (like yarn and npm). Use yarn, it’s a bit easier.
If you get an error about use of this… then Typescript doesn’t know about your app component. Add the package with yarn.
$ yarn add @types/react
or
$ npm install @types/react --save
if you are still using npm.
Run the build with yarn, which is super easy.
$ yarn build
Now it’s ready to go as an optimized production build.
$ yarn global add serve
$ serve -s build
http://localhost:5000 will be added to the clipboard. Copy and paste into browser window to see the example Crocco chomp app.
 This work is licensed under a Creative Commons Attribution-NonCommercial- ShareAlike 4.0 International License.
Become a contributor for community
Get paid to write technical tutorials and select a tech-focused charity to receive a matching donation.

DigitalOcean Documentation
Full documentation for every DigitalOcean product.

Resources for startups and AI-native businesses
The Wave has everything you need to know about building a business, from raising funding to marketing your product.
The developer cloud
Scale up as you grow — whether you're running one virtual machine or ten thousand.

Start building today
From GPU-powered inference and Kubernetes to managed databases and storage, get everything you need to build, scale, and deploy intelligent applications.
