
Hyperapp is a very small micro-framework used to build declarative web applications. It’s only 1kB in size and the API is similar to React’s, perfect, right?! We’ll build a small counter app to demonstrate how Hyperapp works.
New Hyper project
To get started, we can create a new Node application and install hyperapp. We’ll then serve this application using parcel:
# New directory, here we call it `hyper`
$ mkdir hyper && cd hyper

# Initialise Node project
$ npm init -y

# Install Hyperapp
$ npm i hyperapp

# Create index.html and app.js
$ touch index.html
$ touch app.js

# Install `parcel` globally
$ npm i parcel -g

# Serve our application in the browser
$ parcel index.html
We can then draft out a standard index.html page that includes app.js which will contain our hyperapp code.
<!DOCTYPE html>
<html lang="en">
<head>
  <title>🎉 Hyperapp</title>
</head>
<body>
  <div id="app"></div>
  <script src="app.js"></script>
</body>
</html>
Building a Counter
State-driven applications always start with a Counter example. This allows us to get used to how the data flows within our application. Let’s start off by defining some state:
const state = {
  count: 0
}
We can then define a view based on that state. This can be displayed by using standard template syntax:
// ...
const view = state => (
  <div>
    <h1>{state.count}</h1>
  </div>
);
Finally, we can attach this to a particular element inside of the DOM. I’ve elected to add this to a div with the id of app:
// ...
const el = document.getElementById('app');

const main = app(state, {}, view, el);
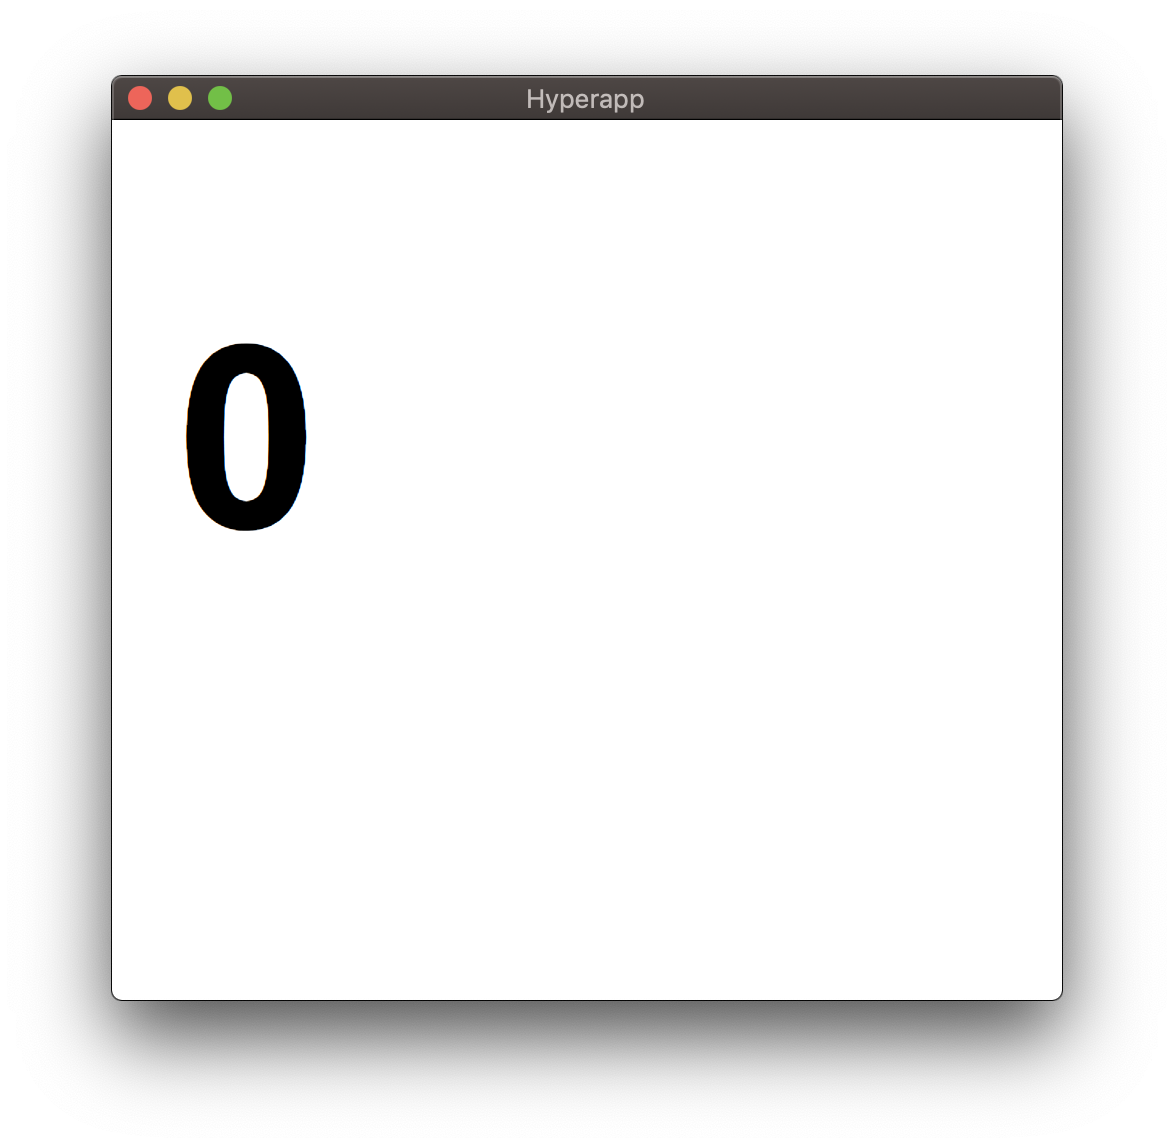
Here’s what our simple app looks like:
As state is immutable and should not be directly updated, we can now add actions to manipulate our state like so:
// ...
const actions = {
  increment: () => state => ({ count: (state.count += 1) }),
  decrement: () => state => ({ count: (state.count -= 1) })
};
This can be wired-up inside of our main and view to give it access to our actions:
// ...
const view = (state, actions) => (
  <div>
    <h1>{state.count}</h1>
    <button onclick={() => actions.increment()}>Increment</button>
    <button onclick={() => actions.decrement()}>Decrement</button>
  </div>
);

const main = app(state, actions, view, el);
Now if we select Increment or Decrement, we’ll see the total count go up or down.
What if we wanted to make this go up or down by a particular number? Let’s add this functionality.
Firstly, we can add a new item to our state object. I’ve elected to call this diff, as this represents the difference between to added or subtracted:
const state = {
  count: 1,
  diff: 1
};
Then, we can update our actions to increment or decrement based on this:
const actions = {
  updateCount: diff => state => ({ diff: diff }),
  increment: diff => state => ({ count: (state.count += Number(diff)) }),
  decrement: diff => state => ({ count: (state.count -= Number(diff)) })
};
And finally, we can update our view:
const view = (state, actions) => (
  <div>
    <input value={state.diff} oninput={e => actions.updateCount(e.target.value)} />

    <h1>{state.count}</h1>
    <button onclick={() => actions.increment(state.diff)}>Increment</button>
    <button onclick={() => actions.decrement(state.diff)}>Decrement</button>
  </div>
);
Now we have the ability to take advantage of input data to update our state.
Components
Let’s now look at how we can make components out of our Hyperapp project. We’ll make a Counter component and look at how we can embed this inside of a Page and route.
Create a new file at components/Count.js and add a counter that takes in a count from props:
import { h } from 'hyperapp';

const Count = ({ count }) => <h1>{count}</h1>;

export default Count;
We can then import this inside of app.js:
import Count from './components/Count';

// ...
Then we can pass the count in as props to our Count within the view:
// ...
const view = () => (state, actions) => (
  <div>
    <Count count={state.count} />
    <button onclick={actions.increment}>Increment</button>
    <button onclick={actions.decrement}>Decrement</button>
  </div>
);
I’ve also updated our state and actions to be a simple increment and decrement of count:
const state = {
  count: 0
};

const actions = {
  increment: () => ({ count: (state.count += 1) }),
  decrement: () => ({ count: (state.count -= 1) })
};
Routing
We can also take advantage of routing within Hyperapp. Let’s install the router package (@hyperapp/router) like so:
$ npm i @hyperapp/router
We can then import the routing components inside of app.js:
import { Link, Route, location } from '@hyperapp/router';
Now we can create two different pages, Home and Blog:
// ...
const Home = () => (state, actions) => (
  <div>
    <Count count={state.count} />
    <button onclick={actions.increment}>Increment</button>
    <button onclick={actions.decrement}>Decrement</button>
  </div>
);

const Blog = () => <h1>Blog!</h1>;
The Home page contains our counter example from before, and the Blog page is simply just some text. Let’s assign these as a Route and Link and inside of the view:
// ...
const view = state => (
  <div>
    <ul>
      <li>
        <Link to="/">Home</Link>
      </li>
      <li>
        <Link to="/blog">Blog</Link>
      </li>
    </ul>

    <Route path="/" render={Home} />
    <Route path="/blog" render={Blog} />
  </div>
);
Next, we need to give the router access to the location, as it’s based off the History API. Add the following to your state and actions:
const state = {
  location: location.state,
  count: 0
};

const actions = {
  location: location.actions,
  increment: () => state => ({ count: (state.count += 1) }),
  decrement: diff => state => ({ count: (state.count -= 1) })
};
Finally, we need to subscribe to the location itself:
// ...
const unsubscribe = location.subscribe(main.location);
Now we’re able to select between different pages inside of our application!

Here’s the full code for the routing example:
import { h, app } from 'hyperapp';
import { Link, location } from '@hyperapp/router';

import Count from './components/Count';

const state = {
  location: location.state,
  count: 0
};

const actions = {
  location: location.actions,
  increment: () => state => ({ count: (state.count += 1) }),
  decrement: diff => state => ({ count: (state.count -= 1) })
};

const Home = () => (state, actions) => (
  <div>
    <Count count={state.count} />
    <button onclick={actions.increment}>Increment</button>
    <button onclick={actions.decrement}>Decrement</button>
  </div>
);

const Blog = () => <h1>Blog!</h1>;

const view = state => (
  <div>
    <ul>
      <li>
        <Link to="/">Home</Link>
      </li>
      <li>
        <Link to="/blog">Blog</Link>
      </li>
    </ul>

    <Route path="/" render={Home} />
    <Route path="/blog" render={Blog} />
  </div>
);

const main = app(state, actions, view, document.body);

const unsubscribe = location.subscribe(main.location);
Conclusion
With this, you should be off to the races! 🏇 And also, keep an eye out for Hyperapp 2.0, which should be out soon.
Thanks for learning with the DigitalOcean Community. Check out our offerings for compute, storage, networking, and managed databases.
About the author
I create educational content over at YouTube and https://developer.school.
Still looking for an answer?
This textbox defaults to using Markdown to format your answer.
You can type !ref in this text area to quickly search our full set of tutorials, documentation & marketplace offerings and insert the link!
 This work is licensed under a Creative Commons Attribution-NonCommercial- ShareAlike 4.0 International License.
Become a contributor for community
Get paid to write technical tutorials and select a tech-focused charity to receive a matching donation.

DigitalOcean Documentation
Full documentation for every DigitalOcean product.

Resources for startups and AI-native businesses
The Wave has everything you need to know about building a business, from raising funding to marketing your product.
The developer cloud
Scale up as you grow — whether you're running one virtual machine or ten thousand.

Start building today
From GPU-powered inference and Kubernetes to managed databases and storage, get everything you need to build, scale, and deploy intelligent applications.
