
If you find yourself looking to create cross platform mobile applications with React, you’ll have likely heard of React Native and Expo.
To summarize, Expo can be thought of as a set of libraries and tools that provide easy access to native device functionality and custom UI. Some examples of this can be things such as the Camera, Local Storage, Contacts, and more.
We’ll be creating a small weather application that uses Expo to interface with the native location API. As well as this, we’ll be publishing our application on expo.io for other users to interact with!
To get started, go ahead and create an account over at expo.io. We’ll use this to manage our Expo projects in the future.
Installing the Expo CLI
We can install the Expo CLI by running the following in the terminal:
Bare in mind, you’ll need to have Node.js and the iOS/Android SDKs installed prior to running this command!
$ npm install expo-cli -g
This then gives us access to a variety of commands. We can see a full list of commands with descriptions by typing the expo command. In order to initialize a new project, we’ll need to type the following:
$ expo init my-project
> blank

$ cd my-project
$ code .
Expo will now be creating a new project that includes the likes of react, react-native and the expo SDK. This means we don’t have to install React Native ourselves.
You may also be asked to sign-in to your Expo account at this time. Do that with the credentials you created earlier.
Running our project
We can run the blank project on either iOS or Android via the pre-built npm scripts. We can also download the Expo application on the Google Play/Apple App Store to run this on a real device quickly and easily.
Let’s start off by running our application on the emulator with either (or both!):
Note: You will need a computer running macOS to view Expo applications on the iOS Simulator.
$ npm run ios
$ npm run android
This starts the Metro bundler, essentially a HTTP server that compiles our code with Babel to target the latest JavaScript features. The appropriate simulator should then open and the Expo application will be installed. If your application doesn’t open automatically, open the Expo application from within the simulator.

If all is well, you’ll see the words “Open up App.js to start working on your app!” on screen. Let’s do the same, but have this on our physical device:
- Download the Expo application on your respective app store.
- Open the Expo application and log in with your Expo account.
- From within your Camera application, scan the QR code on the bottom left of the Metro Bundler page (or your terminal) that opened when we ran
npm run ios. - Your project should open in the Expo app!
If this doesn’t work, try switching the connection to/from Tunnel/Lan/Local modes.
Your First Expo App
We can now go ahead and make changes to our Expo application, starting with App.js. We’ll create an application to get the weather for the user’s location.
Let’s start off by creating an account over at the OpenWeatherMap API. You will be emailed an API key and we’ll be using this throughout the tutorial.
We can create an API to get the weather for a particular latitude and longitude by creating a file named Api.js inside of api/Api.js:
const APP_ID = 'YOUR_APP_ID';
const APP_URL = `http://api.openweathermap.org/data/2.5/weather`;

export const getWeather = async (lat, lon) => {
    const res = await fetch(`${APP_URL}?lat=${lat}&lon=${lon}&units=metric&APPID=${APP_ID}`);
    const weatherData = await res.json();
    return weatherData;
};
As we’re using Expo, we can get the user’s location easily. Let’s do that inside of App.js:
import { Location, Permissions } from 'expo';

// Omitted
async _getLocation () {
  const { status } = await Permissions.askAsync(Permissions.LOCATION);

  if (status !== 'granted') {
    this.setState({
      error: 'User denied access to location.'
    });
  }

  const location = await Location.getCurrentPositionAsync({});
  this.setState({ location });
}
At this stage, we can capture the current location and get the weather for that latitude and longitude inside of componentWillMount:
import { getWeather } from './api/Api';

// Omitted
async componentWillMount () {
  this.setState({
    loading: true
  });

  await this._getLocation();

  const lat = this.state.location.coords.latitude;
  const lon = this.state.location.coords.longitude;

  const weatherData = await getWeather(lat, lon);

  this.setState({
    weatherData,
    loading: false
  });
}
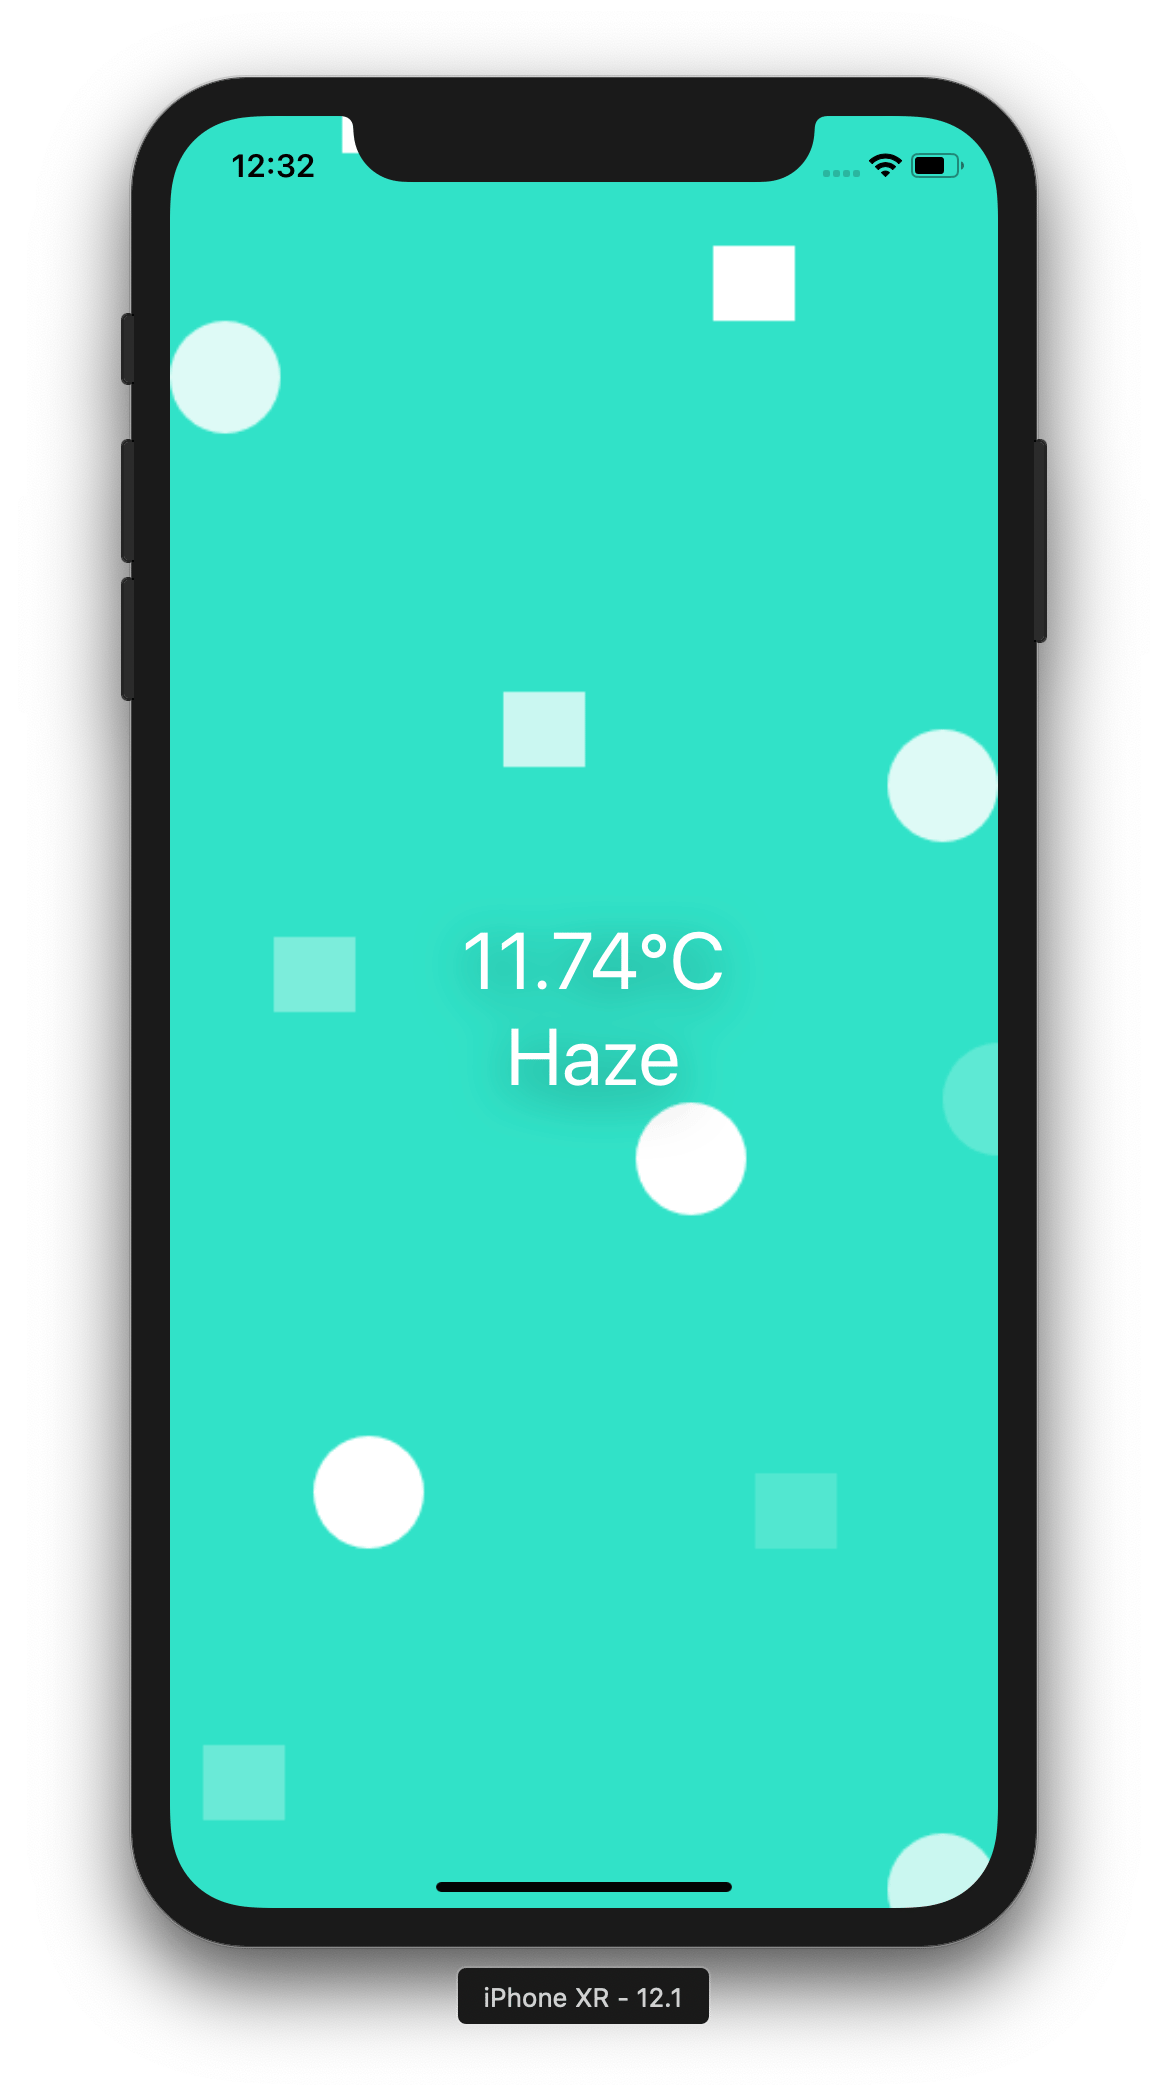
Combining that with our render view, gives us the following component inside of App.js:
import React from "react";
import { StyleSheet, Text, View, ImageBackground } from "react-native";
import { Location, Permissions } from "expo";

import { getWeather } from "./api/Api";

export default class App extends React.Component {
  state = {
    weatherData: [],
    loading: false
  };

  async componentWillMount() {
    this.setState({
      loading: true
    });

    await this._getLocation();

    const lat = this.state.location.coords.latitude;
    const lon = this.state.location.coords.longitude;

    const weatherData = await getWeather(lat, lon);

    this.setState({
      weatherData,
      loading: false
    });
  }

  async _getLocation() {
    const { status } = await Permissions.askAsync(Permissions.LOCATION);

    if (status !== "granted") {
      console.error("Not granted! Uh oh. :(");
    }

    const location = await Location.getCurrentPositionAsync({});
    this.setState({ location });
  }

  render() {
    const { weather, main } = this.state.weatherData;

    if (this.state.loading) {
      return (
        <ImageBackground
          style={styles.background}
          source={require("./assets/background.png")}
        >
          <View style={styles.container}>
            <Text style={styles.text}>Loading...</Text>
          </View>
        </ImageBackground>
      );
    } else {
      return (
        <ImageBackground
          style={styles.background}
          source={require("./assets/background.png")}
        >
          <View style={styles.container}>
            <View style={styles.weatherCard}>
              <Text style={styles.text}>{main.temp}°C</Text>
              <Text style={styles.text}>{weather[0].main}</Text>
            </View>
          </View>
        </ImageBackground>
      );
    }
  }
}

const styles = StyleSheet.create({
  container: {
    flex: 1,
    alignItems: "center",
    justifyContent: "center",
    paddingLeft: 10,
    color: "white"
  },
  background: {
    width: "100%",
    height: "100%"
  },
  weatherCard: {
    width: 350,
    height: 120,
    borderRadius: 20,
    shadowOffset: { width: 0, height: 6 },
    shadowColor: "#000",
    shadowOpacity: 0.5,
    shadowRadius: 14,
    elevation: 13,
    padding: 10
  },
  text: {
    fontSize: 40,
    textAlign: "center",
    color: "white"
  }
});
Publishing your project
When you’d like to publish your application, the Expo CLI can do this from the terminal. Run the following to build for iOS and Android:
expo publish

[00:54:09] Unable to find an existing Expo CLI instance for this directory, starting a new one...
[00:54:22] Starting Metro Bundler on port 19001.
[00:54:24] Tunnel ready.
[00:54:24] Publishing to channel 'default'...
[00:54:26] Building iOS bundle
[00:54:55] Finished building JavaScript bundle in 28885ms.
[00:54:55] Building Android bundle
[00:55:20] Finished building JavaScript bundle in 24779ms.
[00:55:20] Analyzing assets
[00:55:23] Finished building JavaScript bundle in 3504ms.
[00:55:26] Finished building JavaScript bundle in 2951ms.
[00:55:26] Uploading assets
[00:55:27] Uploading /assets/background.png
[00:55:29] Processing asset bundle patterns:
[00:55:29] - /Users/paulhalliday/my-project/**/*
[00:55:29] Uploading JavaScript bundles
[00:55:41] Published
[00:55:41] Your URL is https://exp.host/@paulhalliday/my-project
Anyone with the URL can take the QR code and open the application up inside of the Expo app. Try it out for yourself!
If you’d like to do more advanced builds with respective .IPA/APK files and much more, check out the detailed guide over on the Expo documentation.
Thanks for learning with the DigitalOcean Community. Check out our offerings for compute, storage, networking, and managed databases.
About the author
I create educational content over at YouTube and https://developer.school.
Still looking for an answer?
This textbox defaults to using Markdown to format your answer.
You can type !ref in this text area to quickly search our full set of tutorials, documentation & marketplace offerings and insert the link!
import { Location, Permissions } from “expo”; does not compile.
Changed it to below to make it work.
import { Notifications } from ‘expo’; import * as Permissions from ‘expo-permissions’; import * as Location from ‘expo-location’;
 This work is licensed under a Creative Commons Attribution-NonCommercial- ShareAlike 4.0 International License.
Become a contributor for community
Get paid to write technical tutorials and select a tech-focused charity to receive a matching donation.

DigitalOcean Documentation
Full documentation for every DigitalOcean product.

Resources for startups and AI-native businesses
The Wave has everything you need to know about building a business, from raising funding to marketing your product.
The developer cloud
Scale up as you grow — whether you're running one virtual machine or ten thousand.

Start building today
From GPU-powered inference and Kubernetes to managed databases and storage, get everything you need to build, scale, and deploy intelligent applications.
