
React 360 (or React VR) is a library used to create virtual reality experiences with React and uses Three.js for rendering. As it is a React project, the API should be familiar to those that already know React.
Usage of React 360 is similar to that of React Native, it is a library that uses custom components and does not interface with the DOM as we know it.
Installing the React 360 CLI
Firstly, ensure that you have Node.js installed on your machine. Next, we’ll need to download the React 360 CLI from npm:
$ npm install -g react-360-cli
We’ll now be able to use react-360 globally on our machine.
Create a new project
Using the CLI, we can create a new project with the init command:
$ react-360 init hello-vr

$ cd hello-vr

$ code .

$ npm run start
This’ll create a new directory named hello-vr and scaffold a new project here. By running npm run start inside of this directory, we’re starting the Metro bundler and our application appears at http://localhost:8081/index.html
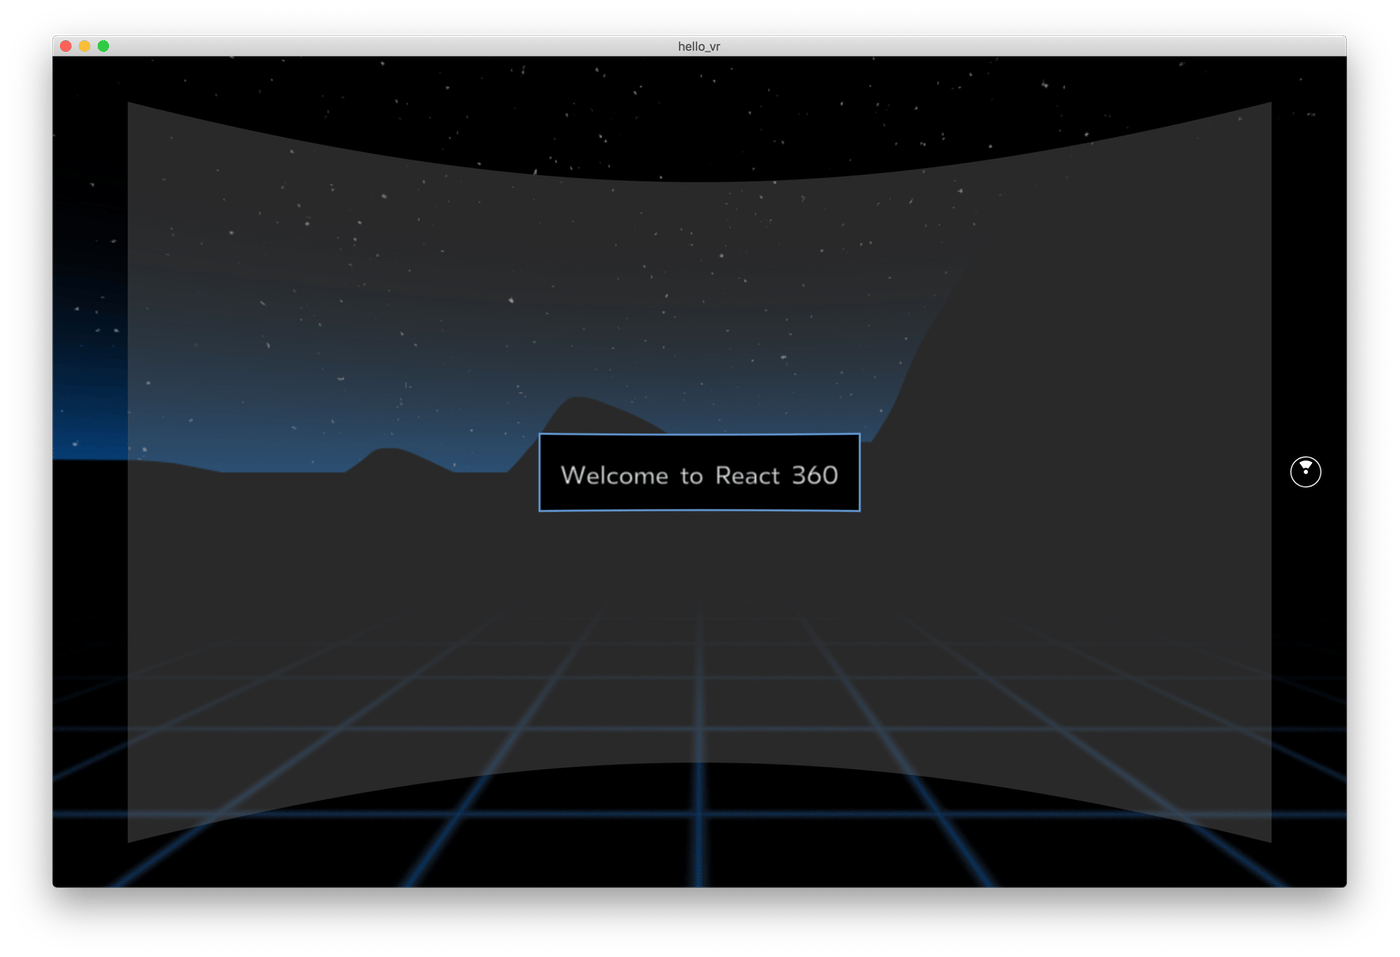
You can hold down the left mouse button to pan around the screen. React 360 (as referenced by the name) is built to work with 180-360 degree equirectangular photos/videos, and the power of this can be seen with the starting project.
It also comes with a variety of inbuilt UI components that we can use. Examples of these are: View, Image, Entity, and VrButton.
Example
Let’s take a look at how this works by diving into client.js:
import { ReactInstance } from 'react-360-web';

function init (bundle, parent, options = {}) {
  const r360 = new ReactInstance(bundle, parent, {
    // Add custom options here
    fullScreen : true,
    ...options
  });

  // Render your app content to the default cylinder surface
  r360.renderToSurface(
    r360.createRoot(
      'hello_vr',
      {
        /* initial props */
      }
    ),
    r360.getDefaultSurface()
  );

  // Load the initial environment
  r360.compositor.setBackground(r360.getAssetURL('360_world.jpg'));
}

window.React360 = { init };
We’re setting the root with r360.createRoot to the hello_vr React component found in index.js, note how this is referenced by string name.
We can interact with the environment by using the VrButton component:
import React from 'react';
import { AppRegistry, StyleSheet, Text, View, VrButton } from 'react-360';
export default class hello_vr extends React.Component {
state = {
counter : 0
};
_incrementCounter = () => {
this.setState({
counter : (this.state.counter += 1)
});
};
render () {
return (
<View style={styles.panel}>
<View style={styles.greetingBox}>
<VrButton onClick={this._incrementCounter}>
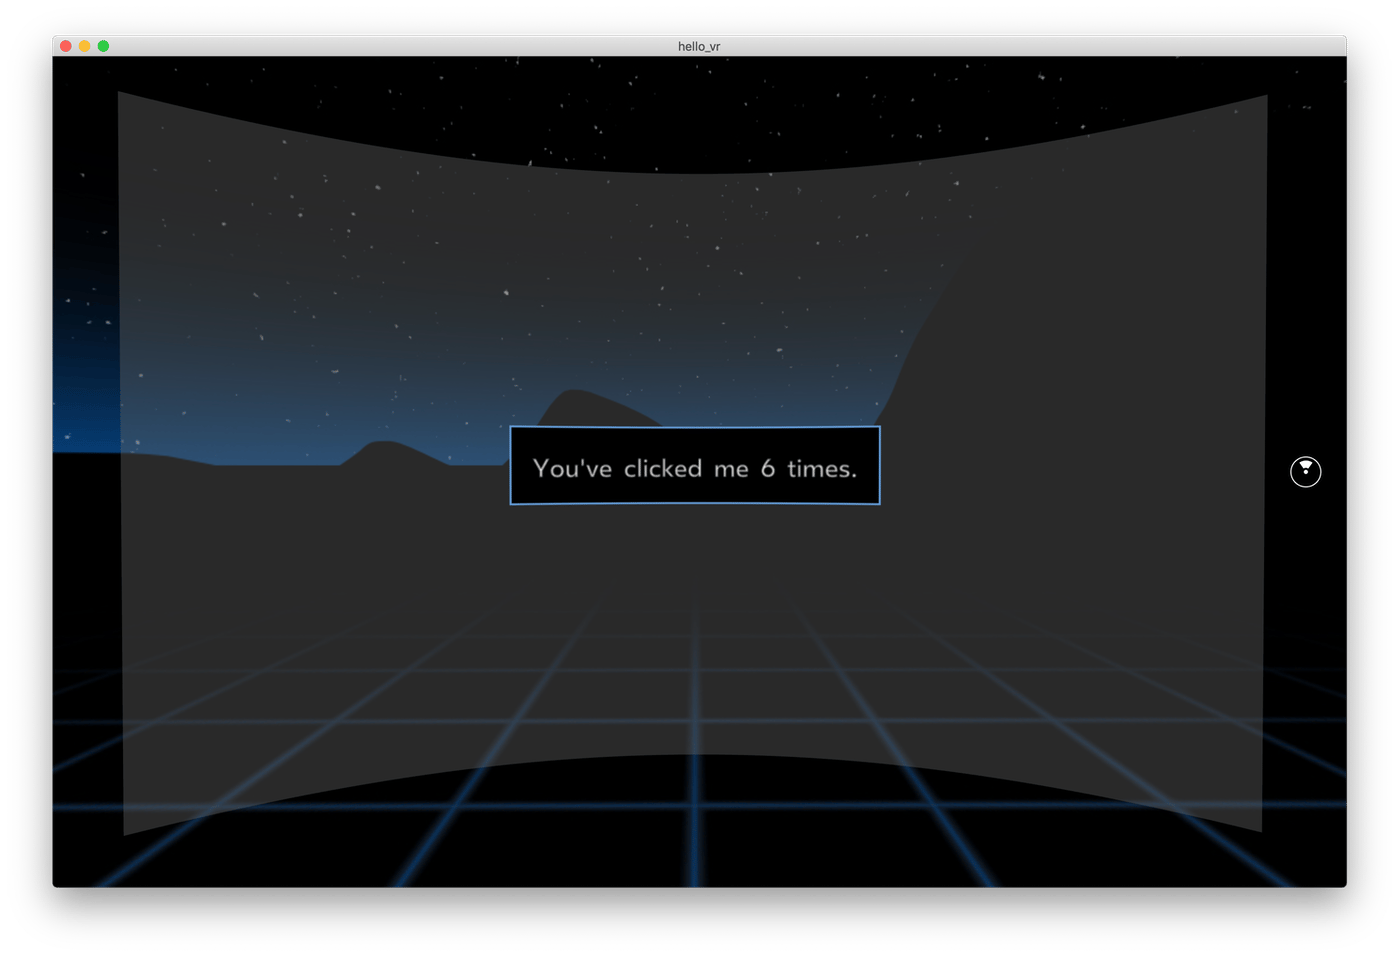
<Text style={styles.greeting}>You've clicked me {this.state.counter} times.</Text>
</VrButton>
</View>
</View>
);
}
}
const styles = StyleSheet.create({
panel : {
// Fill the entire surface
width : 1000,
height : 600,
backgroundColor : 'rgba(255, 255, 255, 0.4)',
justifyContent : 'center',
alignItems : 'center'
},
greetingBox : {
padding : 20,
backgroundColor : '#000000',
borderColor : '#639dda',
borderWidth : 2
},
greeting : {
fontSize : 30
}
});
AppRegistry.registerComponent('hello_vr', () => hello_vr);
Each time that we click the button, our counter is increased:
Production
To generate a production build for our React 360 project, run the following in your terminal:
$ npm run bundle
You should then be able to access your newly build production files in ./build.
Thanks for learning with the DigitalOcean Community. Check out our offerings for compute, storage, networking, and managed databases.
About the author
I create educational content over at YouTube and https://developer.school.
Still looking for an answer?
This textbox defaults to using Markdown to format your answer.
You can type !ref in this text area to quickly search our full set of tutorials, documentation & marketplace offerings and insert the link!
 This work is licensed under a Creative Commons Attribution-NonCommercial- ShareAlike 4.0 International License.
Become a contributor for community
Get paid to write technical tutorials and select a tech-focused charity to receive a matching donation.

DigitalOcean Documentation
Full documentation for every DigitalOcean product.

Resources for startups and AI-native businesses
The Wave has everything you need to know about building a business, from raising funding to marketing your product.
The developer cloud
Scale up as you grow — whether you're running one virtual machine or ten thousand.

Start building today
From GPU-powered inference and Kubernetes to managed databases and storage, get everything you need to build, scale, and deploy intelligent applications.
