By Raeed Asif and Anish Singh Walia

Introduction
ClickHouse is an open-source columnar database management system that excels in high-performance OLAP queries and real-time analytics. However, scaling up data storage for ClickHouse can be challenging, especially as the volume of data grows. One efficient solution is to use tiered storage, which allows you to offload infrequently accessed data to a more cost-effective storage system while keeping frequently accessed data on faster, more expensive storage. Clickhouse supports various storage backends for data, including both local disks and remote options like DigitalOcean Spaces. When managing large volumes of data, it’s common to use multiple storage devices.
DigitalOcean Spaces is an object storage service that can be integrated with ClickHouse as a tier in its tiered storage architecture. This tutorial will guide you through the steps required to configure DigitalOcean Spaces as a tiered storage option for your ClickHouse cluster.
In this tutorial, we will set up a simple Go application that sends batch logs to ClickHouse. Initially, the logs will be stored in hot storage (the default disk, also known as local), and then they will be transferred to the cold storage (for example, an S3 based storage like DO Spaces) after a specified interval of 2 minutes.

Prerequisites
Before starting, make sure you have the following:
- A DigitalOcean Cloud account.
- A DigitalOcean Spaces bucket.
- Access keys for your DigitalOcean Spaces.
- Basic knowledge of ClickHouse configurations and object storage.
Step 1 — Create and Configure a DigitalOcean Space
Log in to your DigitalOcean Cloud account and create a new Space (bucket). This bucket will serve as your tiered storage for less frequently accessed data.
- Navigate to Spaces from the dashboard.

- Click on Create Space, provide a name, select a region, and set permissions.

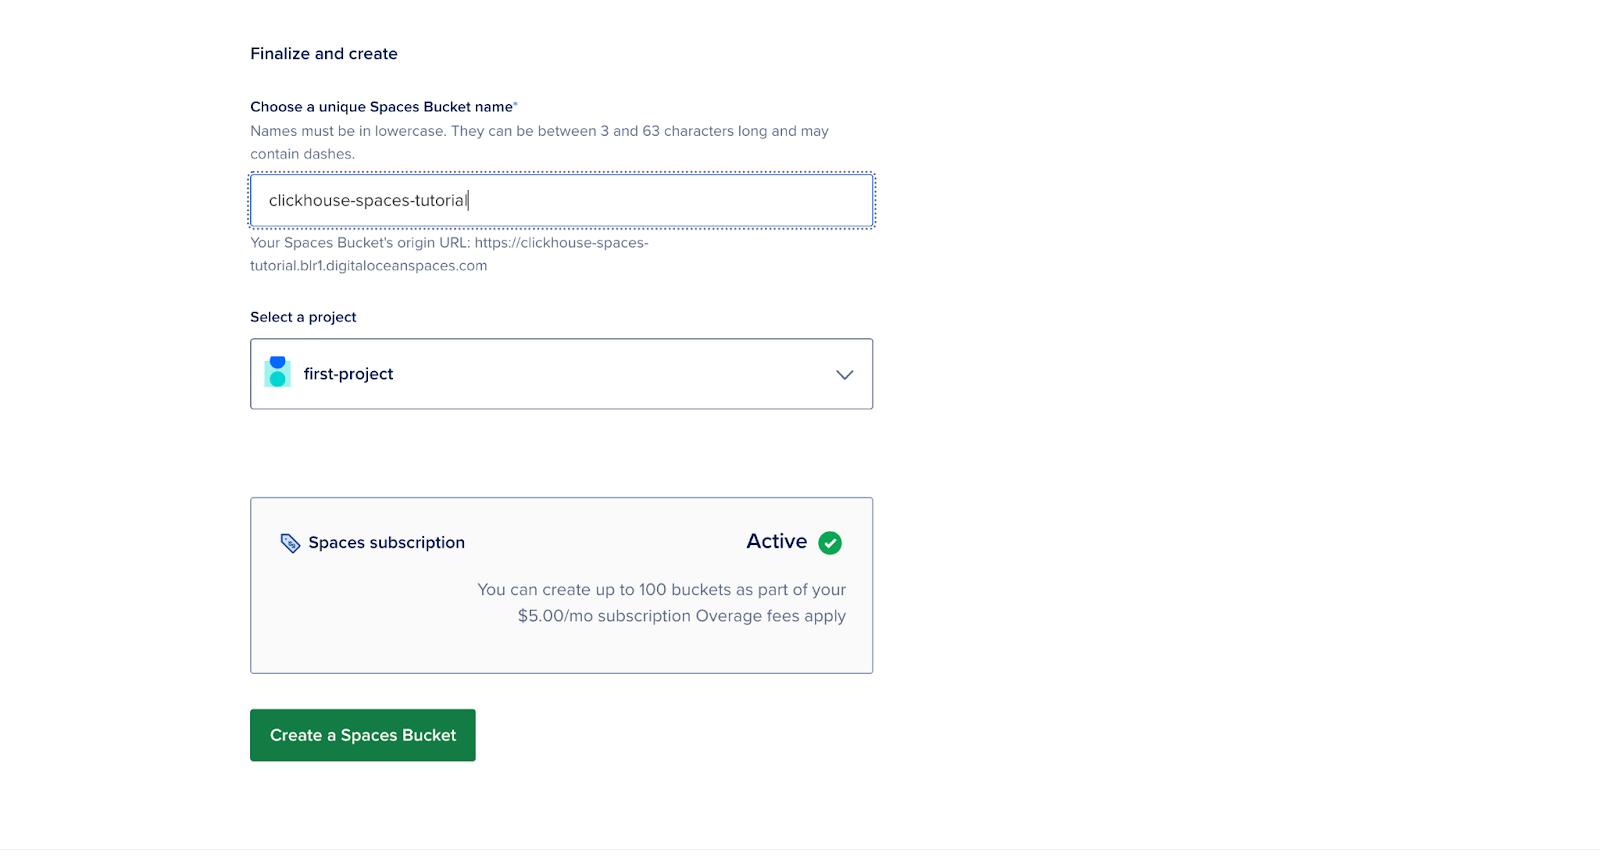
- Note down the Endpoint URL.
- Note down the Access Key and Secret Key as they will be needed later. Generate one if you didn’t have it earlier.

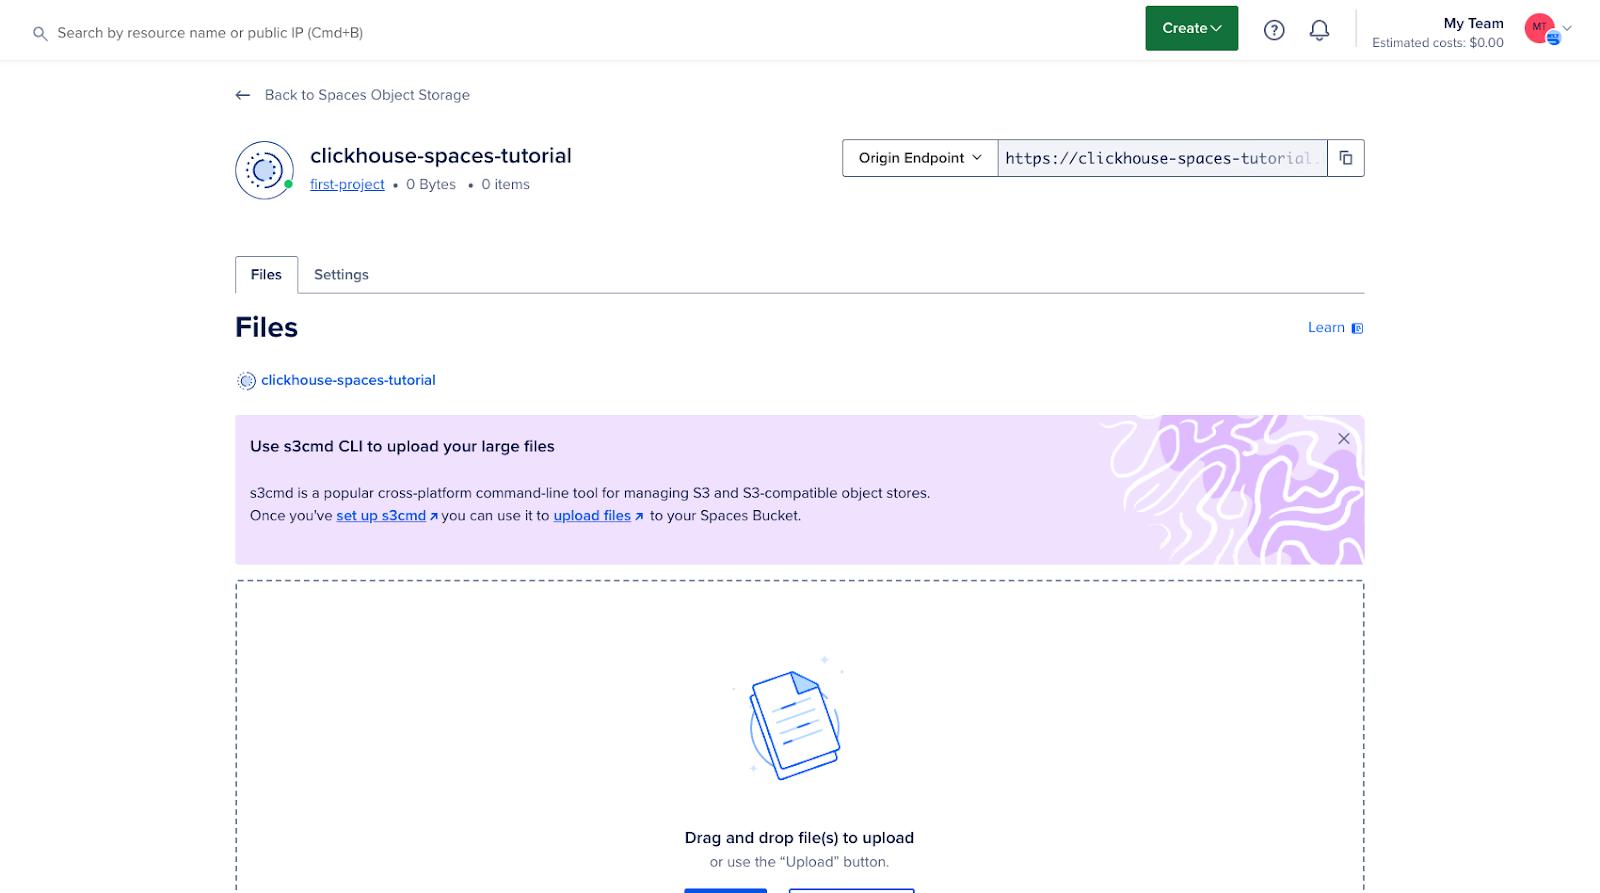
At this point, your bucket is created and ready for integration with ClickHouse.
Step 2 — Setup ClickHouse server in Docker container
To start, create a folder and name it clickhouse.
mkdir clickhouse
Create a Dockerfile under this folder and replace the placeholders for {YOUR\_AWS\_ACCESS\_KEY\_ID} and {YOUR\_AWS\_SECRET\_ACCESS\_KEY} with your access Key and secret Key respectively.
FROM clickhouse/clickhouse-server:latest

# Copy the config file to the container
COPY storage.xml /etc/clickhouse-server/config.d/storage.xml

# Copy the S3 table creation script
COPY create.sql /docker-entrypoint-initdb.d/

# Set environment variables for S3 credentials
ENV AWS_ACCESS_KEY_ID={YOUR_AWS_ACCESS_KEY_ID}
ENV AWS_SECRET_ACCESS_KEY={YOUR_AWS_SECRET_ACCESS_KEY}

# Expose ClickHouse HTTP and native ports
EXPOSE 8123 9000

USER clickhouse

# --config-file ./programs/server/config.xml
CMD ["clickhouse-server", "--config-file", "/etc/clickhouse-server/config.xml"]
Explanation
access_key_idandsecret_access_key: These are your DigitalOcean Spaces credentials.
Warning
- We’re placing the credentials in the Dockerfile for simplicity in this tutorial, but this approach is not recommended for production environments.
Step 3 — Configure ClickHouse for S3-Compatible Storage
Next, configure ClickHouse to use DigitalOcean Spaces as a tier in its storage system. This involves adding the storage_configuration to the config.xml file in your ClickHouse installation.
To use a Spaces bucket as a storage disk, it must first be declared in the ClickHouse configuration file. You can either modify the existing config.xml or, preferably, add a new file under the conf.d directory, which will later be merged into config.xml.
Create a file called storage.xml:
<clickhouse>
    <storage_configuration>
        <disks>
            <s3>
                <type>s3</type>
                <endpoint>{YOUR_S3_SPACES_BUCKET_URL}</endpoint>
                <use_environment_credentials>true</use_environment_credentials>
            </s3>
        </disks>
    </storage_configuration>
</clickhouse>
This section configures a remote disk (the DigitalOcean Space) that ClickHouse can use to store less frequently accessed data.
Note: Replace the placeholders for {YOUR_S3_SPACES_BUCKET_URL}, with your endpoint URL.
Explanation ?
endpoint: This is the URL of the DigitalOcean region where your Space is located.
Step 4 — Create a Table with Tiered Storage
Now, create a table in ClickHouse that utilizes tiered storage. You can specify multiple storage policies to define which data is stored on local disks and which is stored on remote (Spaces) disks.
Define a storage policy that moves older data to DigitalOcean Spaces after a certain period:
CREATE TABLE IF NOT EXISTS tiered_logs (
    event_time DateTime,
    level String,
    message String
) ENGINE = MergeTree
ORDER BY (event_time)
TTL toDateTime(event_time) + INTERVAL 2 MINUTE TO VOLUME 'cold'
SETTINGS storage_policy = 's3_tiered';
default: This represents the local disk storage where recent or frequently accessed data is stored.s3: The remote storage (DigitalOcean Spaces) where older data is offloaded.
This setup ensures that new data is written to the local disk and older data is automatically moved to DigitalOcean Spaces.
Step 5 — Run the ClickHouse Server
To start your clickhouse server simply run:
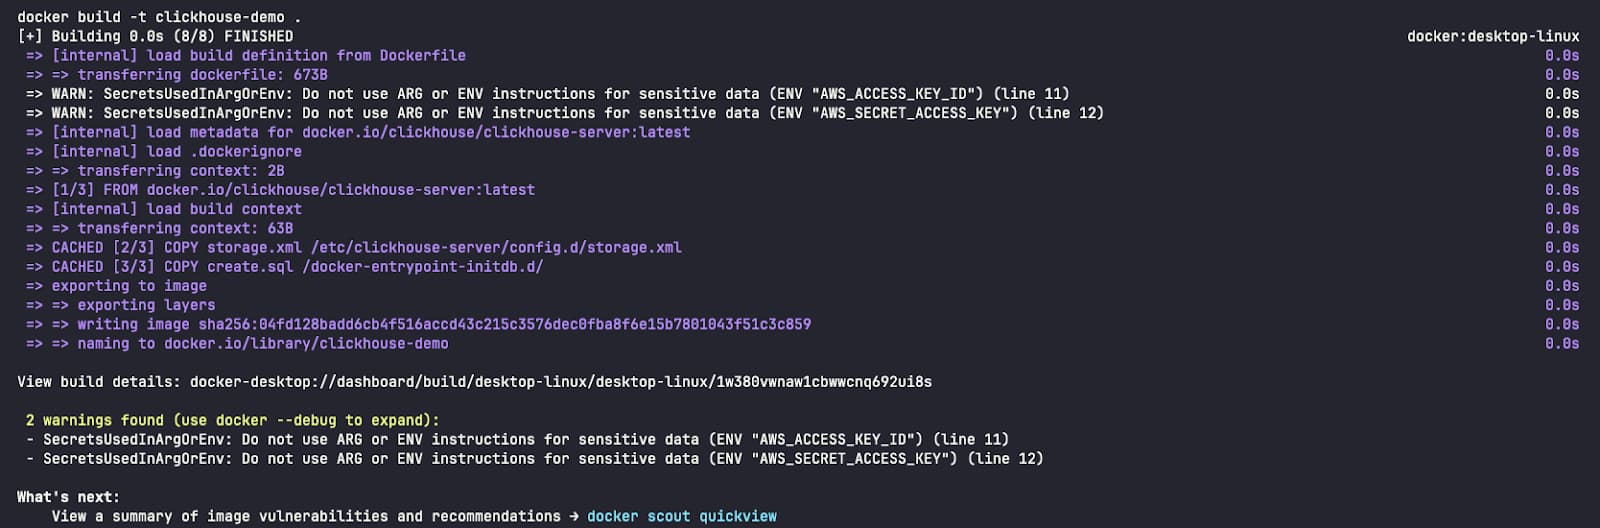
docker build -t clickhouse-demo .
docker run -d --name clickhouse-demo -p 8123:8123 -p 9000:9000 clickhouse-demo
Network Ports
8123: This is the HTTP port used for communicating with ClickHouse through the HTTP interface. (http://localhost:8123/play). You can use this port to run SQL queries via a browser or through command-line tools like curl or Postman. It’s often used for web applications or clients that interact with ClickHouse over HTTP.9000: This is the TCP port, the main port for ClickHouse clients and servers to communicate with each other using the ClickHouse native protocol.Ref: https://clickhouse.com/docs/en/guides/sre/network-ports

Verify using:
docker ps

Step 6 — Run a simple go app which fires logs and batch send them to ClickHouse cluster
In a new folder create a file called main.go:
package main

import (
 "database/sql"
 "fmt"
 "log"
 "os"
 "time"

 "github.com/ClickHouse/clickhouse-go"
 "github.com/sirupsen/logrus"
)

type ClickHouseHook struct {
 db        *sql.DB
 entries   []logrus.Entry
 batchSize int
}
// NewClickHouseHook establishes a connection to ClickHouse using the provided DSN.
func NewClickHouseHook(dsn string, batchSize int) (*ClickHouseHook, error) {
 db, err := sql.Open("clickhouse", dsn)
 if err != nil {
  return nil, err
 }
 if err := db.Ping(); err != nil {
  if exception, ok := err.(*clickhouse.Exception); ok {
   log.Fatalf("[%d] %s \n%s\n", exception.Code, exception.Message, exception.StackTrace)
  } else {
   log.Fatal(err)
  }
 }
 return &ClickHouseHook{db: db, batchSize: batchSize}, nil
}

// Fire is triggered by Logrus to log entries to ClickHouse.
func (hook *ClickHouseHook) Fire(entry *logrus.Entry) error {
 hook.entries = append(hook.entries, *entry)
 if len(hook.entries) >= hook.batchSize {
  if err := hook.flush(); err != nil {
   return err
  }
 }
 return nil
}

// flush sends the collected log entries to ClickHouse in a batch.
func (hook *ClickHouseHook) flush() error {
 tx, err := hook.db.Begin()
 if err != nil {
  return err
 }

 stmt, err := tx.Prepare("INSERT INTO tiered_logs (event_time, level, message) VALUES (?, ?, ?)")
 if err != nil {
  return err
 }
 defer stmt.Close()

 for _, entry := range hook.entries {
  if _, err := stmt.Exec(entry.Time, entry.Level.String(), entry.Message); err != nil {
   return err
  }
 }

 if err := tx.Commit(); err != nil {
  return err
 }

 // Clear the entries after flushing
 hook.entries = nil
 return nil
}

// Levels returns the logging levels for which the hook is triggered.
func (hook *ClickHouseHook) Levels() []logrus.Level {
 return logrus.AllLevels
}

func main() {
 // ClickHouse DSN (replace with your credentials and host)
 dsn := "tcp://localhost:9000?database=default&username=default&password=&debug=true"

 // Create ClickHouse hook with a batch size of 5
 hook, err := NewClickHouseHook(dsn, 5)
 if err != nil {
  log.Fatalf("failed to connect to ClickHouse: %v", err)
 }
 defer hook.db.Close()

 // Set up logrus
 logger := logrus.New()
 logger.Out = os.Stdout
 logger.SetFormatter(&logrus.TextFormatter{
  FullTimestamp: true,
 })
 logger.AddHook(hook)

 // Log some entries
 for i := 0; i < 10; i++ {
  logger.WithFields(logrus.Fields{
   "iteration": i,
  }).Info("This is an info log entry")

  time.Sleep(time.Second)
 }

 // Flush any remaining log entries before exiting
 if err := hook.flush(); err != nil {
  log.Fatalf("failed to flush logs to ClickHouse: %v", err)
 }

 fmt.Println("Logs sent to ClickHouse.")
}
Install the package dependencies:
go mod init example.com/clickhouse-logging
go get github.com/ClickHouse/clickhouse-go
go get github.com/sirupsen/logrus
Run the app:
go run main.go

Step 6 — Verify Results
To start your clickhouse client simply run:
docker exec -it clickhouse-demo clickhouse-client
Verify logs in your ClickHouse cluster:
SELECT * FROM tiered_logs
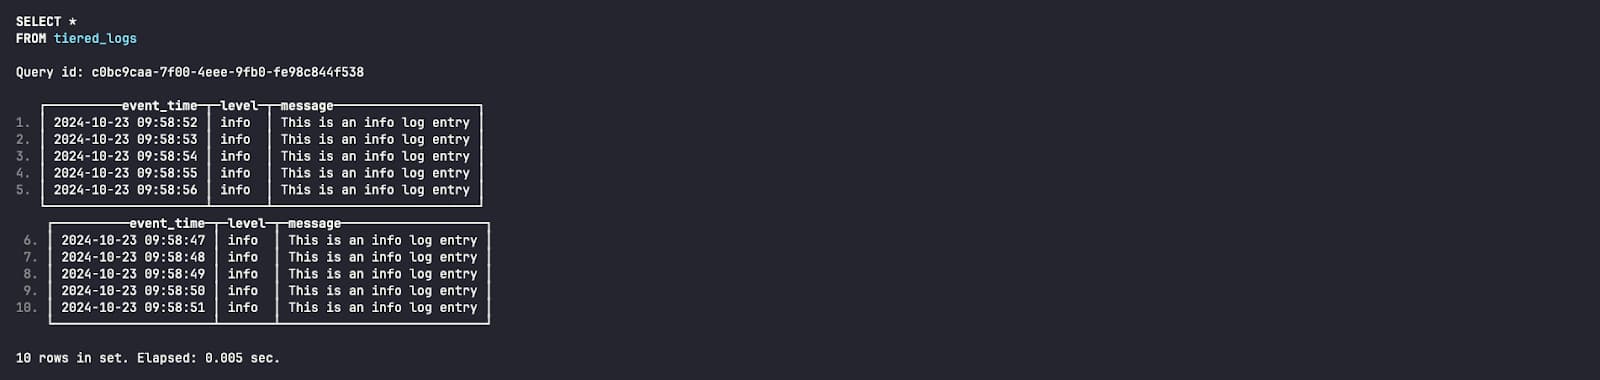
When examining the storage disk for this log entry, we can see that it is stored on the default disk (local) - also known as hot storage.
SELECT name, disk_name FROM system.parts WHERE table = 'tiered_logs';

After the two-minute interval specified in the CREATE TABLE query, you can verify that these logs have been moved to S3 disks (remote/Spaces bucket) — also referred to as cold storage.

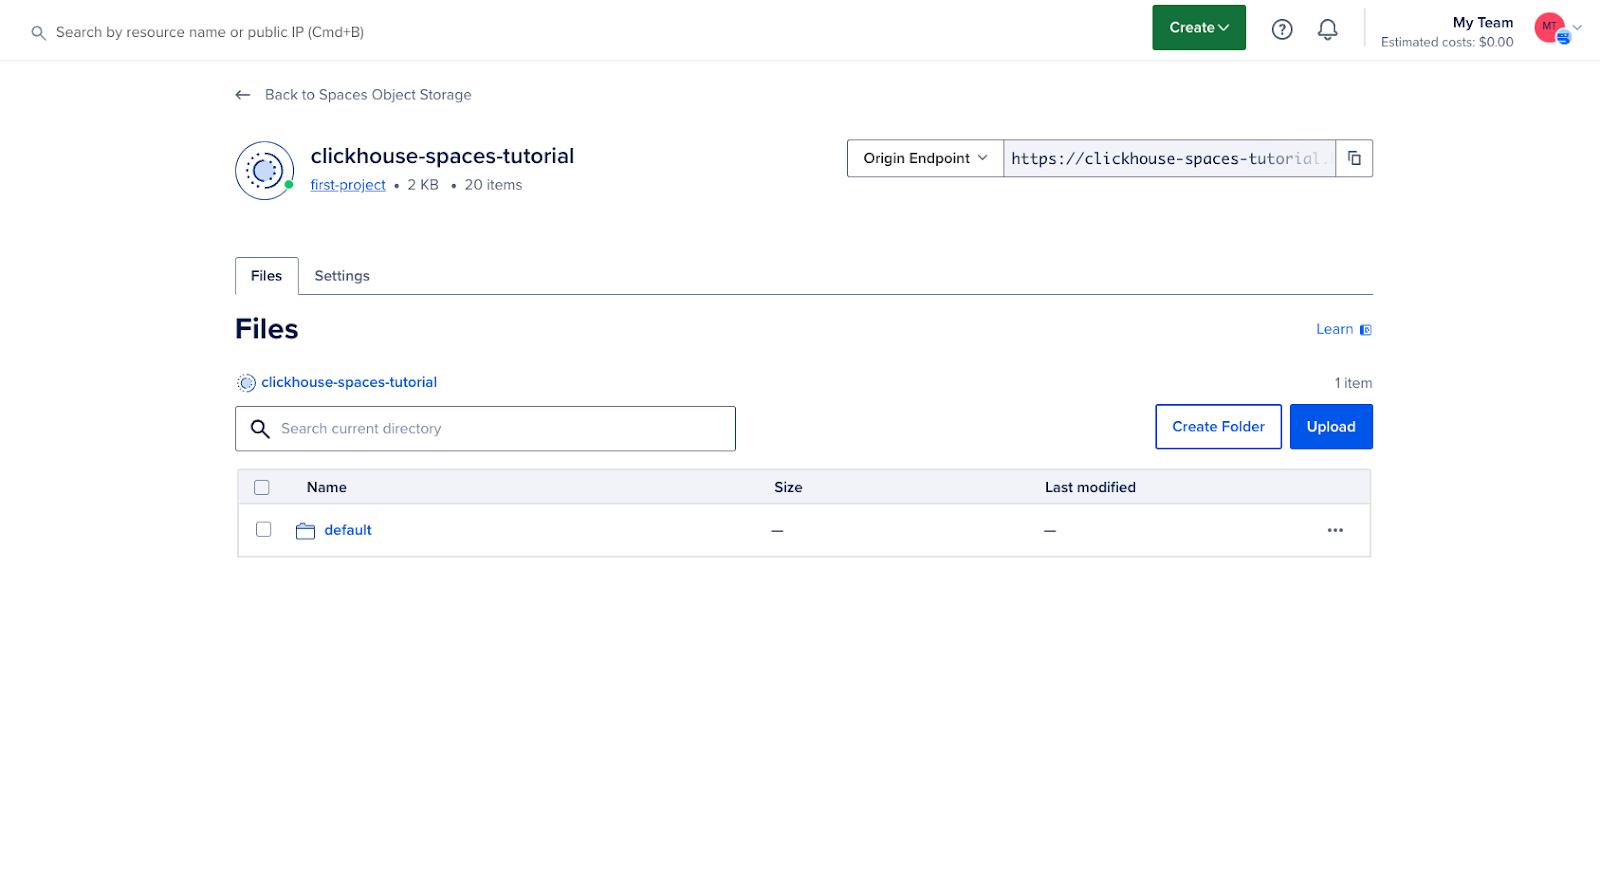
We can also see in the DigitalOcean Cloud UI that our bucket now contains some data:
Conclusion
By following this guide, you have successfully set up DigitalOcean Spaces as a tiered storage option for ClickHouse. This setup allows you to optimize storage costs and performance by offloading less frequently accessed data to cost-effective object storage while keeping high-performance storage for active data.
Tiered storage with ClickHouse and DigitalOcean Spaces is a powerful solution for managing growing datasets without compromising on query performance.
All this code can be found at this Github repo.
Thanks for learning with the DigitalOcean Community. Check out our offerings for compute, storage, networking, and managed databases.
About the author(s)
Anish is a Sr Technical Content Strategist and Team Lead at DigitalOcean with 7+ years of experience as an DevOps SRE at Nutanix and Cloud consultant at AMEX, and technical writing at DOCN, and shipping deep infra and AI inference tutorials that help developers deploy production‑ready applications on DigitalOcean.
Still looking for an answer?
This textbox defaults to using Markdown to format your answer.
You can type !ref in this text area to quickly search our full set of tutorials, documentation & marketplace offerings and insert the link!
 This work is licensed under a Creative Commons Attribution-NonCommercial- ShareAlike 4.0 International License.
Become a contributor for community
Get paid to write technical tutorials and select a tech-focused charity to receive a matching donation.

DigitalOcean Documentation
Full documentation for every DigitalOcean product.

Resources for startups and AI-native businesses
The Wave has everything you need to know about building a business, from raising funding to marketing your product.
The developer cloud
Scale up as you grow — whether you're running one virtual machine or ten thousand.

Start building today
From GPU-powered inference and Kubernetes to managed databases and storage, get everything you need to build, scale, and deploy intelligent applications.
