
This article supplements a webinar series on deploying and managing containerized workloads in the cloud. The series covers the essentials of containers, including managing container lifecycles, deploying multi-container applications, scaling workloads, and working with Kubernetes. It also highlights best practices for running stateful applications.
This tutorial includes the concepts and commands in the third session of the series, Getting Started with Kubernetes.
Introduction
In the previous tutorial in this series, we explored managing multi-container applications with Docker Compose. While the Docker Command Line Interface (CLI) and Docker Compose can deploy and scale containers running on a single machine, Kubernetes is designed to handle multi-container applications deployed across multiple machines or hosts.
Kubernetes is an open-source container orchestration tool for managing containerized applications. A Kubernetes cluster has two key components: Master Nodes and Worker Nodes. A set of Master Nodes act as the control plane that manage the Worker Nodes and deployed applications. The Worker Nodes are the workhorses of a Kubernetes cluster that are responsible for running the containerized applications.
The Master Nodes expose an API through which the command-line tools and rich clients submit a job, which contains the definition of an application. Each application consists of one or more containers, the storage definitions and the internal and external ports through which they are exposed. The control plane running on Master Nodes schedules the containers in one of the Worker Nodes. When an application is scaled, the control plane launches additional containers on any of the available Worker Nodes.
For a detailed introduction to Kubernetes, refer to the tutorial An Introduction to Kubernetes.
StackPointCloud deploys a Kubernetes cluster in three steps using a web-based interface. It hides the complexity of installing and configuring Kubernetes through a simplified user experience. DigitalOcean is one of StackPoint’s supported cloud platforms. Developers who are not familiar with systems administration and configuration can use StackPoint to install Kubernetes on DigitalOcean quickly. For details on the supported features and pricing, refer to their site.
In this tutorial, you’ll set up and configure Kubernetes on DigitalOcean through StackPoint and deploy a containerized application to your cluster.
Prerequisites
To follow this tutorial, you will need
- A local machine with the
curlcommand installed, which you’ll use to download a command-line tool to manage your Kubernetes cluster. Thecurlcommand is already installed on macOS and Ubuntu 16.04. - A DigitalOcean account. In this tutorial, you’ll use StackPoint to connect to your DigitalOcean account and provision three 1GB Droplets.
Step 1 – Installing Kubernetes
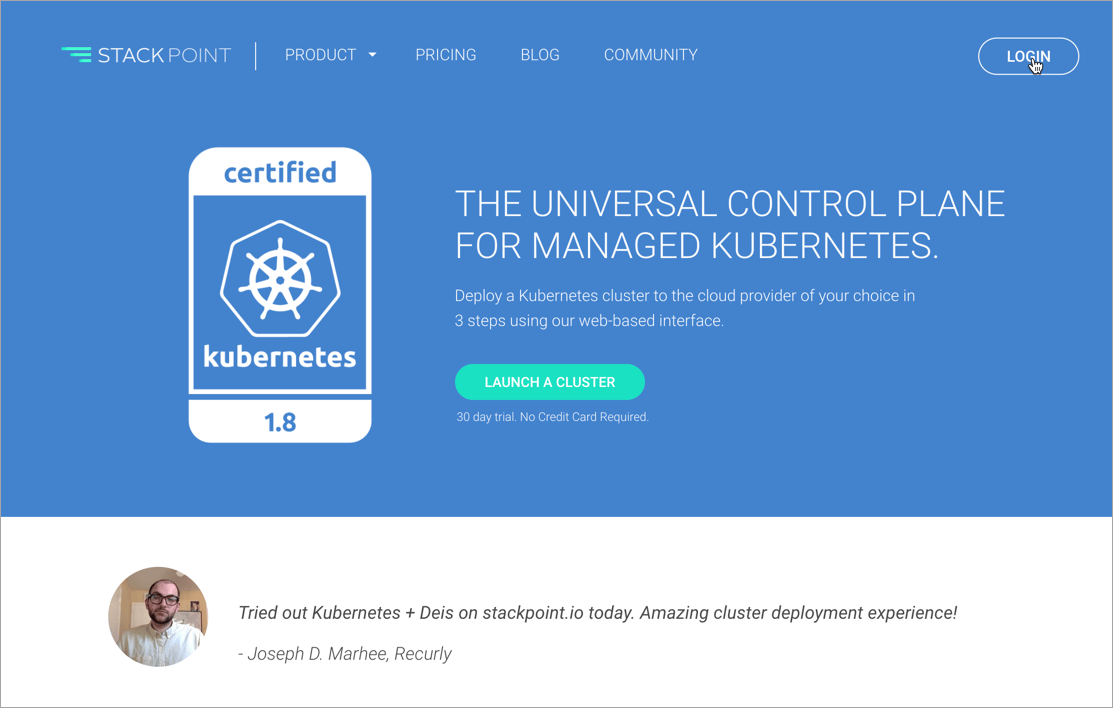
To start the installation of Kubernetes on DigitalOcean, visit Stackpoint.io and click on the Login button.
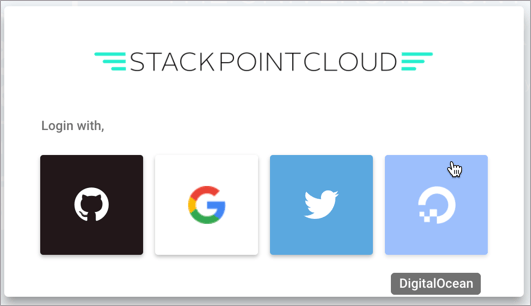
This takes you to a page where you can choose an identity provider and log in with existing credentials. Choose DigitalOcean from the list and log in with your DigitalOcean username and password.
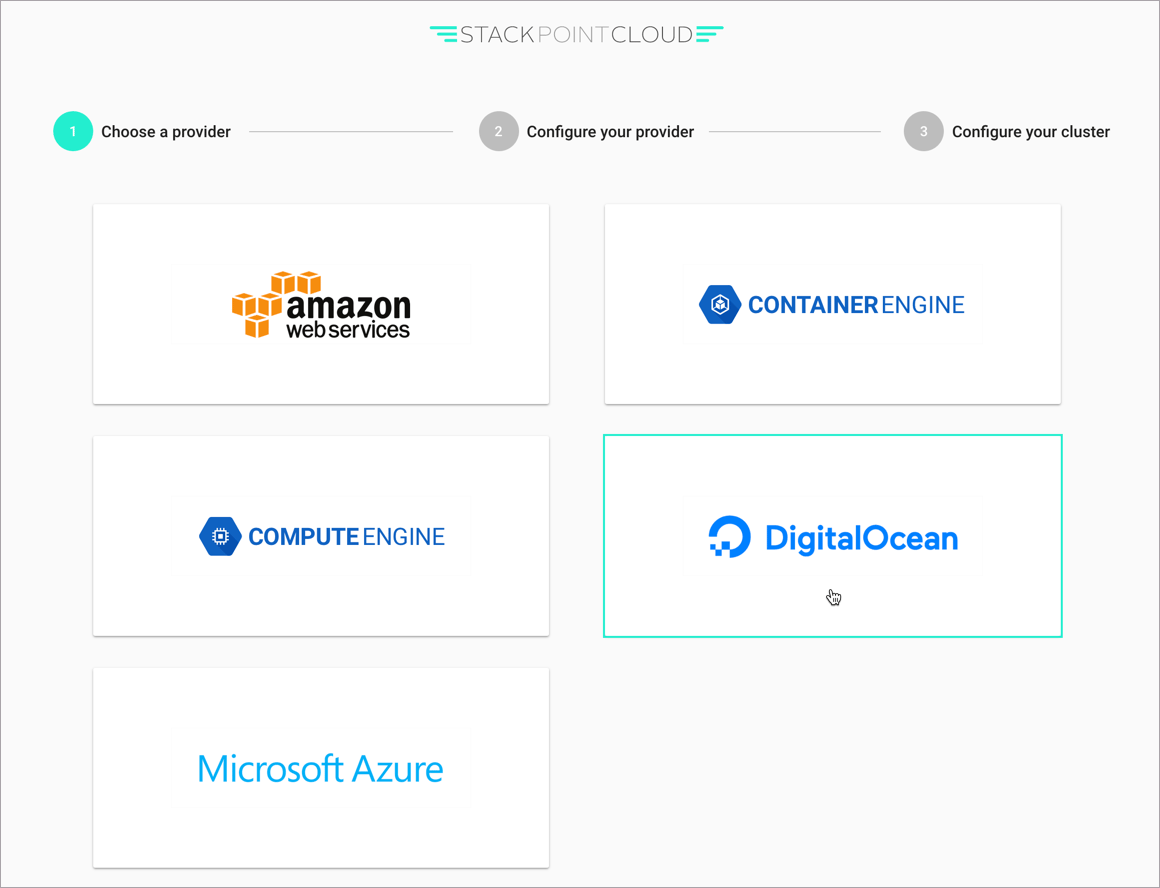
On the next page, choose DigitalOcean from the list of available cloud platforms.
You can now configure the cluster. Click on the EDIT button to edit the settings for the DigitalOcean provider:
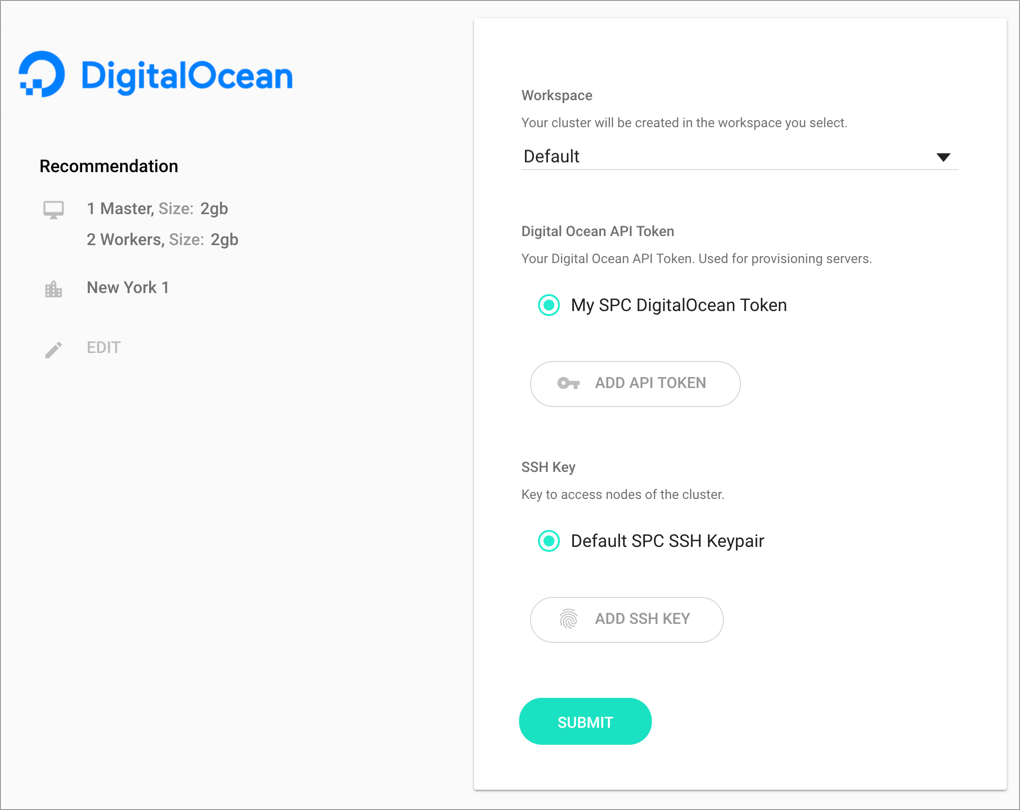
This takes you to the Configure Provider screen.
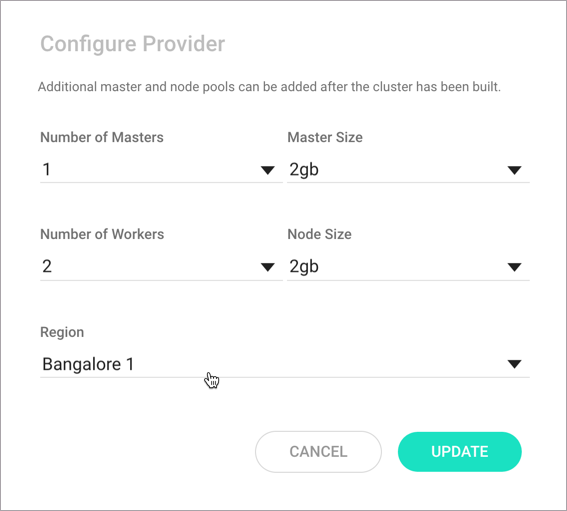
Choose a region of your choice from the Region dropdown list. You can leave the other settings at their default values. Click on Submit when you are done.
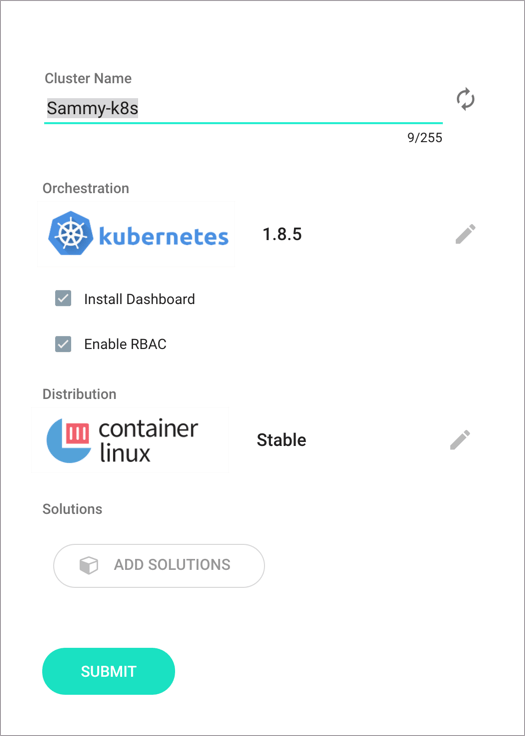
On the next screen, enter a cluster name of your choice and click Submit.
The cluster installation will now start and you’ll be taken to a page where you can track the cluster’s progress. The installation will take about 15 minutes.
Once the cluster is configured, we can set up a command-line tool to work with it.
Step 2 – Configuring the Kubernetes CLI
To talk to the Kubernetes cluster running in DigitalOcean, we need a command line tool in our development machine. We’ll use kubectl, the CLI for Kubernetes.
Run the following commands to install kubectl from Google’s servers:
- curl -LO https://storage.googleapis.com/kubernetes-release/release/`curl -s https://storage.googleapis.com/kubernetes-release/release/stable.txt`/bin/darwin/amd64/kubectl
You’ll see this output:
Output % Total    % Received % Xferd  Average Speed   Time    Time     Time  Current
                                Dload  Upload   Total   Spent    Left  Speed

100 63.7M  100 63.7M    0     0  5441k      0  0:00:12  0:00:12 --:--:-- 4644k
The kubectl binary was downloaded to your current directory, Let’s change the permissions of the downloaded binary and move it to the /usr/local/bin directory so we can run it from anywhere:
- chmod +x ./kubectl
- sudo mv ./kubectl /usr/local/bin/kubectl
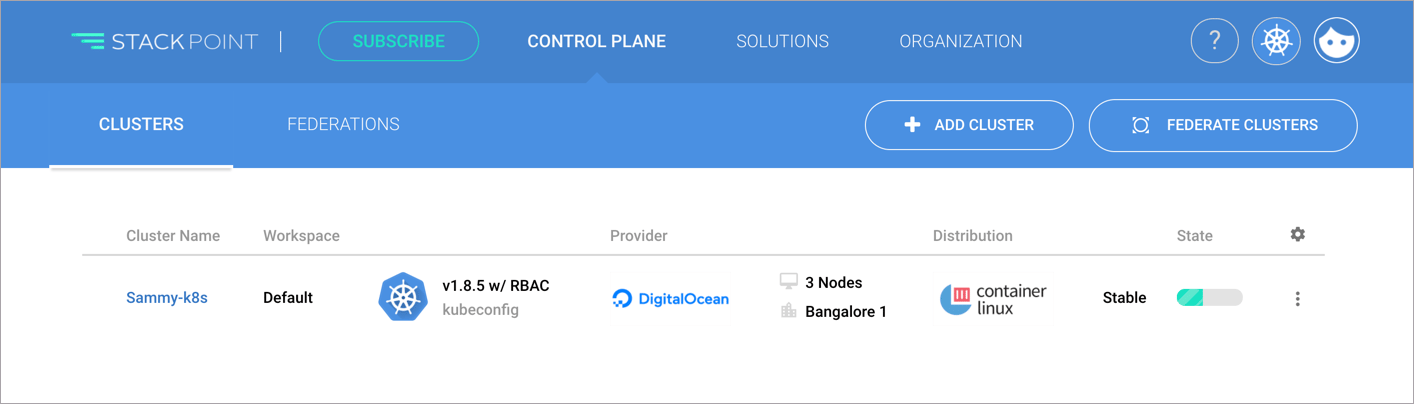
Now let’s point the kubectl app at our Kubernetes cluster. For that, we need to download a configuration file from Stackpoint. Return to the cluster status page in your browser. After verifying that the cluster is ready and stable, click on the cluster name as shown in the following figure:

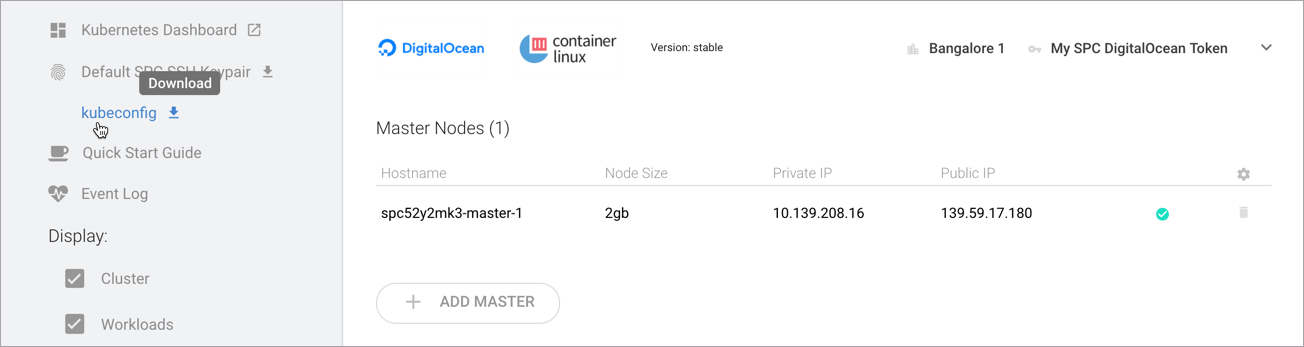
Click on the kubeconfig link in the left-hand menu to download the configuration file to your local machine:
Back in your terminal, set the environment variable KUBECONFIG to the path of the downloaded file. Assuming your file downloaded to the Downloads folder in your home directory, you’d issue this command:
- export KUBECONFIG=~/Downloads/kubeconfig
With kubectl configured, let’s make sure we can communicate with our cluster.
Step 3 – Verifying the Kubernetes Installation
Now that we have the fully configured cluster along with the client, let’s run a few commands to verify the environment.
Run the following command to get information about the cluster.
- kubectl cluster-info
You’ll see this output:
OutputKubernetes master is running at https://139.59.17.180:6443

Heapster is running at https://139.59.17.180:6443/api/v1/namespaces/kube-system/services/heapster/proxy

KubeDNS is running at https://139.59.17.180:6443/api/v1/namespaces/kube-system/services/kube-dns/proxy

To further debug and diagnose cluster problems, use 'kubectl cluster-info dump'.
The output confirms that the cluster is working and that the Kubernetes Master Nodes are up and running.
Next, let’s verify the health of all the components running in the Master Nodes. If the cluster is just configured, it may take a while before all the components show a healthy status. These components are a part of the Kubernetes Master Nodes that act as the control plane.
Execute this command:
- kubectl get cs
You’ll see this output:
OutputNAME                 STATUS    MESSAGE              ERROR
scheduler            Healthy   ok
controller-manager   Healthy   ok
etcd-0               Healthy   {"health": "true"}
Finally, let’s list all the nodes of the running Kubernetes cluster.
- kubectl get nodes
You’ll see output like this:
OutputNAME                  STATUS    ROLES     AGE       VERSION
spc52y2mk3-master-1   Ready     master    29m       v1.8.5
spc52y2mk3-worker-1   Ready     <none>    22m       v1.8.5
spc52y2mk3-worker-2   Ready     <none>    22m       v1.8.5
This confirms that the cluster with one Master Node and two Worker Nodes is ready for us to deploy applications. So let’s deploy an application to the cluster.
Step 4 – Deploying and Accessing an Application
Let’s launch a simple Nginx web server and access its default web page from our local machine. Execute this command to pull the Nginx image from Docker Hub and create a deployment called myweb:
- kubectl run --image=nginx:latest myweb
This command is similar to the docker run command, except that it packages and deploys the container in a Kubernetes-specific artifact called a Pod. You’ll learn more about Pods in the next part of this series.
When you execute the command, you’ll see this output:
Outputdeployment "myweb" created
Now check that the Pod is created with the nginx container:
- kubectl get pods
You’ll see this output:
OutputNAME                     READY     STATUS    RESTARTS   AGE
myweb-59d7488cb9-jvnwn   1/1       Running   0          3m
To access the web server running inside the Pod, we need to expose it to the public Internet. We achieve that with the following command:
- kubectl expose pod myweb-59d7488cb9-jvnwn --port=80 --target-port=80 --type=NodePort
Outputservice "myweb-59d7488cb9-jvnwn" exposed
The Pod is now exposed on every Node of the cluster on an arbitrary port. The --port and --target-port switches indicate the ports through which the web server becomes available. The switch --NodePort ensures that we can use any Node on the cluster to access the application.
To get the NodePort of the myweb deployment, run the following command.
- kubectl get svc myweb-59d7488cb9-jvnwn
OutputNAME                     TYPE       CLUSTER-IP   EXTERNAL-IP   PORT(S)        AGE
myweb-59d7488cb9-jvnwn   NodePort   10.3.0.119   <none>        80:31930/TCP   6m
In this case, the NodePort is port 31930. Every Worker Node uses this port to respond to HTTP requests. Let’s test it out.
Use the DigitalOcean Console to get the IP address of one of the Worker Nodes.
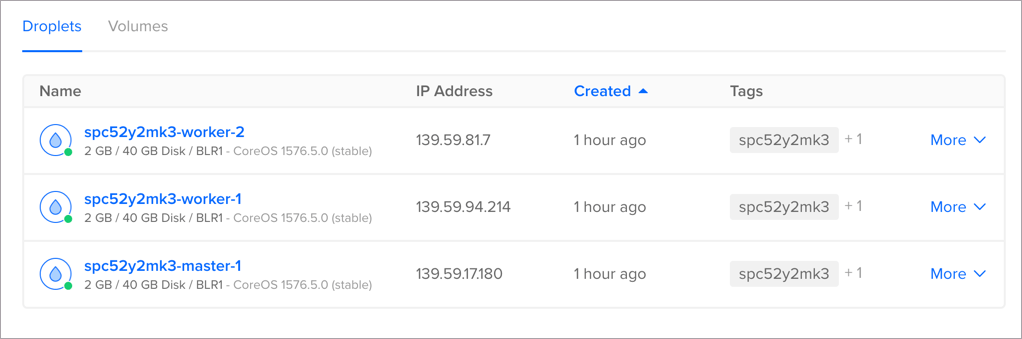
Use the curl command to make an HTTP request to one of the nodes on port 31930.
- curl http://your_worker_1_ip_address:31930/
You’ll see the response containing the Nginx default home page:
Output<!DOCTYPE html>
<html>
  <head>
    <title>Welcome to nginx!</title>
...
     Commercial support is available at
     <a href="http://nginx.com/">nginx.com</a>.</p>
    <p><em>Thank you for using nginx.</em></p>
  </body>
</html>
You have successfully deployed a containerized application to your Kubernetes cluster.
Conclusion
Kubernetes is a popular container management platform. StackPoint makes it easy to install Kubernetes on DigitalOcean.
In the next part of this series, we will explore the building blocks of Kubernetes in more detail.
Thanks for learning with the DigitalOcean Community. Check out our offerings for compute, storage, networking, and managed databases.
Tutorial Series: Webinar Series: Deploying & Managing Containerized Workloads in the Cloud
This series covers the essentials of containers, including container lifecycle management, deploying multi-container applications, scaling workloads, and understanding Kubernetes, along with highlighting best practices for running stateful applications. These tutorials supplement the by the same name.
Browse Series: 6 tutorials
About the author
Cloud Computing Enthusiast
Still looking for an answer?
This textbox defaults to using Markdown to format your answer.
You can type !ref in this text area to quickly search our full set of tutorials, documentation & marketplace offerings and insert the link!
Just tried it (3 nodes, 1gb each) and i get “Error configuring Kubernetes master: non-zero return code” and no more info. Cannot even report the issue since Stackpoint asks me 400 USD.
Is bad for a tutorial to use a 3rd party service where the only way to solve any issue is to pay. There should be an alternative tutorial where doesn’t use stackpoint or other 3rd party service.
Nice and great web series tutorial. For beginners, Regardless of how you get started learning Kubernetes now is the time to start. There are so many places to deploy Kubernetes now it doesn’t make sense to not kick the tires now before determining if it is a great fit for your use cases.
Took me for a while to realize that the curl link was for mac(kubectl: cannot execute binary file).
So if using Linux use this:
curl -LO https://storage.googleapis.com/kubernetes-release/release/$(curl -s https://storage.googleapis.com/kubernetes-release/release/stable.txt)/bin/linux/amd64/kubectl
It’s just weird that it’s not actually DigitalOcean related tutorial. It’s somehow 3rd party web site advertisement. People can’t follow up tutorial without registering to paid service, there isn’t even free trier.
Can we get this updated for the current state of things? With Kubernetes now integrated into DigitalOcean and stackpoint.io being sunsetted, the information in this article feels real stale.
 This work is licensed under a Creative Commons Attribution-NonCommercial- ShareAlike 4.0 International License.
Become a contributor for community
Get paid to write technical tutorials and select a tech-focused charity to receive a matching donation.

DigitalOcean Documentation
Full documentation for every DigitalOcean product.

Resources for startups and AI-native businesses
The Wave has everything you need to know about building a business, from raising funding to marketing your product.
The developer cloud
Scale up as you grow — whether you're running one virtual machine or ten thousand.

Start building today
From GPU-powered inference and Kubernetes to managed databases and storage, get everything you need to build, scale, and deploy intelligent applications.
