By PaulHalliday

The author selected Open Internet/Free Speech Fund to receive a donation as part of the Write for DOnations program.
Introduction
Angular is a popular JavaScript framework that creates interactive web, mobile, and desktop applications. Enforced separation of concerns, first-class TypeScript support, and robust Command Line Interface (CLI) make Angular a top choice for modern enterprise applications.
The Angular CLI simplifies the process of getting started with Angular. The CLI also takes care of code generation, production builds, and dependency management.
By the end of this tutorial, you’ll have created an Angular application with the Angular CLI. You’ll use the CLI to create a new app, run it in the browser, and build for production.
You’ll also view how Angular splits presentation, styling, and business concerns into separate units. This involves practicing how HTML, CSS, and TypeScript layers interact with each other.
Prerequisites
To follow along with the article, you’ll need the following:
- Basic knowledge of the Terminal or Command Line interface. Read the Introduction to the Linux Terminal guide to learn more.
- Some knowledge of TypeScript is helpful but not required. To review TypeScript, check out the How To Code in TypeScript series.
- Familiarity with CSS and HTML, and a basic understanding of JavaScript, which you can gain by following along with the How To Code in JavaScript series.
- Node.js version 8.9 and above. You can install Node by downloading it from the website, or by using Node Version Manager to manage your Node installs.
Step 1 — Installing the Angular CLI and Creating Your First Application
In this step, you’ll install the Angular CLI on your local computer and build out your Angular application. To begin, you’ll download the Angular CLI and achieve the following three goals:
-
Create a new Angular project
-
Run the local development server
-
Build this application for production
Run the following command in your terminal to download the Angular CLI:
- npm install -g @angular/cli
To ensure the installation was successful, run the following command in your terminal:
- ng version
The Angular CLI will print the current version and surrounding environment to the terminal:
OutputAngular CLI: 12.1.4
Node: 14.17.4
Package Manager: npm 6.14.14
OS: darwin x64
To begin working with Angular, you’ll create your first workspace with the CLI called my-first-angular-app. Projects in Angular are known as workspaces.
Run the following in your terminal:
- ng new my-first-angular-app
The command will ask some initialization questions used to configure the workspace:
Output
? Would you like to add Angular routing? (y/N) N
? Which stylesheet format would you like to use?
❯ CSS
 SCSS   [ https://sass-lang.com/documentation/syntax#scss                ]
 Sass   [ https://sass-lang.com/documentation/syntax#the-indented-syntax ]
 Less   [ http://lesscss.org
For the first question, type in N as you won’t use Angular routing for this project. Press your ENTER or RETURN key.
In the second question, select CSS as the stylesheet format.
Press your ENTER or Return key to initialize your project.
You’ll now have an Angular workspace named my-first-angular-app. The Angular CLI installs any required dependencies on project creation. For more information about the Angular CLI and workspace creation, check out the Angular documentation.
Now that you’ve downloaded the Angular CLI and made a new Angular workspace, let’s look at how to run your application in the browser.
Step 2 — Running Your Angular Application in the Browser
In this step, you’ll run your application in the browser using the CLI. Angular’s local development server refreshes the browser whenever the filesystem changes. The fast feedback cycle ensures that you can see the results of your changes as soon as possible.
Angular’s local development server provides you with the following benefits:
- Starts a local web server on a port of your choice.
- Watch for changes in the files and reload the browser on change.
- Manages TypeScript compilation and bundling.
Ensure you’re in the my-first-angular-app directory by running this command in your terminal:
- cd my-first-angular-app
Next, start the web server by running the following command in your terminal:
- ng serve -o
Angular will build your development application and expose it on a local web server at http://localhost:4200. The application will open in a web browser because you added the -o flag to ng serve.
You can verify that this was successful by examining the output of your terminal:
Output✔ browser application bundle generation complete.

Initial Chunk Files | Names         |      Size
vendor.js           | vendor        |   2.08 MB
polyfills.js        | polyfills     | 128.57 kB
main.js             | main          |  10.81 kB
runtime.js          | runtime       |   6.59 kB
styles.css          | styles        | 179 bytes

                    | Initial Total |   2.22 MB

Build at: 2021-08-01T23:30:14.012Z - Hash: 3302767a539a29a592de - Time: 7433ms
** Angular Live Development Server is listening on localhost:4200, open your browser on http://localhost:4200/ **

✔ Compiled successfully.
You can pass other configuration options to ng serve to customize the environment. You can see a complete list of configuration options here.
You’ll now see your Angular application on the screen. As long as ng serve is running, any changes to the file system will cause the browser to update with the new content. Keep ng serve running throughout the development process of your application.
In this step, you ran your Angular application in the browser using ng serve. You passed configuration options to CLI commands, such as `ng serve -o’.
Next, you’ll make changes to an Angular component and see the changes reflected on the screen.
Step 3 — Updating the Homepage Template
In this step, you’ll be displaying content on-screen by editing HTML. The HTML template is otherwise known as the view of an Angular component. By the end of this step, you’ll have learned how to update the starter template with your content.
You can find the HTML for your AppComponent at src/app/app.component.html. Open this up in a text editor of your choice and delete the contents. You should have a blank HTML document ready to write your markup.
Add the below HTML copy to your src/app/app.component.html:
<div>
 <article>
  <header>
    <h1>I'm learning Angular at DigitalOcean</h1>
  </header>
  <section>
    <p>Here's what I've learned so far:</p>
    <ul>
      <li>
        Angular allows us to create performant web applications using TypeScript.
      </li>
      <li>
        I can use the Angular CLI to create/interact with my Angular workspace.
      </li>
      <li>
        Making changes will automatically be shown on screen, thanks to the local development server!
      </li>
    </ul>
  </section>
 </article>
</div>
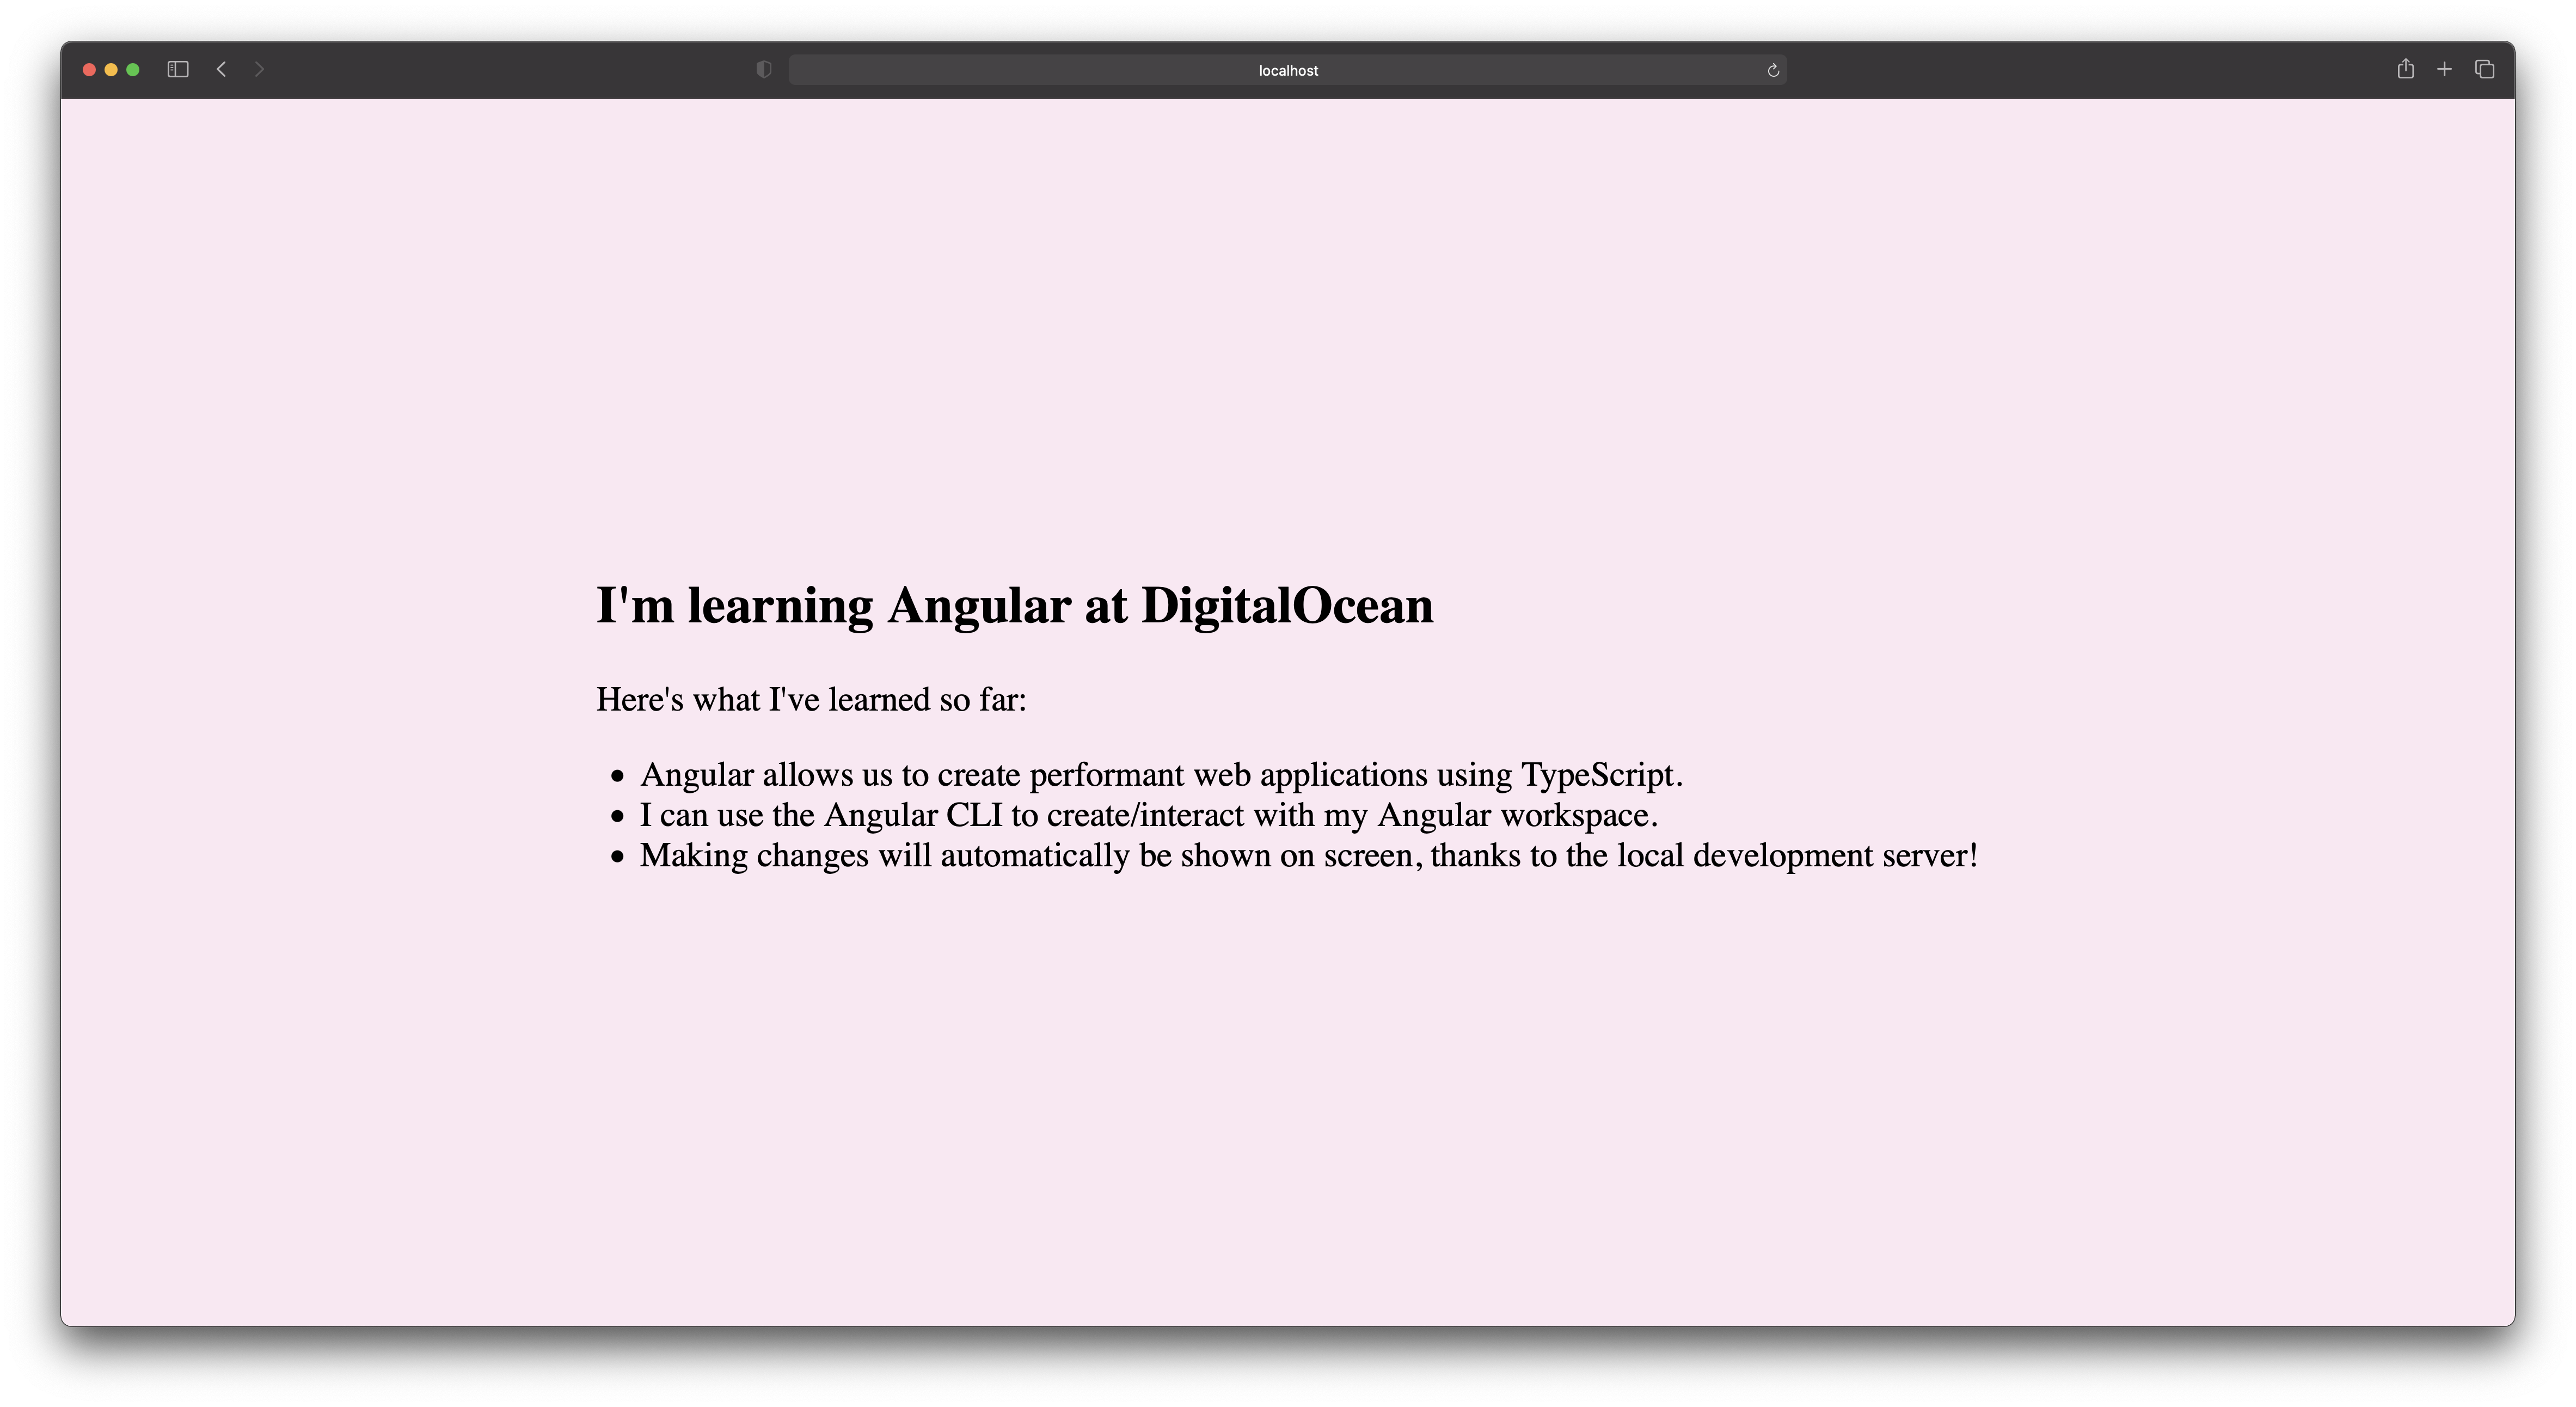
You’ve added a <div> containing a header and a section that includes an unordered list. You will see your unordered list in bullet points and your title in large font due to the <h1> tag.
Notice that your app component updates as soon as you save the document. Feel free to experiment with further additions of your own and witness them in real-time.
You’ve now updated the HTML template of the base app component. This is the entry component for your Angular application. In the next step, you’ll be styling the content using CSS.
Step 4 — Updating the Homepage Styling
In this step, you’ll style your application with CSS. Angular allows you to work with both scoped and global styles. The ability to scope CSS to a component enables flexibility without impeding your designs.
You’ll start by setting up some default global styles for your application by editing src/styles.css:
body {
 background-color: #fce7f3;
 display: flex;
 align-items: center;
 justify-content: center;
 height: 100vh;
 font-size: 2rem;
}
These styles centers all of your content in the middle of the screen, and sets a warm background color. Keep in mind that any changes made to your global styles.css will show in every component going forward. If successful, you will view the following in your browser:
Note: Remember to save your files after each change before moving to the next step.
The Angular CLI adds styles.css to the styles array of the build builder in your angular.json file. You don’t have to manually add a reference to styles.css to index.html.
{
 "projects": {
 "my-first-angular-app": {
 ...
 "architect": {
 "build": {
 "builder": "@angular-devkit/build-angular:browser",
 "options": {
 ...
 "styles": ["src/styles.css"]
          }
        }
      }
    }
  }
}
You’ll review more about the Angular build process in Step 6.
Next, let’s style the app component. Styles added to a component won’t appear in other parts of your application. For more information on style scoping, read through the Angular documentation.
Head over to src/app/app.component.css and add the following CSS below the global style:
...
[label src/app/app.component.css] article {
 background-color: #fbcfe8;
 padding: 2rem 4rem;
 color: #1f2937;
 font-family: "Segoe UI", Tahoma, Geneva, Verdana, sans-serif;
 box-shadow: 20px 20px 0px #db2777;
 border: 6px solid #831843;
 border-radius: 2rem;
}

header {
 text-decoration: underline;
}

ul {
 list-style: square;
}
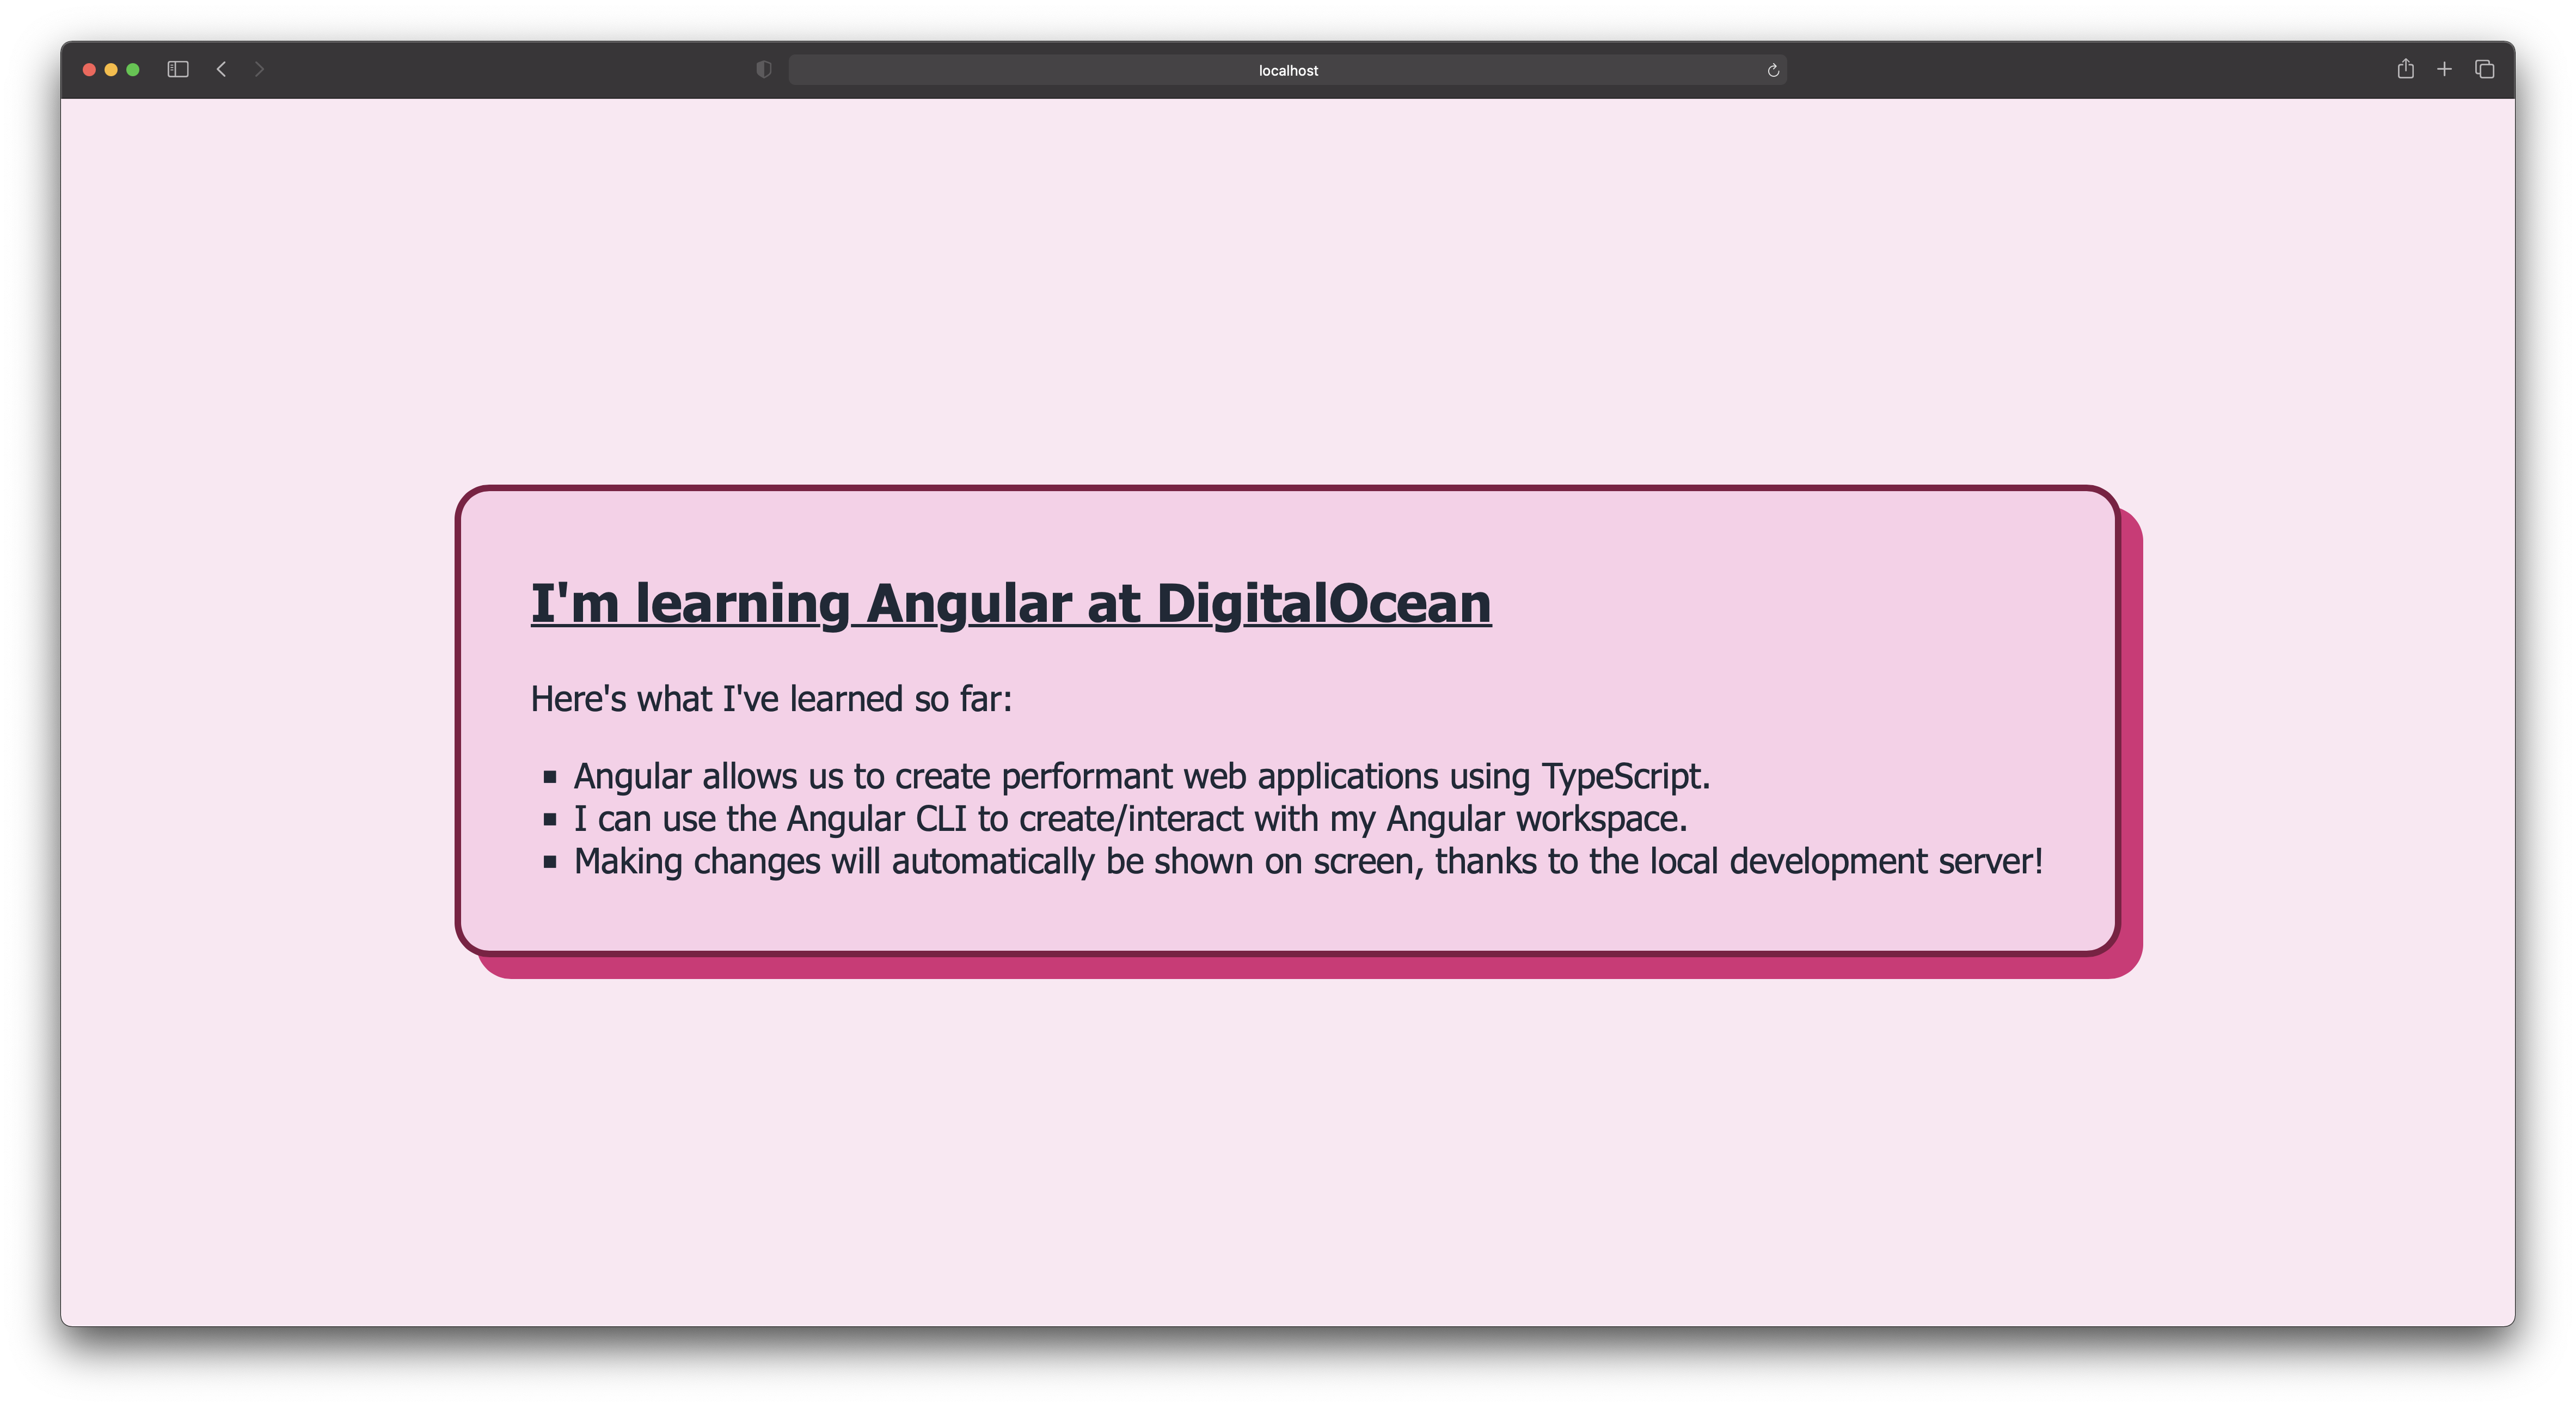
Your style will now appear in the content within the <article> tag in your browser:
With your styling in place, let’s explore how to change your user interface dynamically.
Step 5 — Updating the Homepage TypeScript
In this step, you’ll work with TypeScript in your Angular application, found at src/app/app.component.ts. Angular uses decorators to dynamically style your components with ngStyle and ngClass.
Angular components use the JavaScript class syntax. To tell Angular that this class is a component, you’ll need to add a @Component(...) decorator to the class.
Decorators in TypeScript and Angular provide metadata around the class or function declaration. In Angular, they are specifically used to provide metadata to the dependency injection system and the compiler. This allows arbitrary code to run before, during, and after executing a class or function. Angular then associates the files that connect with a component. You can find more information about decorators in TypeScript here.
You can see this in action in the AppComponent created with the CLI. Open src/app/app.component.ts and observe the following:
@Component({
  selector: 'app-root',
  templateUrl: './app.component.html',
  styleUrls: ['./app.component.css']
})
export class AppComponent {
 ...
}
Notice that the styleUrls property is an array with one value. This is because app-root contains one CSS style sheet. You could add more style sheets to the styleUrls array, and Angular will bundle them together.
The selector is the CSS selector that identifies this component. This will be the name of the component in the HTML template, and you can see this inside of index.html:
<!doctype html>
  <html lang="en">
    <head>
      ...
    </head>
    <body>
      <app-root></app-root>
    </body>
</html>
Angular allows you to bind application state defined inside of your src/app/app.component.ts file to its HTML template at src/app/app.component.html.
Within the AppComponent, create a new variable named myNextProject and assign it the value of a porfolio website:
import { Component } from '@angular/core';

@Component({
  selector: 'app-root',
  templateUrl: './app.component.html',
  styleUrls: ['./app.component.css']
})
export class AppComponent {
  myNextProject = 'a portfolio website.';
}
You can now use the variable as a binder to src/app/app.component.html and connect the data defined in TypeScript to your HTML template. Angular defines TypeScript variables in HTML by surrounding the variable inside double curly braces:
{{ myNextProject }}
Within src/app/app.component.html, add the variable in the text between the <footer> tag:
<article>
<header>
<h1>I'm learning Angular at DigitalOcean</h1>
</header>
<section>
<p>Here's what I've learned so far:</p>
<ul>
<li>
Angular allows you to create performant web applications using TypeScript.
</li>
<li>
I can use the Angular CLI to create/interact with my Angular workspace.
</li>
<li>
Making changes will automatically be shown on screen, thanks to the local development server!
</li>
</ul>
</section>
<footer>
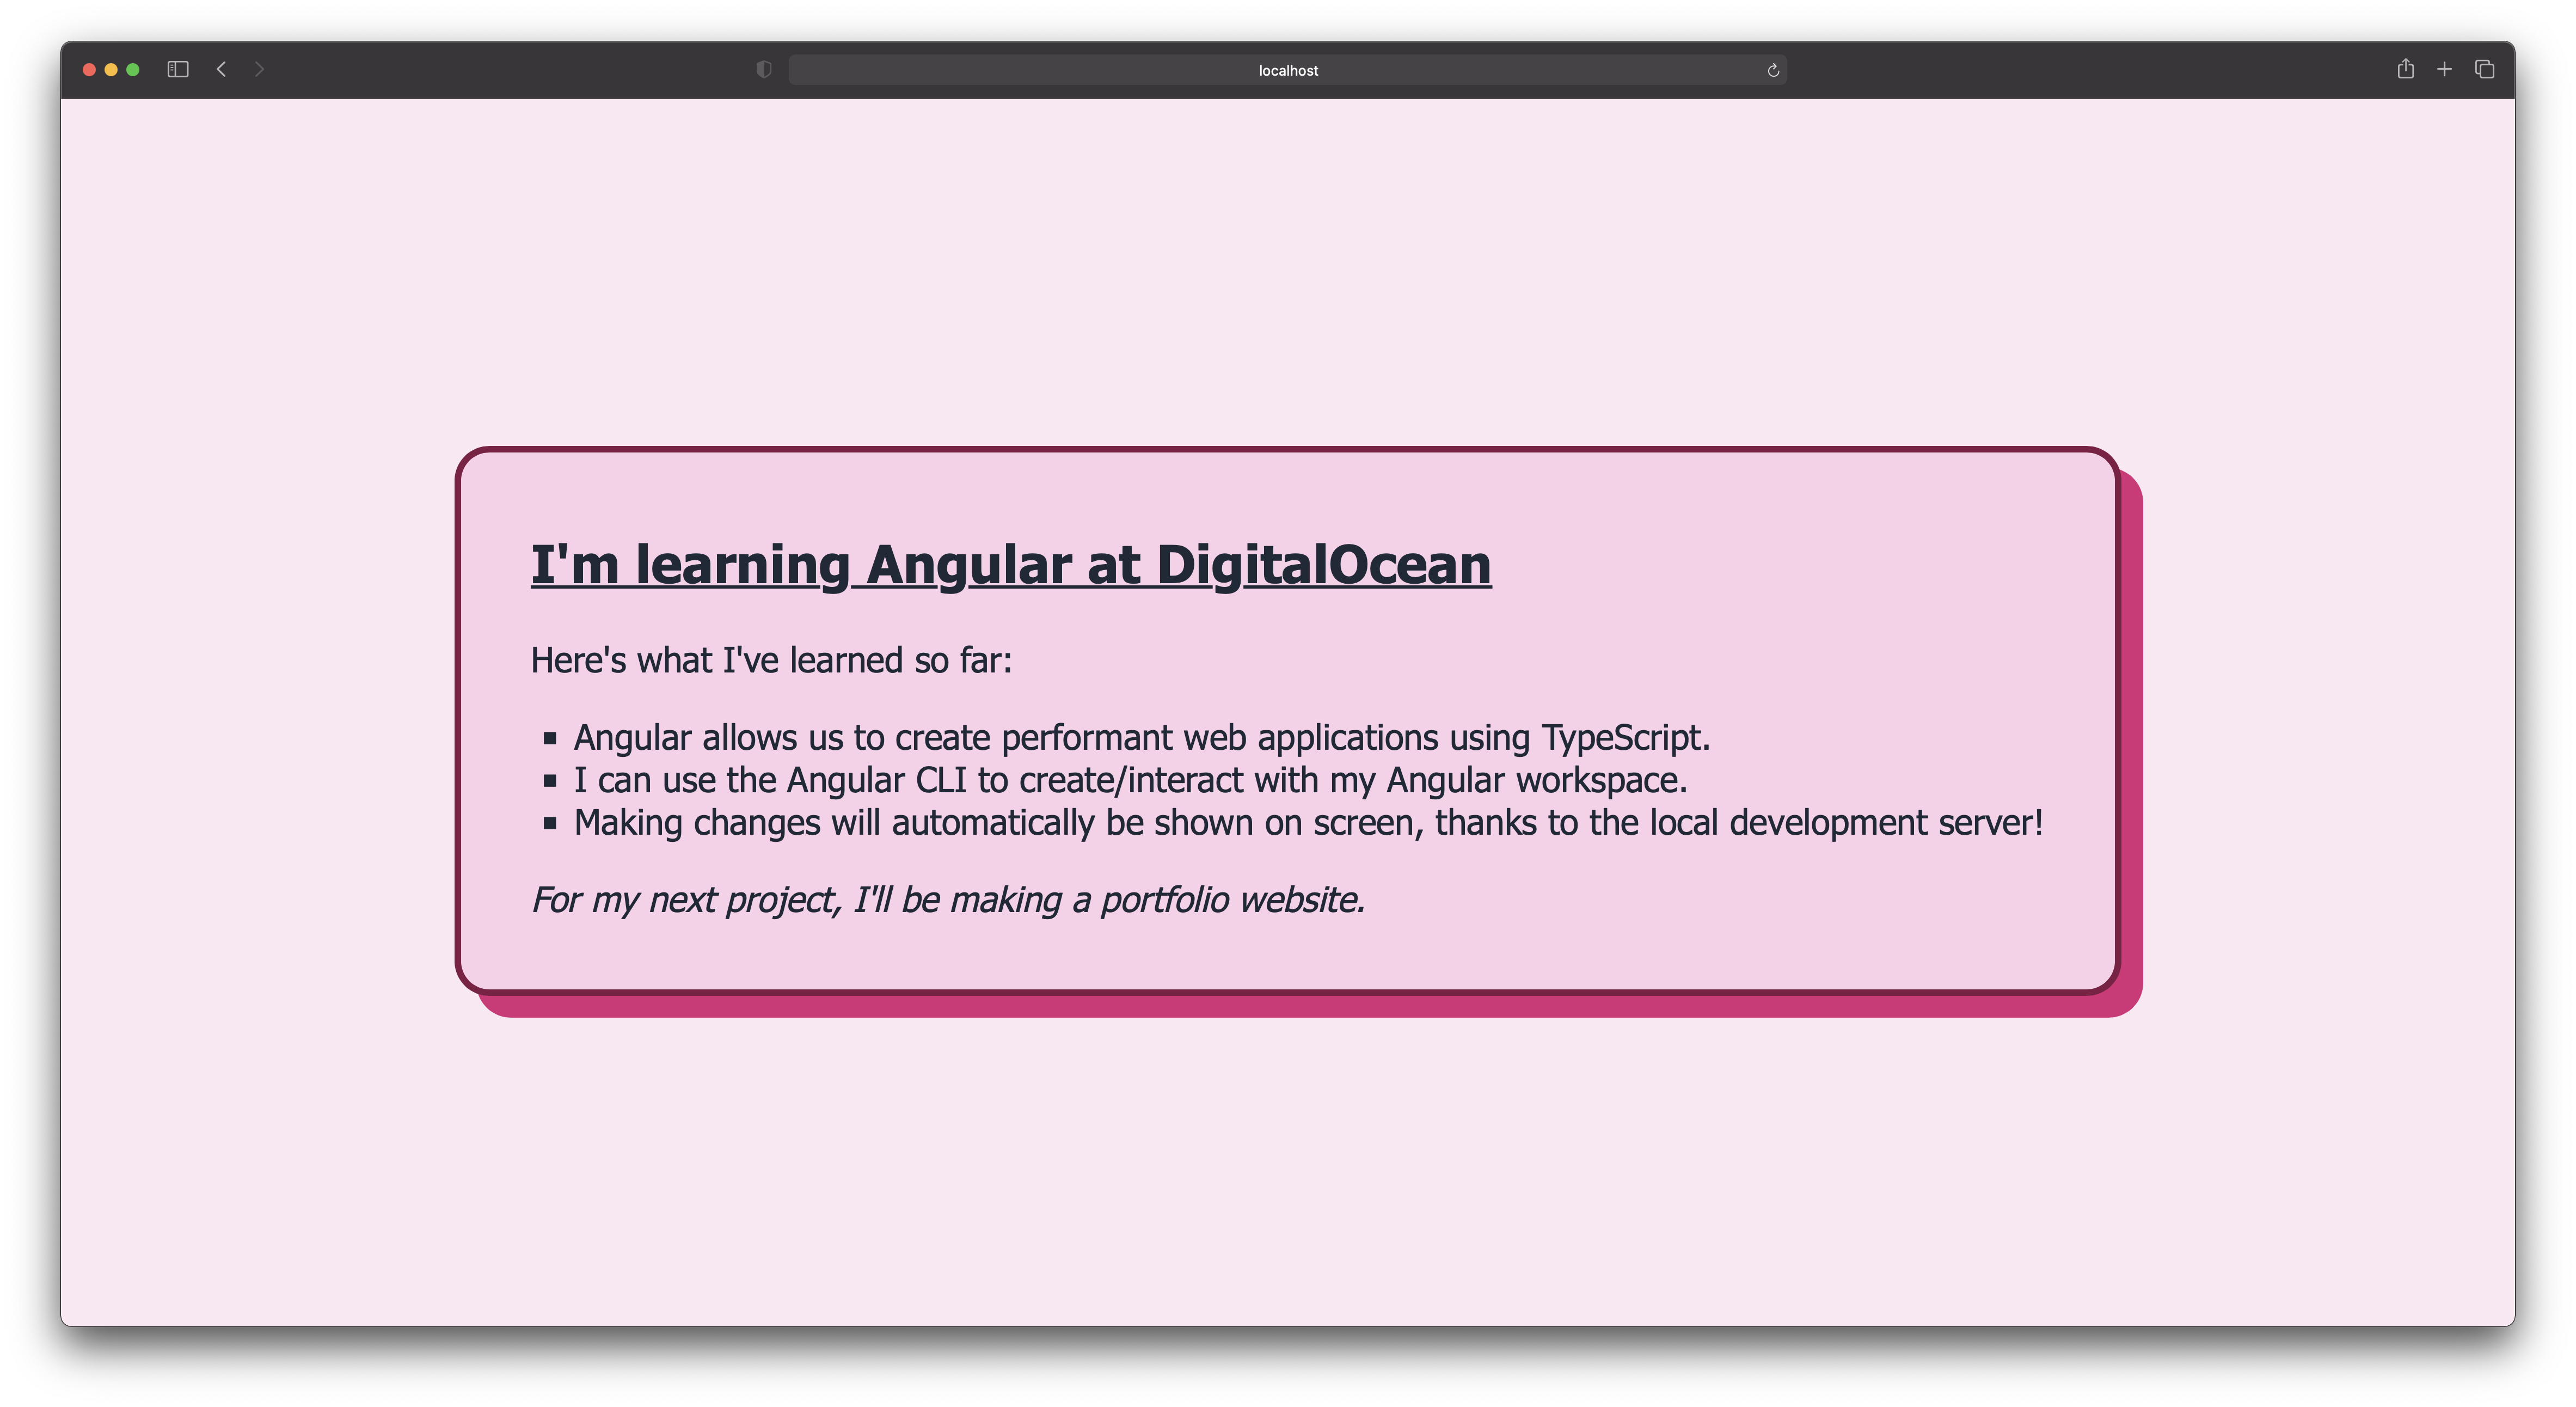
<p>For my next project, I'll be making {{ myNextProject }}</p>
</footer>
</article>
The content within the <p> tag will render as For my next project, I'll be making a portfolio website. in the browser:
As executed here, binding values in your template allows you to serve dynamic content to your users.
You can also use functions inside of your TypeScript file to determine your outputs as well. In your src/app/app.component.ts, define a new variable showPurpleBoxShadow and a getBoxShadow() function:
import { Component } from '@angular/core';

@Component({
  selector: 'app-root',
  templateUrl: './app.component.html',
  styleUrls: ['./app.component.css']
})
export class AppComponent {
  myNextProject = 'a portfolio website.';

  showPurpleBoxShadow = true;

 get boxShadow() {
 if (this.showPurpleBoxShadow) return '20px 20px 0px #bdb2ff';

 return '20px 20px 0px #DB2777';
  }
}
Navigate to your src/app/app.component.html file and insert the [ngStyle] directive within your <article> tag:
<article [ngStyle]="{'box-shadow': boxShadow}">...</article>
ngStyle is an Angular directive that binds application state to CSS styles. In Angular, a directive is a “marker” on a DOM element, such as [ngStyle]. Angular is then able to attach functionality to the DOM element.
In this scenario, you’re applying different box-shadow styles depending on the value of showPurpleBoxShadow. You can also achieve the same result with the use of the ngClass directive. Instead of applying CSS styles, this will conditionally apply a CSS class.
Open src/app/app.component.css and add the following CSS classes:
.purple-box-shadow {
 box-shadow: 20px 20px 0px #bdb2ff;
}

.pink-box-shadow {
 box-shadow: 20px 20px 0px #db2777;
}
Then, in src/app/app.component.ts, update the boxShadow getter to return a class name instead:
export class AppComponent {
 ...

 get boxShadow() {
 if (this.showPurpleBoxShadow) return 'purple-box-shadow';

 return 'pink-box-shadow';
  }
}
You can then use the ngClass directive to conditionally apply the purple-box-shadow class to the <article> tag:
<article [ngClass]="boxShadow">
...
</article>
If successful, you will view the following in your browser:

You can now see your design manifest on-screen without additional redeployment after each change. Let’s look at how to build your Angular application for development and production.
Step 6 — Building Your Production Environment
In this step, you’ll use the Angular CLI to generate a production build for your Angular project. Angular uses Webpack, which you will use to bundle your files and optimize the site for production.
Webpack is an open-source module bundler for JavaScript applications. It provides the ability to load code/assets on demand. It offers a powerful optimization system that minimizes the number of requests needed to fetch all necessary assets from the server.
To create a custom Webpack configuration file, review the article How To Use Custom webpack Configurations with Angular CLI Builders for more information.
By default, the Angular CLI offers two types of builds:
Development
The unoptimized version of your code containing source maps and runtime checks that help you detect and investigate issues while developing an app before deploying it into production environments.
The Angular CLI will generate an unoptimized version of your code when you run the command ng serve. You should avoid deploying the development build into production. The development build doesn’t contain any optimizations that are necessary for a fast, production-ready application.
You can build your project with the development configuration by running the following command in your terminal:
- ng build --configuration development
Production
Building your project with the production configuration will generate optimized code and provides you with benefits like:
- Code minification and bundling to decrease your application’s size.
- Tree-shaking to make unused parts of imported modules excluded from final builds, saving bandwidth with no detrimental impact on functionality.
- No source maps, compiler errors, and warnings for a smaller bundle size.
Production builds are essential for public-facing applications, as page speed and delivery time are crucial metrics for search engines and users. For more information on page speed and delivery time optimization, click here.
To generate a production build, run ng build from your project folder. The CLI will lint your code and generate an optimized, minified version of your application.
If successful, it’ll provide you with statistics about the bundle:
Output✔ browser application bundle generation complete.
✔ Copying assets complete.
✔ Index html generation complete.

Initial Chunk Files        | Names     |   Size
main.0deeec3d31917b111ae5.js   | main     | 104.77 kB
polyfills.313e64a67eb403254da5.js | polyfills   | 35.96 kB
runtime.284ffbeed756735f6289.js  | runtime    |  1.02 kB
styles.e5294562d7aae78a8725.css  | styles    | 113 bytes

| Initial Total | 141.86 kB
Notice how the file names have a unique hash after their name. Angular adds this to allow for “cache-busting”. As the hash changes on each build, browsers can reset their cache when they revisit the site.
If you make any changes to the file, the hash will change, and the browser will reload the new file. Otherwise, the browser will use the cached version.
The Angular CLI can also show warnings at this stage when the bundle size is too large. You should continue to review bundle sizes as your application grows.
You can find the configuration options that correspond to the Angular CLI commands, such as ng build and ng serve, in the angular.json file. Navigate through the configurations key to view the options set for the production and development builds. You can configure these limits on a per-build basis.
{
 ...
 "projects": {
 "my-first-angular-app": {
 "architect": {
 "build": {
 ...
 "configurations": {
 "production": {
 "budgets": [
 {
  "type": "initial",
  "maximumWarning": "500kb",
  "maximumError": "1mb"
 },
 {
  "type": "anyComponentStyle",
  "maximumWarning": "2kb",
  "maximumError": "4kb"
 }
],
            }
          }
        }
      }
    }
  }
}
The ng build command outputs these to the dist/my-first-angular-app folder to access the built files for deployment. You can use these files to deploy the application to a server or CDN. For more information on this, see the Angular CLI documentation.
In this step, you learned how to use the Angular CLI to create a development and production build. You also considered important factors that go into producing a performant web application, such as bundle size.
Conclusion
In this tutorial, you created an Angular project using the Angular CLI. You excecuted and ran the project in the browser, and updated the way the application looks and performs.
You used the CLI to generate a production build and learned about configuration options for a deeper insight into how and where the CLI operates.
To learn more about the Angular CLI and additional commands, check out the Angular CLI documentation.
Thanks for learning with the DigitalOcean Community. Check out our offerings for compute, storage, networking, and managed databases.
About the author
I create educational content over at YouTube and https://developer.school.
Still looking for an answer?
This textbox defaults to using Markdown to format your answer.
You can type !ref in this text area to quickly search our full set of tutorials, documentation & marketplace offerings and insert the link!
 This work is licensed under a Creative Commons Attribution-NonCommercial- ShareAlike 4.0 International License.
Become a contributor for community
Get paid to write technical tutorials and select a tech-focused charity to receive a matching donation.

DigitalOcean Documentation
Full documentation for every DigitalOcean product.

Resources for startups and AI-native businesses
The Wave has everything you need to know about building a business, from raising funding to marketing your product.
The developer cloud
Scale up as you grow — whether you're running one virtual machine or ten thousand.

Start building today
From GPU-powered inference and Kubernetes to managed databases and storage, get everything you need to build, scale, and deploy intelligent applications.
