By Albert Valbuena and Kathryn Hancox

The author selected the COVID-19 Relief Fund to receive a donation as part of the Write for DOnations program.
Introduction
The Apache HTTP web server has evolved through the years to work in different environments and solve different needs. One important problem Apache HTTP has to solve, like any web server, is how to handle different processes to serve an http protocol request. This involves opening a socket, processing the request, keeping the connection open for a certain period, handling new events occurring through that connection, and returning the content produced by a program made in a particular language (such as PHP, Perl, or Python). These tasks are performed and controlled by a Multi-Processing Module (MPM).
Apache HTTP comes with three different MPM:
- Pre-fork: A new process is created for each incoming connection reaching the server. Each process is isolated from the others, so no memory is shared between them, even if they are performing identical calls at some point in their execution. This is a safe way to run applications linked to libraries that do not support threading—typically older applications or libraries.
- Worker: A parent process is responsible for launching a pool of child processes, some of which are listening for new incoming connections, and others are serving the requested content. Each process is threaded (a single thread can handle one connection) so one process can handle several requests concurrently. This method of treating connections encourages better resource utilization, while still maintaining stability. This is a result of the pool of available processes, which often has free available threads ready to immediately serve new connections.
- Event: Based on worker, this MPM goes one step further by optimizing how the parent process schedules tasks to the child processes and the threads associated to those. A connection stays open for 5 seconds by default and closes if no new event happens; this is the keep-alive directive default value, which retains the thread associated to it. The Event MPM enables the process to manage threads so that some threads are free to handle new incoming connections while others are kept bound to the live connections. Allowing re-distribution of assigned tasks to threads will make for better resource utilization and performance.
The MPM Event module is a fast multi-processing module available on the Apache HTTP web server.
PHP-FPM is the FastCGI Process Manager for PHP. The FastCGI protocol is based on the Common Gateway Interface (CGI), a protocol that sits between applications and web servers like Apache HTTP. This allows developers to write applications separately from the behavior of web servers. Programs run their processes independently and pass their product to the web server through this protocol. Each new connection in need of processing by an application will create a new process.
By combining the MPM Event in Apache HTTP with the PHP FastCGI Process Manager (PHP-FPM) a website can load faster and handle more concurrent connections while using fewer resources.
In this tutorial you will improve the performance of the LAMP stack by changing the default multi-processing module from pre-fork to event and by using the PHP-FPM process manager to handle PHP code instead of the classic mod_php in Apache HTTP.
Prerequisites
Before you begin this guide you’ll need the following:
- One Ubuntu 18.04 server set up by following the Ubuntu 18.04 initial server setup guide, including a sudo non-root user and a firewall.
- The LAMP stack installed on your server following How To Install Linux, Apache, MySQL, PHP (LAMP stack) on Ubuntu 18.04.
Step 1 — Changing the Multi-Processing Module
Ubuntu inherits scripts to enable or disable Apache HTTP modules from its parent distribution, Debian. You’ll use this toolset in this step to disable the Pre-fork module and enable the Event module.
In this step you will stop Apache HTTP, disable the PHP 7.2 module linked to the Pre-fork module, and then disable Pre-fork to immediately enable the Event module.
First you’ll stop the Apache HTTP service:
- sudo systemctl stop apache2
Now you can disable the PHP 7.2 module, which is related to the Pre-fork module:
- sudo a2dismod php7.2
Then disable the Pre-fork MPM module:
- sudo a2dismod mpm_prefork
Now enable the Event MPM module:
- sudo a2enmod mpm_event
You’ve switched the MPM from pre-fork to event and removed the PHP 7.2 module connection between PHP and Apache HTTP. In the next step you’ll install the php-fpm module, as well as the related libraries and proxy modules. You’ll configure Apache HTTP so that it can communicate with PHP too.
Step 2 — Configuring Apache HTTP to Use the FastCGI Process Manager
At this stage you’ve switched the way Apache HTTP processes connections by moving from the Pre-fork MPM to Event. However along the way you’ve disabled the PHP module that connected Apache HTTP with any program running on PHP.
In this step you’ll install the PHP-FPM processor so Apache HTTP is again able to process PHP programs. And you’ll also install the dependency libraries and enable the modules so both can cooperate smoothly and quicker than before.
First install php-fpm. The following command will install the PHP-FPM package and it will automatically enable the php7.2-fpm service integrated with systemd, so the service is started at boot time:
- sudo apt install php-fpm
In order to communicate, Apache HTTP and PHP need a library enabling that capacity. You’ll now install libapache2-mod-fcgid, which is able to serve as an interface between programs with web servers, and it’s specific to Apache HTTP. This communication will happen through a UNIX socket.
Install this library:
- sudo apt install libapache2-mod-fcgid
You’ve installed php-fpm and the libapache2-mod-fcgid, but neither are enabled yet.
First enable the php-fpm module with the following command:
- sudo a2enconf php7.2-fpm
Second enable Apache HTTP proxy module:
- sudo a2enmod proxy
Third enable the FastCGI proxy module in Apache HTTP:
- sudo a2enmod proxy_fcgi
Note: You can read the configuration of this interaction between PHP programs and Apache HTTP through a UNIX socket with the following:
- cat /etc/apache2/conf-enabled/php7.2-fpm.conf
Everything is now in place so you can start Apache HTTP. You’ll make a configuration check first:
- sudo apachectl configtest
OutputSyntax OK
After that you can proceed to restart Apache HTTP, since it was automatically started when installing the FastCGI library libapache2-mod-fcgid:
- sudo systemctl restart apache2
You’ve installed the php-fpm module, configured Apache HTTP to work with it, enabled the necessary modules for the FastCGI protocol to work, and started the corresponding services.
Now that Apache has the Event MPM module enabled and PHP-FPM is present and running, it is time to check everything is working as intended.
Step 3 — Checking Your Configuration
In order to check that the configuration changes have been applied you’ll run some tests. The first one will check what multi-processing module Apache HTTP is using. The second will verify that PHP is using the FPM manager.
Check the Apache HTTP server by running the following command:
- sudo apachectl -M | grep 'mpm'
Your output will be as follows:
Outputmpm_event_module (shared)
You can repeat the same for the proxy module and FastCGI:
- sudo apachectl -M | grep 'proxy'
The output will show:
Outputproxy_module (shared)
proxy_fcgi_module (shared)
If you would like to see the entire list of the modules, you can remove the the second part of the command after -M.
It is now time to check if PHP is using the FastCGI Process Manager. To do so you’ll write a small PHP script that will show you all the information related to PHP.
Run the following command to write a file named as follows:
- sudo nano /var/www/your_domain/info.php
Add the following content into the info.php file:
<?php phpinfo(); ?>
Now visit your server’s URL and append info.php at the end like so: http://your_domain/info.php.
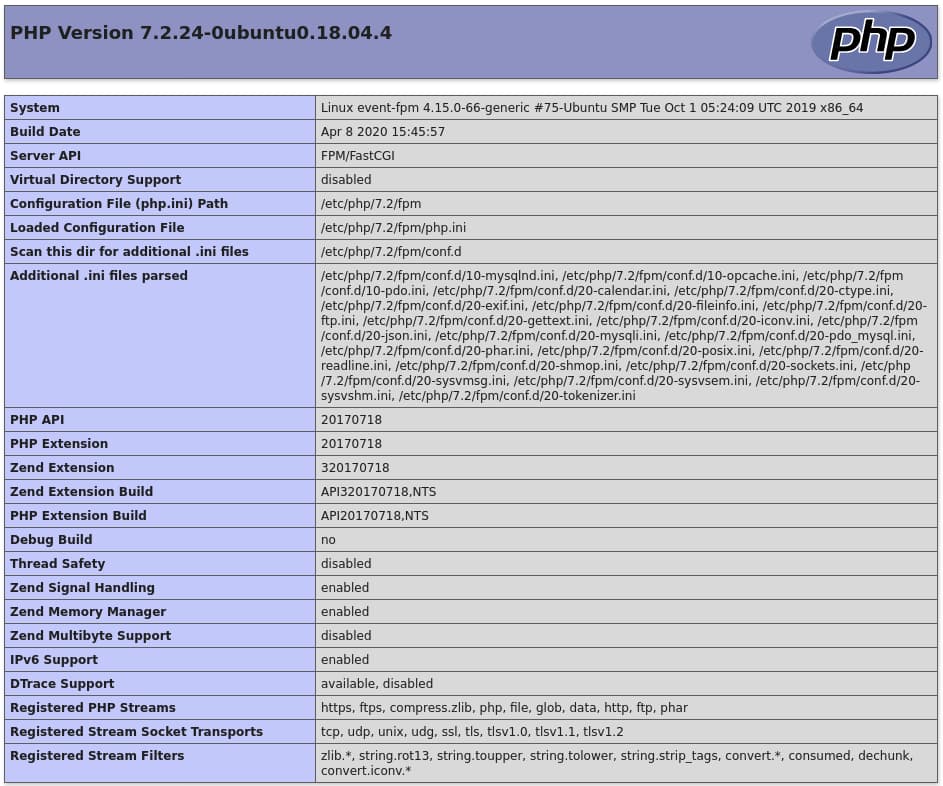
The server API entry will be FPM/FastCGI.
Delete the info.php file after this check so no information about the server is publicly disclosed:
- sudo rm /var/www/yourdomain.com/info.php
You’ve checked the working status of the MPM module, the modules handling the FastCGI and the handling of PHP code.
Conclusion
You’ve optimized your original LAMP stack, so the number of connections to create new Apache HTTP processes has increased, PHP-FPM will handle PHP code more efficiently, and overall resource utilization has improved.
See the Apache HTTP server project documentation for more information on the different modules and related projects.
Thanks for learning with the DigitalOcean Community. Check out our offerings for compute, storage, networking, and managed databases.
About the author(s)
Former Senior Technical Editor at DigitalOcean, with a strong focus on DevOps and System Administration content. Areas of expertise include Terraform, PyTorch, Python, and Django.
Still looking for an answer?
This textbox defaults to using Markdown to format your answer.
You can type !ref in this text area to quickly search our full set of tutorials, documentation & marketplace offerings and insert the link!
Thanks for this simple and painless guide. Works just as well on Ubuntu 20.04 and php 7.4 with a couple of edits from 7.2 to 7.4
What about the config that is in the file:
/etc/apache2/conf-available/php*.*-fpm.conf
<IfModule !mod_php8.c>
<IfModule proxy_fcgi_module>
    # Enable http authorization headers
    <IfModule setenvif_module>
    SetEnvIfNoCase ^Authorization$ "(.+)" HTTP_AUTHORIZATION=$1
    </IfModule>

    <FilesMatch ".+\.ph(ar|p|tml)$">
        SetHandler "proxy:unix:/run/php/php8.0-fpm.sock|fcgi://localhost"
    </FilesMatch>
    <FilesMatch ".+\.phps$">
        # Deny access to raw php sources by default
        # To re-enable it's recommended to enable access to the files
        # only in specific virtual host or directory
        Require all denied
    </FilesMatch>
    # Deny access to files without filename (e.g. '.php')
    <FilesMatch "^\.ph(ar|p|ps|tml)$">
        Require all denied
    </FilesMatch>
</IfModule>
</IfModule>
Shouldn’t we copy/paste this in our vhost file?
Or at least that part?
    <FilesMatch ".+\.ph(ar|p|tml)$">
        SetHandler "proxy:unix:/run/php/php8.0-fpm.sock|fcgi://localhost"
    </FilesMatch>
Hi, I tried the tips above and my web is suddenly can’t be accessed.
How do I reverse the Apache PHP ?
This will break your apache server. It broke mine. I was trying it on our staging server so I did not go crazy. I recommend not doing this on your production server. This tutorial is missing something for sure. I will update if I find something.
Hi,
are there any plans to update this article for anyone using PHP 8.0.11?
It is the default version as part of the stack provided by DO’s one-click WordPress installation.
Would be nice to get an update as to not brick the server when updating for FPM, as it seems some people have already bricked theirs.
In addition to the comment by @donchev about adjusting the configurations but at least adding the SetHandler line to the vhosts file, I think it is extremely important here to mention that if you are going to use this kind of configuration under any load you will need to visit the file:
/etc/php/7.x/fpm/pool.d/www.conf
and adjust the values there. For example, the default value of pm.max_children is 5 which for my traffic needs I have increased to 256. Just make sure you have the RAM to handle your adjustments. Also, read the comments in this file and adjust all the values related to server and request values.
In case that anyone needs this, with newer versions you might have to enable the PHP FPM apache config with:
sudo a2enconf php8.3-fpm
And then restart Apache.
I was trying to do this on Ubuntu 22.04 and php8.1 but kept getting just a Forbidden error. I was unable to get it to work even after trying all of the ideas here and more. I was able to reverse the changes though. I’d be grateful for any further pointers!
 This work is licensed under a Creative Commons Attribution-NonCommercial- ShareAlike 4.0 International License.
Become a contributor for community
Get paid to write technical tutorials and select a tech-focused charity to receive a matching donation.

DigitalOcean Documentation
Full documentation for every DigitalOcean product.

Resources for startups and AI-native businesses
The Wave has everything you need to know about building a business, from raising funding to marketing your product.
The developer cloud
Scale up as you grow — whether you're running one virtual machine or ten thousand.

Start building today
From GPU-powered inference and Kubernetes to managed databases and storage, get everything you need to build, scale, and deploy intelligent applications.
