By Karl Hughes and Matt Abrams

The author selected the Diversity in Tech Fund to receive a donation as part of the Write for DOnations program.
Introduction
Laravel is one of the most popular open-source PHP application frameworks today. It is commonly deployed with a MySQL database but can be configured to use a variety of backend data storage options. Laravel prides itself on taking advantage of many of PHP’s modern features and extensive package ecosystem.
Kubernetes is a container orchestration platform that can be hosted on DigitalOcean Kubernetes clusters to take much of the administration work out of setting up and running containers in production. Helm is a Kubernetes package manager that makes configuring and installing services and pods on Kubernetes easier.
In this guide, you will create a Laravel PHP application, build your app into a Docker image, and deploy that image to a DigitalOcean Kubernetes cluster using the LAMP Helm chart. Next, you’ll set up an Ingress Controller to add SSL and a custom domain name to your app. When completed, you will have a working Laravel application connected to a MySQL database that is running on a Kubernetes cluster.
Prerequisites
- Docker installed on the machine that you’ll access your cluster from. You can find detailed instructions on installing Docker for most Linux distributions here or on Docker’s website for other operating systems.
- An account at Docker Hub for storing Docker images you’ll create during this tutorial.
- A DigitalOcean Kubernetes 1.17+ cluster with your connection configuration set as the
kubectldefault. To learn how to create a Kubernetes cluster on DigitalOcean, see Kubernetes Quickstart. To learn how to connect to the cluster, see How to Connect to a DigitalOcean Kubernetes Cluster. - The Helm 3 package manager installed on your local machine. Complete the first step and add the
stablerepo from the second step of the How To Install Software on Kubernetes Clusters with the Helm 3 Package Manager tutorial. - A fully registered domain name with an available A record. This tutorial will use
your_domainthroughout. You can purchase a domain name on Namecheap, get one for free on Freenom, or use the domain registrar of your choice. Don’t worry about associating your domain’s A record with an IP at this time. Once you reach Step 5 and your Ingress controller is in place, you will connectyour_domainto the proper IP.
Step 1 — Creating a New Laravel Application
In this step, you’ll use Docker to create a new Laravel 7 application, but you should be able to go through the same process with an existing Laravel application that uses MySQL as the backing database. The new application you build will verify that Laravel is connected to the database and display the name of the database.
First, move to your home directory and then create a new Laravel application using a composer Docker container:
- cd ~
- docker run --rm -v $(pwd):/app composer create-project --prefer-dist laravel/laravel laravel-kubernetes
Once the container is done and all the Composer packages have been installed, you should see a fresh installation of Laravel in your current directory called laravel-kubernetes/. Navigate to that folder:
- cd ~/laravel-kubernetes
You’ll execute the rest of this tutorial’s commands from here.
The purpose of this application is to test your database connection and display its name in your browser. In order to test the database connection, open up the ./resources/views/welcome.blade.php file in a text editor:
- nano ./resources/views/welcome.blade.php
Find the section <div class="links">...</div> and replace its contents with the following:
...
<div class="links">
   <strong>Database Connected: </strong>
    @php
        try {
            DB::connection()->getPDO();
            echo DB::connection()->getDatabaseName();
            } catch (\Exception $e) {
            echo 'None';
        }
    @endphp
</div>
...
Save and close the file.
That’s all the customization you’ll need to make to the default Laravel app for this tutorial. Once completed, this brief snippet of PHP will test your database connection and display the database’s name on the Laravel splash screen in your web browser.
In the next step, you’ll use Docker to build an image containing this Laravel application and Docker Compose to test that it runs locally and connects to a MySQL database.
Step 2 — Containerizing Your Laravel Application
Now that you have created a new Laravel application, you’ll need to build your code into a Docker image and then test the image with Docker Compose. While the goal of this tutorial is to deploy your application to a Kubernetes cluster, Docker Compose is a convenient way to test your Docker image and configuration locally before running it in the cloud. This fast feedback loop can be useful for making and testing small changes.
First, using nano or your preferred text editor, create a file in the root of your Laravel application called Dockerfile:
- nano ./Dockerfile
Add the following content. Docker will use this file to build your code into an image:
FROM php:7.4-apache
# Install packages
RUN apt-get update && apt-get install -y \
git \
zip \
curl \
sudo \
unzip \
libicu-dev \
libbz2-dev \
libpng-dev \
libjpeg-dev \
libmcrypt-dev \
libreadline-dev \
libfreetype6-dev \
g++
# Apache configuration
ENV APACHE_DOCUMENT_ROOT=/var/www/html/public
RUN sed -ri -e 's!/var/www/html!${APACHE_DOCUMENT_ROOT}!g' /etc/apache2/sites-available/*.conf
RUN sed -ri -e 's!/var/www/!${APACHE_DOCUMENT_ROOT}!g' /etc/apache2/apache2.conf /etc/apache2/conf-available/*.conf
RUN a2enmod rewrite headers
# Common PHP Extensions
RUN docker-php-ext-install \
bz2 \
intl \
iconv \
bcmath \
opcache \
calendar \
pdo_mysql
# Ensure PHP logs are captured by the container
ENV LOG_CHANNEL=stderr
# Set a volume mount point for your code
VOLUME /var/www/html
# Copy code and run composer
COPY /usr/bin/composer /usr/bin/composer
COPY . /var/www/tmp
RUN cd /var/www/tmp && composer install --no-dev
# Ensure the entrypoint file can be run
RUN chmod +x /var/www/tmp/docker-entrypoint.sh
ENTRYPOINT ["/var/www/tmp/docker-entrypoint.sh"]
# The default apache run command
CMD ["apache2-foreground"]
Save and close the file.
This Dockerfile starts with the PHP 7.4 Apache Docker Image found on Docker Hub, then installs several Linux packages that are commonly required by Laravel applications. Next, it creates Apache configuration files and enables header rewrites. The Dockerfile installs several common PHP extensions and adds an environment variable to ensure that Laravel’s logs are streamed to the container via stderr. This will allow you to see Laravel logs by tailing your Docker Compose or Kubernetes logs.
Finally, the Dockerfile copies all the code in your Laravel application to /var/www/tmp and installs the Composer dependencies. It then sets an ENTRYPOINT, but you’ll need to create that file, which we will do next.
At the root directory of your project, create a new file called docker-entrypoint.sh. This file will run when your container is run locally or in the Kubernetes cluster, and it will copy your Laravel application code from the /var/www/tmp directory to /var/www/html where Apache will be able to serve it.
- nano ./docker-entrypoint.sh
Now add the following script:
#!/bin/bash

cp -R /var/www/tmp/. /var/www/html/
chown -R www-data:www-data /var/www/html

exec "$@"
The final line, exec "$@" instructs the shell to run whatever command was passed in as an input argument next. This is important because you want Docker to continue running the Apache run command (apache2-foreground) after this script executes. Save and close the file.
Next, create a .dockerignore file in your app’s root directory. This file will ensure that when you build your Docker image it won’t become polluted with packages or environment files that shouldn’t be copied into it:
- nano ./.dockerignore
.env
/vendor
Save and close the file.
The last file that you need to create before you can run your app locally using Docker Compose is a docker-compose.yml file. But during the configuration of this YAML file, you will need to enter the APP_KEY that Laravel generated during installation. Find this by opening and searching the ./.env file, or by running the following cat and grep commands:
- cat .env | grep ^APP_KEY
You will see an output like this:
OutputAPP_KEY=base64:0EHhVpgg ... UjGE=
Copy your key to your clipboard. Be sure to include the base64: prefix. Now create the docker-compose.yml file in your app’s root directory:
- nano ./docker-compose.yml
Here we will include your Laravel application’s PHP image as well as a MySQL container to run your database. Add the following content:
version: '3.5'
services:
  php:
    image: your_docker_hub_username/laravel-kubernetes:latest
    restart: always
    ports:
      - 8000:80
    environment:
      - APP_KEY="your_laravel_app_key"
      - APP_ENV=local
      - APP_DEBUG=true
      - DB_PORT=3306
      - DB_HOST=mysql
      - DB_DATABASE
      - DB_USERNAME
      - DB_PASSWORD
  mysql:
    image: mysql:5.7
    restart: always
    environment:
      - MYSQL_ROOT_PASSWORD=${DB_ROOT_PASSWORD}
      - MYSQL_DATABASE=${DB_DATABASE}
      - MYSQL_USER=${DB_USERNAME}
      - MYSQL_PASSWORD=${DB_PASSWORD}
Use the APP_KEY variable that you copied to your clipboard for the your_laravel_app_key variable, and use your Docker Hub username for the your_docker_hub_username variable. Save and close the file.
You’ll create the first image locally using docker build. The second image is the official MySQL Docker image available on Docker Hub. Both require several environment variables, which you’ll include when you run the containers.
In order to build the Docker image containing your Laravel application, run the following command. Make sure to replace your_docker_hub_username with your username or your team’s username at Docker Hub where this image will be stored:
- docker build -t your_docker_hub_username/laravel-kubernetes:latest .
Next, you can run the two containers with Docker Compose with the required database credentials:
- DB_ROOT_PASSWORD=rootpassword DB_DATABASE=local_db DB_USERNAME=admin DB_PASSWORD=password docker-compose up -d
The four environment variables used here (DB_ROOT_PASSWORD, DB_DATABASE, DB_USERNAME, DB_PASSWORD) can be modified if you’d like, but since you are only testing your application locally, you don’t have to worry about securing them yet.
It may take up to 30 seconds for your MySQL database to initialize and your containers to be ready. Once they are, you can view your Laravel application on your machine at localhost:8000.
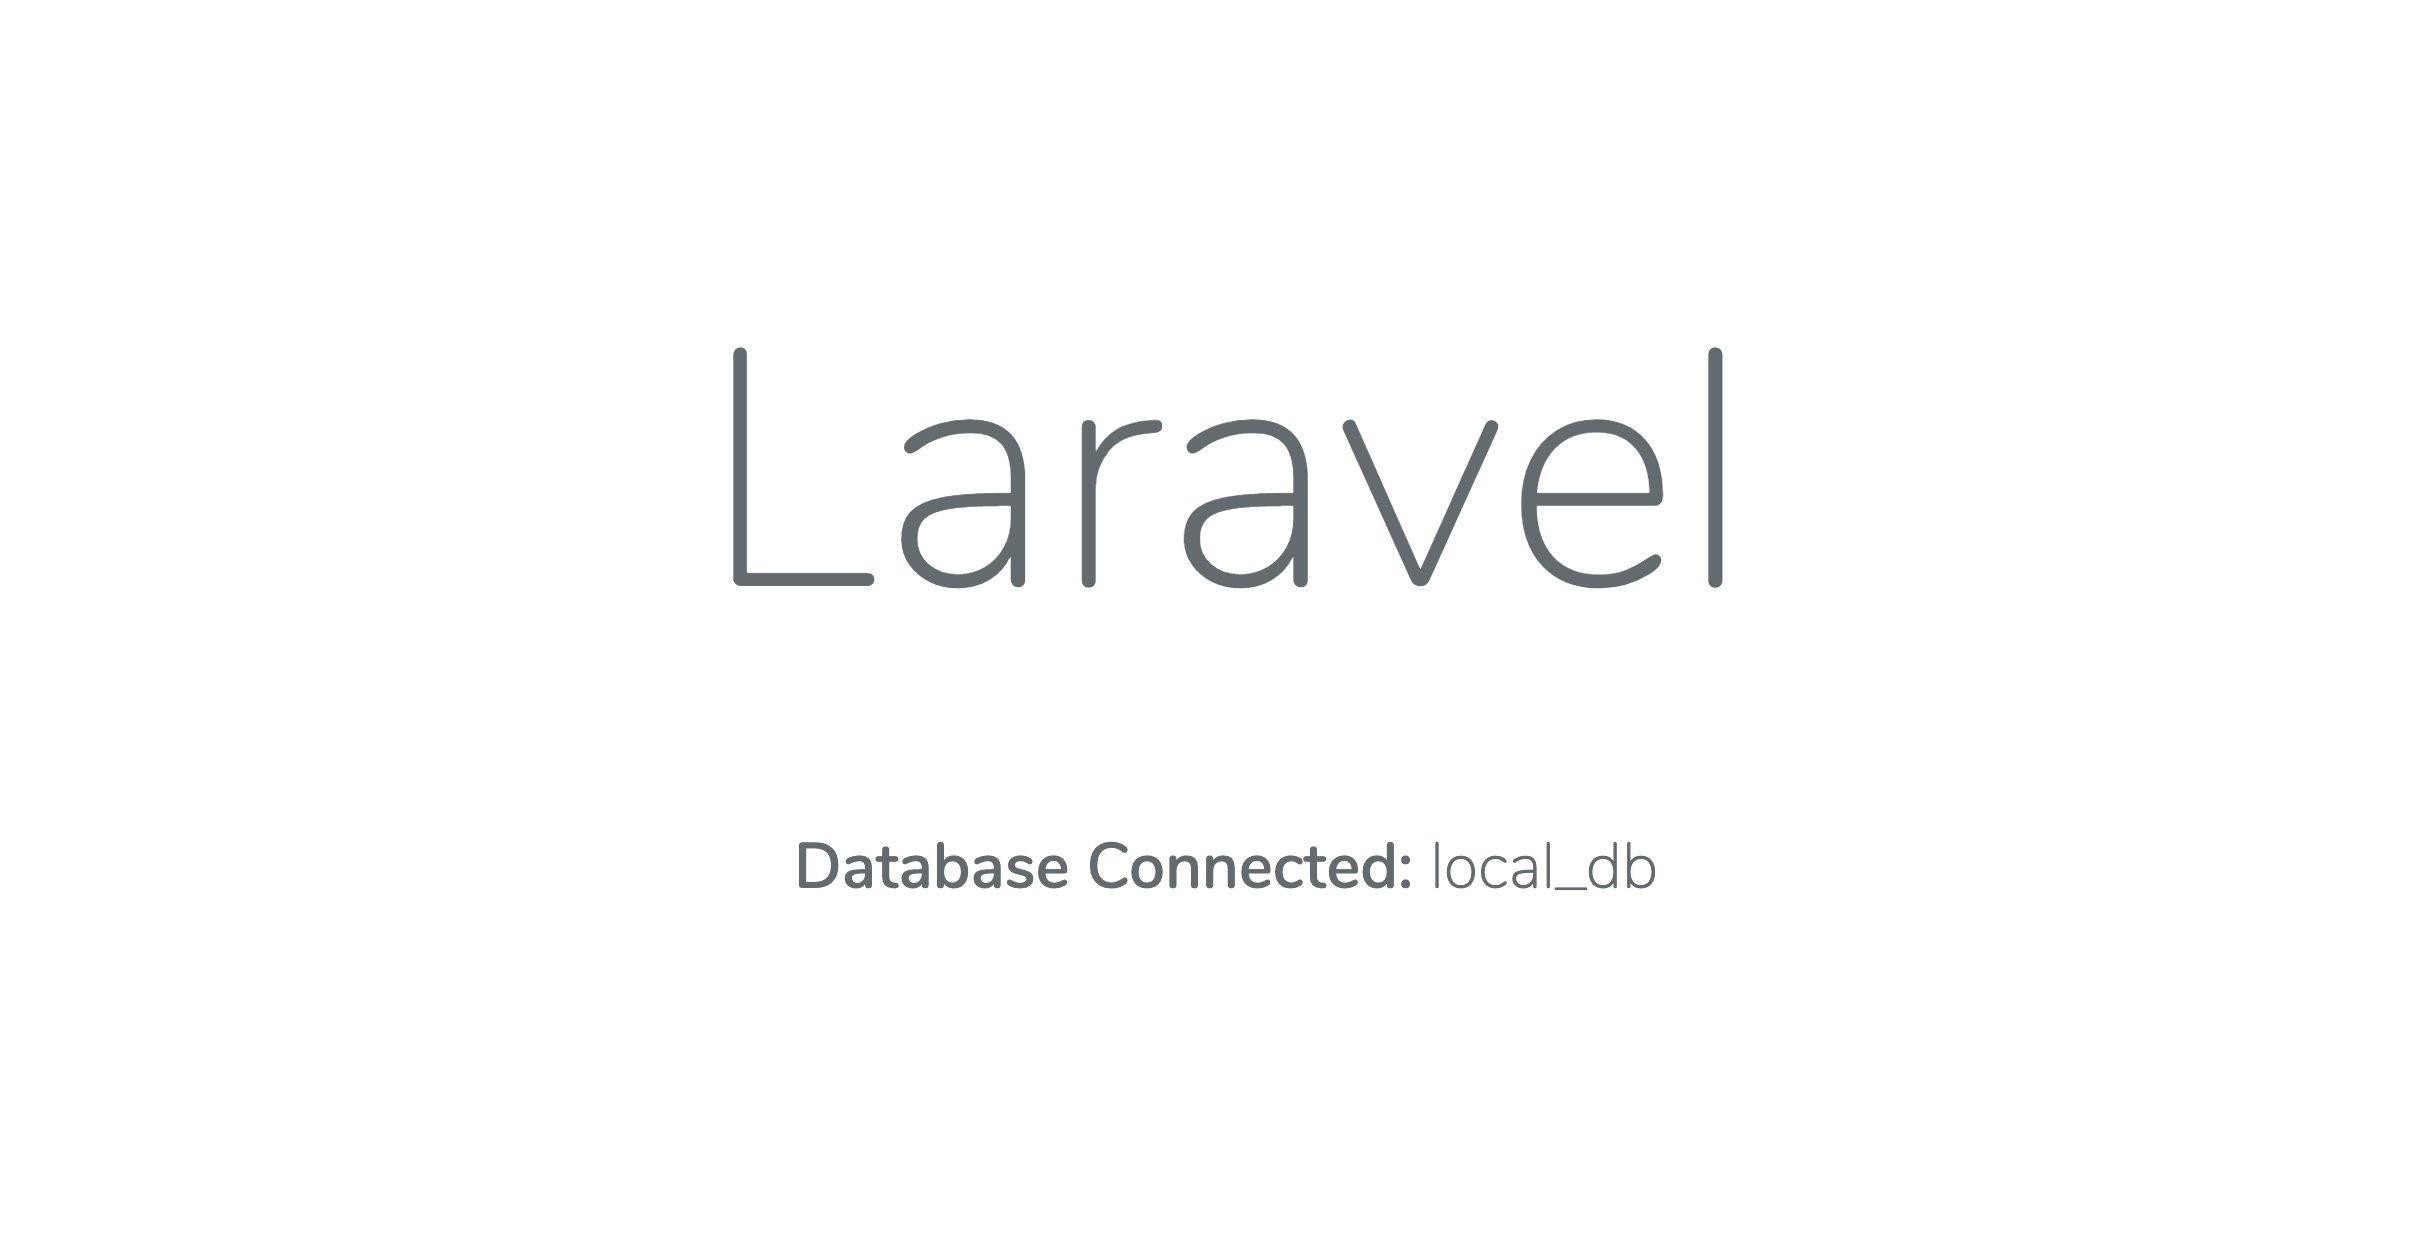
Your PHP application will connect to your MySQL database. After a successful connection, the text “Database Connected: local_db” will appear beneath the Laravel logo.
Now that you’ve tested your Docker image locally using Docker Compose, you can bring the containers down by running docker-compose down:
- docker-compose down
In the next section, you’ll push your Docker image to Docker Hub so that your Helm chart can use it to deploy your application to your Kubernetes cluster.
Step 3 — Pushing Your Docker Image to Docker Hub
The LAMP Helm Chart that you’ll use to deploy your code to Kubernetes requires that your code be available in a container registry. While you can push your image to a private or self-hosted registry, for the purposes of this tutorial you’ll use a publicly available and free Docker registry on Docker Hub.
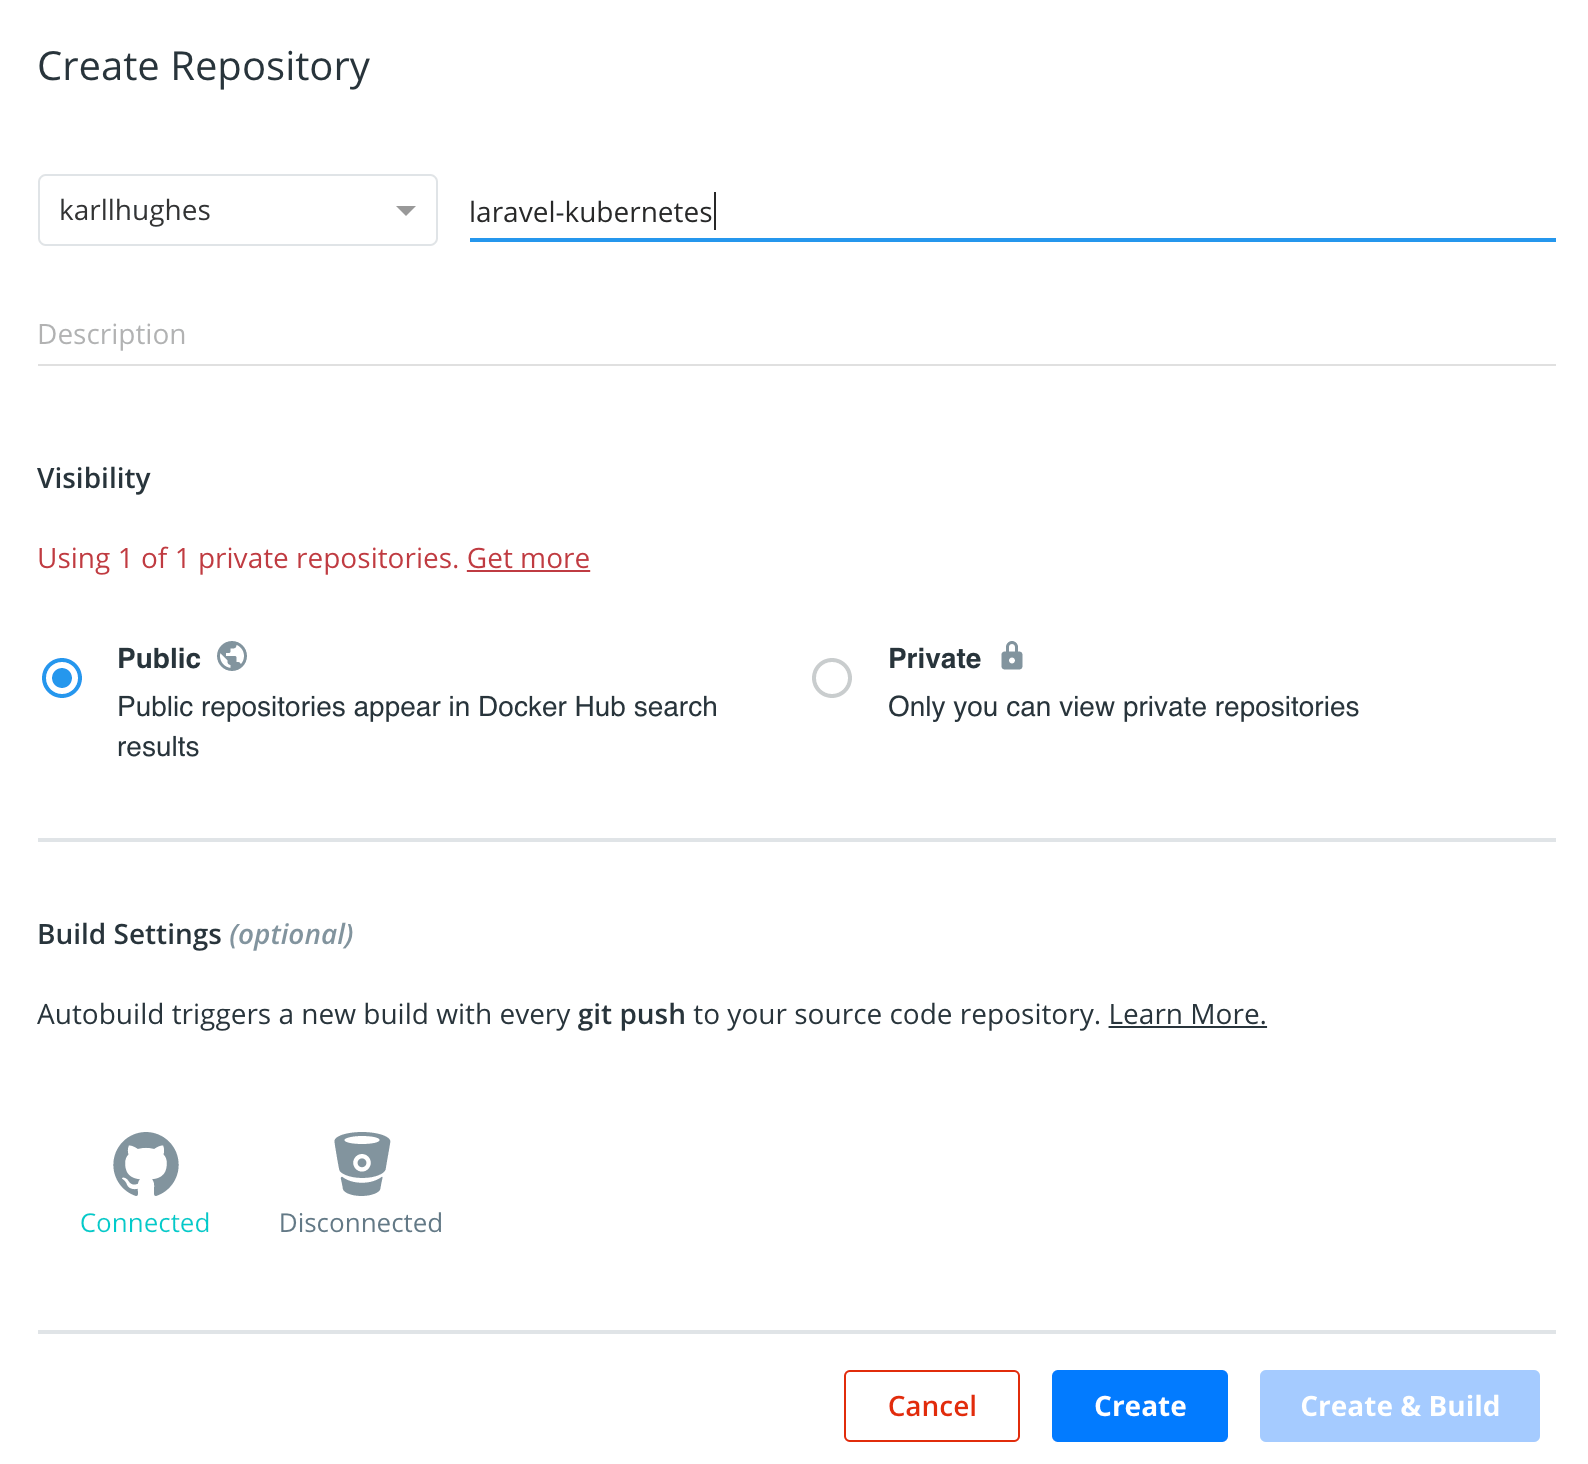
Access your account on Docker Hub using your web browser and then create a new repository called laravel-kubernetes.
Next, if you haven’t connected to Docker Hub from your local machine, you’ll need to log into Docker Hub. You can do this through the command line:
- docker login -u your_docker_hub_username
Enter your login credentials when prompted. This typically only needs to be done once per machine as Docker will save your credentials to the ~/.docker/config.json in your home directory.
Finally, push your image to Docker Hub:
- docker push your_docker_hub_username/laravel-kubernetes:latest
It may take a few minutes to upload your app depending on your connecti on speed, but once Docker is done, you’ll see a final digest hash and the size of your image in the terminal. It will look something like this:
Outputlatest: digest: sha256:df4bdeda91484c8c26a989b13b8f27ab14d93ab2e676e3c396714cb3811c4086 size: 4918
Now that your Laravel application is containerized and you’ve pushed an image to Docker Hub, you can use the image in a Helm Chart or Kubernetes deployment. In the next step, you’ll set custom values based on the LAMP Helm Chart and deploy it to your DigitalOcean Kubernetes cluster.
Step 4 — Configuring and Deploying the Application with the LAMP Helm Chart
Helm provides a number of Charts to help you set up Kubernetes applications using preset combinations of tools. While you could write your own Kubernetes service files to accomplish a similar deployment, you’ll see in this section that using a Helm Chart will require much less configuration.
First, you’ll need a directory to store all your Helm configuration files. Create a new directory in the root of your Laravel project called helm/:
- mkdir ./helm
Inside the helm/ directory, you will create two new files: values.yml and secrets.yml. First create and open values.yml:
- nano ./helm/values.yml
The values.yml file will include non-secret configuration options that will override the default values in the LAMP Helm chart. Add the following configurations, making sure to replace your_docker_hub_username with your own username:
php:
  repository: "your_docker_hub_username/laravel-kubernetes"
  tag: "latest"
  fpmEnabled: false
  envVars:
    - name: APP_ENV
      value: production
    - name: APP_DEBUG
      value: false
    - name: DB_PORT
      value: 3306
    - name: DB_HOST
      value: localhost
Save and close the file.
Now create a secrets.yml file:
- nano ./helm/secrets.yml
secrets.yml will not be checked into version control. It will contain sensitive configuration information like your database password and Laravel app key. Add the following configurations, adjusting as needed to fit your credentials:
mysql:
  rootPassword: "your_database_root_password"
  user: your_database_user
  password: "your_database_password"
  database: your_database_name

php:
  envVars:
    - name: APP_KEY
      value: "your_laravel_app_key"
    - name: DB_DATABASE
      value: your_database_name
    - name: DB_USERNAME
      value: your_database_user
    - name: DB_PASSWORD
      value: "your_database_password"
Be sure to use strong username and password combinations for your production database, and use the same your_laravel_app_key as above, or open a new terminal window and generate a new one by running the following command. You can then copy the new value Laravel sets in your .env file:
- docker run --rm -v $(pwd):/app php:cli php /app/artisan key:generate
Save and close secrets.yml.
Next, in order to prevent your secrets.yml file from being built into the Docker image or saved to version control, make sure to add the following line to both your .dockerignore and .gitignore files. Open and append /helm/secrets.yml to each file, or run the following command to add both:
- echo '/helm/secrets.yml' >> ./.dockerignore && echo '/helm/secrets.yml' >> ./.gitignore
Now that you’ve created Helm configuration files for your application and the Docker image, you can install this Helm chart as a new release on your Kubernetes cluster. Install your chart from your application’s root directory:
- helm install laravel-kubernetes -f helm/values.yml -f helm/secrets.yml stable/lamp
You will see an output like this:
OutputNAME: laravel-kubernetes
LAST DEPLOYED: Mon May 18 13:21:20 2020
NAMESPACE: default
STATUS: deployed
REVISION: 1
Your application will take a minute or two to become available, but you can run this command to monitor the Kubernetes services in your cluster:
- kubectl get services -w
Look for the name of your application:
OutputNAME                        TYPE            CLUSTER-IP          EXTERNAL-IP     PORT(S)
laravel-kubernetes-lamp     LoadBalancer    your_cluster_ip      your_external_ip   80:32175/TCP,3306:32243/TCP
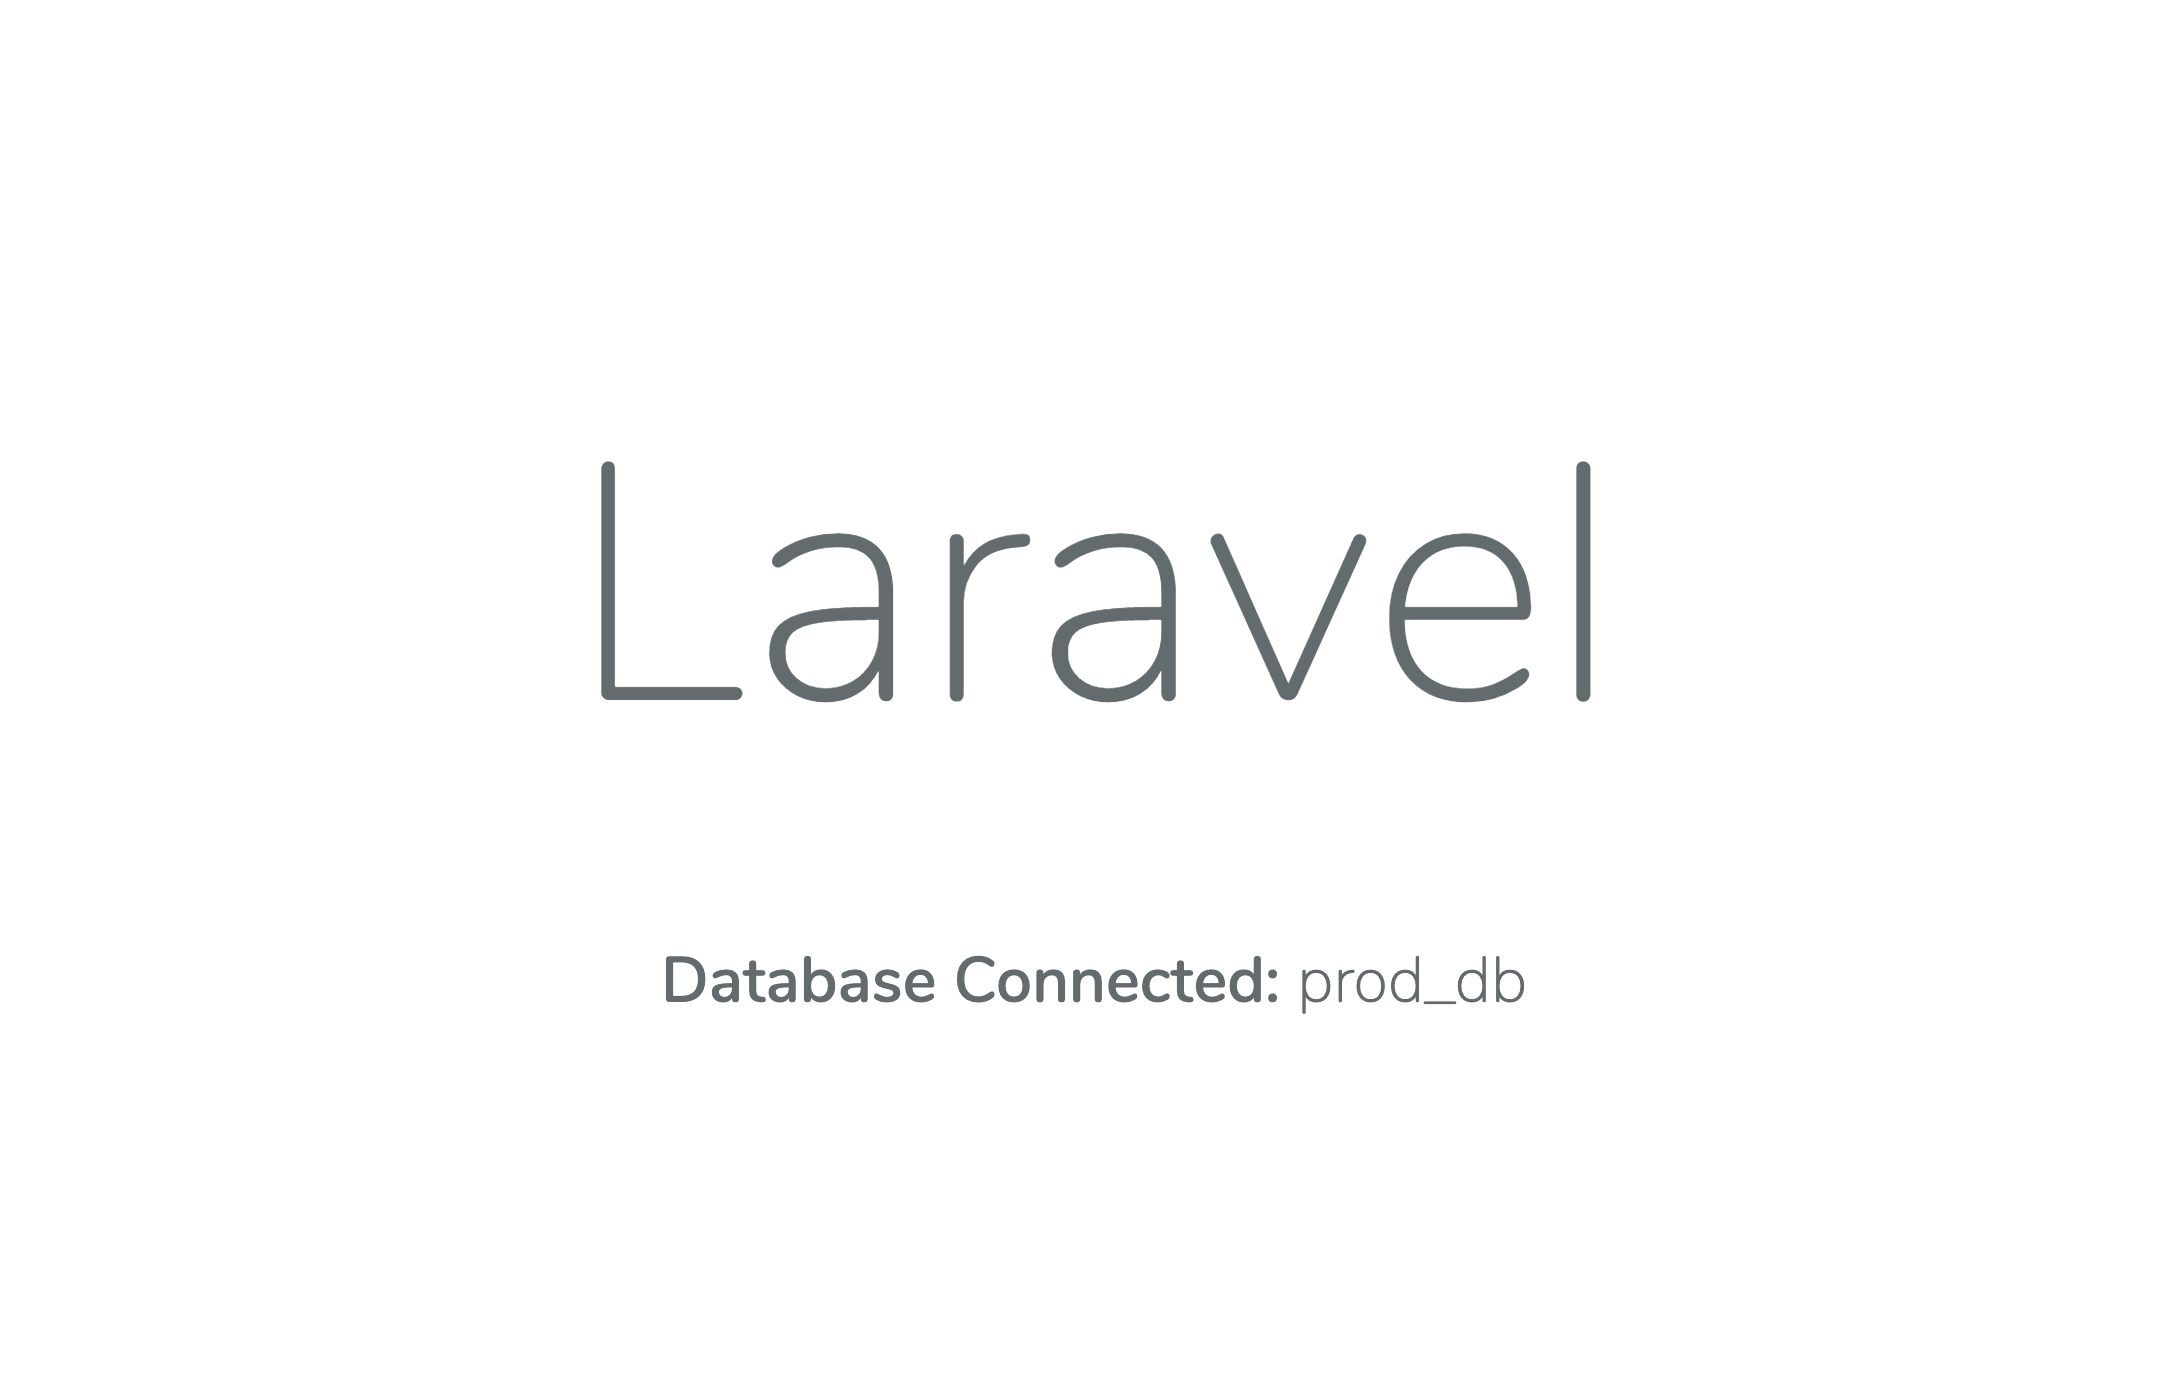
When your new laravel-kubernetes-lamp service displays an IP address under EXTERNAL-IP, you can visit your_external_ip to see the application running on your Kubernetes cluster. Your app will connect to your database and you will see the name of the database below the Laravel logo, like you did when running your app locally on Docker Compose.
Running a web application on an unsecured IP address might be okay for a proof of concept, but your website isn’t production-ready without an SSL certificate and a custom domain name. Before you set that up in the next step, uninstall your release via the command line:
- helm delete laravel-kubernetes
In the next step you’ll expand on this first Helm configuration to add an Ingress controller, SSL certificate, and custom domain to your Laravel application.
Step 5 — Adding an Ingress Controller and SSL to Your Kubernetes Cluster
In Kubernetes, an Ingress Controller is responsible for exposing your application’s services to the internet. In the previous step, the LAMP Helm chart created a DigitalOcean Load Balancer and exposed your application directly via the load balancer’s IP address.
You could terminate SSL and your domain name directly on the load balancer, but because you’re working in Kubernetes, it might be more convenient to manage it all in the same place. For much more about Ingress Controllers and details about the following steps, read How To Set Up an Nginx Ingress on DigitalOcean Kubernetes Using Helm.
The LAMP Helm chart includes a configuration option for supporting Ingress. Open up your helm/values.yml file:
- nano ./helm/values.yml
Now add the following lines:
...
# Use Ingress Controller
service:
  type: ClusterIP
  HTTPPort: 80
ingress:
  enabled: true
  domain: your_domain
This instructs your deployment not to install a load balancer and instead to expose the application to the Kubernetes cluster’s port 80 where the Ingress Controller will expose it to the internet. Save and close values.yml.
Now run the helm install command you ran previously to get your Laravel application running again. Make sure to run the command from your app’s root directory:
- helm install laravel-kubernetes -f helm/values.yml -f helm/secrets.yml stable/lamp
Next, install the nginx-ingress controller on your Kubernetes cluster using the Kubernetes-maintained Nginx Ingress Controller:
- helm install nginx-ingress stable/nginx-ingress --set controller.publishService.enabled=true
After installation, you will see an output like this:
OutputNAME: nginx-ingress
LAST DEPLOYED: Mon May 18 13:28:34 2020
NAMESPACE: default
STATUS: deployed
REVISION: 1
You also need an Ingress Resource to expose your Laravel app’s deployment. Create a new file in your app’s root directory called ingress.yml:
- nano ./ingress.yml
This file defines your application’s host, SSL certificate manager, and backend service and port name. Add the following configurations, replaceing your_domain with the domain of your choice:
apiVersion: networking.k8s.io/v1beta1
kind: Ingress
metadata:
  name: laravel-kubernetes-ingress
  annotations:
    kubernetes.io/ingress.class: nginx
    cert-manager.io/cluster-issuer: letsencrypt-prod
spec:
  tls:
    - hosts:
        - your_domain
      secretName: laravel-kubernetes-tls
  rules:
    - host: your_domain
      http:
        paths:
          - backend:
              serviceName: laravel-kubernetes-lamp
              servicePort: 80
Save and close the file.
Next, you should install Cert-Manager and create an issuer that will allow you to create production SSL certificates using Let’s Encrypt. Cert-Manager requires Custom Resource Definitions that you can apply from the Cert-Manager repository using the command line:
- kubectl apply --validate=false -f https://github.com/jetstack/cert-manager/releases/download/v0.15.0/cert-manager.crds.yaml
This will create a number of Kubernetes resources that will be displayed in the command line:
Outputcustomresourcedefinition.apiextensions.k8s.io/certificaterequests.cert-manager.io created
customresourcedefinition.apiextensions.k8s.io/certificates.cert-manager.io created
customresourcedefinition.apiextensions.k8s.io/challenges.acme.cert-manager.io created
customresourcedefinition.apiextensions.k8s.io/clusterissuers.cert-manager.io created
customresourcedefinition.apiextensions.k8s.io/issuers.cert-manager.io created
customresourcedefinition.apiextensions.k8s.io/orders.acme.cert-manager.io create
Cert-Manager also requires a namespace to isolate it in your Kubernetes cluster:
- kubectl create namespace cert-manager
You will see this output:
Outputnamespace/cert-manager created
Because Jetstack’s Cert-Manager is not one of the Kubernetes-maintained charts, you will need to add the Jetstack Helm repository as well. Run the following command to make it available in Helm:
- helm repo add jetstack https://charts.jetstack.io
A successful addition will output the following:
Output"jetstack" has been added to your repositories
Now you’re ready to install Cert-Manager into the cert-manager namespace on your Kubernetes cluster:
- helm install cert-manager --version v0.15.0 --namespace cert-manager jetstack/cert-manager
When complete, you’ll see a summary of the deployment like this:
OutputNAME: cert-manager
LAST DEPLOYED: Mon May 18 13:32:08 2020
NAMESPACE: cert-manager
STATUS: deployed
REVISION: 1
The last file you’ll need to add to your Laravel application’s root directory is a production_issuer.yml Kubernetes configuration file. Create the file:
- nano ./production_issuer.yml
Now add the following:
apiVersion: cert-manager.io/v1alpha2
kind: ClusterIssuer
metadata:
  name: letsencrypt-prod
spec:
  acme:
    # Email address used for ACME registration
    email: your_email_address
    server: https://acme-v02.api.letsencrypt.org/directory
    privateKeySecretRef:
      # Name of a secret used to store the ACME account private key
      name: letsencrypt-prod-private-key
    # Add a single challenge solver, HTTP01 using nginx
    solvers:
      - http01:
          ingress:
            class: nginx
Save and close the file.
Let’s Encrypt will send your_email_address any important notices and expiration warnings, so be sure to add an address that you’ll check regularly. Save this file and create a new resource for both your Ingress resource and production issuer in your Kubernetes cluster:
- kubectl create -f ingress.yml
- kubectl create -f production_issuer.yml
Finally, update your domain name’s DNS records to point an A record to your load balancer’s IP address. To find the IP address for your Ingress Controller enter:
- kubectl get service nginx-ingress-controller
OutputNAME                       TYPE           CLUSTER-IP      EXTERNAL-IP     PORT(S)                      AGE
nginx-ingress-controller   LoadBalancer   your_cluster_ip      your_external_ip   80:30187/TCP,443:31468/TCP   6m10s
Use the your_external_ip address as the IP address for your DNS A Record. The process for updating your DNS records varies depending on where you manage your domain names and DNS hosting, but if you’re using DigitalOcean you can reference our guide on How to Manage DNS Records.
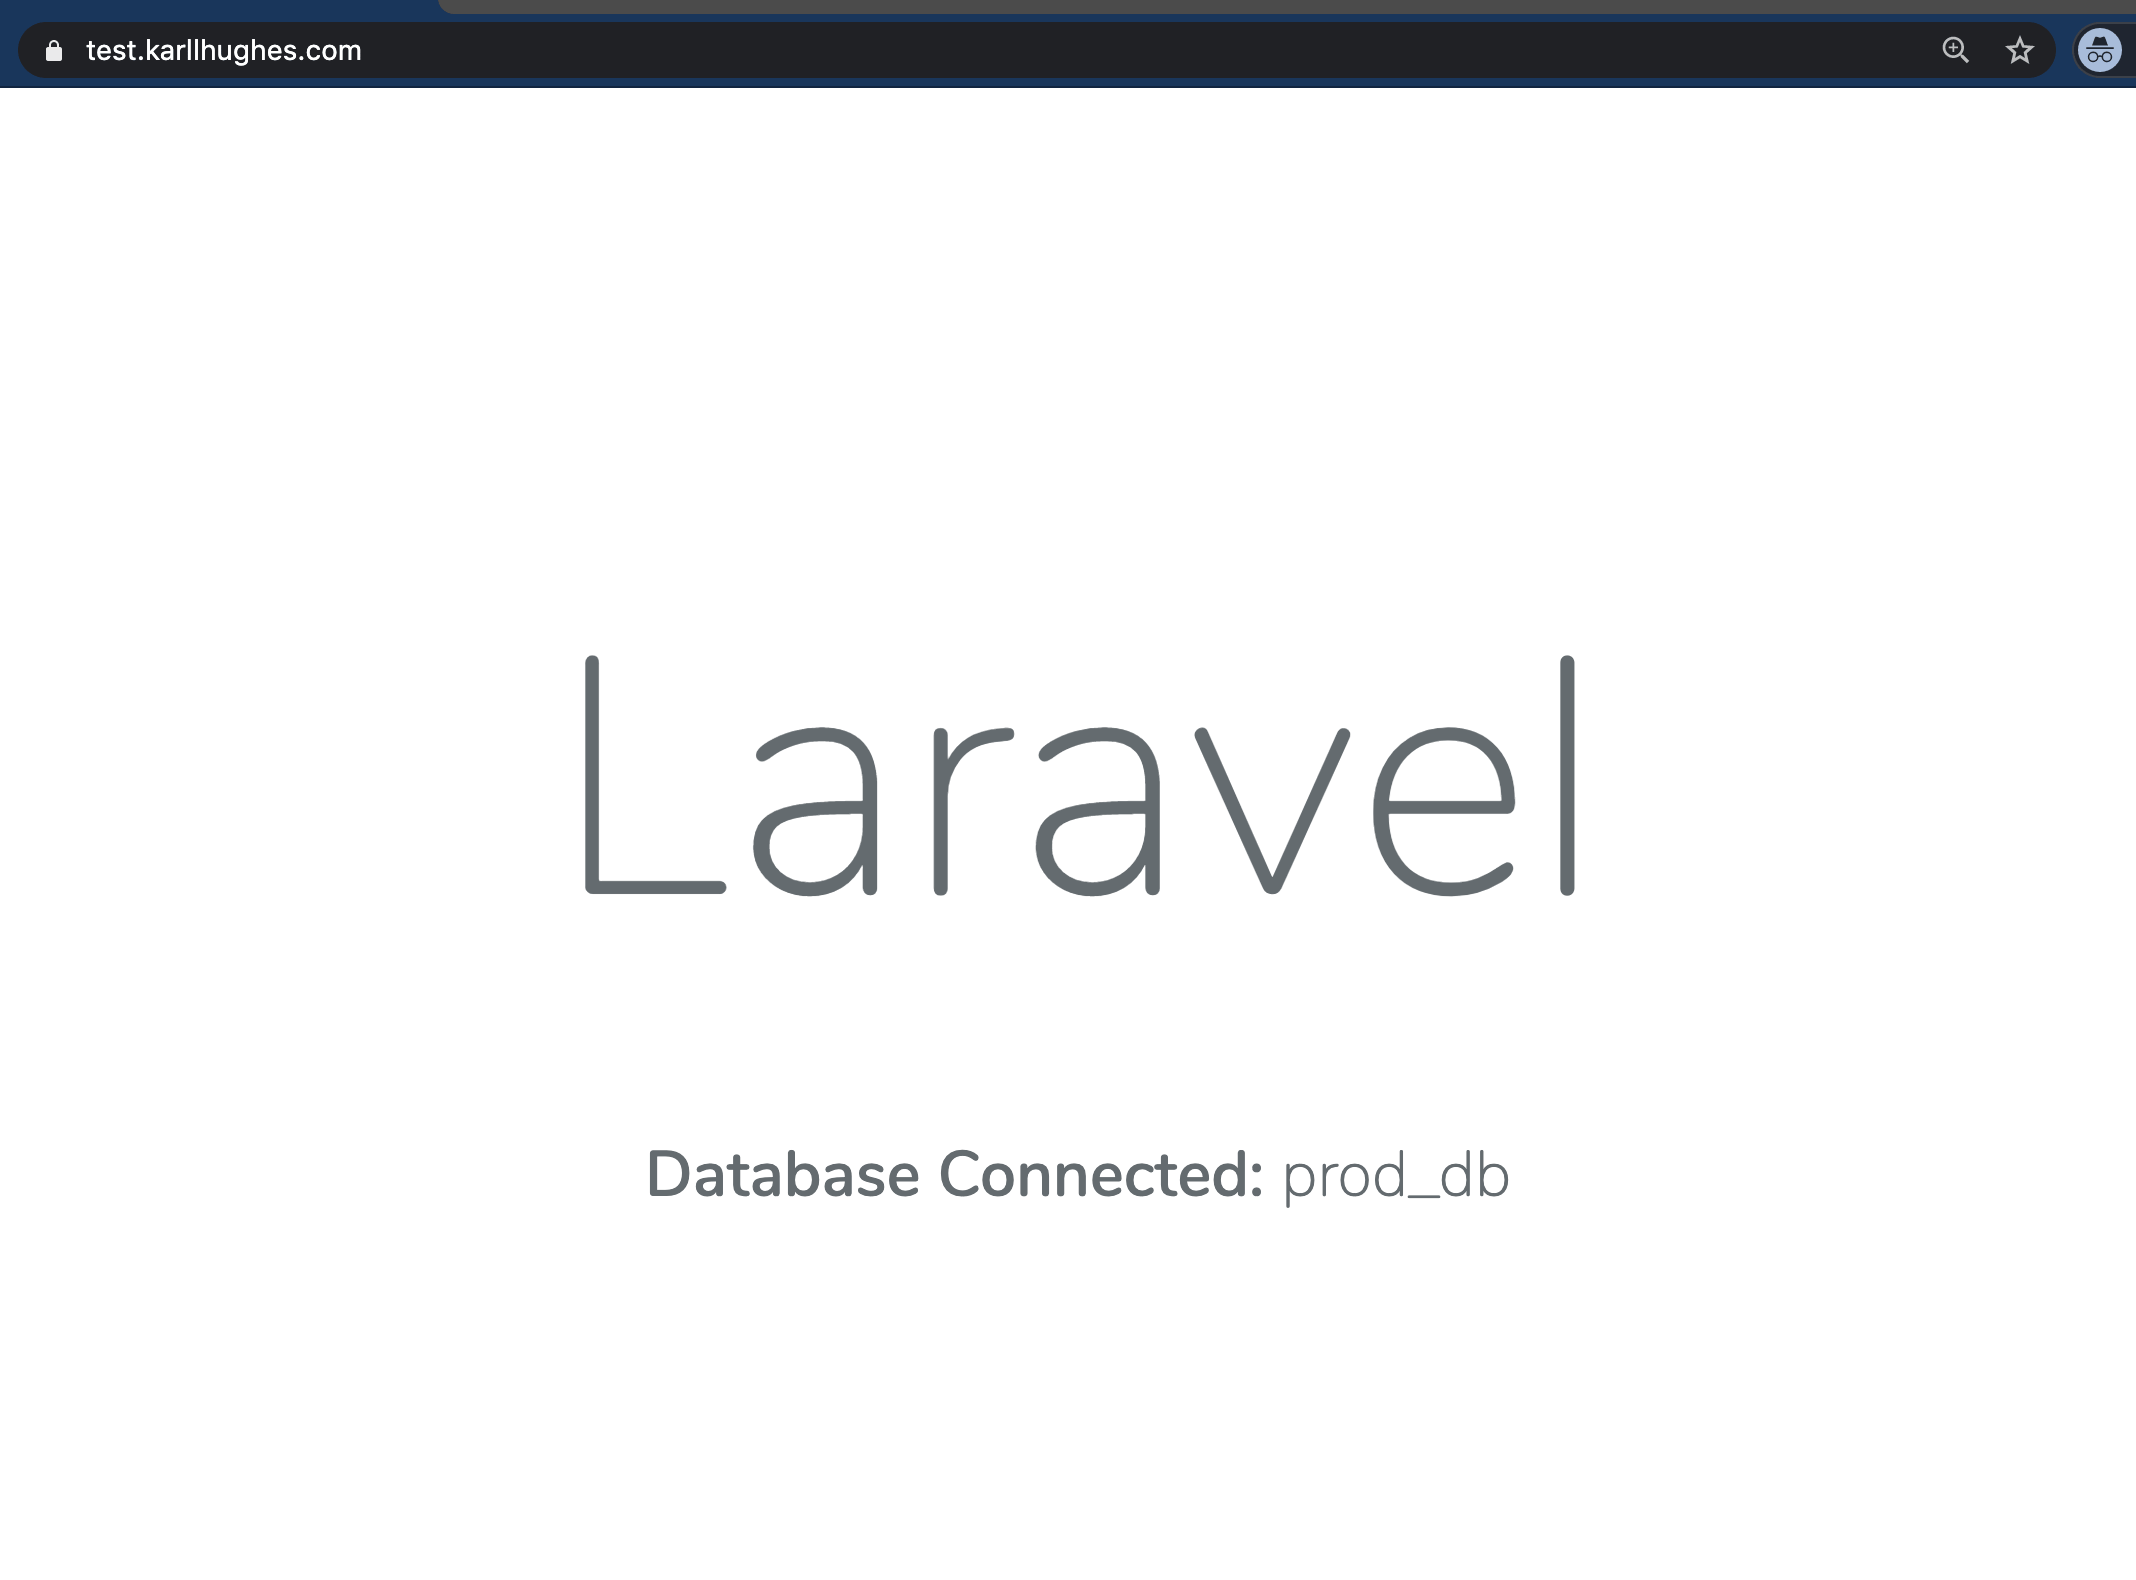
Once your DNS records update and your SSL certificate is generated, your application will be available at your_domain and SSL will be enabled.
While your PHP application and database are already connected, you will still need to run database migrations. In the last step, you’ll see how to run Artisan commands on your Kubernetes pod to perform database migrations and other common maintenance tasks.
Step 6 — Running Remote Commands
While your Laravel application is running and connected to the MySQL database in Kubernetes, there are several common operations that you should run on a new Laravel installation. One common task that you should perform is database migrations.
Before you can run an Artisan command on your Laravel application, you need to know the name of the pod that is running your Laravel application container. Using the command line, you can view all the pods in your Kubernetes cluster:
- kubectl get pods
You will see an output like this:
OutputNAME                                             READY   STATUS    RESTARTS   AGE
laravel-kubernetes-lamp-77fb989b46-wczgb         2/2     Running   0          16m
Select the pod for your laravel-kubernetes-lamp-... deployment. Make sure to use the name in your output and not the one listed above. Now you can run kubectl exec on it. For example, run a database migration using the artisan migrate command. You will add the --force flag because you’re running the pod in production:
- kubectl exec laravel-kubernetes-lamp-77fb989b46-wczgb -- php artisan migrate --force
This command will produce an output:
OutputMigration table created successfully.
Migrating: 2014_10_12_000000_create_users_table
Migrated:  2014_10_12_000000_create_users_table (0.16 seconds)
Migrating: 2019_08_19_000000_create_failed_jobs_table
Migrated:  2019_08_19_000000_create_failed_jobs_table (0.05 seconds)
You have now successfully deployed Laravel 7 and MySQL to Kubernetes and performed an essential database maintenance task.
Conclusion
In this tutorial, you learned how to containerize a Laravel PHP application, connect it to a MySQL database, push a Docker image containing your code to Docker Hub, and then use a Helm chart to deploy that image to a DigitalOcean Kubernetes cluster. Finally, you added SSL and a custom domain name and learned how to run command line tools on your running pods.
Kubernetes and Helm offer you a number of advantages over traditional LAMP stack hosting: scalability, the ability to swap out services without logging into your server directly, tools to perform rolling upgrades, and control over your hosting environment. That said, the complexity of initially containerizing and configuring your application makes the barrier to getting started quite high. With this guide as a starting point, deploying Laravel to Kubernetes becomes more attainable. From here you might consider learning more about the power of Laravel or adding monitoring tools to Kubernetes like Linkerd, which you can install manually with our guide or with a DigitalOcean 1-Click.
Thanks for learning with the DigitalOcean Community. Check out our offerings for compute, storage, networking, and managed databases.
About the author(s)
Former startup CTO turned writer. Helping build high-quality software engineering blogs as the founder of https://draft.dev (he/him)
Supporting the open-source community one tutorial at a time. Former Technical Editor at DigitalOcean. Expertise in topics including Ubuntu 22.04, Ubuntu 20.04, CentOS, and more.
Still looking for an answer?
This textbox defaults to using Markdown to format your answer.
You can type !ref in this text area to quickly search our full set of tutorials, documentation & marketplace offerings and insert the link!
When upgrading the helm chart (to update env variables), the secrets.yml are overwriting all of the variables within values.yml. Do you have any suggestions for avoiding this?
I think the following command is necessary before running helm install.
helm repo add stable https://charts.helm.sh/stable
However, the chart is deprecated.
 This work is licensed under a Creative Commons Attribution-NonCommercial- ShareAlike 4.0 International License.
Become a contributor for community
Get paid to write technical tutorials and select a tech-focused charity to receive a matching donation.

DigitalOcean Documentation
Full documentation for every DigitalOcean product.

Resources for startups and AI-native businesses
The Wave has everything you need to know about building a business, from raising funding to marketing your product.
The developer cloud
Scale up as you grow — whether you're running one virtual machine or ten thousand.

Start building today
From GPU-powered inference and Kubernetes to managed databases and storage, get everything you need to build, scale, and deploy intelligent applications.
