By Hanif Jetha and Lisa Tagliaferri
Not using Ubuntu 16.04?
Choose a different version or distribution.
Introduction
While many users need the functionality of a database management system like MySQL, its command-line interface may be less intuitive and user friendly for some, presenting a barrier to entry.
phpMyAdmin was created so that users can interact with MySQL through a web interface. In this guide, we’ll discuss how to install and secure phpMyAdmin so that you can safely use it to manage your databases from an Ubuntu 16.04 system. We’ll build this setup on top of the Nginx web server, which has a good performance profile and can handle heavy loads better than some other web servers.
Prerequisites
Before you get started with this guide, make sure you’ve completed the following prerequisite steps:
- First, we’ll assume that you are using a non-root user with sudo privileges, as described in steps 1-4 of the initial server setup of Ubuntu 16.04.
- We’re also going to assume that you’ve completed a LEMP (Linux, Nginx, MySQL and PHP) installation on your Ubuntu 16.04 server. If you haven’t done this yet, you can follow the guide on installing a LEMP stack on Ubuntu 16.04. Be sure to note your MySQL database administrator password.
Finally, there are important security considerations to be aware of when using software like phpMyAdmin: it communicates directly with your MySQL installation, handles authentication using MySQL credentials, and executes and returns results for arbitrary SQL queries.
For these reasons, and because it is a widely-deployed PHP application that is frequently targeted for attack, you should never run phpMyAdmin on remote systems over a plain HTTP connection. If you do not have an existing domain configured with an SSL/TLS certificate, you can follow this guide on securing Nginx with Let’s Encrypt on Ubuntu 16.04.
Once you’ve completed these prerequisite steps, you’re ready to get started with this guide.
Step 1 — Install phpMyAdmin
With our LEMP platform already in place, we can begin by installing phpMyAdmin, which is available from Ubuntu’s default repositories.
First, we’ll update the server’s local package index to make sure it has a fresh set of references to available packages. Then, we’ll use the apt packaging tools to pull the software down from the repositories and install it on our system:
- sudo apt-get update
- sudo apt-get install phpmyadmin
During the installation, you will be prompted for some information. It will ask you which web server you would like the software to automatically configure. Since Nginx, the web server we’re using, isn’t one of the available options, you can just hit TAB, and then ENTER to bypass this prompt.
The next prompt will ask if you would like dbconfig-common to configure a database for phpMyAdmin to use. Select “Yes” to continue. You’ll need to enter the database administrator password that you configured during the MySQL installation to allow these changes.
You will now be asked to choose and confirm a password for the phpMyAdmin application and its database (which will be created in this step). Choose and confirm a secure password and make note of it.
The installation will now complete. For the Nginx web server to find and serve the phpMyAdmin files correctly, we’ll need to create a symbolic link from the installation files to our Nginx document root directory:
- sudo ln -s /usr/share/phpmyadmin /var/www/html
Finally, we need to enable the mcrypt PHP module, which phpMyAdmin relies on. This was installed with phpMyAdmin, so we’ll toggle it on and restart our PHP processor:
- sudo phpenmod mcrypt
- sudo systemctl restart php7.0-fpm
With that, our phpMyAdmin installation is now operational. To access the interface, go to your server’s domain name or public IP address followed by /phpmyadmin in your web browser:
http://server_domain_or_IP/phpmyadmin
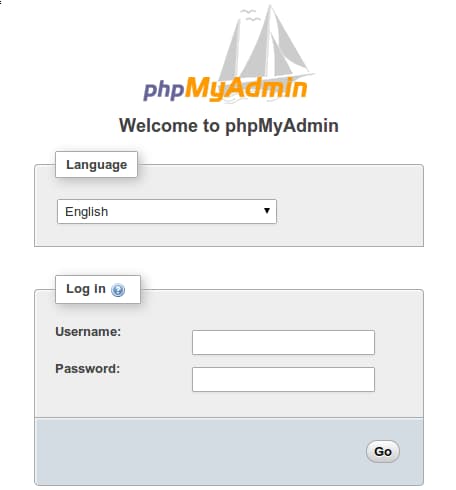
To sign in, use a set of credentials for a valid MySQL user. For example, the root user and MySQL administrative password is a good choice to get started. You should then be able to access the administrative interface:
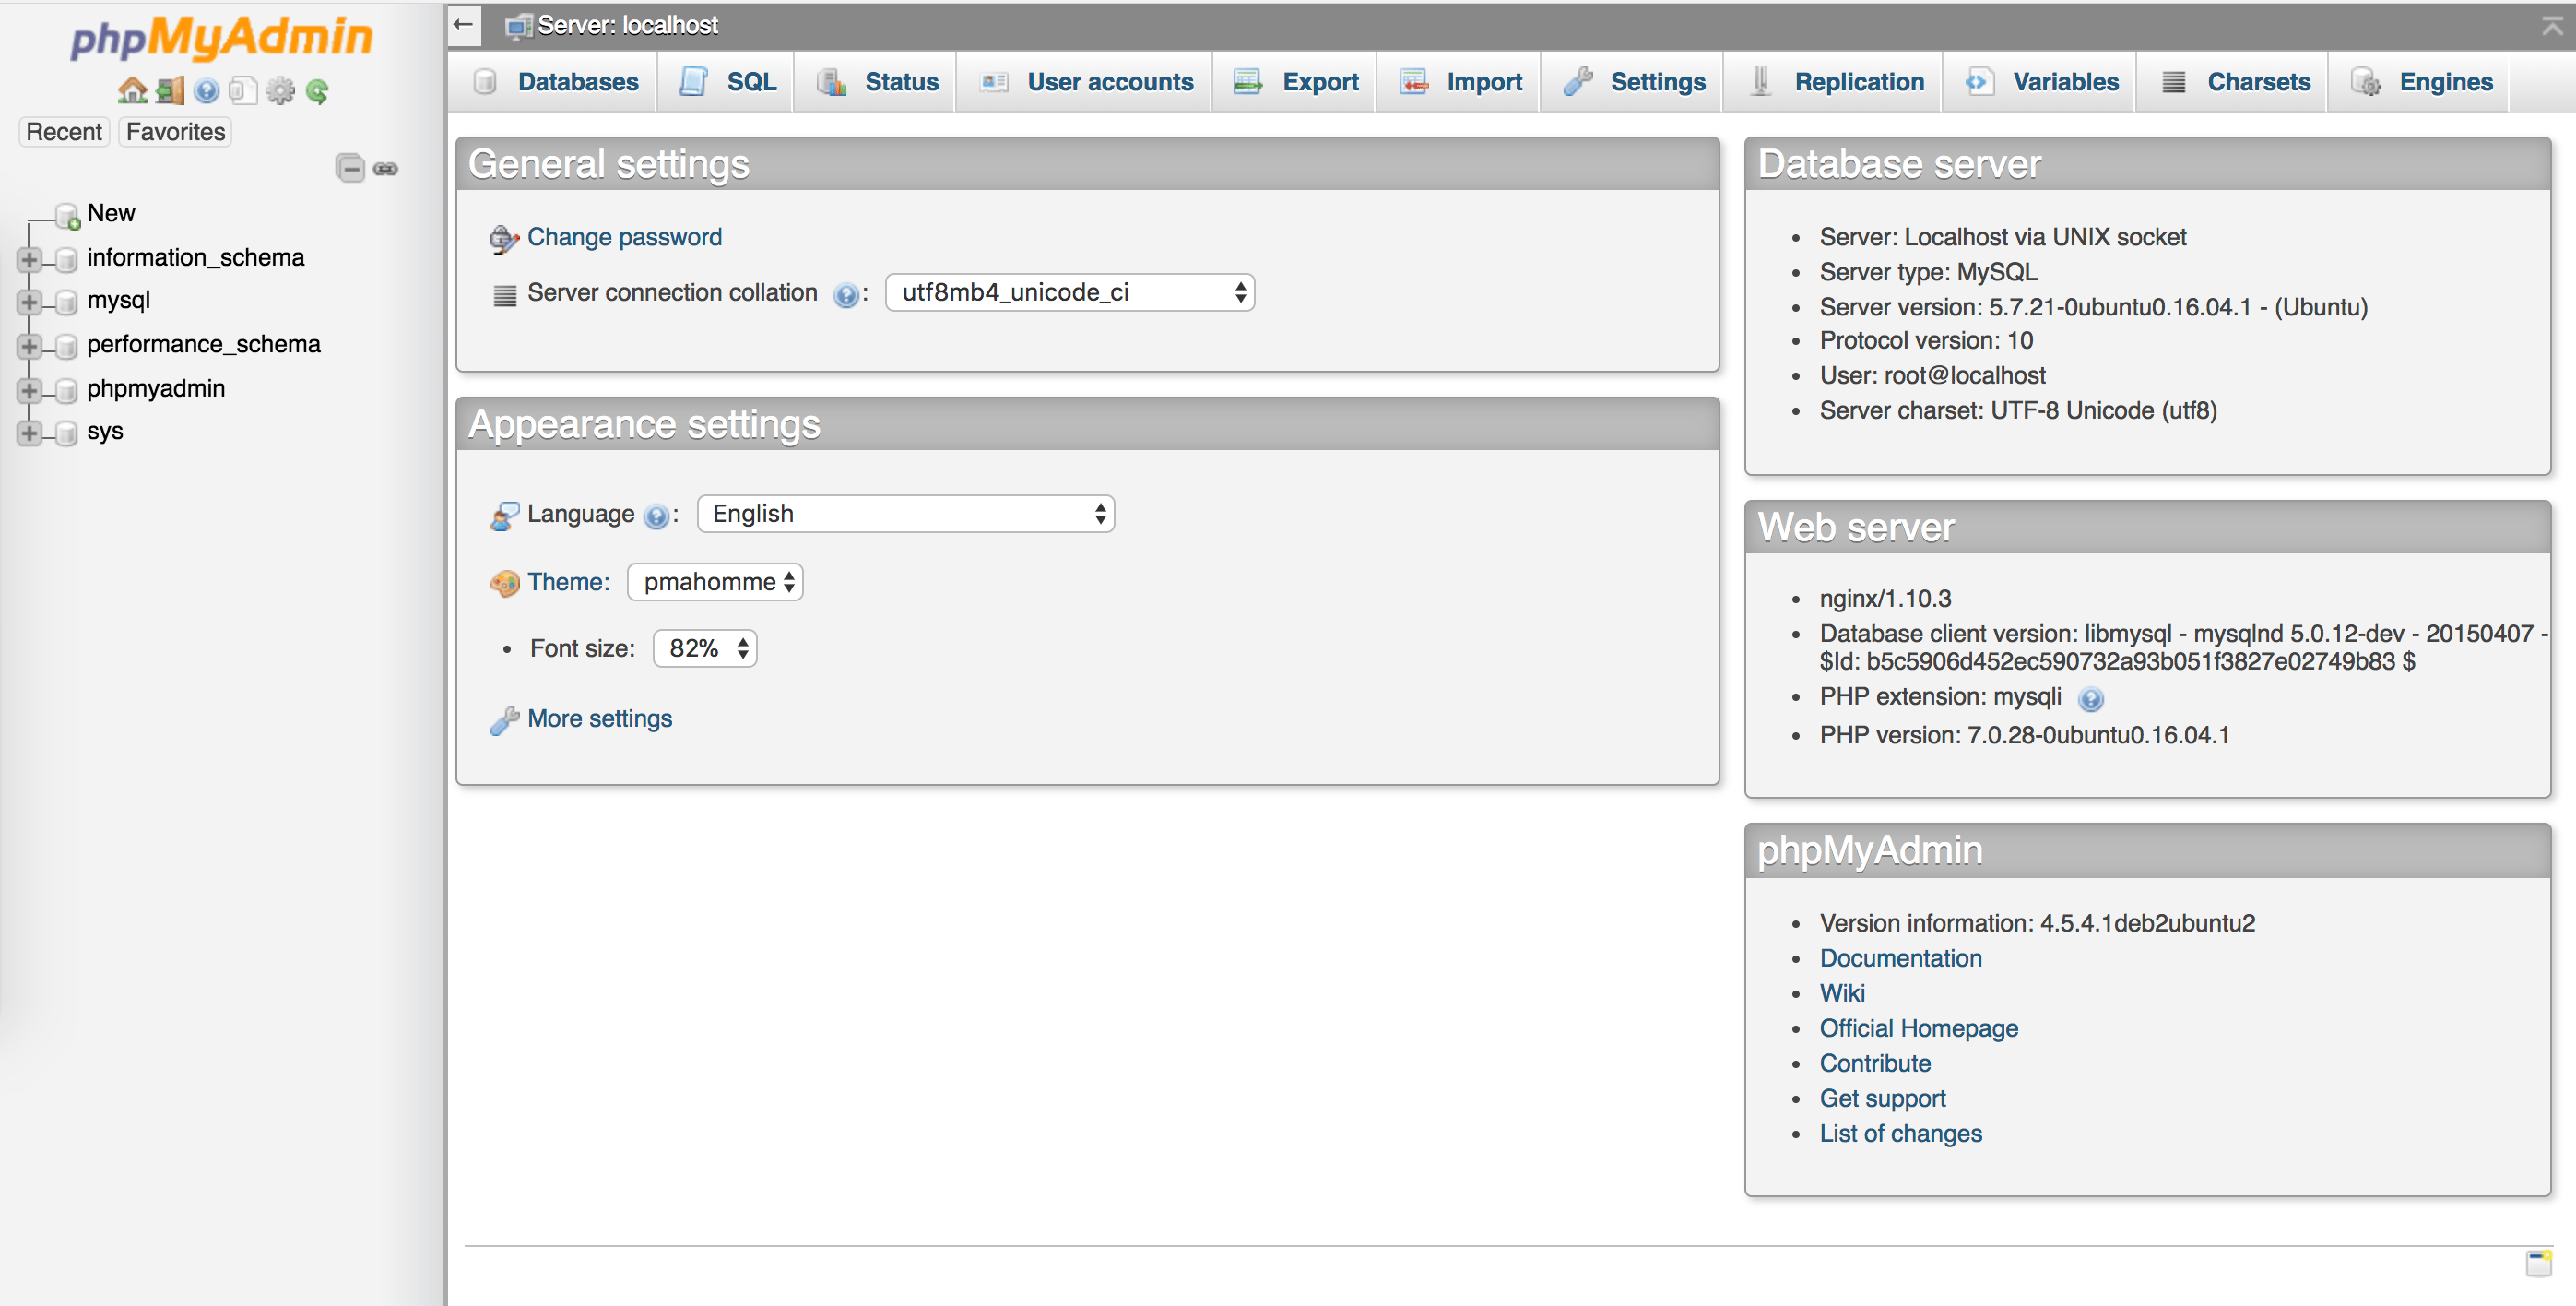
Click around to get familiar with the interface.
In the next two sections, we’ll take steps to secure our new phpMyAdmin web console.
Step 2 — Change the Default phpMyAdmin URL
The phpMyAdmin installation should be completely functional at this point. However, by installing a web interface, we’ve exposed our MySQL database server to the outside world. Because of phpMyAdmin’s popularity, and the large amount of data it may provide access to, installations like these are common targets for attacks.
In this section, we’ll “harden,” or lock down, our installation by changing the interface’s URL from /phpmyadmin to something non-standard to sidestep some of the automated bot brute-force attempts.
In an earlier step, we created a symbolic link from the phpMyAdmin directory to our document root in order for our Nginx web server to find and serve our phpMyAdmin files. To change the URL for our phpMyAdmin interface, we’ll rename this symbolic link.
First, let’s navigate to the Nginx document root directory to get a better sense of the change we’ll make:
- cd /var/www/html/
- ls -l
You’ll receive the following output:
Outputtotal 4
-rw-r--r-- 1 root root 612 Apr 10 16:40 index.nginx-debian.html
lrwxrwxrwx 1 root root  21 Apr 10 17:06 phpmyadmin -> /usr/share/phpmyadmin
The output shows that we have a symbolic link called phpmyadmin in this directory. We can change this link name to whatever we’d like. This will in turn change phpMyAdmin’s access URL, which can help obscure the endpoint from bots hardcoded to search common endpoint names (such as “phpmyadmin”).
Choose a name that obscures the purpose of the endpoint. In this guide, we’ll name our endpoint /nothingtosee, but you should choose an alternate name. To accomplish this, we’ll just rename the link:
- sudo mv phpmyadmin nothingtosee
- ls -l
After running the above commands, you’ll receive this output:
Outputtotal 4
-rw-r--r-- 1 root root 612 Apr 10 16:40 index.nginx-debian.html
lrwxrwxrwx 1 root root  21 Apr 10 17:06 nothingtosee -> /usr/share/phpmyadmin
Now, if you go to the old URL, you’ll get a 404 error:
http://server_domain_or_IP/phpmyadmin
Now, your phpMyAdmin interface will be available at the new URL we just configured:
http://server_domain_or_IP/nothingtosee
We can now further harden our phpMyAdmin installation by setting up an authentication gateway.
Step 3 — Set Up an Nginx Authentication Gateway
The next feature we’ll set up is an authentication prompt that a user would be required to pass before ever seeing the phpMyAdmin login screen. Most web servers, including Nginx, provide this capability natively. We’ll just need to modify our Nginx configuration file with the details.
Before we do this, we’ll create a password file that will store the authentication credentials. Nginx requires that passwords be encrypted using the crypt() function. The OpenSSL suite, which should already be installed on your server, includes this functionality.
To create an encrypted password, type:
- openssl passwd
You will be prompted to enter and confirm the password that you wish to use. The utility will then display an encrypted version of the password that will look something like this:
OutputO5az.RSPzd.HE
Copy this value, as you will need to paste it into the authentication file we’ll be creating.
Now, create an authentication file. We’ll call this file pma_pass and place it in the Nginx configuration directory:
- sudo nano /etc/nginx/pma_pass
In this file, you’ll specify the username you would like to use, followed by a colon (:), followed by the encrypted version of the password you received from the openssl passwd utility.
We are going to name our user sammy, but you should choose a different username. The file should look like this:
sammy:O5az.RSPzd.HE
Save and close the file when you’re done.
Now, we’re ready to modify our Nginx configuration file. Open it in your text editor to get started:
- sudo nano /etc/nginx/sites-available/default
Within this file, we need to add a new location section. This will target the location we chose for our phpMyAdmin interface (we selected /nothingtosee in this guide).
Create this section within the server block, but outside of any other blocks. We’ll put our new location block below the / block in our example:
server {
    . . .

        location / {
                # First attempt to serve request as file, then
                # as directory, then fall back to displaying a 404.
                try_files $uri $uri/ =404;
        }

        location /nothingtosee {
        }


    . . .
}
Within this block, we need to set the value of a variable called auth_basic to an authentication message that our prompt will display to users. We don’t want to indicate to unauthenticated users what we’re protecting, so don’t give specific details. We’ll just use “Admin Login” in our example.
We then need to add a variable called auth_basic_user_file to point our web server to the authentication file that we just created. Nginx will prompt the user for authentication details and check that the inputted values match what it finds in the specified file.
After we’re finished, the file should look like this:
server {
    . . .

    location / {
        try_files $uri $uri/ =404;
    }

    location /nothingtosee {
        auth_basic "Admin Login";
        auth_basic_user_file /etc/nginx/pma_pass;
    }

    . . .
}
Save and close the file when you’re done.
To activate our new authentication gate, we must restart the web server:
- sudo service nginx restart
Now, if you visit the phpMyAdmin URL in your web browser (if refreshing the page does not work, you may have to clear your cache or use a different browser session if you’ve already been using phpMyAdmin), you should be prompted for the username and password you added to the pma_pass file:
http://server_domain_or_IP/nothingtosee
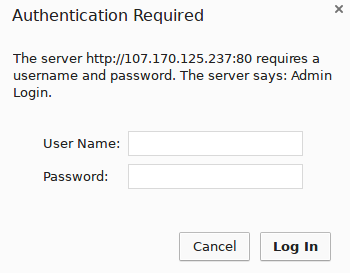
Once you enter your credentials, you’ll be taken to the standard phpMyAdmin login page.
In addition to providing an extra layer of security, this gateway will help keep your MySQL logs clean of spammy authentication attempts.
Conclusion
After completing this tutorial, you can now manage your MySQL databases from a reasonably secure web interface. This user interface exposes most of the functionality available via the MySQL command line. You can browse databases and schema, execute queries, and create new data sets and structures.
Thanks for learning with the DigitalOcean Community. Check out our offerings for compute, storage, networking, and managed databases.
About the author(s)
DevOps Engineer, Former Technical Writer and Editor at DigitalOcean. Expertise in topics including Ubuntu, Kubernetes, Docker, CentOS.
Community and Developer Education expert. Former Senior Manager, Community at DigitalOcean. Focused on topics including Ubuntu 22.04, Ubuntu 20.04, Python, Django, and more.
Still looking for an answer?
This textbox defaults to using Markdown to format your answer.
You can type !ref in this text area to quickly search our full set of tutorials, documentation & marketplace offerings and insert the link!
Hello, first of all, thank you. I think I was one of the users that requested the tutorial, you were fast writing it! Thanks!
I followed all the steps and everything worked well unless the fact that when I login to PHPMyAdmin, it redirects me to the url without the “/nothingtosee”
- Log in -> http://server_domain_or_IP/nothingtosee
- Redirect to -> http://server_domain_or_IP/index.php?token=….
- It should redirect to http://server_domain_or_IP/nothingtosee/index.php?token=….
Thank you for your help!
Hello there! I have the same issue as Pablo. When I log-in it redirects me to http://server_domain_or_ip/index.php?token=… not http://server_domain_or_ip/nothingtosee/index.php?token=…
If I press BACK it delivers me to http://server_domain_or_ip/nothingtosee/index.php?token=… I installed everything by instruction and set up LEMP by your tutorial as well
Hi,
I must be missing something here. I’ve tried this tutorial a few times and still can’t get the authentication to work.
My method:
- Create Droplet, selecting LEMP on 16.04’ from One-Click apps.
- apt install phpmyadmin
- phpenmod mcrypt
- systemctl restart php7.0-fpm
- cd /var/www/html/
- mv phpmyadmin nothingtosee
- openssl passwd
- nano /etc/nginx/pma_pass
- nano /etc/nginx/sites-available/default
- Added the location block for ‘/nothingtosee’ as per above.
- service nginx restart
- http://server_domain_or_IP/nothingtosee
Unfortunately, no authentication window pops up and I see the phpmyadmin as usual.
I’ve tried with Chrome, Firefox, Opera & IE.
I’d love to know where I’m going wrong!
Thanks, Derrick
Same issue as Pablo. Found the solution for it here: https://stackoverflow.com/questions/36268480/phpmyadmin-after-login-wrong-url
This comment has been deleted
mcrypt has been deprecated as of PHP 7.1.x. For details see http://http://php.net/manual/en/migration71.deprecated.php
The LEMP stack and/or PHP 7.0 apparently addresses encryption via other means as I have not had any issues. Upgraded to PHP 7.2 and 18.04 - still no issues with encryption so mcrypt should not be needed.
Hello, after configuring Nginx Authentication Gateway, when I enter the credentials I get “403 Forbidden” message. How can I resolve this issue? Thanks!
I am getting an error after following these directions. 502 Bad Gateway.
2018/10/29 16:43:55 [crit] 8879#8879: *4 connect() to unix:/var/run/php5-fpm.sock failed (2: No such file or directory) while connecting to upstream, client: 10.19.80.59, server: plantpi.workstations.winona.edu, request: "GET /phpmyadmin/ HTTP/1.1", upstream: "fastcgi://unix:/var/run/php5-fpm.sock:", host: "plantpi.workstations.winona.edu"
i want to add something. I got error, even mysql root password was correct, but i can not login to phpmyadmin. I got error Access denied for user ‘root’@‘localhost’
To solve this, i login into mysql from terminal with command
mysql -u root -p
after login into mysql prompt, give command
ALTER USER root@localhost IDENTIFIED WITH mysql_native_password BY 'your-password';
then exit
This is happened because mysql not recognized the authentication from phpmyadmin. Just info for anyone get same trouble like me
After enabling mcrypt I get the error:
WARNING: Module mcrypt ini file doesn't exist under /etc/php/7.3/mods-available
What do I do now?
I’m installing on a LEMP stack, but missed the part about skipping over server selection and selected Apache from the options. Tried going back and reinstalling but the installer jumped to after that step. Perhaps this is the issue?
 This work is licensed under a Creative Commons Attribution-NonCommercial- ShareAlike 4.0 International License.
Become a contributor for community
Get paid to write technical tutorials and select a tech-focused charity to receive a matching donation.

DigitalOcean Documentation
Full documentation for every DigitalOcean product.

Resources for startups and AI-native businesses
The Wave has everything you need to know about building a business, from raising funding to marketing your product.
The developer cloud
Scale up as you grow — whether you're running one virtual machine or ten thousand.

Start building today
From GPU-powered inference and Kubernetes to managed databases and storage, get everything you need to build, scale, and deploy intelligent applications.
