By Vadym Kalsin and Mark Drake

The author selected the Apache Software Foundation to receive a $100 donation as part of the Write for DOnations program.
Introduction
A LEMP software stack is a group of open source software that is typically installed together to enable a server to host dynamic websites and web apps. This term is actually an acronym which represents the Linux operating system, with the ENginx web server (which replaces the Apache component of a LAMP stack). The site data is stored in a MySQL database (using MariaDB), and dynamic content is processed by PHP.
The LEMP stack components are sometimes installed using the CentOS 7 EPEL repository. However, this repository contains outdated packages. For example, you cannot install any version of PHP higher than 5.4.16 from EPEL, even though this release has not been supported for a long time. In order to get the newer versions of software, it’s recommended that you use Software Collections, also known as SCLs. SCLs are collections of developer resources provided by RedHat which allow you to use multiple versions of software on the same system without affecting previously-installed packages.
In this guide, you’ll install a LEMP stack on a CentOS 7 server. The CentOS operating system takes care of the Linux component. You’ll install the rest of the compontents using the Software Collections repository and then configure them to serve a simple web page.
Prerequisites
Before you get started this tutorial, you should have CentOS 7 server set up by following the CentOS 7 initial server setup guide, including a sudo non-root user.
Step 1 — Enabling the Software Collections repository
In order to gain access to SCLs for CentOS, to install the CentOS Linux Software Collections release file:
- sudo yum install centos-release-scl
View the list of available SCL packages using the following command:
- yum --disablerepo='*' --enablerepo='centos-sclo-rh' --enablerepo='centos-sclo-sclo' list available
To avoid any system-wide conflicts, SCL packages are installed in the /opt/rh directory. This allows you, for instance, to install Python 3.5 on a CentOS 7 machine without removing or interfering with Python 2.7.
All configuration files for SCL packages are stored in the corresponding directory inside the /etc/opt/rh/ directory. SCL packages provide shell scripts that define the environment variables necessary for using the included applications, such as PATH, LD_LIBRARY_PATH, and MANPATH. These scripts are stored in the filesystem as /opt/rh/package-name/enable.
Now you are ready to begin installing the packages outlined in this guide.
Step 2 — Installing the Nginx Web Server
In order to display web pages to visitors, we are going to employ Nginx, a modern, efficient web server.
Install Nginx using the following yum command. Be sure to replace the highlighted value with the version of Nginx you want to install; the most recent version will have the highest number in the package name (112 at the time of this writing):
- sudo yum install rh-nginx112
Once it is finished installing, start the Nginx service:
- sudo systemctl start rh-nginx112-nginx
Confirm that Nginx is running by entering the systemctl status command:
- sudo systemctl status rh-nginx112-nginx
Output● rh-nginx112-nginx.service - The nginx HTTP and reverse proxy server
   Loaded: loaded (/usr/lib/systemd/system/rh-nginx112-nginx.service; disabled; vendor preset: disabled)
   Active: active (running) since Fri 2018-03-19 15:15:43 UTC; 1min 17s ago
 Main PID: 10556 (nginx)
   CGroup: /system.slice/rh-nginx112-nginx.service
           ├─10556 nginx: master process /opt/rh/rh-nginx112/root/usr/sbin/nginx
           ├─10557 nginx: worker process
           └─10558 nginx: worker process

Mar 19 15:15:43 lemp-centos-222 systemd[1]: Starting The nginx HTTP and reverse proxy server...
Mar 19 15:15:43 lemp-centos-222 nginx-scl-helper[10541]: nginx: the configuration file /etc/opt/rh/rh-nginx... ok
Mar 19 15:15:43 lemp-centos-222 nginx-scl-helper[10541]: nginx: configuration file /etc/opt/rh/rh-nginx112/...ful
Mar 19 15:15:43 lemp-centos-222 systemd[1]: Started The nginx HTTP and reverse proxy server.
Hint: Some lines were ellipsized, use -l to show in full.
At this point, your server could be vulnerable to unauthorized access by unauthorized users. To fix this, set up a firewall using firewalld. You may need to first install firewalld, which can be done with the following command:
- sudo yum install firewalld
Then, start the firewalld service:
- sudo systemctl start firewalld
Next, add some firewall rules to allow SSH access to your server, and HTTP and HTTPS connections to Nginx:
- sudo firewall-cmd --permanent --add-service=ssh
- sudo firewall-cmd --zone=public --permanent --add-service=http
- sudo firewall-cmd --zone=public --permanent --add-service=https
Reload firewalld to implement the new firewall rules:
- sudo firewall-cmd --reload
Learn more about firewalld in How To Set Up a Firewall Using FirewallD on CentOS 7.
With these new firewall rules added, you can test if the server is up and running by accessing your server’s domain name or public IP address in your web browser.
If you do not have a domain name pointed at your server and you do not know your server’s public IP address, you can find it by typing the following into your terminal:
- curl -4 icanhazip.com
Type resulting IP address into the address bar of your web browser, and you should see Nginx’s default landing page:
http://server_domain_or_IP
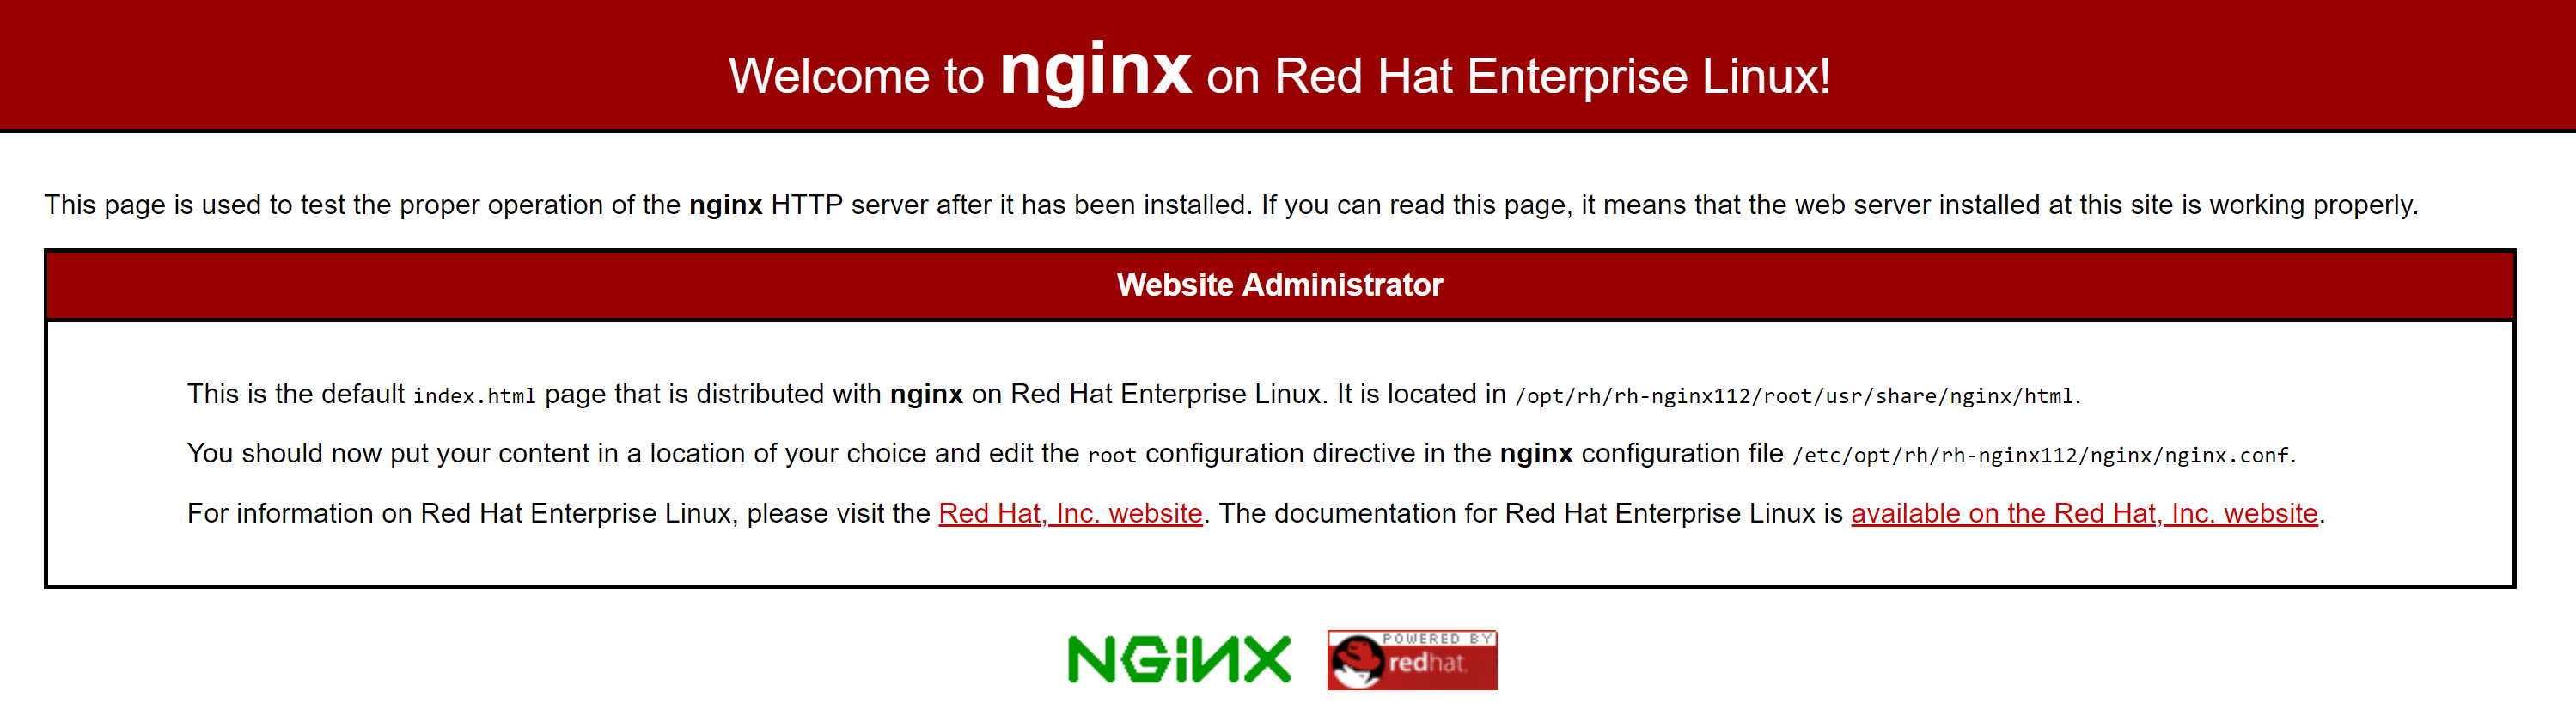
If you see this page, you have successfully installed Nginx. Before continuing, enable Nginx to start on boot using the following command:
- sudo systemctl enable rh-nginx112-nginx
The Nginx server is now installed, and you can move on to installing the MariaDB database software.
Step 3 — Installing MariaDB to Manage Site Data
Now that we have a web server, it is time to install MariaDB, a drop-in replacement for MySQL, to store and manage the data for your site.
Install MariaDB with the following command. Again, replace the highlighted value with whichever version number you want to install, the highest number being the newest available version (102, at the time of this writing):
- sudo yum install rh-mariadb102
When the installation is complete, start the MariaDB service with the following command:
- sudo systemctl start rh-mariadb102-mariadb
With that, MariaDB is installed and running. However, its configuration is not yet complete.
To secure the installation, MariaDB comes installed with a security script that prompts you to modify some insecure default settings. Run the script by typing:
- source /opt/rh/rh-mariadb102/enable
- mysql_secure_installation
The prompt will ask you for your current root password. Since you just installed MySQL, you most likely won’t have one, so leave it blank by pressing ENTER. Then the prompt will ask you if you want to set a root password. Go ahead and enter Y, and follow the instuctions:
. . .
Enter current password for root (enter for none):
OK, successfully used password, moving on...

Setting the root password ensures that nobody can log into the MariaDB
root user without the proper authorization.

Set root password? [Y/n] Y
New password: password
Re-enter new password: password
Password updated successfully!
Reloading privilege tables..
 ... Success!
. . .
For the rest of the questions, press the ENTER key through each prompt to accept the default values. This will remove some anonymous users and the test database, disable remote root logins, and load these new rules so that MariaDB immediately implements the changes we have made.
The last thing to do here is to enable MariaDB to start on boot. Use the following command to do so:
- sudo systemctl enable rh-mariadb102-mariadb
At this point, your database system is now set up and you can move on to setting up PHP on your server.
Step 4 — Installing and Configuring PHP for Processing
You now have Nginx installed to serve your pages and MariaDB installed to store and manage your data. However, you still don’t have anything installed that can generate dynamic content. This is where PHP comes in.
Since Nginx does not contain native PHP processing like some other web servers, you will need to install php-fpm, which stands for “fastCGI process manager”. Later, you will configure Nginx to pass PHP requests to this software for processing.
Install this module and also grab a helper package that will allow PHP to communicate with your database backend. The installation will pull in the necessary PHP core files. Do this by typing:
- sudo yum install rh-php71-php-fpm rh-php71-php-mysqlnd
Your PHP components are now installed, but there is a slight configuration change you should make to bolster your setup’s security.
Open the main php.ini configuration file with root privileges:
- sudo vi /etc/opt/rh/rh-php71/php.ini
In this file, look for the parameter that sets cgi.fix_pathinfo. This will be commented out with a semi-colon (;) and set to “1” by default.
This is an extremely insecure setting because it tells PHP to attempt to execute the closest file it can find if the requested PHP file cannot be found. This basically would allow users to craft PHP requests in a way that would allow them to execute scripts that they shouldn’t be allowed to execute.
Change both of these conditions by uncommenting the line and setting it to “0” like this:
cgi.fix_pathinfo=0
Save and close the file when you are finished (press ESC, enter :wq, then press Enter).
Next, open the php-fpm configuration file www.conf:
- sudo vi /etc/opt/rh/rh-php71/php-fpm.d/www.conf
By default, this file is configured to work with the Apache server. Since your server has Nginx installed on it, find the lines that set the user and group and change their values from “apache” to “nginx”:
user = nginx
group = nginx
Then save and close the file.
Next, start your PHP processor by typing:
- sudo systemctl start rh-php71-php-fpm
Then enable php-fpm to start on boot:
- sudo systemctl enable rh-php71-php-fpm
With that, you have successfully installed PHP onto your server. However, it must still be configured to work with the other software you’ve installed to allow your server to correctly serve your site’s content.
Step 5 — Configuring Nginx to Use the PHP Processor
At this point, you have all of the required components of a LEMP stack installed. The only configuration change you still need to make is to tell Nginx to use your PHP processor for dynamic content.
This configuration change is made on the server block level (server blocks are similar to Apache’s virtual hosts). Open the default Nginx server block configuration file by typing:
- sudo vi /etc/opt/rh/rh-nginx112/nginx/nginx.conf
Uncomment the location ~ \.php$ block (the segment of the file that handles PHP requests, found within the server block) and its contents by removing the pound symbols (#) from the beginning of each line. You also need to update the fastcgi_param option to SCRIPT FILENAME $document_root$fastcgi_script_name. This informs PHP of the location of the document root where it can find files to process.
After making the necessary changes, the server block will look like this:
...
server {
    listen       80 default_server;
    listen       [::]:80 default_server;
    server_name  _;
    root         /opt/rh/rh-nginx112/root/usr/share/nginx/html;

    # Load configuration files for the default server block.
    include      /etc/opt/rh/rh-nginx112/nginx/default.d/*.conf;

    location / {
    }

    error_page 404 /404.html;
    location = /40x.html {
    }

    error_page 500 502 503 504  /50x.html;
    location = /50x.html {
    }

    # proxy the PHP scripts to Apache listening on 127.0.0.1:80
    #
    #location ~ \.php$ {
    #    proxy_pass   http://127.0.0.1;
    #}

    # pass the PHP scripts to FastCGI server listening on 127.0.0.1:9000
    #
    location ~ \.php$ {
        root           html;
        fastcgi_pass   127.0.0.1:9000;
        fastcgi_index  index.php;
        fastcgi_param  SCRIPT_FILENAME $document_root$fastcgi_script_name;
        include        fastcgi_params;
    }

    # deny access to .htaccess files, if Apache's document root
    # concurs with nginx's one
    #
    #location ~ /\.ht {
    #    deny  all;
    #}
}
...
When you’ve made the changes, you can save the file and exit the editor.
Next, test your configuration file for syntax errors by running the following commands:
- source /opt/rh/rh-nginx112/enable
- sudo nginx -t
If any errors are reported, go back and recheck your file before continuing.
Once your configuration file is valid, reload Nginx to implement the changes you’ve made:
- sudo systemctl reload rh-nginx112-nginx
Now that Nginx, PHP, and MariaDB have been installed and configured, all that’s left to do is to confirm that the LEMP stack configuration is able to correctly serve content to your site’s visitors.
Step 6 — Creating a PHP File to Test Configuration
Your LEMP stack is now completely set up and you can test it to validate that Nginx is able to correctly hand .php files off to your PHP processor. This is done by creating a test PHP file in our document root.
Open a new file called info.php within the document root:
- sudo vi /opt/rh/rh-nginx112/root/usr/share/nginx/html/info.php
Add the following line to the new file. This is valid PHP code that will return information about your server:
<?php phpinfo(); ?>
When you are finished, save and close the file. Then, visit this page in your web browser by visiting your server’s domain name or public IP address followed by /info.php:
http://server_domain_or_IP/info.php
You’ll see a web page that has been generated by PHP with information about your server:
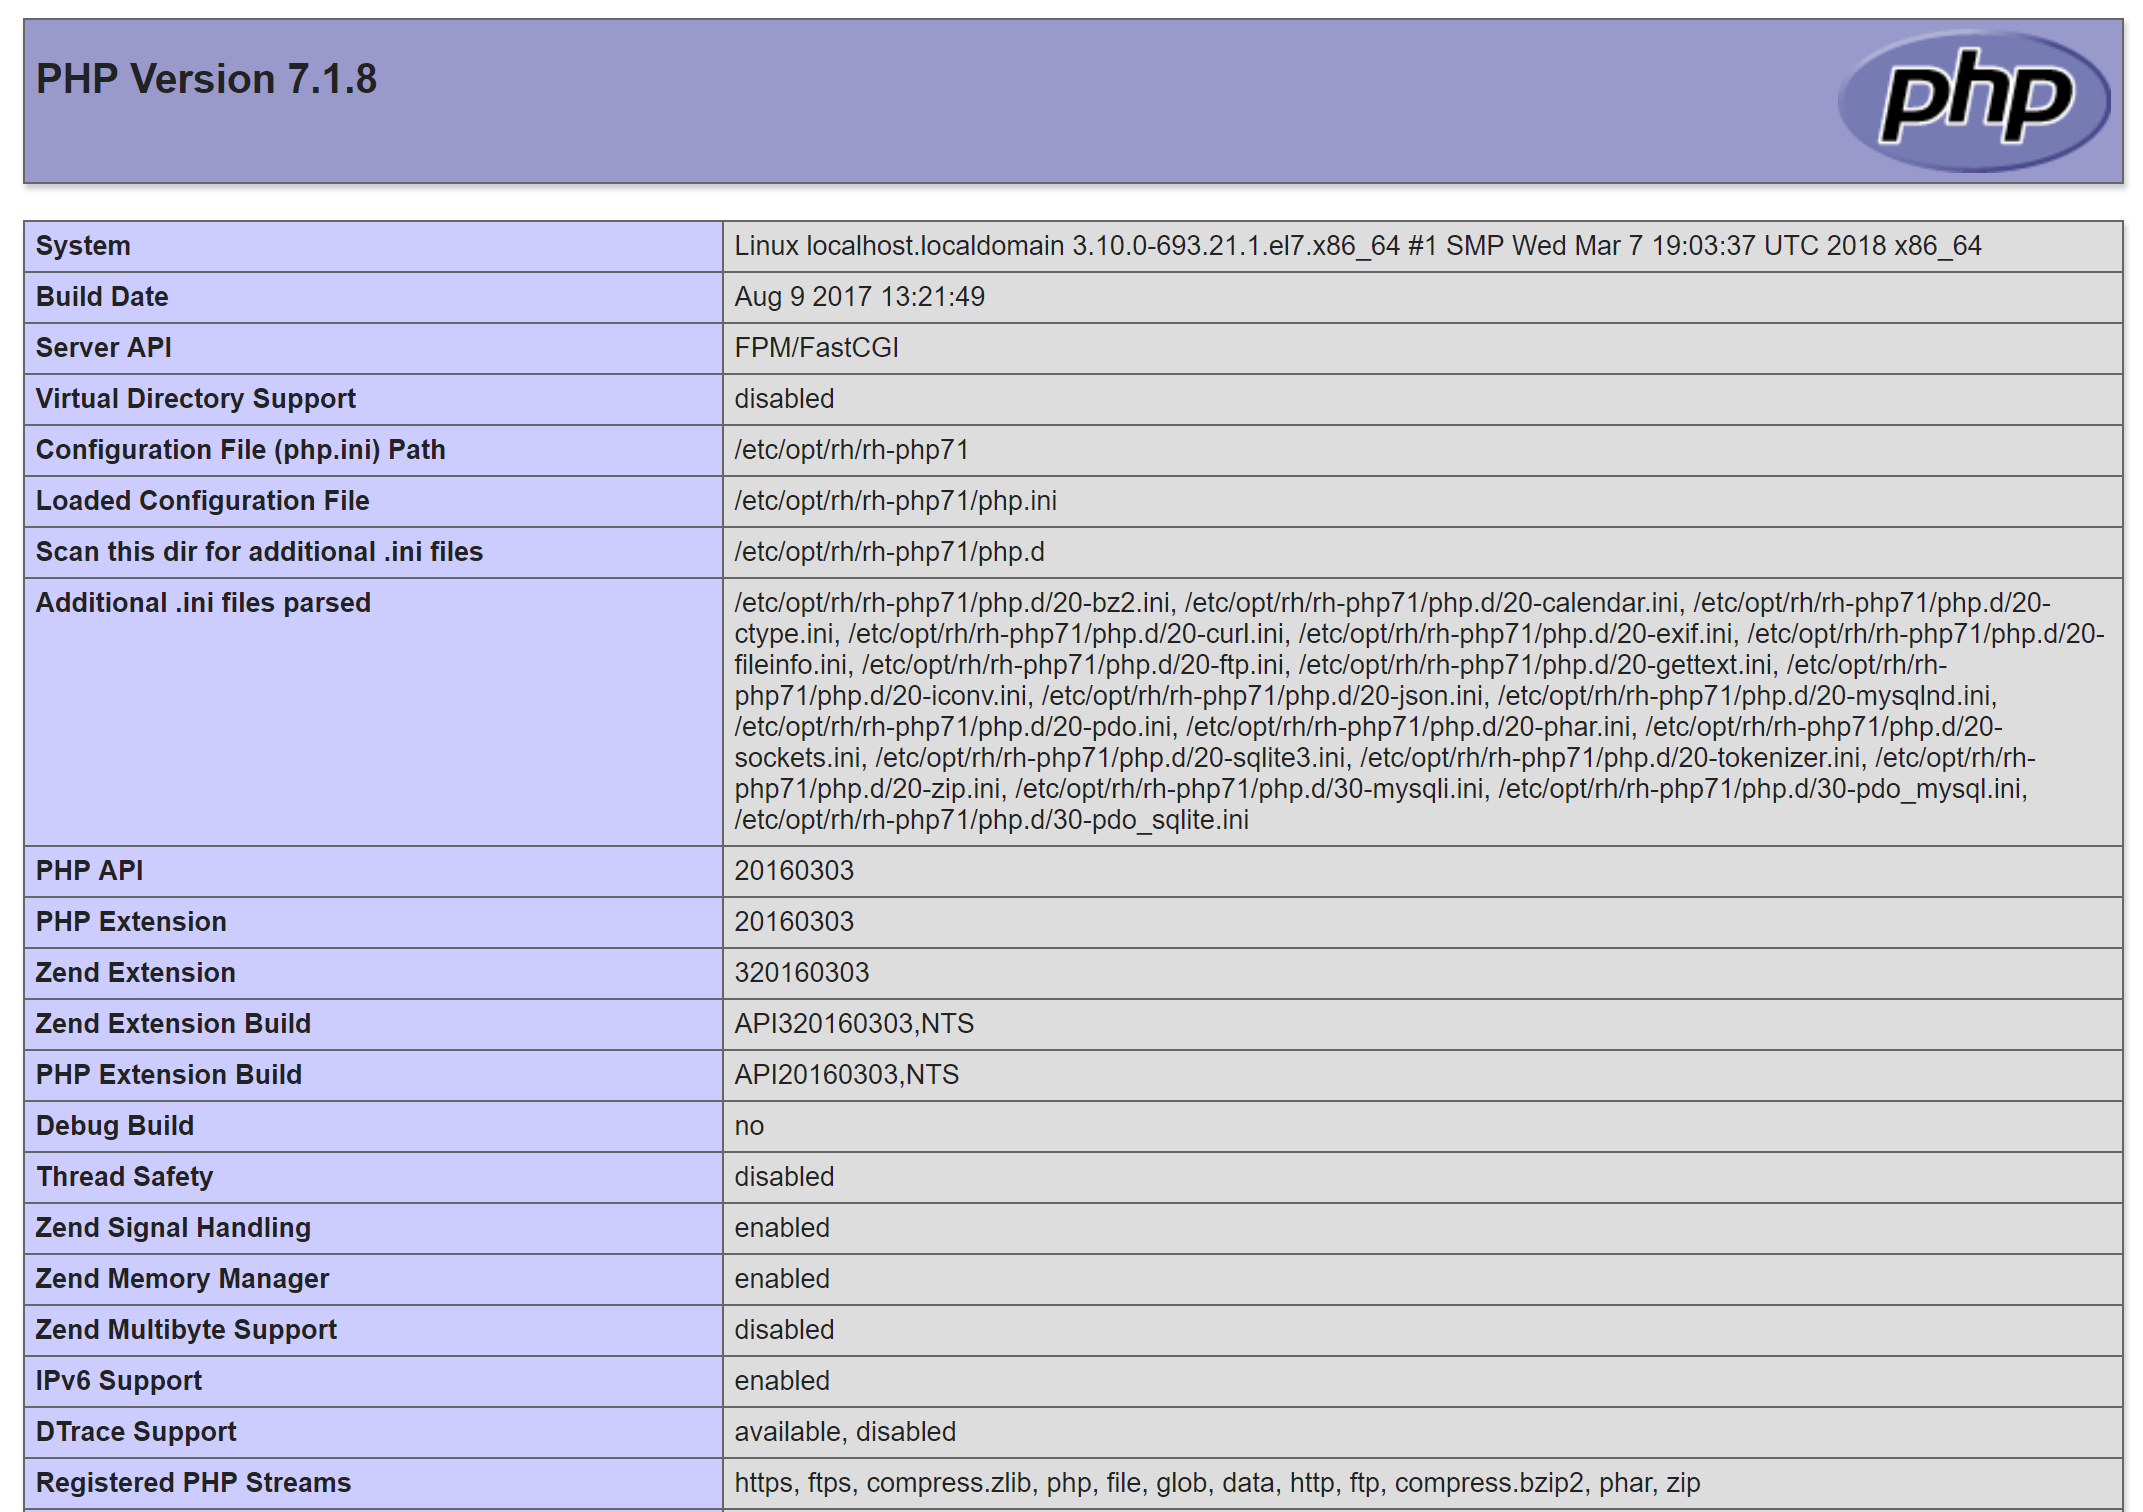
If you see a page that looks like this, you’ve set up PHP processing with Nginx successfully.
After verifying that Nginx renders the page correctly, it’s best to remove the file you created as it can actually give unauthorized users some hints about your configuration that may help them try to break in. You can always regenerate this file if you need it later.
Remove the file by typing:
- sudo rm /opt/rh/rh-nginx112/root/usr/share/nginx/html/info.php
With that, you have confirmed that all the components of thee LEMP stack are installed and configured correctly on your server.
Conclusion
You now have a fully-configured LEMP stack on your CentOS 7 server. This gives you a very flexible foundation for serving web content to your visitors.
SCLs are also used to install various versions of software and switch between them. You can see the list of all installed collections on the system by running:
- scl --list
If interested, you can find more info about Software Collections on the official site.
Thanks for learning with the DigitalOcean Community. Check out our offerings for compute, storage, networking, and managed databases.
About the author(s)
Monitoring engineer
Former Technical Writer at DigitalOcean. Focused on SysAdmin topics including Debian 11, Ubuntu 22.04, Ubuntu 20.04, Databases, SQL and PostgreSQL.
Still looking for an answer?
This textbox defaults to using Markdown to format your answer.
You can type !ref in this text area to quickly search our full set of tutorials, documentation & marketplace offerings and insert the link!
Thank you for detailed tutorial. I’ve followed along, and successfully installed every single things (LEMP) without any errors.
However, I can’t call a “php” from terminal.
All it said:
[root@serverlive ~]# php
-bash: php: command not found
Already did this following command:
[root@serverlive ~]# source /opt/rh/rh-php71/enable
But still, no hope.
Any help, please. Thank you.
When I followed the tutorial, I got stuck in the Sept 5. I am not a developer, so I had to google around and it turned out that are some issues in this tutorial. for the editing of nginx.conf:
server { listen 80 default_server; listen [::]:80 default_server; server_name _; root /opt/rh/rh-nginx112/root/usr/share/nginx/html;
Server_name _; this needs to be changed to Server_name localhost; (or ip you want to put)
#
<^>location ~ \.php$ {
    root           html;
    fastcgi_pass   127.0.0.1:9000;
    fastcgi_index  index.php;
    fastcgi_param  SCRIPT_FILENAME $document_root$fastcgi_script_name;
    include        fastcgi_params;
}<^>
This <^> thing is an error, needs to be removed.
This comment has been deleted
 This work is licensed under a Creative Commons Attribution-NonCommercial- ShareAlike 4.0 International License.
Become a contributor for community
Get paid to write technical tutorials and select a tech-focused charity to receive a matching donation.

DigitalOcean Documentation
Full documentation for every DigitalOcean product.

Resources for startups and AI-native businesses
The Wave has everything you need to know about building a business, from raising funding to marketing your product.
The developer cloud
Scale up as you grow — whether you're running one virtual machine or ten thousand.

Start building today
From GPU-powered inference and Kubernetes to managed databases and storage, get everything you need to build, scale, and deploy intelligent applications.
