By Jonah Aragon and Tammy Fox

Introduction
Discourse is an open source community discussion platform built for the modern web.
This tutorial will walk you through the steps of configuring Discourse, moving it behind a reverse proxy with Nginx, and configuring an SSL certificate for it with Let’s Encrypt. Moving Discourse behind a reserve proxy provides you with the flexibility to run other websites on your Droplet.
Prerequisites
Before we get started, be sure you have the following:
- Ubuntu 14.04 Droplet (1 GB or bigger)
- Non-root user with sudo privileges (Initial Server Setup with Ubuntu 14.04 explains how to set this up.)
- Discourse installed using this tutorial
- Fully registered domain. You can purchase one on Namecheap or get one for free on Freenom.
- Make sure your domain name is configured to point to your Droplet. Check out this tutorial if you need help.
All the commands in this tutorial should be run as a non-root user. If root access is required for the command, it will be preceded by sudo.
Step 1 — Configuring Discourse
Now that you have Discourse installed, we need to configure it to work behind Nginx.
Warning: This will incur downtime on your Discourse forum until we configure Nginx. Make sure this is a fresh install of Discourse or have a backup server until configuration is complete.
There’s just one setting we’ll need to change to Discourse so we can move it behind Nginx. Change into the directory that contains the configuration file:
- cd /var/discourse
Then, open the configuration file we need to change:
- sudo nano containers/app.yml
Using the arrow keys, scroll down to the expose section (it should be near the top) and change the first port number on this line:
...
## which TCP/IP ports should this container expose?
expose:
  - "25654:80"   # fwd host port 80   to container port 80 (http)
...
This number can be random and shouldn’t be shared with others. You can even block unauthorized access to it with an iptables firewall rule if you’d like.
Now save and exit the text editor.
Enable the configuration change by running:
- sudo ./launcher rebuild app
This step might take a while, so please be patient.
You can verify everything is working by visiting your website. Your domain name for Discourse (such as http://discourse.example.com) will no longer load the interface in a web browser, but it should be accessible if you use the port just configured for Discourse such as http:///discourse.example.com:25654 (replace discourse.example.com with your domain name and 25654 with the port you just used in this step).
Step 2 — Installing and Configuring Nginx
Now that Discourse is installed and configured to work behind Nginx, it is time to install Nginx.
To install Nginx on Ubuntu, simply enter this command and the installation will start:
- sudo apt-get install nginx
Browsing to your old Discourse URL at http://discourse.example.com will show the default Nginx webpage:
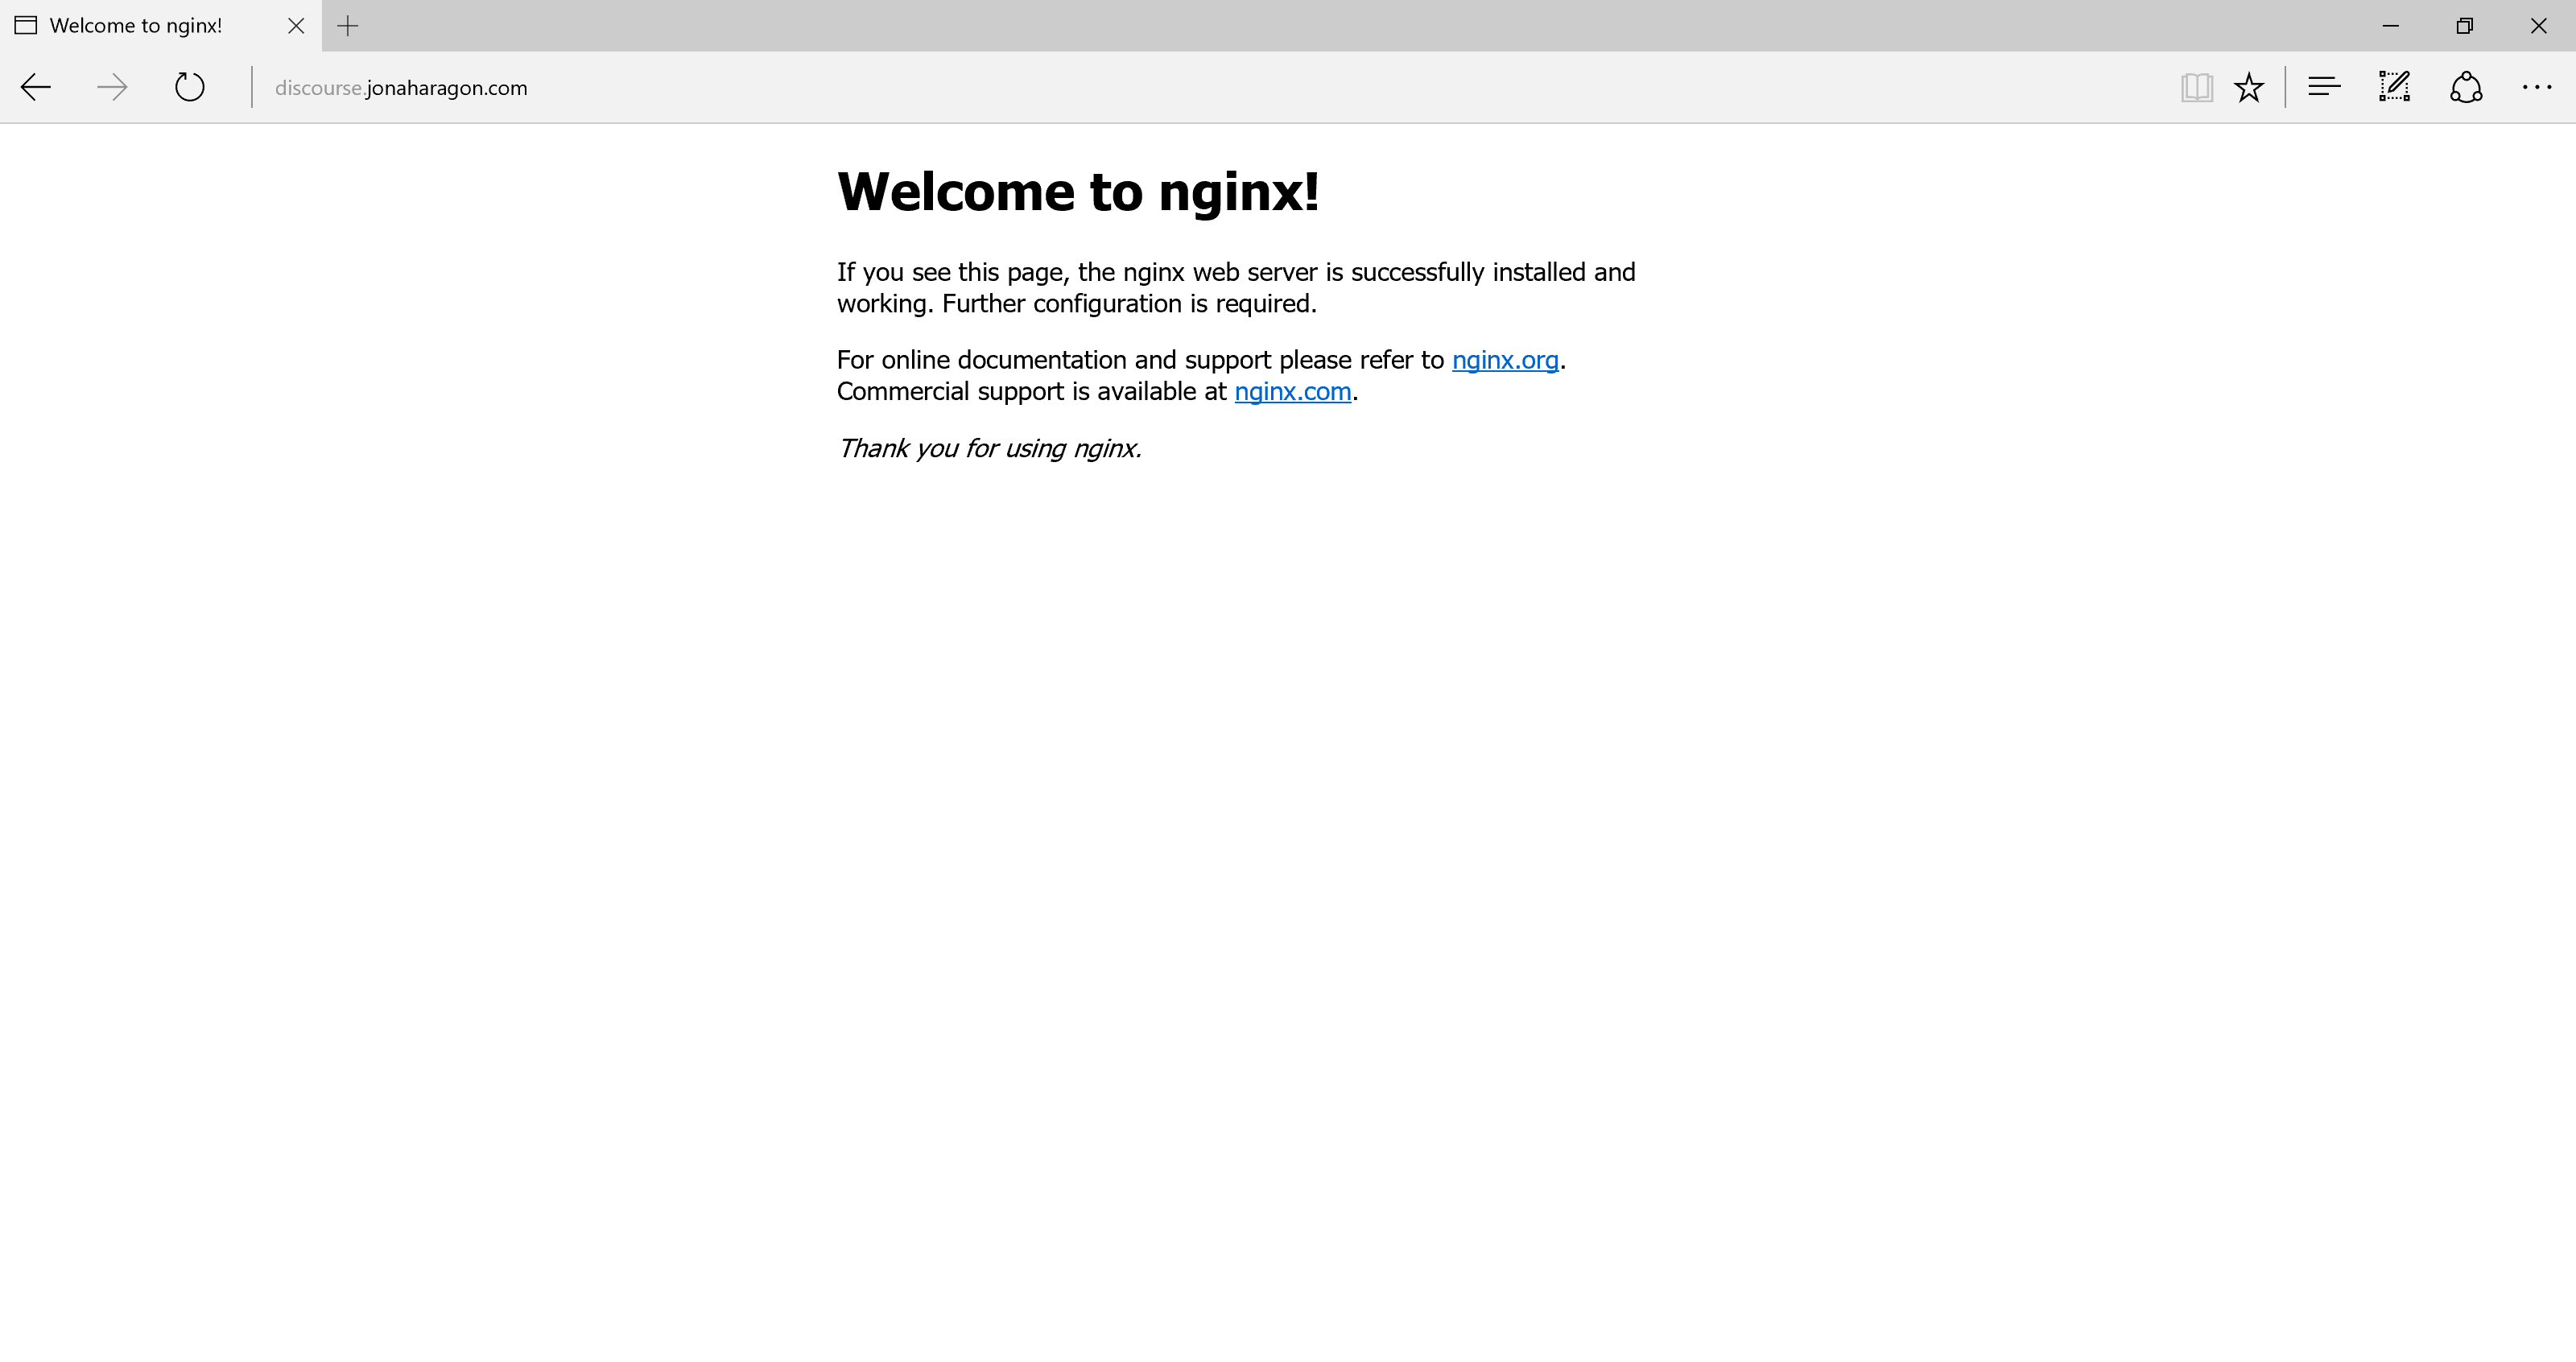
This is fine. We’ll change this to your forum now. First, let’s stop Nginx:
- sudo service nginx stop
Then, delete this default webpage configuration — we won’t need it:
- sudo rm /etc/nginx/sites-enabled/default
Next, we’ll make a new configuration file for our Discourse server, which we’ll name discourse.
- sudo nano /etc/nginx/sites-enabled/discourse
Copy and paste in the following configuration. Replace discourse.example.com with your domain name and 25654 with the port you just used in the previous step:
server {
        listen 80;
        server_name discourse.example.com;
        return 301 https://discourse.example.com$request_uri;
}
server {
        listen 443 ssl spdy;
        server_name discourse.example.com;
        ssl_certificate /etc/letsencrypt/live/discourse.example.com/fullchain.pem;
        ssl_certificate_key /etc/letsencrypt/live/discourse.example.com/privkey.pem;
        ssl_protocols TLSv1 TLSv1.1 TLSv1.2;
        ssl_ciphers 'ECDHE-RSA-AES128-GCM-SHA256:ECDHE-ECDSA-AES128-GCM-SHA256:ECDHE-RSA-AES256-GCM-SHA384:ECDHE-ECDSA-AES256-GCM-SHA384:DHE-RSA-AES128-GCM-SHA256:DHE-DSS-AES128-GCM-SHA256:kEDH+AESGCM:ECDHE-RSA-AES128-SHA256:ECDHE-ECDSA-AES128-SHA256:ECDHE-RSA-AES128-SHA:ECDHE-ECDSA-AES128-SHA:ECDHE-RSA-AES256-SHA384:ECDHE-ECDSA-AES256-SHA384:ECDHE-RSA-AES256-SHA:ECDHE-ECDSA-AES256-SHA:DHE-RSA-AES128-SHA256:DHE-RSA-AES128-SHA:DHE-DSS-AES128-SHA256:DHE-RSA-AES256-SHA256:DHE-DSS-AES256-SHA:DHE-RSA-AES256-SHA:ECDHE-RSA-DES-CBC3-SHA:ECDHE-ECDSA-DES-CBC3-SHA:AES128-GCM-SHA256:AES256-GCM-SHA384:AES128-SHA256:AES256-SHA256:AES128-SHA:AES256-SHA:AES:CAMELLIA:DES-CBC3-SHA:!aNULL:!eNULL:!EXPORT:!DES:!RC4:!MD5:!PSK:!aECDH:!EDH-DSS-DES-CBC3-SHA:!EDH-RSA-DES-CBC3-SHA:!KRB5-DES-CBC3-SHA';
        ssl_prefer_server_ciphers on;
        location / {
                proxy_pass      http://discourse.example.com:25654/;
                proxy_read_timeout      90;
                proxy_redirect  http://discourse.example.com:25654/ https://discourse.example.com;
        }
}
Here’s what this config does:
- The first server block is listening on the
discourse.example.comdomain on port 80, and it redirects all requests to SSL on port 443. This is optional, but it forces SSL on your website for all users. - The second server block is on port 443 and is passing requests to the web server running on port
25654(in this case, Discourse). This essentially uses a reverse proxy to send Discourse pages to your users and back over SSL.
You may have noticed we’re referencing some certificates at /etc/letsencrypt. In the next step we’ll generate those before restarting Nginx.
Step 3 — Generating the SSL Certificates
To generate the SSL certificates, we will first install the Let’s Encrypt’s ACME client. This software allows us to generate SSL certificates.
- sudo git clone https://github.com/letsencrypt/letsencrypt /opt/letsencrypt
Then go to the letsencrypt directory:
- cd /opt/letsencrypt/
Install the packages required by Let’s Encrypt the first time:
- ./letsencrypt-auto --help
Now we can generate your certificates by running (replace with your email address and domain name):
- ./letsencrypt-auto certonly --standalone --email sammy@example.com --agree-tos -d discourse.example.com
Note: Let’s Encrypt will only issue certificates for domain names. You will get an error if you try to use an IP address. If you need a domain name, check out the links in the Prerequisites section.
You should get a response fairly quickly, similar to this:
IMPORTANT NOTES:
 - If you lose your account credentials, you can recover through
   e-mails sent to sammy@example.com.
 - Congratulations! Your certificate and chain have been saved at
   /etc/letsencrypt/live/discourse.example.com/fullchain.pem. Your
   cert will expire on 2016-04-26. To obtain a new version of the
   certificate in the future, simply run Let's Encrypt again.
 - Your account credentials have been saved in your Let's Encrypt
   configuration directory at /etc/letsencrypt. You should make a
   secure backup of this folder now. This configuration directory will
   also contain certificates and private keys obtained by Let's
   Encrypt so making regular backups of this folder is ideal.
You’ll notice it said your certificates were saved in /etc/letsencrypt/live/discourse.example.com. This means our Nginx config is now valid. You’ll also notice that expiration date isn’t too far away. This is normal with Let’s Encrypt certificates. All you have to do to renew is run that exact same command again, but logging in every 90 days isn’t fun, so we’ll automate it in our next step.
Step 4 — Automating the Let’s Encrypt Certificate Renewal
Now that we’ve set up our certificates for the first time, we should make sure they renew automatically. Let’s Encrypt certificates are only valid for 90 days, after which they will expire and display a warning to all visitors to your site in the browser. At the time of writing auto-renewal is not built into the client, but we can set up a script to manually renew them.
Refer to the Set Up Auto Renewal step of How To Secure Nginx with Let’s Encrypt on Ubuntu 14.04 for details on setting up a cron job to renew your certificate automatically.
Any output created by this command will be at /var/log/certificate-renewal.log for troubleshooting.
Step 5 — Restarting Nginx
Finally, our configuration should be complete. Restart Nginx by running this command:
- sudo service nginx restart
Now if you browse to https://discourse.example.com/ your website should be online and secured with Let’s Encrypt, shown as a green lock in most browsers.
Conclusion
That’s it! You now have a Discourse forum set up behind Nginx, secured with the latest SSL standards with Let’s Encrypt.
Thanks for learning with the DigitalOcean Community. Check out our offerings for compute, storage, networking, and managed databases.
About the author(s)
Sign up for DigitalOcean with this link and get a $10 credit: https://www.digitalocean.com/?refcode=fb6730f5bb99
Technical Editor, DigitalOcean
Still looking for an answer?
This textbox defaults to using Markdown to format your answer.
You can type !ref in this text area to quickly search our full set of tutorials, documentation & marketplace offerings and insert the link!
I’m failing on the restart, step 5. Any tips? nginx -t outputs
nginx: [alert] could not open error log file: open() “/var/log/nginx/error.log” failed (13: Permission denied) 2016/06/05 01:30:39 [warn] 26606#0: the “user” directive makes sense only if the master process runs with super-user privileges, ignored in /etc/nginx/nginx.conf:1 2016/06/05 01:30:39 [emerg] 26606#0: BIO_new_file(“/etc/letsencrypt/live/foodservice.io/fullchain.pem”) failed (SSL: error:0200100D:system library:fopen:Permission denied:fopen(‘/etc/letsencrypt/live/foodservice.io/fullchain.pem’,‘r’) error:2006D002:BIO routines:BIO_new_file:system lib) nginx: configuration file /etc/nginx/nginx.conf test failed
Couldn’t generate a certificate and have got a bunch of errors. Can be it caused by the using a $5 Droplet and SWAP?
itamerlanium@discourse:/opt/letsencrypt$ sudo apt-get upgrade
itamerlanium@discourse:/opt/letsencrypt$ ./letsencrypt-auto certonly --standalone --email tamerlanium@gmail.com --agree-tos -d specknz.me
Bootstrapping dependencies for Debian-based OSes...
0 upgraded, 0 newly installed, 0 to remove and 4 not upgraded.
Creating virtual environment...
Installing Python packages...
Had a problem while installing Python packages:
Collecting argparse==1.4.0 (from -r /tmp/tmp.PsM9vr5gSL/letsencrypt-auto-requirements.txt (line 5))
/home/itamerlanium/.local/share/letsencrypt/local/lib/python2.7/site-packages/pip/_vendor/requests/packages/urllib3/util/ssl_.py:315: SNIMissingWarning: An HTTPS request has been made, but the SNI (Subject Name Indication) extension to TLS is not available on this platform. This may cause the server to present an incorrect TLS certificate, which can cause validation failures. For more information, see https://urllib3.readthedocs.org/en/latest/security.html#snimissingwarning.
  SNIMissingWarning
/home/itamerlanium/.local/share/letsencrypt/local/lib/python2.7/site-packages/pip/_vendor/requests/packages/urllib3/util/ssl_.py:120: InsecurePlatformWarning: A true SSLContext object is not available. This prevents urllib3 from configuring SSL appropriately and may cause certain SSL connections to fail. For more information, see https://urllib3.readthedocs.org/en/latest/security.html#insecureplatformwarning.
  InsecurePlatformWarning
  Downloading argparse-1.4.0-py2.py3-none-any.whl
Collecting pycparser==2.14 (from -r /tmp/tmp.PsM9vr5gSL/letsencrypt-auto-requirements.txt (line 11))
  Downloading pycparser-2.14.tar.gz (223kB)
Collecting cffi==1.4.2 (from -r /tmp/tmp.PsM9vr5gSL/letsencrypt-auto-requirements.txt (line 14))
  Downloading cffi-1.4.2.tar.gz (365kB)
Collecting ConfigArgParse==0.10.0 (from -r /tmp/tmp.PsM9vr5gSL/letsencrypt-auto-requirements.txt (line 31))
  Downloading ConfigArgParse-0.10.0.tar.gz
Collecting configobj==5.0.6 (from -r /tmp/tmp.PsM9vr5gSL/letsencrypt-auto-requirements.txt (line 33))
  Downloading configobj-5.0.6.tar.gz
Collecting cryptography==1.2.3 (from -r /tmp/tmp.PsM9vr5gSL/letsencrypt-auto-requirements.txt (line 35))
  Downloading cryptography-1.2.3.tar.gz (373kB)
Collecting enum34==1.1.2 (from -r /tmp/tmp.PsM9vr5gSL/letsencrypt-auto-requirements.txt (line 57))
  Downloading enum34-1.1.2.tar.gz (46kB)
    Error [Errno 12] Cannot allocate memory while executing command python setup.py egg_info
Exception:
Traceback (most recent call last):
  File "/home/itamerlanium/.local/share/letsencrypt/local/lib/python2.7/site-packages/pip/basecommand.py", line 209, in main
    status = self.run(options, args)
  File "/home/itamerlanium/.local/share/letsencrypt/local/lib/python2.7/site-packages/pip/commands/install.py", line 299, in run
    requirement_set.prepare_files(finder)
  File "/home/itamerlanium/.local/share/letsencrypt/local/lib/python2.7/site-packages/pip/req/req_set.py", line 359, in prepare_files
    ignore_dependencies=self.ignore_dependencies))
  File "/home/itamerlanium/.local/share/letsencrypt/local/lib/python2.7/site-packages/pip/req/req_set.py", line 590, in _prepare_file
    abstract_dist.prep_for_dist()
  File "/home/itamerlanium/.local/share/letsencrypt/local/lib/python2.7/site-packages/pip/req/req_set.py", line 127, in prep_for_dist
    self.req_to_install.run_egg_info()
  File "/home/itamerlanium/.local/share/letsencrypt/local/lib/python2.7/site-packages/pip/req/req_install.py", line 440, in run_egg_info
    command_desc='python setup.py egg_info')
  File "/home/itamerlanium/.local/share/letsencrypt/local/lib/python2.7/site-packages/pip/utils/__init__.py", line 677, in call_subprocess
    cwd=cwd, env=env)
  File "/usr/lib/python2.7/subprocess.py", line 710, in __init__
    errread, errwrite)
  File "/usr/lib/python2.7/subprocess.py", line 1223, in _execute_child
    self.pid = os.fork()
OSError: [Errno 12] Cannot allocate memory
/home/itamerlanium/.local/share/letsencrypt/local/lib/python2.7/site-packages/pip/_vendor/requests/packages/urllib3/util/ssl_.py:120: InsecurePlatformWarning: A true SSLContext object is not available. This prevents urllib3 from configuring SSL appropriately and may cause certain SSL connections to fail. For more information, see https://urllib3.readthedocs.org/en/latest/security.html#insecureplatformwarning.
  InsecurePlatformWarning
You are using pip version 8.0.3, however version 8.1.2 is available.
You should consider upgrading via the 'pip install --upgrade pip' command.
itamerlanium@discourse:/opt/letsencrypt$
itamerlanium@discourse:/opt/letsencrypt$ sudo service nginx restart
 * Restarting nginx nginx                                          [fail]
Hi dears, unfortunately, my website http://specknz.me/ which is based on Discourse, doesn’t loaded and I don’t really know what has caused it. I’ve got a message through a support ticket:
"Sorry to hear that you are experiencing issues with this. After reviewing this I can see that your Droplet is online and listening for http traffic. In fact when you browser to your public IP it is attempting to resolve content from your web server. It seems that once it does resolve it is resolving to a blank screen. This is typically an indicator that there was a error related to the web application.
For more information on how to resolve this issue you will want to review your nginx error and access logs. These are typically located here:
/var/log/nginx/access.log /var/log/nginx/error.log "
Then I’ve been checking these folders and they don’t exist for any reason.
root@discourse:~# cd /var/log/nginx/access.log
-su: cd: /var/log/nginx/access.log: Not a directory
root@discourse:~# cd var/log
-su: cd: var/log: No such file or directory
root@discourse:~# sudo service nginx restart
 * Restarting nginx nginx                                                [fail]
I think the proxy_redirect should have a trailing slash on the destination URL. I was having problems with malformed URLs until I added that.
I followed the tutorial, but when I signup a new account, the site doesn’t respond as it opens > “https://meta.website.com:25654/…” , The user however gets registered. Its not redirecting properly. Any solution?
I had to comment out the default HTTPS port in app.yml to get this to work:
## which TCP/IP ports should this container expose?
## If you want Discourse to share a port with another webserver like Apache or nginx,
## see https://meta.discourse.org/t/17247 for details
expose:
  - "3777:80"   # http
#  - "443:443" # https
Otherwise, it would try to start app and listen on 443, which was already in use by nginx.
It’s all working now - any reason I should feel wary about this fix?
This comment has been deleted
One of our users reported the following:
There is a missing / in the config on the proxy_redirect line:
Line should be:
proxy_redirect ...discourse.example.com/;Just find the proxy_redirect line and add a / before ;
Attempting to run the certificate creation I get the following:
Requesting root privileges to run certbot...
  /home/rook/.local/share/letsencrypt/bin/letsencrypt certonly --standalone --email guy.default@eryri.org --agree-tos -d forum.eryri.org
Saving debug log to /var/log/letsencrypt/letsencrypt.log
Obtaining a new certificate
Performing the following challenges:
tls-sni-01 challenge for forum.eryri.org
Cleaning up challenges
Problem binding to port 443: Could not bind to IPv4 or IPv6.
I have commented out the ssl_certificate and ssl_certificate_key lines, but still have this issue, whether nginx is started or stopped. Can you give any clarification on what might be going wrong?
you should add to this tutorial a couple things:
1.> you’ll want to add proxy headers to your nginx config so that discourse reports the correct IP last seen (else you get 127.0.0.1):
proxy_set_header X-Real-IP $remote_addr; proxy_set_header X-Forwarded-For $proxy_add_x_forwarded_for;
2.> in the section with the proxy redirect, you need to add a trailing slash, else some pages in discourse produce or try navigating to an errant URL. it should appear as such:
proxy_redirect http://<domain>:<port>/ https://<domain>/;
that is all.
 This work is licensed under a Creative Commons Attribution-NonCommercial- ShareAlike 4.0 International License.
Become a contributor for community
Get paid to write technical tutorials and select a tech-focused charity to receive a matching donation.

DigitalOcean Documentation
Full documentation for every DigitalOcean product.

Resources for startups and AI-native businesses
The Wave has everything you need to know about building a business, from raising funding to marketing your product.
The developer cloud
Scale up as you grow — whether you're running one virtual machine or ten thousand.

Start building today
From GPU-powered inference and Kubernetes to managed databases and storage, get everything you need to build, scale, and deploy intelligent applications.
