By Alex Kavon

Introduction
Dropplets is a light-weight blogging platform with a flat file system, which means it doesn’t require a database such as PostgreSQL or MongoDB. Dropplet posts are also written in the incredibly user-friendly Markdown language and it includes a theme marketplace where you can purchase different templates for your blog (if you don’t feel like designing your own). This guide will help you get Dropplets running on an Ubuntu 13.04 droplet with Nginx installed.
Prerequisites
There are a couple things you will need to have accomplished before moving forward with your Dropplets install.
Attention To avoid installing extra software, skip “Step Two - Install MySQL” 3. You will need a basic understanding of linux commands and what they do.
Step One: Install Dropplets on your VPS
Dropplets is relatively easy to install on any server. For this guide, let’s assume the root directory is located at:
/var/www/public
You can view where your web directory is by checking your NGINX config located in /etc/nginx/sites-available/ folder. It should be defined in the root directive of your NGINX server block configuration.
Now, let’s grab a copy of Dropplets!
sudo wget -O blog.zip https://github.com/circa75/dropplets/archive/v1.6.2.6.zip
There should be a copy of Dropplets on your server called blog.zip. Check this via the ls command.
Next, let’s unzip it and move it to the proper root directory:
sudo unzip blog.zip
cp -R dropplets-1.6.2.6/* /var/www/public/
Lastly, we need to give NGINX ownership of the files. In this case, our NGINX user is www-data. However, you might have changed yours in a previous tutorial. Please use the applicable user.
sudo chown -R www-data:www-data /var/www/public/
sudo chmod 755 /var/www
Great! Now navigate to your root directory in your browser (http://example.com). The Dropplets install page should appear.
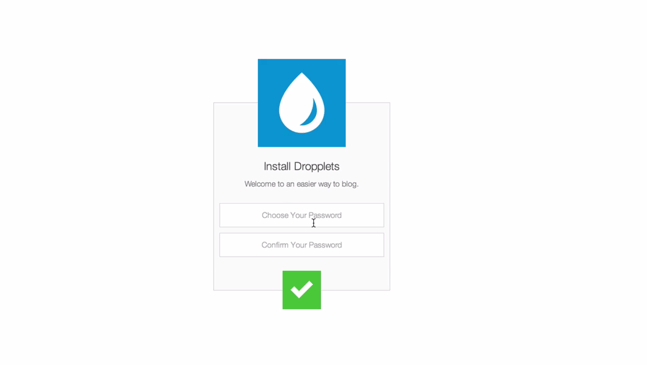
Simply input a password and pat yourself on the back. Dropplets is ready to go! You should see the main blog page with the welcome blog post.
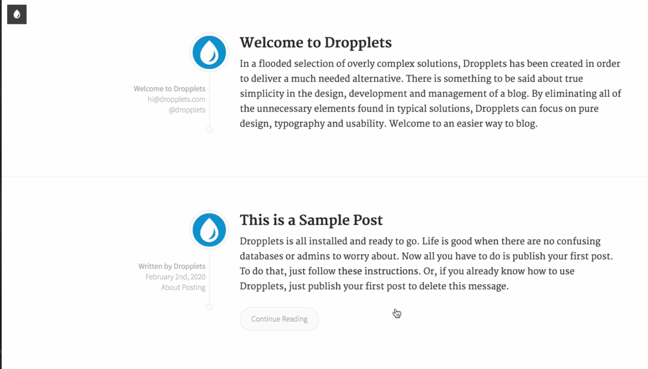
To access the admin area, click the icon in the upper left corner and enter your password.
Step Two: Writing a Blog Post
So now you want to write your first blog post. Or perhaps even migrate your existing posts over to your new shiny install of Dropplets. There are two methods to accomplish this:
Option A is to write your posts on your desktop in Markdown format and upload them through the admin area.
Option B is to write the posts using your favorite terminal text editor.
We must format our posts correctly so that Dropplets can read them. Each post has a special header markup that Dropplet reads. It looks like this:
# Your Post Title
- Post Author Name (e.g. "Dropplets")
- Post Author Twitter Handle (e.g. "dropplets")
- Publish Date in YYYY/MM/DD Format (e.g. "2013/04/28")
- Post Category (e.g. "Random Thoughts")
- Post Status (e.g. "published" or "draft")

Your post text starts here.
Once you finish writing your post, simply save it in .md format as the url name where you’d like to find it. For example:
my-first-post.md
Will resolve as such when uploaded:
http://example.com/my-first-post
To make the post live on your website, simply upload through the admin area. If you’d like to write the posts live on your server through the terminal, rather than creating the file on your desktop, simply log into your droplet and nano (or whatever editor you use) a file:
sudo nano /var/www/public/posts/my-first-post.md
If you’ve set the post status to published, the post should be live on your website! Congrats!
Step Three: Fix the NGINX Issue
Now access http://example.com/my-first-post. You should be confused because your whole post isn’t showing. This is because NGINX doesn’t know how to display your markdown files correctly.
Fear not. Here is a simple fix that is tweaked in your NGINX server block. Simply open your server block configuration file.
NOTE: This is the file where you found your root directory settings earlier. In this example, we are referring to the default config that comes installed with NGINX.
sudo nano /etc/nginx/sites-available/default
Now look for the line that reads:
location / {
    try_files $uri $uri/ /index.php;
}
Change this line to:
location / {
    try_files $uri $uri/ /index.php?filename=$uri;
}
Save and close the file and restart NGINX:
sudo service nginx restart
If NGINX restarts okay, the full post should now be displayed at http://example.com/my-first-post
Step Four: Cleanup
Travel to the directory in which you downloaded blog.zip and remove our garbage.
sudo rm -r blog.zip dropplets-1.6.2.6
Congratulations, you’ve completed a basic configuration of Dropplets on your VPS and fixed an NGINX issue. Now get blogging!
<div class=“author”>Submitted by: <a href=“https://twitter.com/alexkavon”>Alex Kavon</div>
Thanks for learning with the DigitalOcean Community. Check out our offerings for compute, storage, networking, and managed databases.
About the author
Still looking for an answer?
This textbox defaults to using Markdown to format your answer.
You can type !ref in this text area to quickly search our full set of tutorials, documentation & marketplace offerings and insert the link!
Hi, thanks for your tutorial, but I got an error when I go to first page of my web site, it says “It seems that your config folder is not writable, please add the necessary permissions.”, could you tell me what’s the problem?
@dorothy: What folder did you install it to? In the tutorial, we used /var/www/public so the command to set the right permissions was:
<pre> sudo chown -R www-data:www-data /var/www/public/ sudo chmod 755 /var/www </pre>
If you installed it somewhere else, adjust the command to point at the folder you used.
I’d never even heard of Dropplets prior to this tutorial but it looks like a nifty little system. Thanks for the info!
Please do not post a tutorial if you’re not sure it works !!! I have tried to install Dropplets in Ubuntu with LEMP , LAMP and Lighttpd , and i keep getting the same error :
“It seems that your config folder is not writable, please add the necessary permissions.”
G’Day Bud,
Wanted to say thanks as it was this part:
location / { try_files $uri $uri/ /index.php?filename=$uri; }
That saved my bacon.
Since this has been written, there has been a lot of development and an entirely new version has just been released. I was wondering if you had any interest in going over it again and sharing your thoughts? I’d love to hear what people think. Thanks! You can download the latest version at https://github.com/johnroper100/dropplets
 This work is licensed under a Creative Commons Attribution-NonCommercial- ShareAlike 4.0 International License.
Become a contributor for community
Get paid to write technical tutorials and select a tech-focused charity to receive a matching donation.

DigitalOcean Documentation
Full documentation for every DigitalOcean product.

Resources for startups and AI-native businesses
The Wave has everything you need to know about building a business, from raising funding to marketing your product.
The developer cloud
Scale up as you grow — whether you're running one virtual machine or ten thousand.

Start building today
From GPU-powered inference and Kubernetes to managed databases and storage, get everything you need to build, scale, and deploy intelligent applications.
