By Erika Heidi
Developer Advocate
![How To Install Linux, Nginx, MySQL, PHP (LEMP) Stack on CentOS 8 [Quickstart]](https://www.digitalocean.com/api/static-content/v1/images?src=https%3A%2F%2Fcommunity-cdn-digitalocean-com.global.ssl.fastly.net%2FMNa2m1JJmPwHR5nXmcShWXc4&width=1920 "How To Install Linux, Nginx, MySQL, PHP (LEMP) Stack on CentOS 8 [Quickstart]")
Introduction
In this tutorial, you’ll install a LEMP stack on a CentOS 8 server. Although MySQL is available from the default repositories in CentOS 8, this guide will walk through the process of setting up a LEMP stack with MariaDB as the database management system.
For a more detailed version of this tutorial, with more explanations of each step, please refer to How To Install Linux, Nginx, MySQL, PHP (LEMP) Stack on CentOS 8.
Prerequisites
To follow this guide, you’ll need access to a CentOS 8 server as a sudo user.
Step 1 — Install Nginx
Install the nginx package with:
- sudo dnf install nginx
After the installation is finished, run the following command to enable and start the server:
- sudo systemctl start nginx
If firewalld is active, you’ll need to run the following command to allow external access on port 80 (HTTP):
- sudo firewall-cmd --permanent --add-service=http
Reload the firewall configuration so the changes take effect:
- sudo firewall-cmd --reload
With the new firewall rule added, you can test if the server is up and running by accessing your server’s public IP address or domain name from your web browser. You’ll see a page like this:

Step 2 — Install MariaDB
We’ll now install MariaDB, a community-developed fork of the original MySQL server by Oracle. To install this software, run:
- sudo dnf install mariadb-server
When the installation is finished, enable and start the MariaDB server with:
- sudo systemctl start mariadb
To improve the security of your database server, it’s recommended that you run a security script that comes pre-installed with MariaDB. Start the interactive script with:
- sudo mysql_secure_installation
The first prompt will ask you to enter the current database root password. Because you just installed MariaDB and haven’t made any configuration changes yet, this password will be blank, so just press ENTER at the prompt.
The next prompt asks you whether you’d like to set up a database root password. Because MariaDB uses a special authentication method for the root user that is typically safer than using a password, you don’t need to set this now. Type N and then press ENTER.
From there, you can press Y and then ENTER to accept the defaults for all the subsequent questions.
Step 3 — Install PHP-FPM
To install the php-fpm and php-mysql packages, run:
- sudo dnf install php-fpm php-mysqlnd
When the installation is finished, you’ll need to edit the /etc/php-fpm.d/www.conf file in order to adjust a couple settings. We’ll install nano to facilitate editing these files:
- sudo dnf install nano
Now open the /etc/php-fpm.d/www.conf configuration file using nano or your editor of choice:
- sudo nano /etc/php-fpm.d/www.conf
Look for the user and group directives. If you are using nano, you can hit CTRL+W to search for these terms inside the open file. Make sure to change both values from apache to nginx:
…
; RPM: apache user chosen to provide access to the same directories as httpd
user = nginx
; RPM: Keep a group allowed to write in log dir.
group = nginx
…
Save and close the file when you’re done editing.
To enable and start the php-fpm service, run:
- sudo systemctl start php-fpm
Finally, restart the Nginx web server so that it loads the configuration files created by the php-fpm installation:
- sudo systemctl restart nginx
Step 4 — Test PHP with Nginx
On CentOS 8, the default php-fpm installation automatically creates configuration files that will allow your Nginx web server to handle .php files in the default document root located at /usr/share/nginx/html. You won’t need to make any changes to Nginx’s configuration in order for PHP to work correctly within your web server.
We’ll only need to modify the default owner and group on Nginx’s document root, so that you can create and modify files in that location using your regular non-root system user:
- sudo chown -R sammy.sammy /usr/share/nginx/html/
Create a new PHP file called info.php at the /usr/share/nginx/html directory:
- nano /usr/share/nginx/html/info.php
The following PHP code will display information about the current PHP environment running on the server:
<?php

phpinfo();
Copy this content to your info.php file, and don’t forget to save it when you’re done.
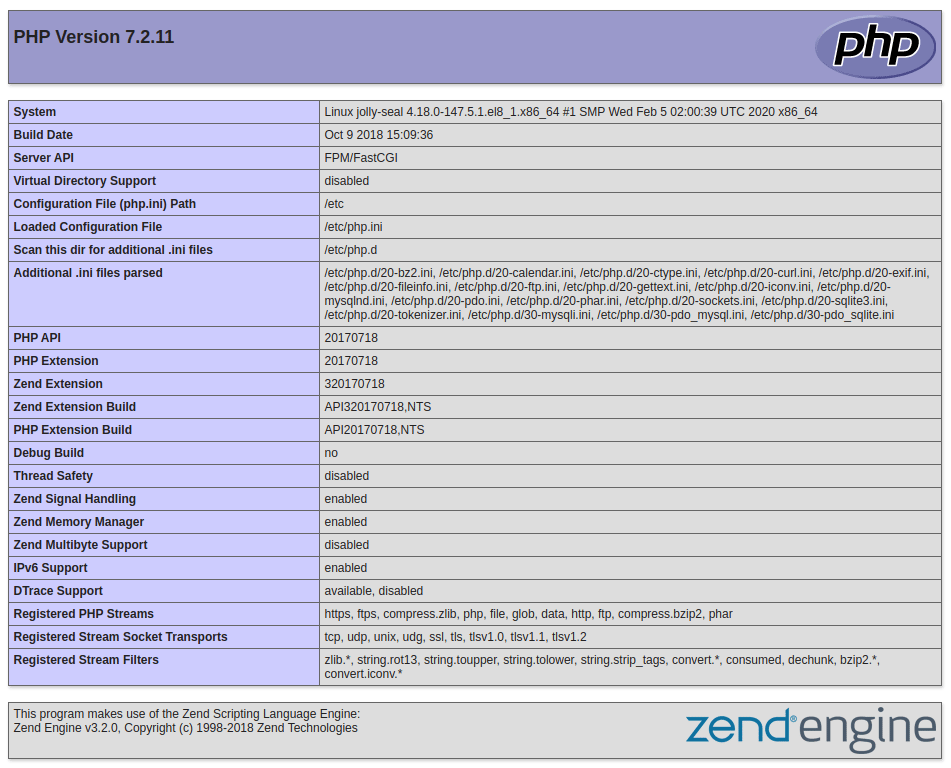
Now we can test whether our web server can correctly display content generated by a PHP script. Go to your browser and access your server hostname or IP address, followed by /info.php:
http://server_host_or_IP/info.php
You’ll see a page similar to this:
Related Tutorials
Here are links to more detailed guides related to this tutorial:
Thanks for learning with the DigitalOcean Community. Check out our offerings for compute, storage, networking, and managed databases.
About the author
Dev/Ops passionate about open source, PHP, and Linux. Former Senior Technical Writer at DigitalOcean. Areas of expertise include LAMP Stack, Ubuntu, Debian 11, Linux, Ansible, and more.
Still looking for an answer?
This textbox defaults to using Markdown to format your answer.
You can type !ref in this text area to quickly search our full set of tutorials, documentation & marketplace offerings and insert the link!
 This work is licensed under a Creative Commons Attribution-NonCommercial- ShareAlike 4.0 International License.
Become a contributor for community
Get paid to write technical tutorials and select a tech-focused charity to receive a matching donation.

DigitalOcean Documentation
Full documentation for every DigitalOcean product.

Resources for startups and AI-native businesses
The Wave has everything you need to know about building a business, from raising funding to marketing your product.
The developer cloud
Scale up as you grow — whether you're running one virtual machine or ten thousand.

Start building today
From GPU-powered inference and Kubernetes to managed databases and storage, get everything you need to build, scale, and deploy intelligent applications.
