
The author selected the Wikimedia Foundation to receive a donation as part of the Write for DOnations program.
Introduction
Cloudron is a platform that streamlines the installation and management of apps on your server, like WordPress, Rocket.Chat, Nextcloud, GitLab, OpenVPN, and more. A key benefit of using Cloudron is that it performs end-to-end deployment of apps. It automates tasks such as: provisioning databases, DNS setup, certificate management, centralized user management, and automatic backups.
Apps on Cloudron also receive automatic updates. The Cloudron team tracks upstream app releases and publishes updates for apps. The user experience of installing and updating apps on your server is very similar to how apps are installed and updated on your smartphone: just click to install and start using them without system administration.
In this tutorial, you’ll install Cloudron on your server then deploy a WordPress site, as an example, to experience how Cloudron performs complete deployment automation. Finally, to ready your Cloudron instance for production use, you will set up Cloudron to back up to DigitalOcean Spaces.
Prerequisites
To follow this tutorial, you’ll need:
-
A server running Ubuntu 18.04 with root access and a sudo, non-root account, you can set this up by following this initial server setup guide.
-
A domain name for app installation. If you use a domain like
example.com, Cloudron will install its dashboard atmy.example.comand the apps will be installed under subdomains that you specify, likegit.example.com,chat.example.com, and so on. It is safe to use a domain that is already in use as long as themysubdomain is available. -
DNS API keys that Cloudron will use to perform DNS automation. Cloudron supports many DNS providers. If your DNS provider is not supported, you can use the wildcard or manual option. In this tutorial, we will use DigitalOcean DNS. You can generate a DigitalOcean DNS API key following How To Create a Personal Access Token.
-
A DigitalOcean Space with API keys (access and secret). To create a DigitalOcean Space and API keys, see How To Create a DigitalOcean Space and API Key.
Step 1 — Installing Cloudron
To begin, you’ll install Cloudron to your server using the official installation script. If you wish to skip this setup step, you can use the Cloudron 1-click image in the DigitalOcean Marketplace. Otherwise, for installing Cloudron manually, continue with this step.
First, as your non-root user, download the setup script by running the following command:
- wget https://cloudron.io/cloudron-setup
Next, to make the setup script executable, run the following the command:
- chmod +x ./cloudron-setup
Finally, to install Cloudron, run the following command:
- sudo ./cloudron-setup --provider digitalocean
The setup will take around 10 minutes. Once setup is complete, the script will ask your permission to reboot the server, select Y to continue:
Output
##############################################
         Cloudron Setup (latest)
##############################################

 Follow setup logs in a second terminal with:
 $ tail -f /var/log/cloudron-setup.log

 Join us at https://forum.cloudron.io for any questions.

=> Installing software-properties-common
=> Ensure required apt sources
=> Updating apt and installing script dependencies
=> Checking version
=> Downloading version 3.5.0 ...
=> Installing base dependencies and downloading docker images (this takes some time) ...
=> Installing version 3.5.0 (this takes some time) ...
=> Waiting for cloudron to be ready (this takes some time) ....

Visit https://<IP> and accept the self-signed certificate to finish setup.

The server has to be rebooted to apply all the settings. Reboot now ? [Y/n] Y
You’ve installed Cloudron on your server, now you can set up your domain and administrator account.
Step 2 — Setting Up Cloudron
In this step, you’ll configure Cloudron’s primary domain using the setup wizard and set up your Cloudron account for access. You’ll also provide Cloudron with your DigitalOcean API keys to secure your domain with Let’s Encrypt.
Once the server has rebooted, navigate to https://your-server-ip in your browser and accept the self-signed certificate.
In Chrome, you can accept the self-signed certificate by clicking on Advanced and then click Proceed to your-server-ip (unsafe). In Firefox, click on Advanced, then Add Exception, and finally Confirm Security Exception.

At this point, the Cloudron setup wizard will appear. Provide a domain name and select where you host your domain. Although Cloudron supports many DNS providers, like Cloudflare, Gandi, and GoDaddy, in this tutorial, the examples will follow with the domain using DigitalOcean as the DNS provider.

Provide your DigitalOcean API token and click Next.
Cloudron will use these keys to configure the DNS and obtain Let’s Encrypt certificates for your domain. Cloudron will redirect to https://my.example.com. The browser address bar will show a green lock to indicate that the connection to your Cloudron installation is now secure. Complete the setup by providing a username and password.
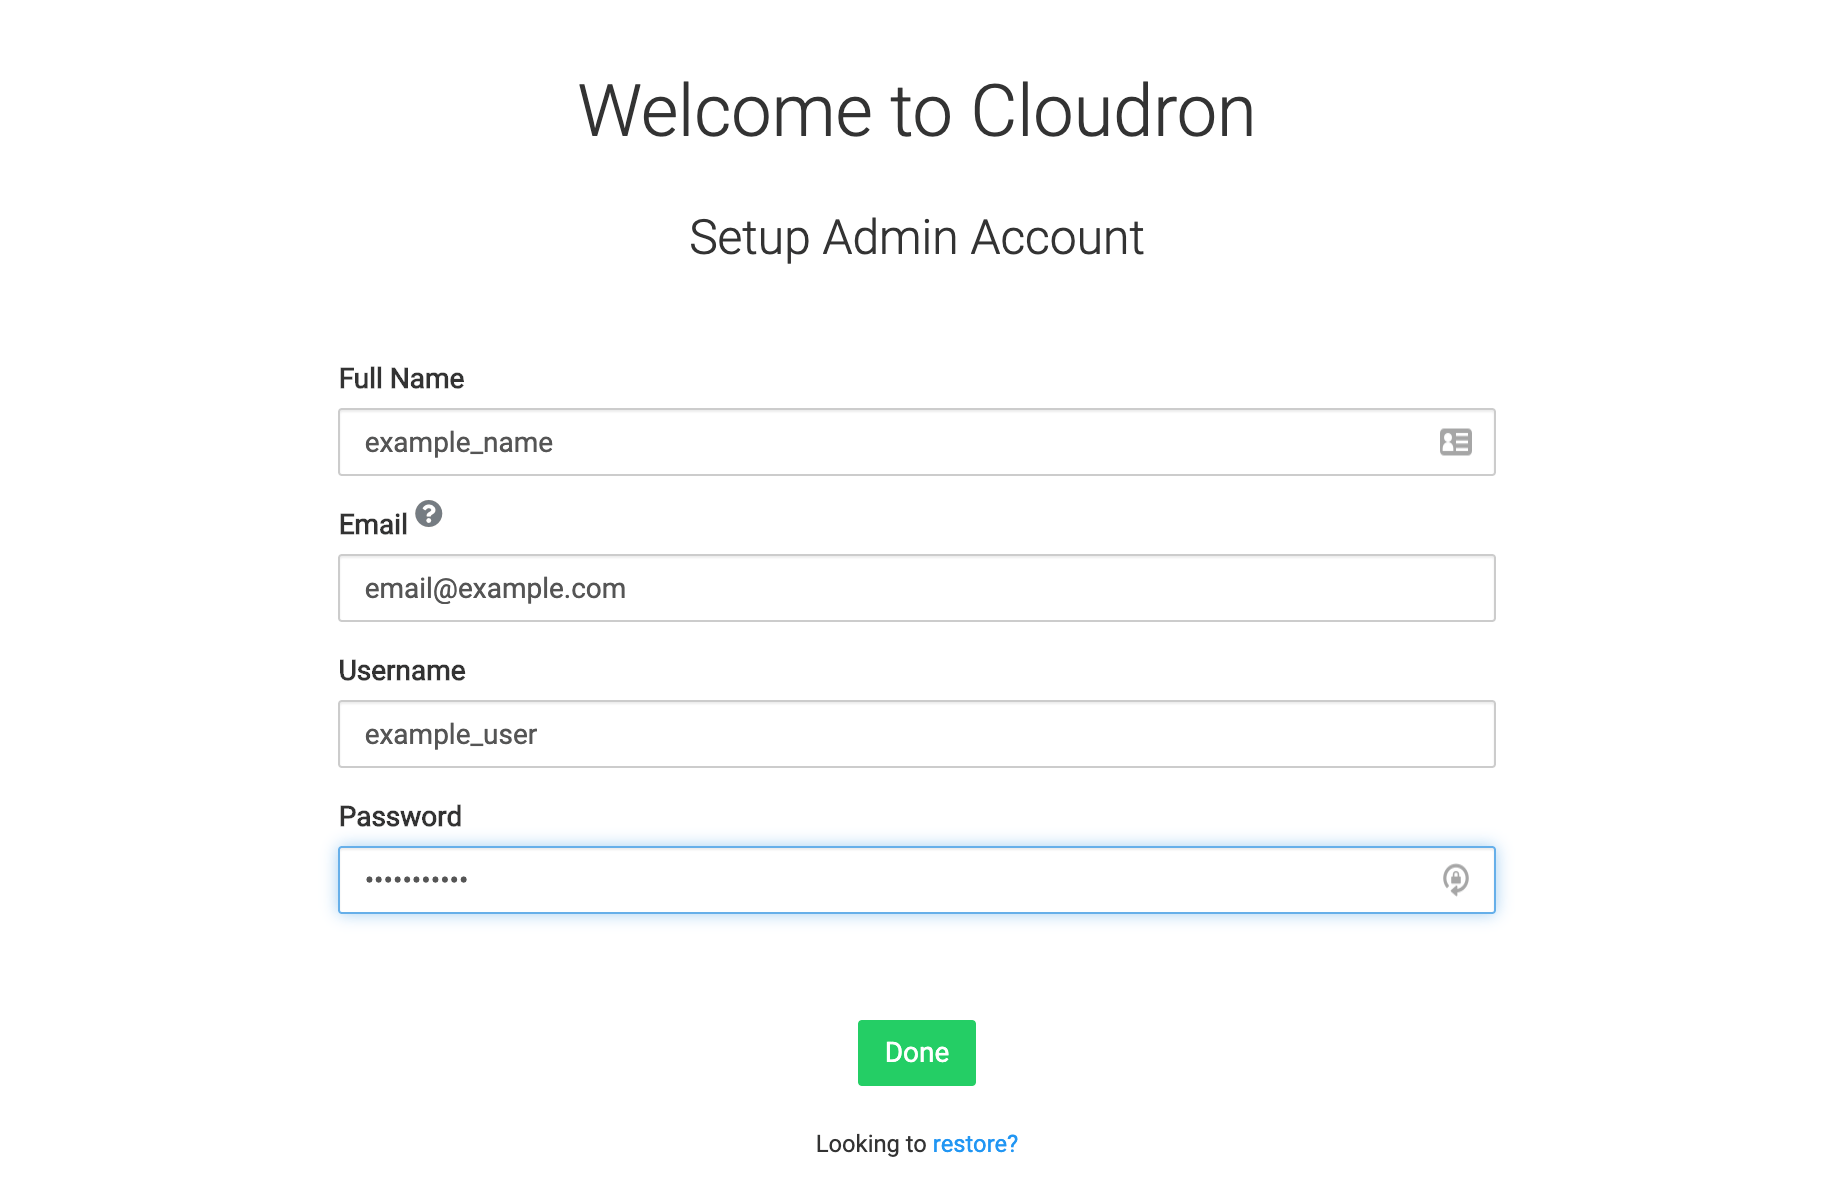
Once you have setup an Administrator account, you’ll see the No apps installed yet! screen. You’ve finished setting up your Cloudron account. Next you can decide which apps to install.
Step 3 — Installing Your Apps
You’re now ready to start installing apps.
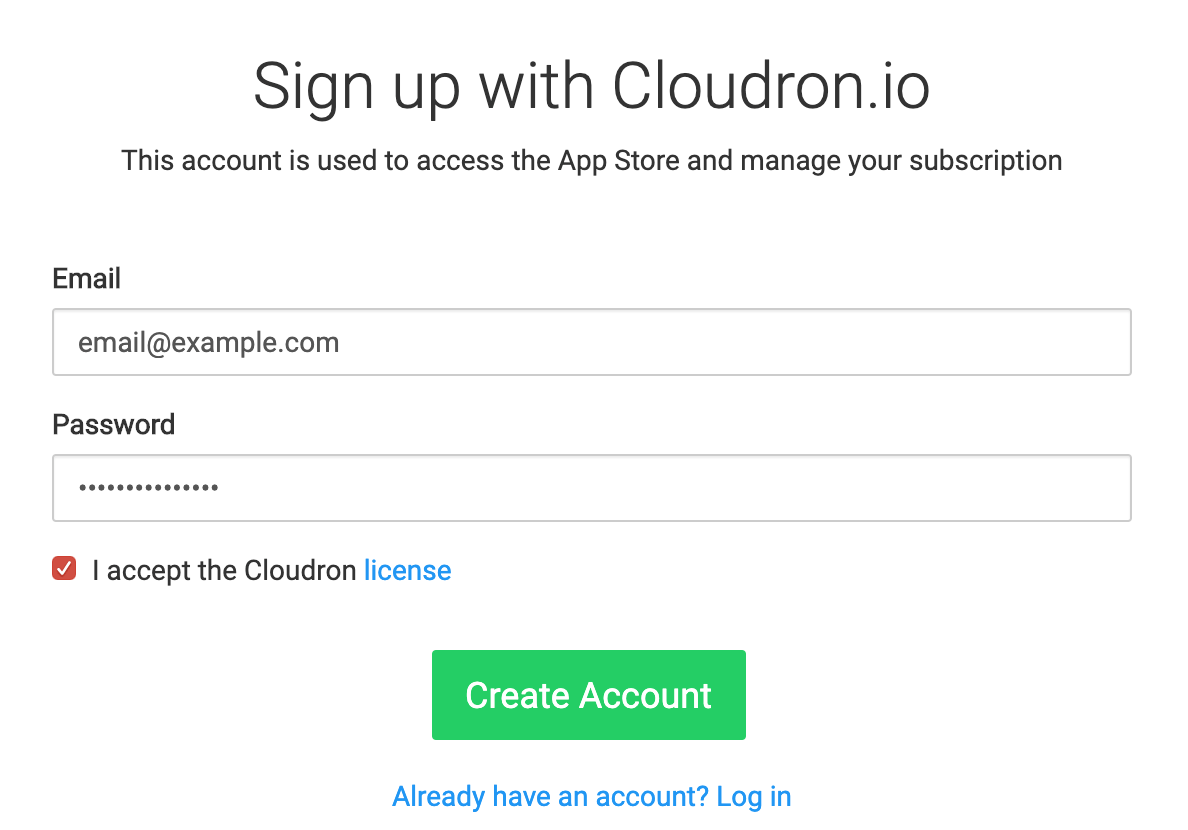
When you click on App Store on the interface, Cloudron will prompt you to create a cloudron.io account. You’ll use this account to manage your subscription and billing. Cloudron is free to use for two apps.
Once you sign up, you can install over 50 apps with a single click. Clicking on an app will bring up the installation dialog. As an example, you can click on the WordPress icon and use the blog subdomain. Once you click Install, Cloudron automatically sets up everything necessary for each app, such as: DNS, databases, certificates, and so on.
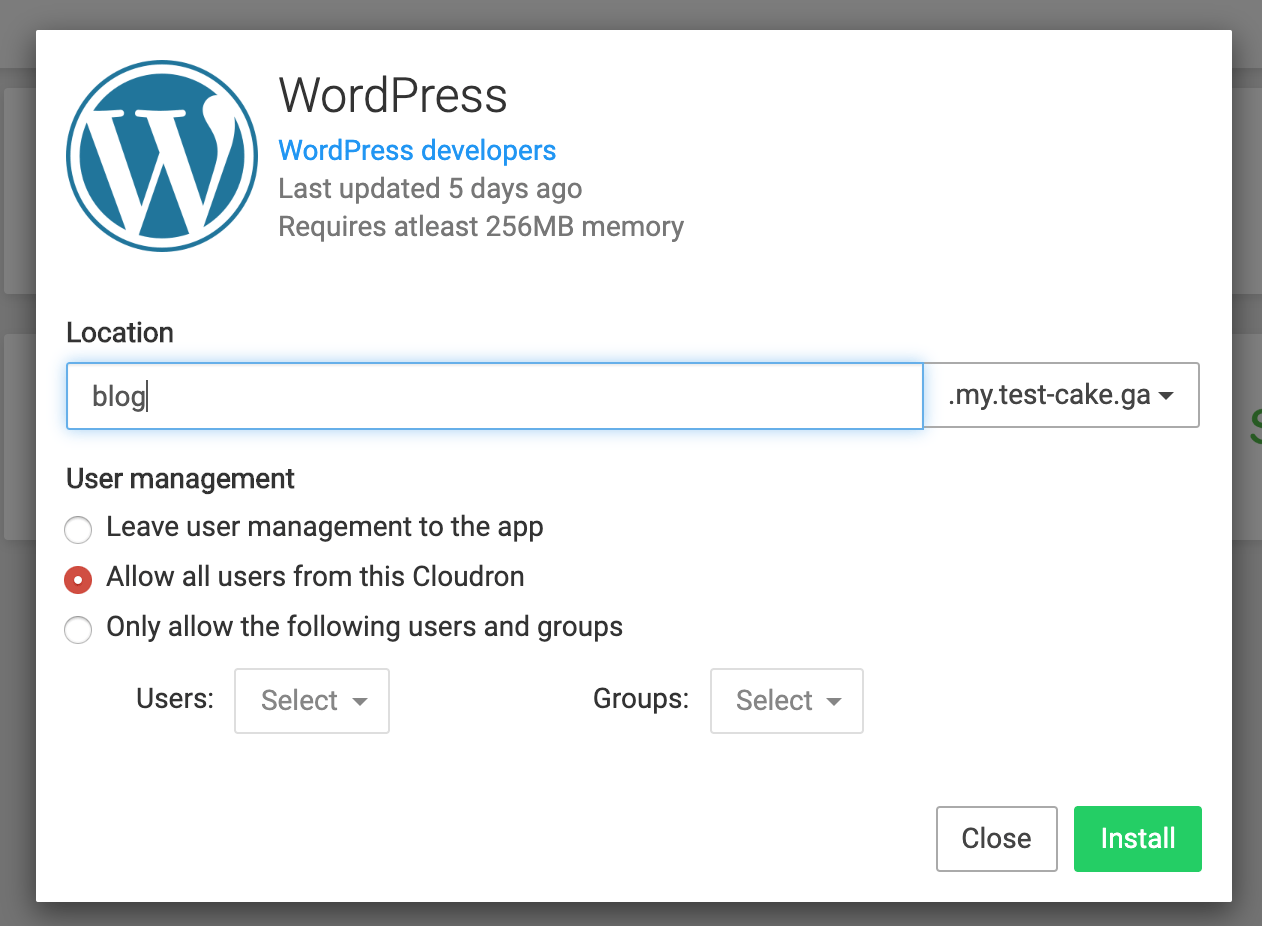
When installing an app, you can choose whether the app should integrate with Cloudron’s centralized User management. If you opt to use Cloudron User management, you can log in to the app with your Cloudron username and password. You can then add more users and groups on Cloudron and control if they have access to the app. If you opt to instead leave user management to the app, the app will be pre-setup with an admin account and its credentials will display after installation. You can add more users inside the app itself. Note that apps on Cloudron are always accessible externally—the access control setting only determines how login authentication is done.
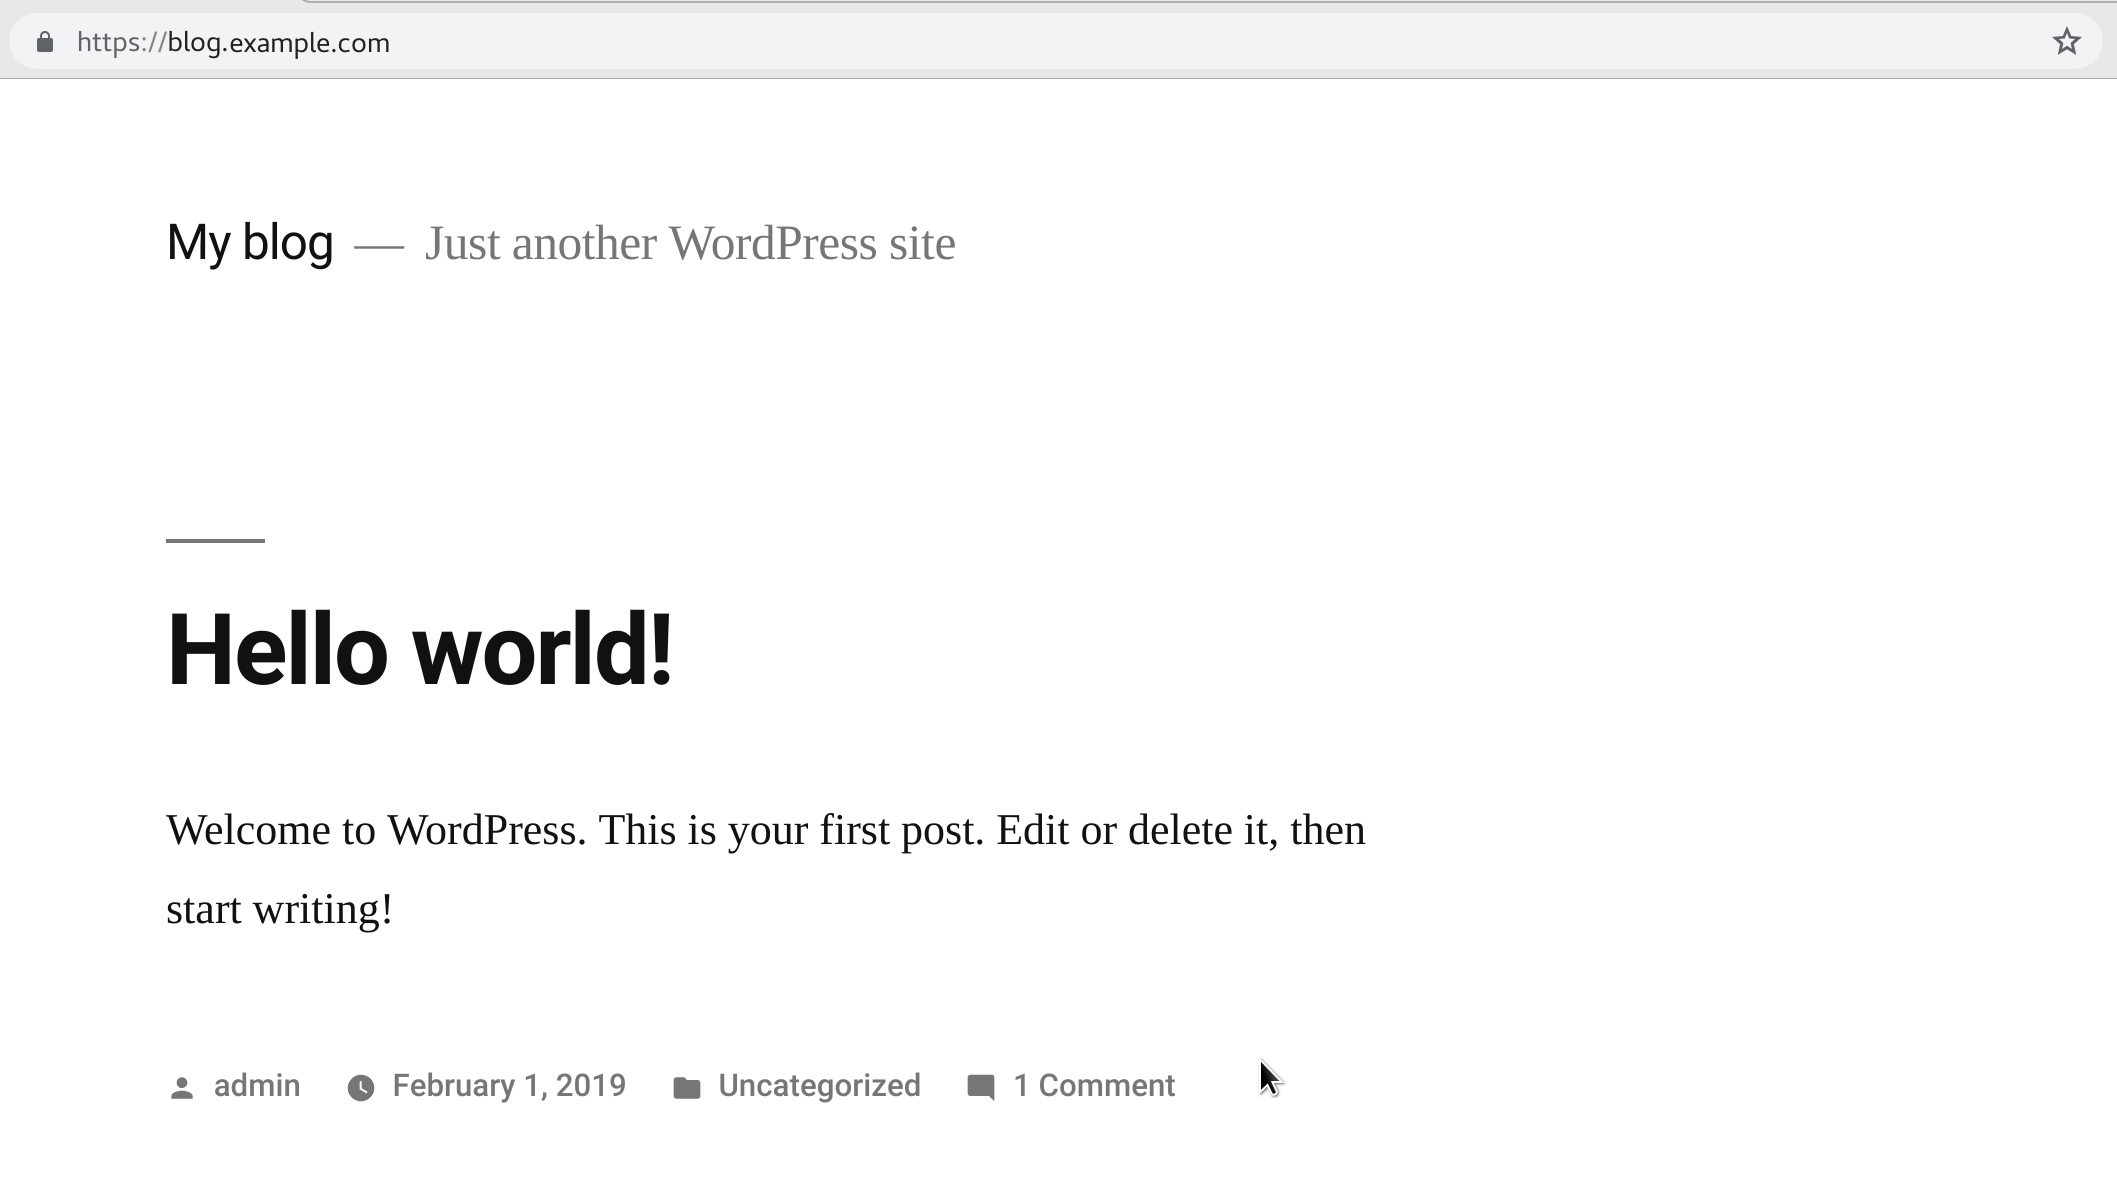
Once installed, you can access the app at https://blog.example.com.
You’ve installed an app to your Cloudron instance; you can use this process to install any of the available apps. To protect your data, you’ll configure backups in the next step.
Step 4 — Configuring Backups
Before using Cloudron in a production environment, it is essential to configure Cloudron to periodically save backups to a location that is external to the server. Unlike server snapshots, Cloudron creates backups individually for each app. The primary advantage of this approach is that apps can be individually rolled back, cloned, and even migrated to another new Cloudron installation.
Cloudron can back up to any provider that supports S3 API or any external volume. In this tutorial, you will use DigitalOcean Spaces as the backup storage.
With your DigitalOcean Space set up, you can use the associated API keys following this guide. Then, configure Cloudron backups by going to the Backups view and clicking Configure.
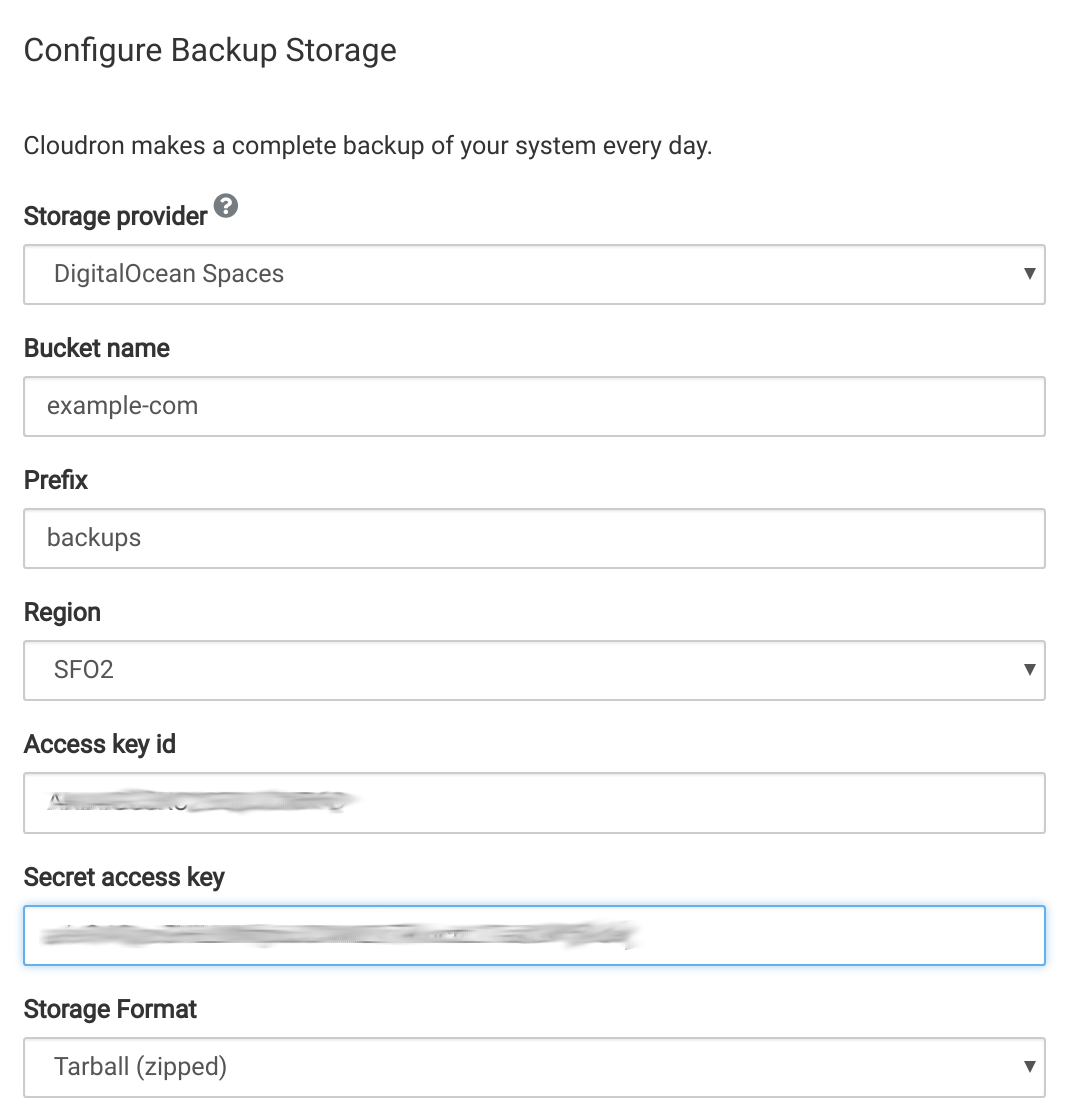
Cloudron will periodically store backups. If your server crashes or you want to move the server to a different DigitalOcean region, you can create a new Droplet, install Cloudron, and restore your server to the exact state from your backup.
You’ve connected your Cloudron installation to your DigitalOcean Space and have configured backups. The next reviews some of the other features available with Cloudron.
Step 5 — Exploring Other Features (Optional)
Cloudron has centralized user management that allows you to invite team members and set up access control for each user.
To add a new member, go to the Users view and click on New User. Cloudron will send the new user an email with a sign-up link.
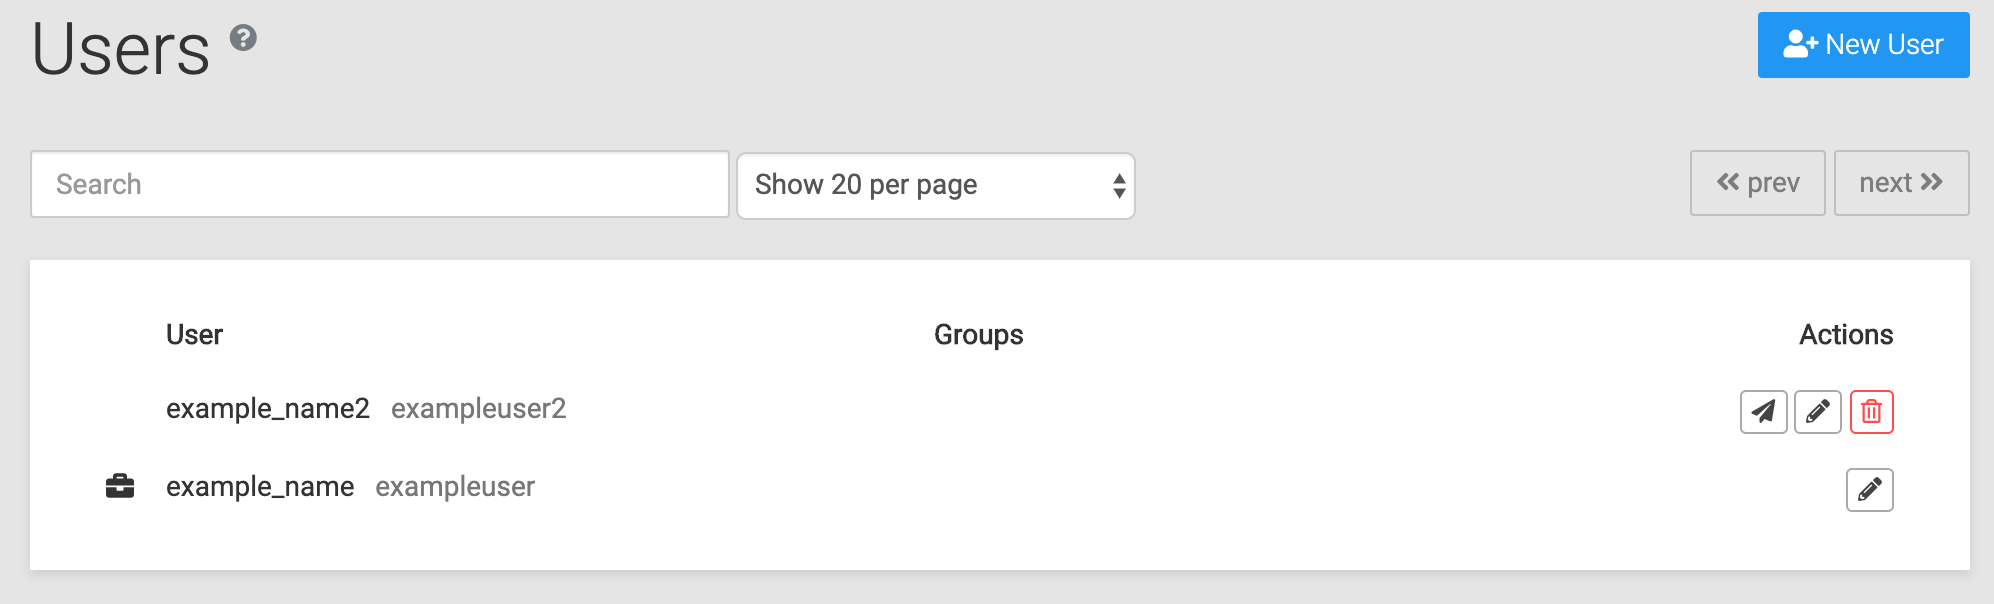
A new user can sign up and start using any applications to which you’ve given them access. For the WordPress example in this tutorial, a new user could immediately access it since you installed the application with the User Management option set to Allow all users on this Cloudron.
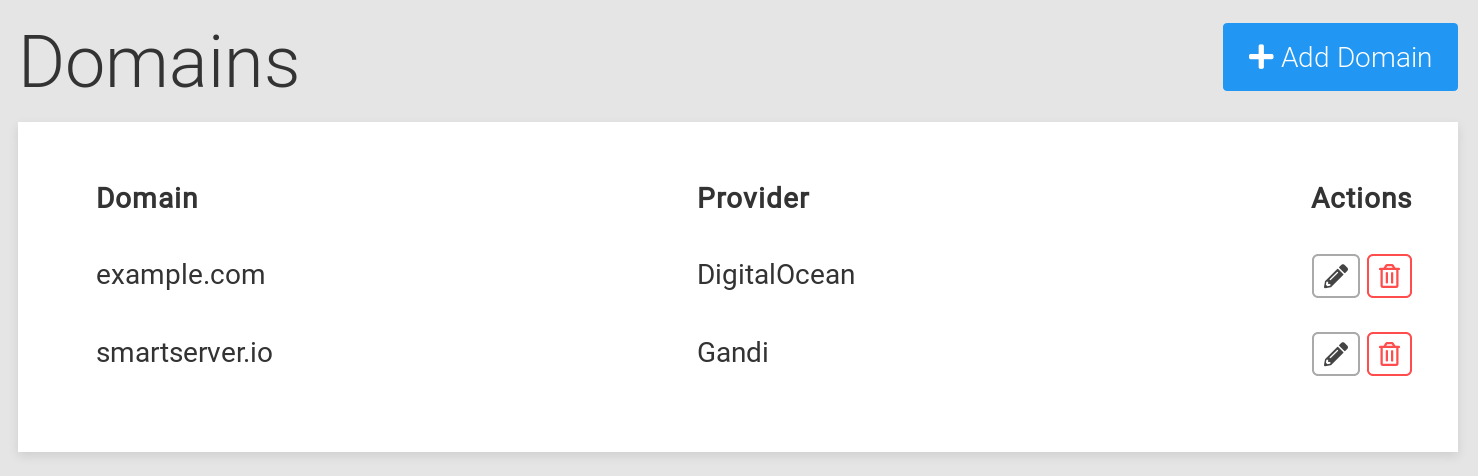
Another common task when managing your Cloudron instance, is installing apps on a domain other than the primary domain. To add a domain, go to the Domains view and click Add Domain. Once completed, you can install apps under this newly added domain.
Security is always paramount and Cloudron provides turnkey security that includes tracking the details of your Cloudron installation. You can look in the Activity view to see all events logged for your Cloudron as well as all configuration changes.
Conclusion
In this tutorial, you installed Cloudron on your server. You then installed the WordPress app without having to manually provision databases, configure DNS, set up certificates, and so on. This WordPress installation will get automatic updates for new releases of WordPress. You configured Cloudron to periodically save backups to DigitalOcean Spaces. Finally, you explored other features that can provide additional protection and features to your Cloudron.
Manually installing apps on a server is an involved process that has more potential for errors and can be time consuming. Modern web applications use a variety of databases, frameworks, and package managers that can complicate the installation. Furthermore, securing and backing up your applications is a separate process. When manually installing apps to keep them up-to-date, it is necessary to diligently track upstream releases and then apply the updates. Cloudron is a solution that helps you easily deploy and maintain apps on your server.
To learn some more about Cloudron features, you can consult the documentation pages.
For questions and discussion, visit the forum.
Thanks for learning with the DigitalOcean Community. Check out our offerings for compute, storage, networking, and managed databases.
About the author(s)
Co-founder of cloudron.io. Cloudron makes it easy to install and manage apps on your server.
Former Senior Technical Editor at DigitalOcean, with a strong focus on DevOps and System Administration content. Areas of expertise include Terraform, PyTorch, Python, and Django.
Still looking for an answer?
This textbox defaults to using Markdown to format your answer.
You can type !ref in this text area to quickly search our full set of tutorials, documentation & marketplace offerings and insert the link!
 This work is licensed under a Creative Commons Attribution-NonCommercial- ShareAlike 4.0 International License.
Become a contributor for community
Get paid to write technical tutorials and select a tech-focused charity to receive a matching donation.

DigitalOcean Documentation
Full documentation for every DigitalOcean product.

Resources for startups and AI-native businesses
The Wave has everything you need to know about building a business, from raising funding to marketing your product.
The developer cloud
Scale up as you grow — whether you're running one virtual machine or ten thousand.

Start building today
From GPU-powered inference and Kubernetes to managed databases and storage, get everything you need to build, scale, and deploy intelligent applications.
