
Introduction
WordPress is a popular open source content management system (CMS) that can be used to easily set up a blog. It is a very flexible system, through its plugin and template support, that allows users to extend its functionality to meet their specific needs; WordPress can be customized to support anything from a basic blog to a fully-featured eCommerce site.
In this tutorial, we will show you how to set up WordPress with an Apache web server on FreeBSD 10.1.
Note: As of July 1, 2022, DigitalOcean no longer supports the creation of new FreeBSD Droplets through the Control Panel or API. However, you can still spin up FreeBSD Droplets using a custom image. Learn how to import a custom image to DigitalOcean by following our product documentation.
Prerequisites
Before you begin this guide, you must have a FAMP (FreeBSD, Apache, MySQL, and PHP) stack server setup. This WordPress installation tutorial is based on this FAMP tutorial: How To Install an Apache, MySQL, and PHP (FAMP) Stack on FreeBSD 10.1.
This tutorial assumes that you want to serve WordPress from the root of your web site, e.g. http://example.com/, and that your Apache document root is empty (aside from the default index.html file).
If you do not already have a FAMP setup, follow the linked guide before continuing with this tutorial. Note that this tutorial, like the linked FAMP guide, uses PHP 5.6.
Step One — Install Additional PHP Modules
Although you already have PHP 5.6 installed, WordPress requires additional PHP modules in order to function properly. We will use pkg to install these required PHP modules.
At the command prompt of your server, use this command to install all of the required PHP 5.6 modules:
sudo pkg install php56-mysql \
 php56-xml \
 php56-hash \
 php56-gd \
 php56-curl \
 php56-tokenizer \
 php56-zlib \
 php56-zip
Each of these modules allows WordPress to use various functions in order to perform certain tasks. For example, php56-gd provides libraries for image handling, and php56-curl allows WordPress to download files from external servers for tasks such as plugin updates. Also note that if you followed the prerequisite FAMP tutorial, you should have already installed php56-mysql, which allows WordPress to interact with a MySQL database.
Step Two — Prepare MySQL Database
WordPress uses a relational database, such as MySQL, to manage and store site and user information. In this step, we will prepare a MySQL database and user for WordPress to use.
Log into the MySQL administrative account, root, by issuing this command:
mysql -u root -p
You will be prompted for the password that you set for the MySQL root account when you first installed MySQL. After providing the password, you will enter the MySQL command prompt.
We will now create the MySQL database that WordPress will use to store its data. You can call this whatever you like, but we will call ours wordpress for our example. At the MySQL prompt, enter this SQL statement to create the database:
CREATE DATABASE wordpress;
Note that every MySQL statement must end in a semi-colon (;) before it will execute.
Next, we are going to create a MySQL user account that WordPress will use to interact with the database that we just created. For our example, we will call the new user wordpressuser with a password of password. You should definitely change the password to something more secure, and you can use a different user name if you wish. This SQL statement will create our example user:
CREATE USER wordpressuser@localhost IDENTIFIED BY 'password';
At this point, you have the MySQL database and user that WordPress will use. However, we must grant the user access to the database. To do this, we will use this SQL statement:
GRANT ALL PRIVILEGES ON wordpress.* TO wordpressuser@localhost;
Before this change in privileges will go into effect, we must flush the privileges with this SQL statement:
FLUSH PRIVILEGES;
Now exit the MySQL prompt:
exit
The MySQL database and user are now ready for use with a new WordPress installation. Let’s download WordPress now.
Step Three — Download Wordpress
Now we must download the WordPress files from the project’s website.
The archive of the latest stable release of WordPress is always available from the same URL. Download it to your home directory with the following commands:
cd ~
fetch http://wordpress.org/latest.tar.gz
Now extract the archive with this command:
tar xvf latest.tar.gz
This extracts the contents of the archive to a directory called wordpress, in your home directory.
If you wish, you may delete the WordPress archive now:
rm latest.tar.gz
Step Four — Configure WordPress
Before making WordPress accessible via our web server, we must configure it so that it will able to connect to the database that we created earlier.
First, change to the wordpress directory:
cd ~/wordpress
To make the configuration simple, let’s base our WordPress configuration on the provided sample configuration, wp-config-sample.php. Copy the sample to wp-config.php, the default WordPress configuration file:
cp wp-config-sample.php wp-config.php
Now open the configuration file in an editor. We will use vi for this purpose, but feel free to use your editor of choice:
vi wp-config.php
The only modifications we need to make are to the MySQL settings. We must update the values of the following parameters:
DB_NAMEDB_USERDB_PASSWORD
These correspond to the MySQL database and user that we prepared in an earlier step. Look for the following lines and update the highlighted parts with your database name, user, and password:
// ** MySQL settings - You can get this info from your web host ** //
/** The name of the database for WordPress */
define('DB_NAME', 'wordpress');

/** MySQL database username */
define('DB_USER', 'wordpressuser');

/** MySQL database password */
define('DB_PASSWORD', 'password');
Save and exit.
Step Five — Copy Files to Apache Document Root
Now that your WordPress application is configured to connect to your database, we must copy it to Apache’s DocumentRoot directory, where it can be served to your site’s visitors.
If you followed the prerequisite FAMP tutorial, Apache’s document root will be located at /usr/local/www/apache24/data—if your document root is located somewhere else, be sure to update the highlighted path in the commands in this section.
Let’s copy the WordPress files to Apache’s document root with the cp command:
sudo cp -rp ~/wordpress/* /usr/local/www/apache24/data/
Now change the ownership of the WordPress files to the www user and group, which is the name of the user that runs the Apache process, so Apache will have appropriate access:
sudo chown -R www:www /usr/local/www/apache24/data/*
Now that the WordPress files are being served by Apache, you are almost ready to start using WordPress.
Step Six — Run WordPress Installation Script
The next step is to run the WordPress installation script. The script will ask you a few questions about your WordPress site, then initialize the database.
In your web browser, navigate to your server’s domain name or public IP address. For example, we will use “example.com” here:
http://example.com
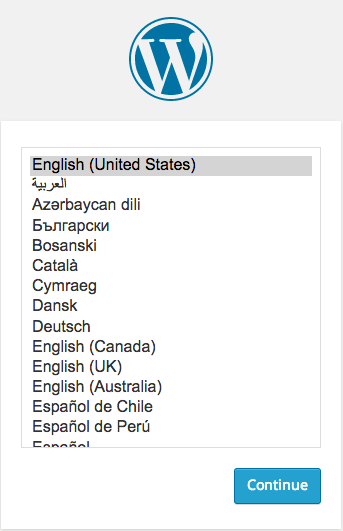
The first time you visit your WordPress site, you will be prompted by a Language Select screen. Select your preferred language, and click the Continue button:
Next, you will see the WordPress installation page, where you will choose a Site Title, and set an administrative username and password, among a few other things:
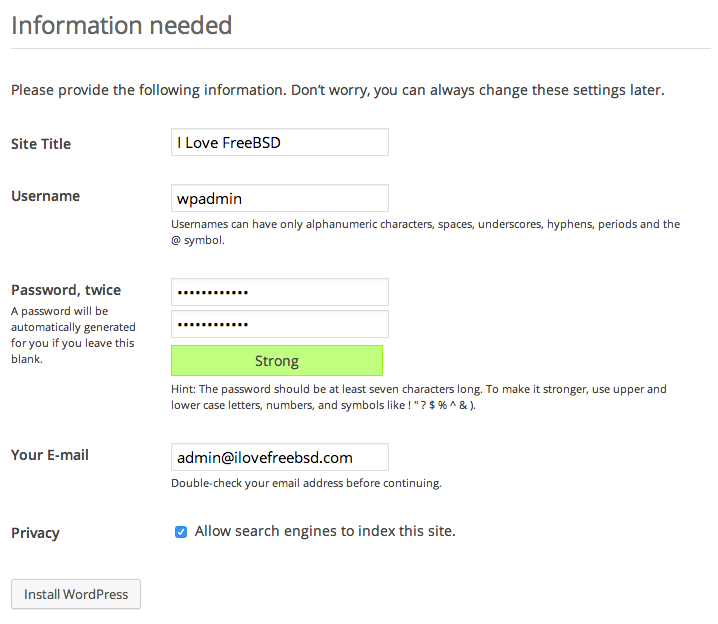
Fill out the site information. Once you are finished, click the Install WordPress button.
WordPress will confirm the installation, and then ask you to log in with the account you just created:
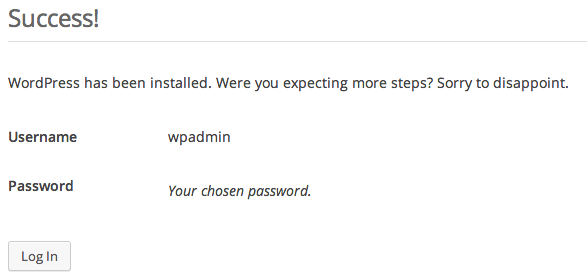
Click the Log In button at the bottom of the screen, then enter your login (the one that you just created):
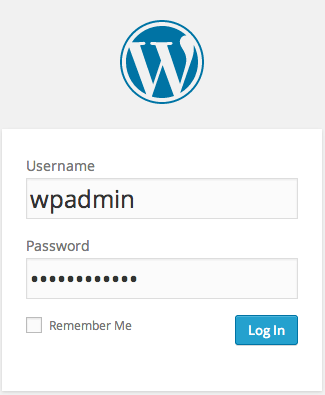
Now click the Log In button to log in to the Administrative Dashboard of your WordPress site:
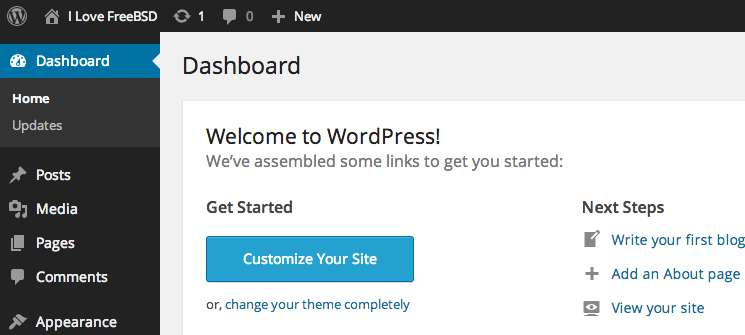
Congratulations! Your WordPress site is up and running. Continue reading if you want to set up pretty permalinks.
Step Seven (Optional) — Configure Permalinks
By default, WordPress creates new posts with URLs that reference the post ID. For example, the second post you make would have a URL that looks something like this:
http://example.com/?p=2
WordPress has the ability to create “pretty” permalinks which will rewrite the URL to a more human-readable format. For example, you could set WordPress to use a URL that corresponds to the title of your post, like this:
http://example.com/my-second-post/
To change your permalink settings, we must reconfigure Apache then our WordPress settings.
Configure Apache to Allow URL Rewrites
First, we need to enable the Apache rewrite module.
Open the Apache configuration file for editing. We are assuming that this file is located at /usr/local/etc/apache24/httpd.conf:
sudo vi /usr/local/etc/apache24/httpd.conf
Find and uncomment the #LoadModule rewrite_module ... line, by deleting the #, so it look like this:
LoadModule rewrite_module libexec/apache24/mod_rewrite.so
Now, we need to modify the Apache configuration to allow WordPress the ability to perform .htaccess overrides.
Find the <Directory "/usr/local/www/apache24/data"> section, then find the AllowOverride None directive within it. Set AllowOverride to All, so it looks like this:
AllowOverride All
Save and exit.
Now restart Apache to put the changes into effect:
sudo service apache24 restart
Now Apache is configured to allow URL rewrites but we must create an .htaccess file that WordPress will use to reconfigure the permalink settings.
Create an .htaccess File
Now that Apache is configured to allow rewrites through .htaccess files, we need to create the actual file that WordPress will write its permalink rules to.
Change to your document root path. Assuming that your document root is located at /usr/local/www/apache24/data, use this command:
cd /usr/local/www/apache24/data
Create the .htaccess file in your document root:
sudo touch .htaccess
Now change the ownership of the file to the www user and group, so WordPress will have permission to write to the file:
sudo chown www:www .htaccess
Now we can use the WordPress dashboard to reconfigure the permalink settings.
Change Permalink Settings in WordPress
When you are finished doing the server-side changes, you can easily adjust the permalink settings through the WordPress administration interface (dashboard). This is accessible via the /wp-admin link, for example:
http://example.com/wp-admin/
On the left-hand side, under the Settings menu, click the Permalinks link:
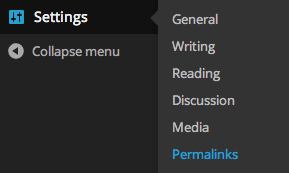
You can choose any of the premade permalink settings, or you can create your own:
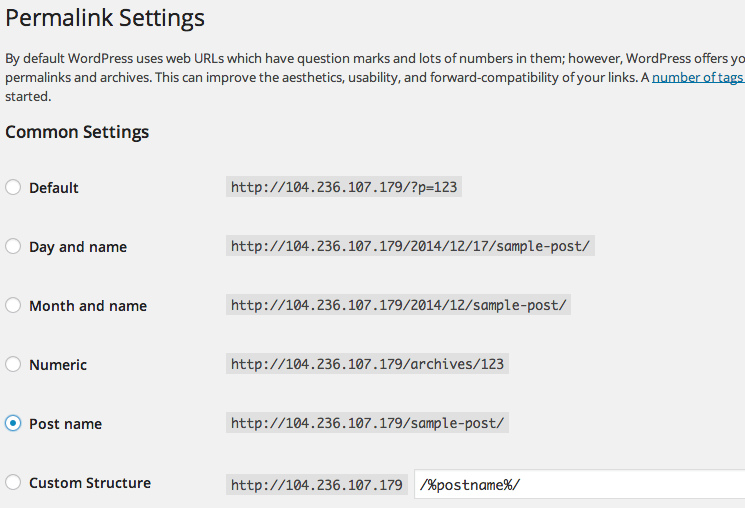
When you have made your selection, click the Save Changes button at the bottom of the page. This will generate the rewrite rules, and write them to the .htaccess file that you created earlier.
You should see a message like this:
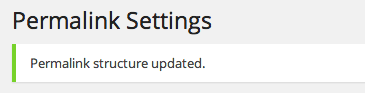
Your new permalink settings should be working now. Test it out by visiting one of your posts, and observing the URL.
Conclusion
You should now have a WordPress instance with Apache up and running on your FreeBSD 10.1 cloud server.
Thanks for learning with the DigitalOcean Community. Check out our offerings for compute, storage, networking, and managed databases.
About the author
Software Engineer @ DigitalOcean. Former Señor Technical Writer (I no longer update articles or respond to comments). Expertise in areas including Ubuntu, PostgreSQL, MySQL, and more.
Still looking for an answer?
This textbox defaults to using Markdown to format your answer.
You can type !ref in this text area to quickly search our full set of tutorials, documentation & marketplace offerings and insert the link!
On the FreeBSD handbook I don’t see any mentioning of “r” only “R”, I am sure it works the same but I just wanted to point that out.
Hi, I have successfully installed FAMP and WordPress according to your articles. Very well written and easy to read. I have ran the WordPress Configuration and in the WordPress Admin window.
My issue now is when I go to my internal IP I get the Apache “It Works” message. If I activate a theme in WordPress I still get the same “It Works” message. I am at a lose right now how to get the theme to show up. Any help is greatly appreciated.
Hi, when i do this: tar xvf latest.tar.gz it says something like : Certificate verification fialed for /C=US/ST=Arizona/L=Scottsdale/0=GoDaddy.com, Inc./CN=Go Daddy Root Certificate Authority - G2 34374362520:error etc…
and cannot unzip or do other thing for exctract the archive :>C
I think it’s worth noting that you should install the PHP extensions package. A lot of WordPress plugins expect it to be installed.
 This work is licensed under a Creative Commons Attribution-NonCommercial- ShareAlike 4.0 International License.
Become a contributor for community
Get paid to write technical tutorials and select a tech-focused charity to receive a matching donation.

DigitalOcean Documentation
Full documentation for every DigitalOcean product.

Resources for startups and AI-native businesses
The Wave has everything you need to know about building a business, from raising funding to marketing your product.
The developer cloud
Scale up as you grow — whether you're running one virtual machine or ten thousand.

Start building today
From GPU-powered inference and Kubernetes to managed databases and storage, get everything you need to build, scale, and deploy intelligent applications.
