By Jamie Scaife and Kathryn Hancox

The author selected the Electronic Frontier Foundation to receive a donation as part of the Write for DOnations program.
Introduction
One of the largest challenges in application development is the final step of distributing the finished product to your users or customers. Many existing application deployment methodologies lack user-friendliness and security, or do not provide methods for automatically updating an application once it has been installed.
Snap is a modern application packaging format with powerful sandboxing and security features, including file system isolation, automatic updates, and integrated dependency management. Snap applications, known as Snaps, can be downloaded and installed using a command-line program, much like apt or yum. Ubuntu comes with Snap pre-installed, meaning that there is a wide audience for Snap applications.
In this tutorial, you will create a Snap application and publish it on the Snap Store.
Prerequisites
To complete this tutorial, you will need:
-
One Ubuntu 18.04 server set up by following the Initial Server Setup with Ubuntu 18.04, including a sudo non-root user.
-
An application that you wish to package and release as a Snap. This may be a complex application that you created, a common open-source project, or a simple “Hello, world!” program. If you don’t already have an application, Step 1 of this tutorial will cover how you can create a Hello World program in Go.
-
An account on the Snapcraft Developer Dashboard.
Once you have these ready, log in to your server as your non-root user to begin.
Step 1 — Getting Your Application Ready for Packaging
Firstly, you’ll prepare your application for packaging as a Snap application by ensuring that everything required is present in a single directory.
Start by creating a new directory for your Snap and moving into it:
- mkdir ~/your-snap
- cd ~/your-snap
Next, if you already have an application, put a complete copy of the source code for your application into the directory that you just created. The process here will vary significantly depending on the exact application that you’re packaging, however in the case that the source code is stored in a Git repository, you can git init a repository in the directory and pull down all of the relevant code.
If you don’t yet have an application that you’d like to package, you may create a “Hello World” program to use instead. If you would like more context on writing this program with Go, check out the How to Write Your First Program in Go tutorial.
You can do this by first creating a new Go file and opening it using your preferred text editor:
- nano helloworld.go
Next, add the following code to the file:
package main
import "fmt"
func main() {
  fmt.Println("Hello, world!")
}
Then save and exit the file.
If you don’t have Go installed, you can install it using the following command:
- sudo apt install golang-go
Once Go is installed, you can run your new program to check that it is working:
- go run helloworld.go
You’ll see the following output:
OutputHello, world!
You’ve prepared your application for packaging as a Snap. Next, you will install the software required to begin the packaging process.
Step 2 — Installing Snapcraft
In this step, you’ll download and install Snapcraft, which is the name of the official Snap application packaging tool. Snapcraft is available from the Snap Store, which is built into Ubuntu by default. This means that you can install Snapcraft from the command-line using the snap command.
The snap command is equivalent to the apt command, but you can use it to install software from the Snap Store, rather than packages from the Apt repositories.
In order to install Snapcraft, run the following command:
- sudo snap install snapcraft --classic
You use the --classic command argument so that Snapcraft installs without the strict sandboxing features that Snaps normally use. Snapcraft requires this argument as it needs more privileged access to your system to reliably package applications.
Once you’ve installed Snapcraft, you’ll see the following:
Outputsnapcraft 3.9.8 from Canonical✓ installed
Finally, you can double-check the Snapcraft installation by running:
- snapcraft --version
This will display something similar to:
Outputsnapcraft, version 3.9.8
Now that you’ve installed Snapcraft, you can begin to define the configuration and metadata for your Snap application.
Step 3 — Defining the Configuration and Metadata for Your Snap
In this step, you will begin to define the configuration, structure, and metadata for your Snap application.
Begin by ensuring that you are still working in your Snap application directory:
- cd ~/your-snap
Next, create and edit the snapcraft.yaml file using your preferred text editor:
- nano snapcraft.yaml
You’ll use the snapcraft.yaml file to store all of the configuration for your Snap application, including the name, description, and version, as well as settings related to dependency management and sandboxing.
Begin by defining the name, summary, description, and version number for your application:
name: your-snap
summary: A summary of your application in 78 characters or less.
description: |
  A detailed description of your application.
  The description can have multiple lines.
version: '1.0'
The name of your Snap needs to be unique if you wish to publish it on the Snap Store—search for other applications with the same name to make sure that it isn’t already taken.
Next, you can define the command(s) that you wish to associate with your application. This will allow your Snap to be used directly from the Bash command-line as a normal command.
Add the following to your snapcraft.yaml file:
. . .
apps:
  your-snap-command:
    command: your-snap
your-snap-command is the name of the command that you want to define. For example, you may wish to use the command helloworld to run your Hello World program.
You use command: your-snap to tell Snapcraft what to do when the application command is run. In the case of the Hello World program, you would use the value helloworld to reference the helloworld.go file, which will allow Snapcraft to run your program successfully.
This results in the following example configuration:
apps:
  helloworld:
    command: helloworld
If the command name matches the Snap name exactly, you’ll be able to run it directly from the command-line. If the command does not match the Snap name, the command will be automatically prefixed with the name of the Snap. For example, helloworld.command1.
Finally, you can define the parts that make up your Snap application. Snap applications are made up of multiple parts, which are all of the components that make up your application. In many cases, there is only one part, which is the application itself.
Each part has an associated plugin. For example, for components of your application written in Ruby, the ruby plugin is used, and for components written in Go, the go plugin is used.
You can use the Snapcraft list-plugins command to identify the correct plugin(s) for your application:
- snapcraft list-plugins
This will output a list similar to the following:
Outputant        catkin-tools  conda    dump    gradle  make   nil                python  rust
autotools  cmake         crystal  go      kbuild  maven  nodejs             qmake   scons
catkin     colcon        dotnet   godeps  kernel  meson  plainbox-provider  ruby    waf
The most common plugins are those for common programming languages, such as Go, Rust, Ruby, or Python.
Once you have identified the correct plugins for your application, you can begin to add the parts configuration to your snapcraft.yaml file:
. . .
parts:
  your-snap:
    plugin: plugin-name
    source: .
You use the source configuration parameter to specify the relative path to the source code for your application. Usually this will be the same directory as the snapcraft.yaml file itself, so the source value is a single dot (.).
Note: If your application component has any dependencies that are required for either building or running it, you can specify these using the build-packages and stage-packages attributes. The specified dependency names will then be automatically fetched from the default package manager for your system.
For example:
parts:
  your-snap:
  plugin: plugin-name
  source: .
  build-packages:
  - gcc
  - make
  stage-packages:
  - libcurl4
Some Snapcraft plugins have their own specific options that may be required for your application, so it’s worthwhile reviewing the relevant manual pages for your plugin:
- snapcraft help plugin-name
In the case of Go applications, you would also specify the go-importpath. For the Hello World configuration, this results in the following example configuration:
parts:
  helloworld:
    plugin: go
    source: .
    go-importpath: helloworld
You can leave your snapcraft.yaml file open to add further configuration in the next step.
You’ve defined the base configuration for your Snap application. Next, you’ll configure the security and sandboxing aspects of your application.
Step 4 — Securing Your Snap Application
Snap applications are designed to run within a sandboxed environment, so in this step you’ll configure sandboxing for your Snap. Firstly, you’ll need to enable sandboxing for your application, known within Snapcraft as confinement.
Add the following to your snapcraft.yaml file:
. . .
confinement: strict
This will enable sandboxing for your application, preventing it from accessing the internet, other running Snaps, or the host system itself. However, in most cases, applications do need to be able to communicate outside of their sandbox like when they need to access the internet or read/write to the file system.
These permissions, known within Snapcraft as interfaces, can be granted to your Snap application using Plugs. Using Plugs, you can have fine-grain control over the sandboxing for your application, to give it the access that it requires and nothing more (principle of least privilege).
The exact interfaces that are required will vary depending on your application. Some of the most common interfaces are:
audio-playback- Allows audio output/playing sounds.audio-record- Allows audio input/recording.camera- Allows access to connected webcams.home- Allows access to non-hidden files within your home directory.network- Allows access to the network/internet.network-bind- Allows binding to ports to operate as a network service.system-files- Allows access to the entire file system of the host machine.
The full list of available interfaces can be found within the Snapcraft documentation under Supported Interfaces.
Once you’ve identified all of the required interfaces for your application, you can begin to assign these to plugs within your snapcraft.yaml file.
The following example configuration will allow the application to access the network and users’ home area:
. . .
plugs:
  your-snap-home:
    interface: home
  your-snap-network:
    interface: network
Save and exit your file.
The name of the Plug should be a descriptive name to help users identify the purpose of the Plug.
You’ve enabled sandboxing for your Snap and configured some Plugs to grant limited access to system resources. Next you’ll finish building your Snap app.
Step 5 — Building and Testing Your Snap Application
Now that you’ve written all of the required configuration for your Snap, you can proceed with building it and testing the Snap package locally.
If you’ve been following along using a Hello World program as your application, your complete snapcraft.yaml file will now look similar to the following:
name: helloworld
summary: A simple Hello World program.
description: |
  A simple Hello World program written in Go.
  Packaged as a Snap application using Snapcraft.
version: '1.0'
confinement: strict

apps:
  helloworld:
    command: helloworld

parts:
  helloworld:
    plugin: go
    source: .
    go-importpath: helloworld

plugs:
  helloworld-home:
    interface: home
  helloworld-network:
    interface: network
In order to build your Snap application, run the snapcraft command from within the directory for your Snap:
- snapcraft
Snapcraft will then automatically launch a virtual machine (VM) and begin building your Snap. Once complete, Snapcraft will exit and you will see something similar to the following:
OutputSnapped your-snap_1.0_amd64.snap
You can now install your Snap locally in order to check that it is working:
- sudo snap install your-snap.snap --dangerous
The --dangerous command argument is required as you are installing a local Snap that has not been signed.
Outputyour-snap 1.0 installed
Once the installation process is complete, you can then run your Snap using its associated command. For example:
- helloworld
In the case of the example Hello World program, the following output would be:
OutputHello, world!
You can also view the sandboxing policy for your Snap to make sure that the assigned permissions have been properly granted:
- snap connections your-snap
This will output a list of Plugs and interfaces, similar to the following:
Outputsnap connections your-snap
Interface  Plug                         Slot      Notes
home       your-snap:your-snap-home     :home     -
network    your-snap:your-snap-network  :network  -
In this step, you built your Snap and installed it locally to test that it is working. Next, you’ll publish your Snap on the Snap Store.
Step 6 — Publishing Your Snap
Now that you’ve built and tested your Snap application, it’s time to release it on the Snap Store.
Begin by logging in to your Snap Developer account using the Snapcraft command-line application:
- snapcraft login
Follow the prompts to enter your email address and password.
Next, you need to register the name of the application on the Snap Store:
- snapcraft register your-snap
Once you’ve registered the Snap name, you can push the built Snap package to the store:
- snapcraft push your-snap.snap
You’ll see output similar to the following:
OutputPreparing to push 'your-snap_1.0_amd64.snap'.
Install the review-tools from the Snap Store for enhanced checks before uploading this snap.
Pushing 'your-snap_1.0_amd64.snap' [===================================================================================================] 100%
Processing...|
Ready to release!
Revision 1 of 'your-snap' created.
Each time you push to the Snap store, the revision number is incremented, starting at one. This is useful to help identify the various different builds of your Snap.
Finally, you can release your Snap to the public:
- snapcraft release your-snap revision-number channel
If this is the first time you’ve pushed to the Snap Store, the revision number will be 1. You can also choose between releasing to the stable, candidate, beta, and edge channels, if you have multiple versions of your application at different stages of development.
For example, the following command will release revision 1 of the Hello World Snap to the stable channel:
- snapcraft release helloworld 1 stable
You’ll see output similar to the following:
OutputTrack    Arch    Channel    Version    Revision
latest   amd64   stable     1.0        1
                 candidate  ^          ^
                 beta       ^          ^
                 edge       ^          ^
The 'stable' channel is now open.
You can now search for your application on the Snap Store and install it on any of your devices.
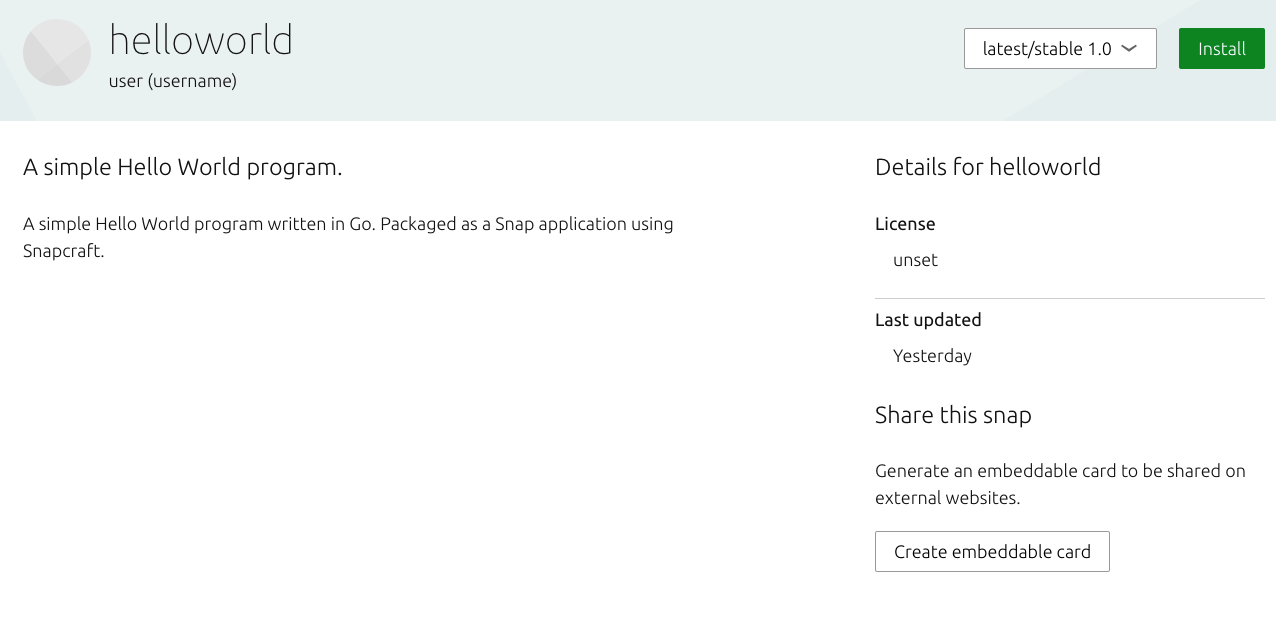
In this final step, you uploaded your built Snap package to the Snap Store and released it to the public.
Conclusion
In this article you configured and built a Snap application, and then released it to the public via the Snap Store. You now have the foundational knowledge required to maintain your application and building new ones.
If you wish to explore Snaps further, you may wish to browse the full Snap Store. You may also wish to review the Snapcraft YAML Reference to understand more about it and identify additional attributes for your Snap configuration.
Finally, if you’d like to investigate Snap development further, you may enjoy reading about and implementing Snap Hooks, which allow Snaps to dynamically react to system changes such as upgrades or security policy adjustments.
Thanks for learning with the DigitalOcean Community. Check out our offerings for compute, storage, networking, and managed databases.
About the author(s)
IT Security Engineer, technical writer and occasional blogger from the United Kingdom, with an interest in security defence and blue team activities.
Former Senior Technical Editor at DigitalOcean, with a strong focus on DevOps and System Administration content. Areas of expertise include Terraform, PyTorch, Python, and Django.
Still looking for an answer?
This textbox defaults to using Markdown to format your answer.
You can type !ref in this text area to quickly search our full set of tutorials, documentation & marketplace offerings and insert the link!
 This work is licensed under a Creative Commons Attribution-NonCommercial- ShareAlike 4.0 International License.
Become a contributor for community
Get paid to write technical tutorials and select a tech-focused charity to receive a matching donation.

DigitalOcean Documentation
Full documentation for every DigitalOcean product.

Resources for startups and AI-native businesses
The Wave has everything you need to know about building a business, from raising funding to marketing your product.
The developer cloud
Scale up as you grow — whether you're running one virtual machine or ten thousand.

Start building today
From GPU-powered inference and Kubernetes to managed databases and storage, get everything you need to build, scale, and deploy intelligent applications.
