
Note: In the time since this tutorial was published, DigitalOcean Spaces has added a free CDN option with customizable endpoint subdomains. This CDN feature provides most of the functionality that is covered below, including caching, custom domains, SSL, and moving assets closer to your users.
Please read the official Spaces product documentation for information on how to enable the CDN and customize the CDN endpoint.
Introduction
DigitalOcean Spaces is an object storage service that is compatible with the S3 API. In this tutorial we will show you how to use Nginx to proxy requests for objects on your Space. Nginx will receive HTTP(S) requests from your users and pass them along to the Spaces service, which will send the results back through Nginx.
Some reasons you may want to put an Nginx proxy in front of Spaces is to:
- add a custom domain
- add your own caching
- use your own SSL certificate
- use different access control mechanisms
- cache assets in a datacenter that’s closer to your users
In this tutorial, we will set up Nginx to answer requests on our own domain (with optional Let’s Encrypt SSL certificates) and forward those requests to a Space with public assets. We’ll then add caching to speed up subsequent responses for frequently-accessed objects.
Prerequisites
To complete this tutorial, you should have the following:
-
An Ubuntu 16.04 server with Nginx installed, as explained in our tutorial How To Install Nginx on Ubuntu 16.04
-
A domain name pointed to your server, as per How to Set Up a Host Name with DigitalOcean. We will use assets.example.com throughout this tutorial
-
A DigitalOcean Space. You can learn how to create a new Space by reading An Introduction to DigitalOcean Spaces.
You’ll need to know the URL of your individual Space. You can find that by navigating to your Space in the DigitalOcean Control Panel. The URL is directly below the Space name in the UI. This is highlighted in the screenshot below:
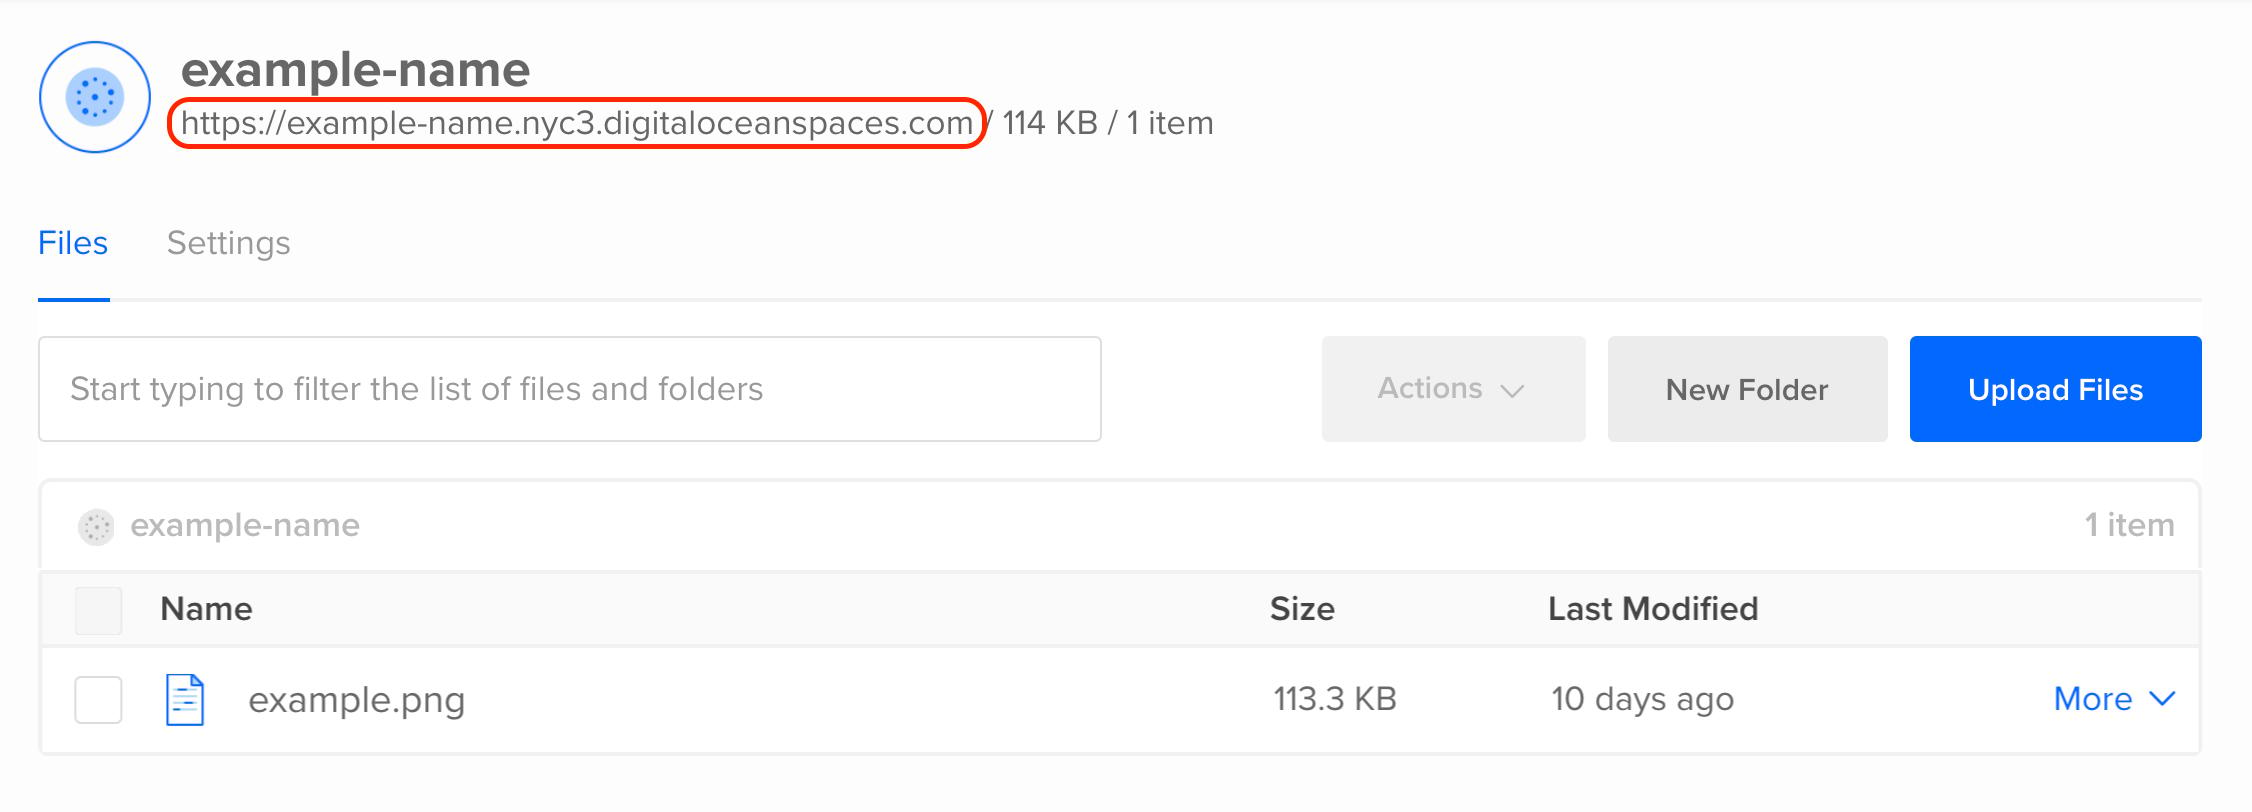
You’ll also need a file uploaded to your Space to test things out with. The aforementioned Spaces article shows how you can upload files using the Spaces web GUI. We’ll use
example.pngfor this tutorial.
Setting Up the Proxy
A default install of Nginx on Ubuntu will return a Welcome to Nginx placeholder page for all requests. We need to add some new configuration to tell Nginx to do something else with requests to our domain.
To do so, open up a new configuration file in /etc/nginx/sites-available:
- sudo nano /etc/nginx/sites-available/assets.example.com
This will open up a blank file in the nano text editor. Paste in the following configuration, making sure to replace the highlighted portions with your own domain name and Spaces URL:
server {
    listen 80;
    listen [::]:80;
    server_name assets.example.com;

    location / {
        proxy_pass https://example.nyc3.digitaloceanspaces.com/;
        proxy_hide_header      Strict-Transport-Security;
    }
}
Save the file and quit the editor when you’re done. This is a standard Nginx server block. First we tell it to listen to port 80 on both IPv4 and IPv6, and specify the server_name that Nginx should respond to.
Next we create a location block. Any configuration directives within this block (between the { and } braces) will only apply to specific URLs. In this case, we specify /, the root URL, so all locations will be matched by this block.
The proxy_pass directive tells Nginx to pass requests along to the specified server. The proxy_hide_header line strips the Strict-Transport-Security header before passing the response back to the client. Spaces uses this header to force all connections over to HTTPS. Passing this header through to your users could have unintended consequences if your site is accessible on both HTTP and HTTPS connections.
Now that our configuration is set, we need to enable it. This is done by creating a link to the configuration file in the /etc/nginx/sites-enabled/ directory:
- sudo ln -s /etc/nginx/sites-available/assets.example.com /etc/nginx/sites-enabled/
To check our configuration syntax, run nginx -t as root:
- sudo nginx -t
Outputnginx: the configuration file /etc/nginx/nginx.conf syntax is ok
nginx: configuration file /etc/nginx/nginx.conf test is successful
Finally, reload Nginx to pick up the new configuration:
- sudo systemctl reload nginx
With our configuration file set up, let’s test the proxy.
Testing the Proxy
We can test the proxy connection using curl on the command line. curl -I will return only the HTTP headers of a response. This is enough to determine that things are working well.
First, fetch an object directly from your Space using the digitaloceanspaces.com URL. We’ll use our example.png file:
- curl -I https://example.nyc3.digitaloceanspaces.com/example.png
OutputHTTP/1.1 200 OK
Content-Length: 81173
Accept-Ranges: bytes
Last-Modified: Tue, 28 Nov 2017 21:19:37 GMT
ETag: "7b2d05a5bd1bfeebcac62990daeafd14"
x-amz-request-id: tx000000000000000002398-005a1edfcd-afba2-nyc3a
Content-Type: image/png
Date: Wed, 29 Nov 2017 16:26:53 GMT
Strict-Transport-Security: max-age=15552000; includeSubDomains; preload
We can see by the 200 OK on the first line of the output that this was a successful request. The server returned the size of the file (Content-Length), the file type (Content-Type) and some other date- and cache-related information.
Now fetch the same file through the proxy:
- curl -I http://assets.example.com/example.png
OutputHTTP/1.1 200 OK
Server: nginx/1.10.3 (Ubuntu)
Date: Wed, 29 Nov 2017 16:27:24 GMT
Content-Type: image/png
Content-Length: 81173
Connection: keep-alive
Accept-Ranges: bytes
Last-Modified: Tue, 28 Nov 2017 21:19:37 GMT
ETag: "7b2d05a5bd1bfeebcac62990daeafd14"
x-amz-request-id: tx00000000000000000a045-005a1edfec-a89a3-nyc3a
The response is mostly the same. The major change is a Server header that identifies Nginx. If your output is similar, your proxy is working correctly!
In the next step, we’ll set up caching to reduce bandwidth use between the proxy and Spaces, and to speed up response times.
Setting Up Caching
To cache responses, Nginx needs a place to store keys, metadata, and the actual response content. We’ll set up a cache directory in the system’s /tmp directory. To do so, we’ll add a configuration snippet to a new file in /etc/nginx/conf.d/. Open that file now:
- sudo nano /etc/nginx/conf.d/example-cache.conf
Paste in the following line, then save and close the file:
proxy_cache_path /tmp/example-cache/ levels=1:2 keys_zone=example-cache:16m max_size=10g inactive=60m use_temp_path=off;
This line defines a few characteristics of the cache. Let’s run through the options:
/tmp/example-cache/is the path to the cache.levels=1:2sets up a two-level hierarchy of directories to store cached content. Putting too many files in a single directory can cause speed and reliability issues, so Nginx will split files between multiple directories based on this option.keys_zone=example-cache:16mnames our cache and sets up 16 megabytes of memory to store keys in. This should be enough memory to store data for over 100,000 keys.max_size=10glimits the size of the cache to 10 gigabytes. You can adjust this to suit your storage and usage needs.inactive=60mmeans Nginx will delete cached files after 60 minutes if they haven’t been accessed in that time (even if the file is still valid and unexpired). If you have a lot of infrequently-accessed objects, you may want to try increasing this.use_temp_path=offinstructs Nginx to write temporary files to the cache directory, potentially avoiding the need to copy files between filesystems, which could hinder performance.
Now that we’ve defined a cache, we need to enable it in our server block, and set some additional options. Open up your site’s config file again:
- sudo nano /etc/nginx/sites-available/assets.example.com
Add the following to the end of your location / block (after the proxy_hide_header directive, but before the closing } bracket):
. . .
        proxy_cache            example-cache;
        proxy_cache_valid      200 60m;
        proxy_cache_use_stale  error timeout updating http_500 http_502 http_503 http_504;
        proxy_cache_revalidate on;
        proxy_cache_lock       on;

        proxy_ignore_headers   Set-Cookie;
        add_header             X-Cache-Status $upstream_cache_status;
. . .
Save and close the file. Let’s go through these configuration options one-by-one:
proxy_cachetells Nginx which cache to use. In this case we specifyexample-cache, which we just set up in theexample-cache.conffile.proxy_cache_validinstructs Nginx to consider any200response valid for 60 minutes. This means that after the proxy successfully fetches a file from Spaces, for the next 60 minutes Nginx will use the cached copy without ever asking Spaces for an update. Note that if your objects have aCache-Controlheader set, the header’s value will override this configuration.proxy_cache_use_staleallows Nginx to return a stale (expired) response if the Spaces server ever times out, returns an error, or if the cached response is in the process of being updated.proxy_cache_revalidateenables the proxy to revalidate cached files using conditional GET requests. This means that when a cached file expires, and Nginx needs to check Spaces for changes, Nginx will use theIf-Modified-SinceorIf-None-Matchheaders to only fetch the object if it has indeed changed. If it hasn’t been updated, Spaces will return a304 Not Modifiedresponse and Nginx will simply mark the existing cached response as valid again.proxy_cache_lockputs a hold on subsequent requests to an object when the proxy is already fetching it from the backend server. When the first request is complete, the other requests will then be served from the cache.proxy_ignore_headers Set-Cookieignores cookies, which can interfere with caching.add_header X-Cache-Status...adds a header with information about whether or not the request was served from the cache (HIT) or not (MISS). If the request was in the cache but was expired, you’ll see (REVALIDATED) instead.
We’re now ready to verify that our configuration has no errors, and if that’s successful, reload Nginx:
- sudo nginx -t
- sudo systemctl reload nginx
With caching set up, we can test again to make sure that the cache is working as expected.
Testing the Cache
To make sure the cache is working, we can use curl again, and look for the X-Cache-Status header:
- curl -I http://assets.example.com/example.png
OutputHTTP/1.1 200 OK
Server: nginx/1.10.3 (Ubuntu)
Date: Wed, 29 Nov 2017 18:40:28 GMT
Content-Type: image/png
Content-Length: 81173
Connection: keep-alive
Last-Modified: Tue, 28 Nov 2017 21:19:37 GMT
ETag: "7b2d05a5bd1bfeebcac62990daeafd14"
x-amz-request-id: tx000000000000000013841-005a1eff1b-a89e4-nyc3a
X-Cache-Status: MISS
Accept-Ranges: bytes
The first request should be a MISS. Try it a second time:
- curl -I http://assets.example.com/example.png
OutputHTTP/1.1 200 OK
Server: nginx/1.10.3 (Ubuntu)
Date: Wed, 29 Nov 2017 18:40:53 GMT
Content-Type: image/png
Content-Length: 81173
Connection: keep-alive
Last-Modified: Tue, 28 Nov 2017 21:19:37 GMT
ETag: "7b2d05a5bd1bfeebcac62990daeafd14"
x-amz-request-id: tx000000000000000013841-005a1eff1b-a89e4-nyc3a
X-Cache-Status: HIT
Accept-Ranges: bytes
A HIT! We are now proxying and caching objects from Spaces. In the next step, we’ll set up SSL certificates to secure communication to our proxy.
Setting Up TLS/SSL
Though this step is optional, it is highly recommended that your website and assets are made available over a secure HTTPS connection. You can learn how to download and install free certificates from the Let’s Encrypt certificate authority by reading our tutorial How To Set Up Let’s Encrypt with Nginx Server Blocks on Ubuntu 16.04.
Conclusion
In this tutorial we created an Nginx configuration to proxy requests for objects to the Spaces service. We then added caching to improve performance, and a TLS/SSL certificate to improve privacy and security.
The settings shown here are a good starting point, but you may want to optimize some of the cache parameters based on your own unique traffic patterns and needs. The Nginx documentation, specifically the ngx_http_proxy_module can provide more detailed information on the available configuration options.
Thanks for learning with the DigitalOcean Community. Check out our offerings for compute, storage, networking, and managed databases.
About the author
Senior Technical Writer at DigitalOcean
Still looking for an answer?
This textbox defaults to using Markdown to format your answer.
You can type !ref in this text area to quickly search our full set of tutorials, documentation & marketplace offerings and insert the link!
Can you suggest some troubleshooting methods? If I proxy a location /spaces I can access the root “directory” properly at https://example.com/spaces and it shows the key sampleFile.jpg in the contents. However, a request for https://example.com/spaces/sampleFile.jpg returns a 404.
I don’t succeed to do that it will give the index.html file as default when there is no file set in the url. I’m receiving:
<Error>
<Code>NoSuchKey</Code>
<BucketName>{bucket-name}</BucketName>
<RequestId>tx00000000000002724d61c-005a437c78-ae56-ams3a</RequestId>
<HostId>ae56-ams3a-ams3</HostId>
</Error>
I’ve added index index.html; in the /etc/nginx/sites-available/{domain}
This was working like a dream except that DigitalOcean now offers CDN and there seems to be no way to proxy requests if you want to use CDN behind your custom domain as well, is there?
It says you could use nginx to do different access control, but then the space is public. What’s the point of access control if you’re proxying from a public space?
I have a case where my end users should have read-only access to a Spaces bucket, but they also have to authenticate.
The examples show how to make everything public, or how to make it read-write with an access key, but not how to make it read-only with an access key. I thought proxying with Nginx could solve this, but I haven’t found an example where Nginx uses an access key.
Thanks for the guide. I followed it and it works great on Ubuntu 18.04. I 'm curious though, if it is a good idea or not, to replace the default url for spaces with the cdn addres. In your guide that would mean replacing https://example.nyc3.digitaloceanspaces.com with https://example.nyc3.cdn.digitaloceanspaces.com The advantage being that the files are more distributed, but I can imagine that it’s better to proxy just one location. What do you guys think??
Everything works like a charm, but after setting up with own subdomain, the images is loading very slowly. What could be the reason?
This comment has been deleted
Hi, Thanks for the guide. can you run those guide on server that run apache webserver?
I got NoSuchBucket error. I don’t know why. Everything working fine with space URL. But It does not working fine with my custom domain
This is space URL

This is error

And this is my config in Nginx
server {
    listen IP_ADDRESS:80;
    server_name custom.domain.com;
    location / {
        proxy_pass https://custom-domain.sgp1.digitaloceanspaces.com/;
        proxy_hide_header      Strict-Transport-Security;
    }
}
Please help me this error. Thank you
Thanks this is a great. I should just try it, but does this allow an S3 client like S3 Browser or Cyberduck to upload and download files using the custom DNS name? I.e. can the S3 client be configured with http://assets.example.com as the endpoint, not the real digitalocean endpoint?
V4 signatures might be tricky because the client can include the Host header value, meaning both client and digitalocean spaces would have to use “Host: http://assets.example.com” when calculating the signature.
 This work is licensed under a Creative Commons Attribution-NonCommercial- ShareAlike 4.0 International License.
Become a contributor for community
Get paid to write technical tutorials and select a tech-focused charity to receive a matching donation.

DigitalOcean Documentation
Full documentation for every DigitalOcean product.

Resources for startups and AI-native businesses
The Wave has everything you need to know about building a business, from raising funding to marketing your product.
The developer cloud
Scale up as you grow — whether you're running one virtual machine or ten thousand.

Start building today
From GPU-powered inference and Kubernetes to managed databases and storage, get everything you need to build, scale, and deploy intelligent applications.
