By Avik Kundu and Caitlin Postal

The author selected the Open Internet/Free Speech Fund to receive a donation as part of the Write for DOnations program.
Introduction
Kubernetes is a powerful container orchestration tool that allows you to deploy and manage containerized applications, but it can sometimes take time to manage the underlying infrastructure. The serverless paradigm helps users deploy applications without having to worry about the underlying infrastructure. With the advent of Serverless 2.0, many platforms and tools now allow you to deploy serverless applications on Kubernetes.
Knative is a Kubernetes-based platform that provides components to deploy and manage serverless workloads. Knative offers open-source Kubernetes integration, cloud-agnosticism, building blocks, and extensibility. Tools like Red Hat’s Openshift also use Knative for users to deploy their serverless workloads on top of Kubernetes.
Knative features two main components: Eventing and Serving. Eventing manages events that trigger serverless workloads. Serving is a set of components to deploy and manage serverless workloads. Knative Serving enables developers to deploy and manage serverless applications on top of Kubernetes. With Knative Serving, developers can quickly and easily deploy new services, scale them up and down, and connect them to other services and event sources. This feature enables developers to build and deploy modern, cloud-native applications that are flexible, scalable, and easy to maintain.
In this tutorial, you will use Knative Serving to deploy a Node.js application as a serverless workload on a DigitalOcean Kubernetes cluster. You will use doctl (the DigitalOcean CLI) and kn (the Knative CLI) to create the Kubernetes cluster and deploy the application.
Prerequisites
To complete this tutorial, you will need the following:
- A DigitalOcean account that you will use to start a Kubernetes cluster with at least 4GB RAM and 2 CPU cores. If you do not have one, sign up for a new account. This setup will use a DigitalOcean Kubernetes cluster. To create a Kubernetes cluster in the DigitalOcean Cloud Panel, see our Kubernetes Quickstart.
- To follow this tutorial from a remote server, you can set up an Ubuntu 22.04 server with a non-root user and a firewall by following our Initial Server Setup. To get started with a DigitalOcean Droplet, you can use our Droplet Quickstart.
- The DigitalOcean command-line client,
doctl, installed on your machine. The GitHub Download option is recommended. See How To Use doctl for more information on usingdoctl. kubectlinstalled on your machine, which you can set up with the Kubernetes installation docs.- Docker installed on your machine, which you can set up by following Steps 1 and 2 of our tutorial on How To Install and Use Docker.
- A sample Node.js application set up by following the How To Build a Node.js Application with Docker tutorial for creating the application and pushing its container image to Docker Hub.
- An account at Docker Hub for storing Docker images you’ll create during this tutorial.
Step 1 — Launching the DigitalOcean Kubernetes Cluster
Since Knative is a Kubernetes-based platform, you will use it with a Kubernetes cluster on DigitalOcean. There are multiple ways to launch a Kubernetes cluster on DigitalOcean. You can use the DigitalOcean Cloud interface, the DigitalOcean CLI, or the Terraform provider.
In this tutorial, you will use doctl, the DigitalOcean command-line client, to launch the Kubernetes cluster. If you have not yet installed doctl, follow the steps in the official installation guide.
To effectively use Knative in this tutorial, you will need a Kubernetes cluster with at least 4GB RAM and 2 CPU cores available. You can launch a cluster named knative-tutorial with these specifications by running the doctl command with the following flags:
--sizespecifies the size of the remote server.--countspecifies the number of nodes that will be created as part of the cluster.
To create the DigitalOcean Kubernetes cluster, run the following command:
- doctl kubernetes cluster create knative-tutorial --size s-2vcpu-4gb --count 3
In this command, you create a cluster named knative-tutorial with the size set to 4GB RAM and 2 CPU cores and with a count of 3 nodes.
Note: You can also use the --region flag to specify in which region the server will be located, though that option is not used in this tutorial. If you are using a remote server, such as a Droplet, you might wish to have your cluster in the same region as the server. If you use the DigitalOcean Control Panel to create your cluster, you can choose a datacenter region and VPC network. For more on DigitalOcean’s regional availability, you can refer to our Regional Availability Matrix.
This command will take a few minutes to complete. Once it finishes, you will receive a message similar to the following:
OutputNotice: Cluster is provisioning, waiting for cluster to be running
...........................................................
Notice: Cluster created, fetching credentials
Notice: Adding cluster credentials to kubeconfig file found in "/home/sammy/.kube/config"
Notice: Setting current-context to do-nyc1-knative-tutorial
ID                                      Name                Region    Version        Auto Upgrade    Status     Node Pools
d2d1f9bc-114b-45e7-b109-104137f9ab62    knative-tutorial    nyc1      1.24.4-do.0    false           running    knative-tutorial-default-pool
The cluster is now ready to use.
You can now verify if kubectl has been set up in your system and can reach the DigitalOcean Kubernetes Cluster with the following command:
- kubectl cluster-info
You should receive a similar output:
OutputKubernetes control plane is running at https://69de217e-0284-4e18-a6d7-5606915a4e88.k8s.ondigitalocean.com

CoreDNS is running at https://69de217e-0284-4e18-a6d7-5606915a4e88.k8s.ondigitalocean.com/api/v1/namespaces/kube-system/services/kube-dns:dns/proxy
Since the output lists the URLs of the control plane and the CoreDNS service (highlighted in the output block), you know that kubectl is configured correctly in your system and can reach the cluster.
As part of the cluster creation process, doctl automatically configures the kubectl context to use the new cluster. You can verify this by running the following command:
- kubectl config current-context
This command will return the name of the current context.
You should receive the following output:
Outputdo-nyc1-knative-tutorial
The output indicates that the current context is do-nyc1-knative-tutorial, which is the name of the cluster you created with the region in which it is located (nyc1).
You can also verify that the cluster is running and the nodes are ready to accept workloads with this command:
- kubectl get nodes
The kubectl get nodes command lists all the nodes in the cluster along with their status and other information.
You should receive the following output:
OutputNAME                                       STATUS   ROLES    AGE     VERSION
do-nyc1-knative-tutorial-159783000-0v9k5   Ready    <none>   2m52s   v1.24.4
do-nyc1-knative-tutorial-159783000-1h4qj   Ready    <none>   2m52s   v1.24.4
do-nyc1-knative-tutorial-159783000-1q9qf   Ready    <none>   2m52s   v1.24.4
The output states that the cluster has three nodes ready to accept workloads.
In this step, you launched a Kubernetes cluster on DigitalOcean. You can now install Knative to deploy your serverless workload on Kubernetes.
Step 2 — Installing Knative Serving
In this step, you will install Knative Serving on your Kubernetes cluster. Knative Serving is responsible for deploying and managing your serverless workloads.
To install Knative Serving, you will need the Knative core components and custom resources. Run these commands to install the core components:
- kubectl apply -f https://github.com/knative/serving/releases/download/knative-v1.8.0/serving-crds.yaml
- kubectl apply -f https://github.com/knative/serving/releases/download/knative-v1.8.0/serving-core.yaml
The kubectl apply command installs the Knative core components and custom resources on your cluster. The -f flag specifies a file containing configuration changes. In this case, the configuration changes are in the YAML files you download from the Knative repository.
These commands will take a few minutes to complete. You will receive the following output (the output below is truncated for brevity):
Outputcustomresourcedefinition.apiextensions.k8s.io/certificates.networking.internal.knative.dev created
customresourcedefinition.apiextensions.k8s.io/clusteringresses.networking.internal.knative.dev created
customresourcedefinition.apiextensions.k8s.io/configurations.serving.knative.dev created
customresourcedefinition.apiextensions.k8s.io/images.caching.internal.knative.dev created
customresourcedefinition.apiextensions.k8s.io/ingresses.networking.internal.knative.dev created
...
This output indicates that the Knative core components and custom resources are on your cluster. All of the components are in the knative-serving namespace.
Once they have finished downloading, you can verify that Knative Serving is installed:
- kubectl get pods --namespace knative-serving
The kubectl get pods command will retrieve a list of all the pods launched in the cluster in the namespace knative-serving. This command identifies the pods in your cluster, their current status, the number of containers in the pod, and the names of the containers in a particular namespace.
You should receive a similar output:
OutputNAME                                      READY   STATUS    RESTARTS   AGE
activator-5f6b4bf5c8-kfxrv                1/1     Running   0          4m37s
autoscaler-bc7d6c9c9-v5jqt                1/1     Running   0          4m34s
controller-687d88ff56-9g4gz               1/1     Running   0          4m32s
domain-mapping-69cc86d8d5-kr57g           1/1     Running   0          4m29s
domainmapping-webhook-65dfdd9b96-nzs9c    1/1     Running   0          4m27s
net-kourier-controller-55c99987b4-hkfpl   1/1     Running   0          3m49s
webhook-587cdd8dd7-qbb9b                  1/1     Running   0          4m22s
The output displays all the pods running in the knative-serving namespace. The pods are responsible for the different components of Knative Serving.
Knative requires a networking layer to route incoming traffic to your services. The networking layer in Knative enables the deployment and communication of microservices in a distributed environment. Knative Serving supports Istio, Contour, and Kourier as the networking layer.
In this tutorial, you will use Kourier as the networking layer because it integrates seamlessly with Knative. Kourier uses the same APIs and standards as the rest of the Knative ecosystem, making it a good option for developers and organizations already using Knative who want to benefit from its powerful networking capabilities.
Install Kourier with this command:
- kubectl apply -f https://github.com/knative/net-kourier/releases/download/knative-v1.8.0/kourier.yaml
You should receive the following output:
Outputnamespace/kourier-system configured
configmap/kourier-bootstrap configured
configmap/config-kourier configured
serviceaccount/net-kourier configured
clusterrole.rbac.authorization.k8s.io/net-kourier configured
clusterrolebinding.rbac.authorization.k8s.io/net-kourier configured
deployment.apps/net-kourier-controller configured
service/net-kourier-controller configured
deployment.apps/3scale-kourier-gateway configured
service/kourier configured
service/kourier-internal configured
The output lists all the resources, like Namespaces and ConfigMaps, created as part of the Kourier installation process in the Kubernetes cluster.
To configure Knative to use Kourier as the networking layer, you will edit the config-network ConfigMap.
For this, you need to use the kubectl patch command to update the fields of an object in a Kubernetes cluster. You will have to also include some flags with this command:
--namespacespecifies where you can find the object you want to patch.--typespecifies which patch to perform when applying configs with thepatchcommand. The available types arejson,merge, andstrategic.--patchspecifies the patch data directly on the command line rather than in a file.
Run this command with the associated flags:
- kubectl patch configmap/config-network \
- --namespace knative-serving \
- --type merge \
- --patch '{"data":{"ingress-class":"kourier.ingress.networking.knative.dev"}}'
The kubectl patch command patches configmap/config-network with the namespace set to knative-serving and the type set to merge.
The merge patch type allows for more targeted updates, while the json or strategic patch types allow for more comprehensive updates. The merge patch type specifies individual fields to update without including the entire resource configuration in the patch command, which is the case for the other types. The data being patched is identified with the patch flag.
You should receive the following output:
Outputconfigmap/config-network patched
The output of this command ensures Kourier is properly set up in the cluster.
Finally, fetch the external IP address of the Kourier load balancer with the following command:
- kubectl get svc kourier --namespace kourier-system
The kubectl get svc command retrieves information about the services running in a Kubernetes cluster in the mentioned namespace (in this case, kourier-system). This command will list all the services in the cluster with their associated IP addresses and port numbers.
You should receive the following output:
OutputNAME      TYPE           CLUSTER-IP       EXTERNAL-IP      PORT(S)                      AGE
kourier   LoadBalancer   10.245.186.153   138.197.231.61   80:31245/TCP,443:30762/TCP   2m33s
The output of the command includes the name of the service, the type of service (such as ClusterIP, NodePort, and so on), the cluster IP address and port number, and the external IP address and port number. The numbers listed here are examples, so your output will display different numbers.
It may take a few minutes for the load balancer to be provisioned. You may see an empty value or <pending> for the EXTERNAL-IP field. If that is the case, wait a few minutes and rerun the command.
Note: You will need the load balancer to be provisioned before continuing in this tutorial. Once the EXTERNAL-IP field for the LoadBalancer is populated, you can continue. Otherwise, you may experience issues while setting up the DNS service.
You can also configure DNS for your domain name to point to the external IP address of the load balancer. Knative provides a Kubernetes job called default-domain that will automatically configure Knative Serving to use sslip.io as the default DNS suffix.
sslip.io is a dynamic DNS (Domain Name System) service that allows users to access their devices using a custom domain name instead of the IP address. Using sslip.io improves user access to their devices remotely without needing to remember complex IP addresses.
To configure the default DNS suffix, you will need to run the following command:
- kubectl apply -f https://github.com/knative/serving/releases/download/knative-v1.8.0/serving-default-domain.yaml
You will receive the following output:
Outputjob.batch/default-domain configured
service/default-domain-service configured
The resources required to run the Magic DNS service have been configured successfully.
Note: You can also add a domain if you prefer, though that is beyond the scope of this article. You need to set up a DNS provider (such as Cloud DNS or Route53) and create an A record for the Knative ingress gateway that is mapped to the IP address of your Knative cluster. You would then update the Knative ingress gateway configuration to use the DNS zone and A record you created. You can test the DNS configuration by accessing the Knative serving domain and ensuring it resolves to the ingress gateway.
You have now successfully installed Knative Serving on your Kubernetes cluster. You can now deploy the Serverless workload with Knative Serving on your Kubernetes cluster.
Step 3 — Deploying a Serverless Workload
In this step, you will deploy a serverless workload on top of Knative, which is currently running in your Kubernetes cluster. You will use the Node.js application that you created as part of the prerequisites.
Before you proceed, you will create a new namespace to deploy your serverless workload. You can do this by running the following command:
- kubectl create namespace serverless-workload
This command will create a new namespace called serverless-workload.
You should receive the following output:
Outputnamespace/serverless-workload configured
The output ensures that the namespace has been created successfully.
Knative Serving uses a custom resource called Service to deploy and manage your serverless workloads. The Service resource is defined by the Knative Serving API.
Once you create or modify the Service resource, Knative Serving will automatically create a new Revision. A Revision is a point-in-time snapshot of your workload.
Whenever a new Revision is created, traffic will be routed to the new Revision by a Route. Knative Serving automatically creates a Route for each Service. You can access your workload using the domain name from the Route.
To deploy a serverless workload on Knative, you must create a Service resource. You can achieve this in two different ways:
- Using the
kn, the official Knative CLI tool. - Using the
kubectlcommand line tool for applying YAML files to your Kubernetes cluster.
In the subsections that follow, you will use each of these methods.
Option 1 — Using the Knative CLI
The Knative CLI, kn, is a command-line interface that allows you to interact with Knative.
First, install kn by downloading the latest version of the Knative CLI binary:
- wget https://github.com/knative/client/releases/download/knative-v1.8.1/kn-linux-amd64
The wget command will retrieve the tool.
Then, move the binary to a folder called kn:
- mv kn-linux-amd64 kn
Next, make it executable with the following command:
- chmod +x kn
Finally, move the executable binary file to a directory on your PATH:
- cp kn /usr/local/bin/
Verify that kn is installed:
- kn version
You should receive a similar output:
OutputVersion:      v1.8.1
Build Date:   2022-10-20 16:09:37
Git Revision: 1db36698
Supported APIs:
* Serving
  - serving.knative.dev/v1 (knative-serving v1.8.0)
* Eventing
  - sources.knative.dev/v1 (knative-eventing v1.8.0)
  - eventing.knative.dev/v1 (knative-eventing v1.8.0)
The output of this command states that kn was installed.
To deploy the Node.js application using kn, you will use the kn service create command. You will include some flags with this command:
--imagespecifies the image of the container you want to deploy.--portspecifies the port that your application listens on.--namespecifies the name of theServiceyou want to create.--namespacespecifies the namespace to which you want to deploy the workload.
To deploy your Node.js application, run the following command and update the highlighted portion with your DockerHub username:
- kn service create node-service \
- --image your_dockerhub_username/nodejs-image-demo \
- --port 8080 \
- --namespace serverless-workload
The kn service command creates the Knative Service named node-service with the port set to 8080 and the namespace flag set to serverless-workload. The image flag indicates the location of the application container uploaded in Dockerhub.
You should receive the following output:
OutputCreating service 'node-service' in namespace 'serverless-workload':

  0.236s Configuration "node-service" is waiting for a Revision to become ready.
  2.230s ...
  2.311s Ingress has not yet been reconciled.
  2.456s Waiting for load balancer to be ready
  2.575s Ready to serve.

Service 'node-service' created to latest revision 'node-service-00001' is available at URL:
http://node-service.serverless-workload.138.197.231.61.sslip.io
This output provides the status of the Knative Service creation. Once the Service gets created, you will find the URL of the Route linked to the Service.
Run the following command to verify that the Service resource was created:
- kn service list --namespace serverless-workload
The kn service list command lists all the services currently deployed with Knative Serving in a particular namespace in the Kubernetes cluster. This command enables you to access details about each Service, including its name, status, and URL.
You should receive a similar output:
OutputNAME           URL                                                               LATEST               AGE   CONDITIONS   READY   REASON
node-service   http://node-service.serverless-workload.138.197.231.61.sslip.io   node-service-00001   88s   3 OK / 3     True
From this output, you can verify that a new Knative Service has been created by the kn service command you executed earlier. You also find the URL for the Route and the Age and Status of the Service.
In this section, you installed the Knative CLI and used it to deploy a serverless workload for your Node.js app.
Option 2 — Creating a Service Resource Using YAML Files
You can also deploy a Service resource by creating a YAML file that defines the resource. This method is useful to ensure version control of your workloads.
First, you will create a subdirectory in the directory containing your Dockerfile. This tutorial uses the name knative for the subdirectory. Create the folder:
- mkdir knative
Next, you will create a YAML file called service.yaml in the knative directory:
- nano knative/service.yaml
In the newly created service.yaml file, add the following lines to define a Service that will deploy your Node.js app:
apiVersion: serving.knative.dev/v1
kind: Service
metadata:
  name: node-yaml-service
  namespace: serverless-workload
spec:
  template:
    metadata:
      name: node-yaml-service-v1
    spec:
      containers:
        - image: docker.io/your_dockerhub_username/nodejs-image-demo
          ports:
            - containerPort: 8080
The Knative Service YAML file specifies the following information:
namein the firstmetadatasection specifies thenameof theServiceresource.namespacespecifies thenamespaceto which you want to deploy the workload.namein the firstspecsection specifies thenameof theRevision.imagein the secondspecsection specifies theimageof the container you want to deploy.containerPortspecifies theportyour application listens on.
Be sure to update the highlighted text with the information you’ve selected for your app and system, as well as your DockerHub username.
Save and close the file.
You can now deploy the Service resource by running the following command:
- kubectl apply -f knative/service.yaml
You should receive the following output:
Outputservice.serving.knative.dev/node-yaml-service created
The output indicates that the Service resource has been created successfully.
Run the following command to verify that the Service resource has been created:
- kn service list --namespace serverless-workload
The kn service list command lists all the services currently deployed with Knative Serving in a particular namespace. This command enables you to access details about each Service.
You should receive the following output:
OutputNAME                URL                                                                     LATEST                 AGE   CONDITIONS   READY   REASON
node-service        http://node-service.serverless-workload.174.138.127.211.sslip.io        node-service-00001     9d    3 OK / 3     True
node-yaml-service   http://node-yaml-service.serverless-workload.174.138.127.211.sslip.io   node-yaml-service-v1   9d    3 OK / 3     True
You can verify that a new Knative Service has been created based on the Knative Service YAML file that you executed previously. You created the node-yaml-service in this section. You can also find the URL of the Knative Route.
You used a YAML file in this section to create a serverless workload for your Node.js app.
In this step, you created the Knative Service resource using both the kn CLI tool and a YAML file. Next, you will access the application workload you deployed with Knative.
Step 4 — Accessing the Application Workload
Now that you have deployed the serverless workload, you can access it with the URL from the Knative Route created as part of the Serverless workload. The Knative Route defines how incoming HTTP traffic should route to a specific service or application.
To get the list of all Knative routes, run the following command:
- kn route list --namespace serverless-workload
The kn route list command lists all the Knative routes at a particular namespace in the Kubernetes cluster.
You should receive a similar output:
OutputNAME                URL                                                                    READY
node-service        http://node-service.serverless-workload.138.197.231.61.sslip.io        True
node-yaml-service   http://node-yaml-service.serverless-workload.138.197.231.61.sslip.io   True
You will use the URLs generated for the Knative Routes to confirm that everything is working as expected.
Open either of the URLs in your browser. When you access the site in your browser, the landing page from your Node app will load:
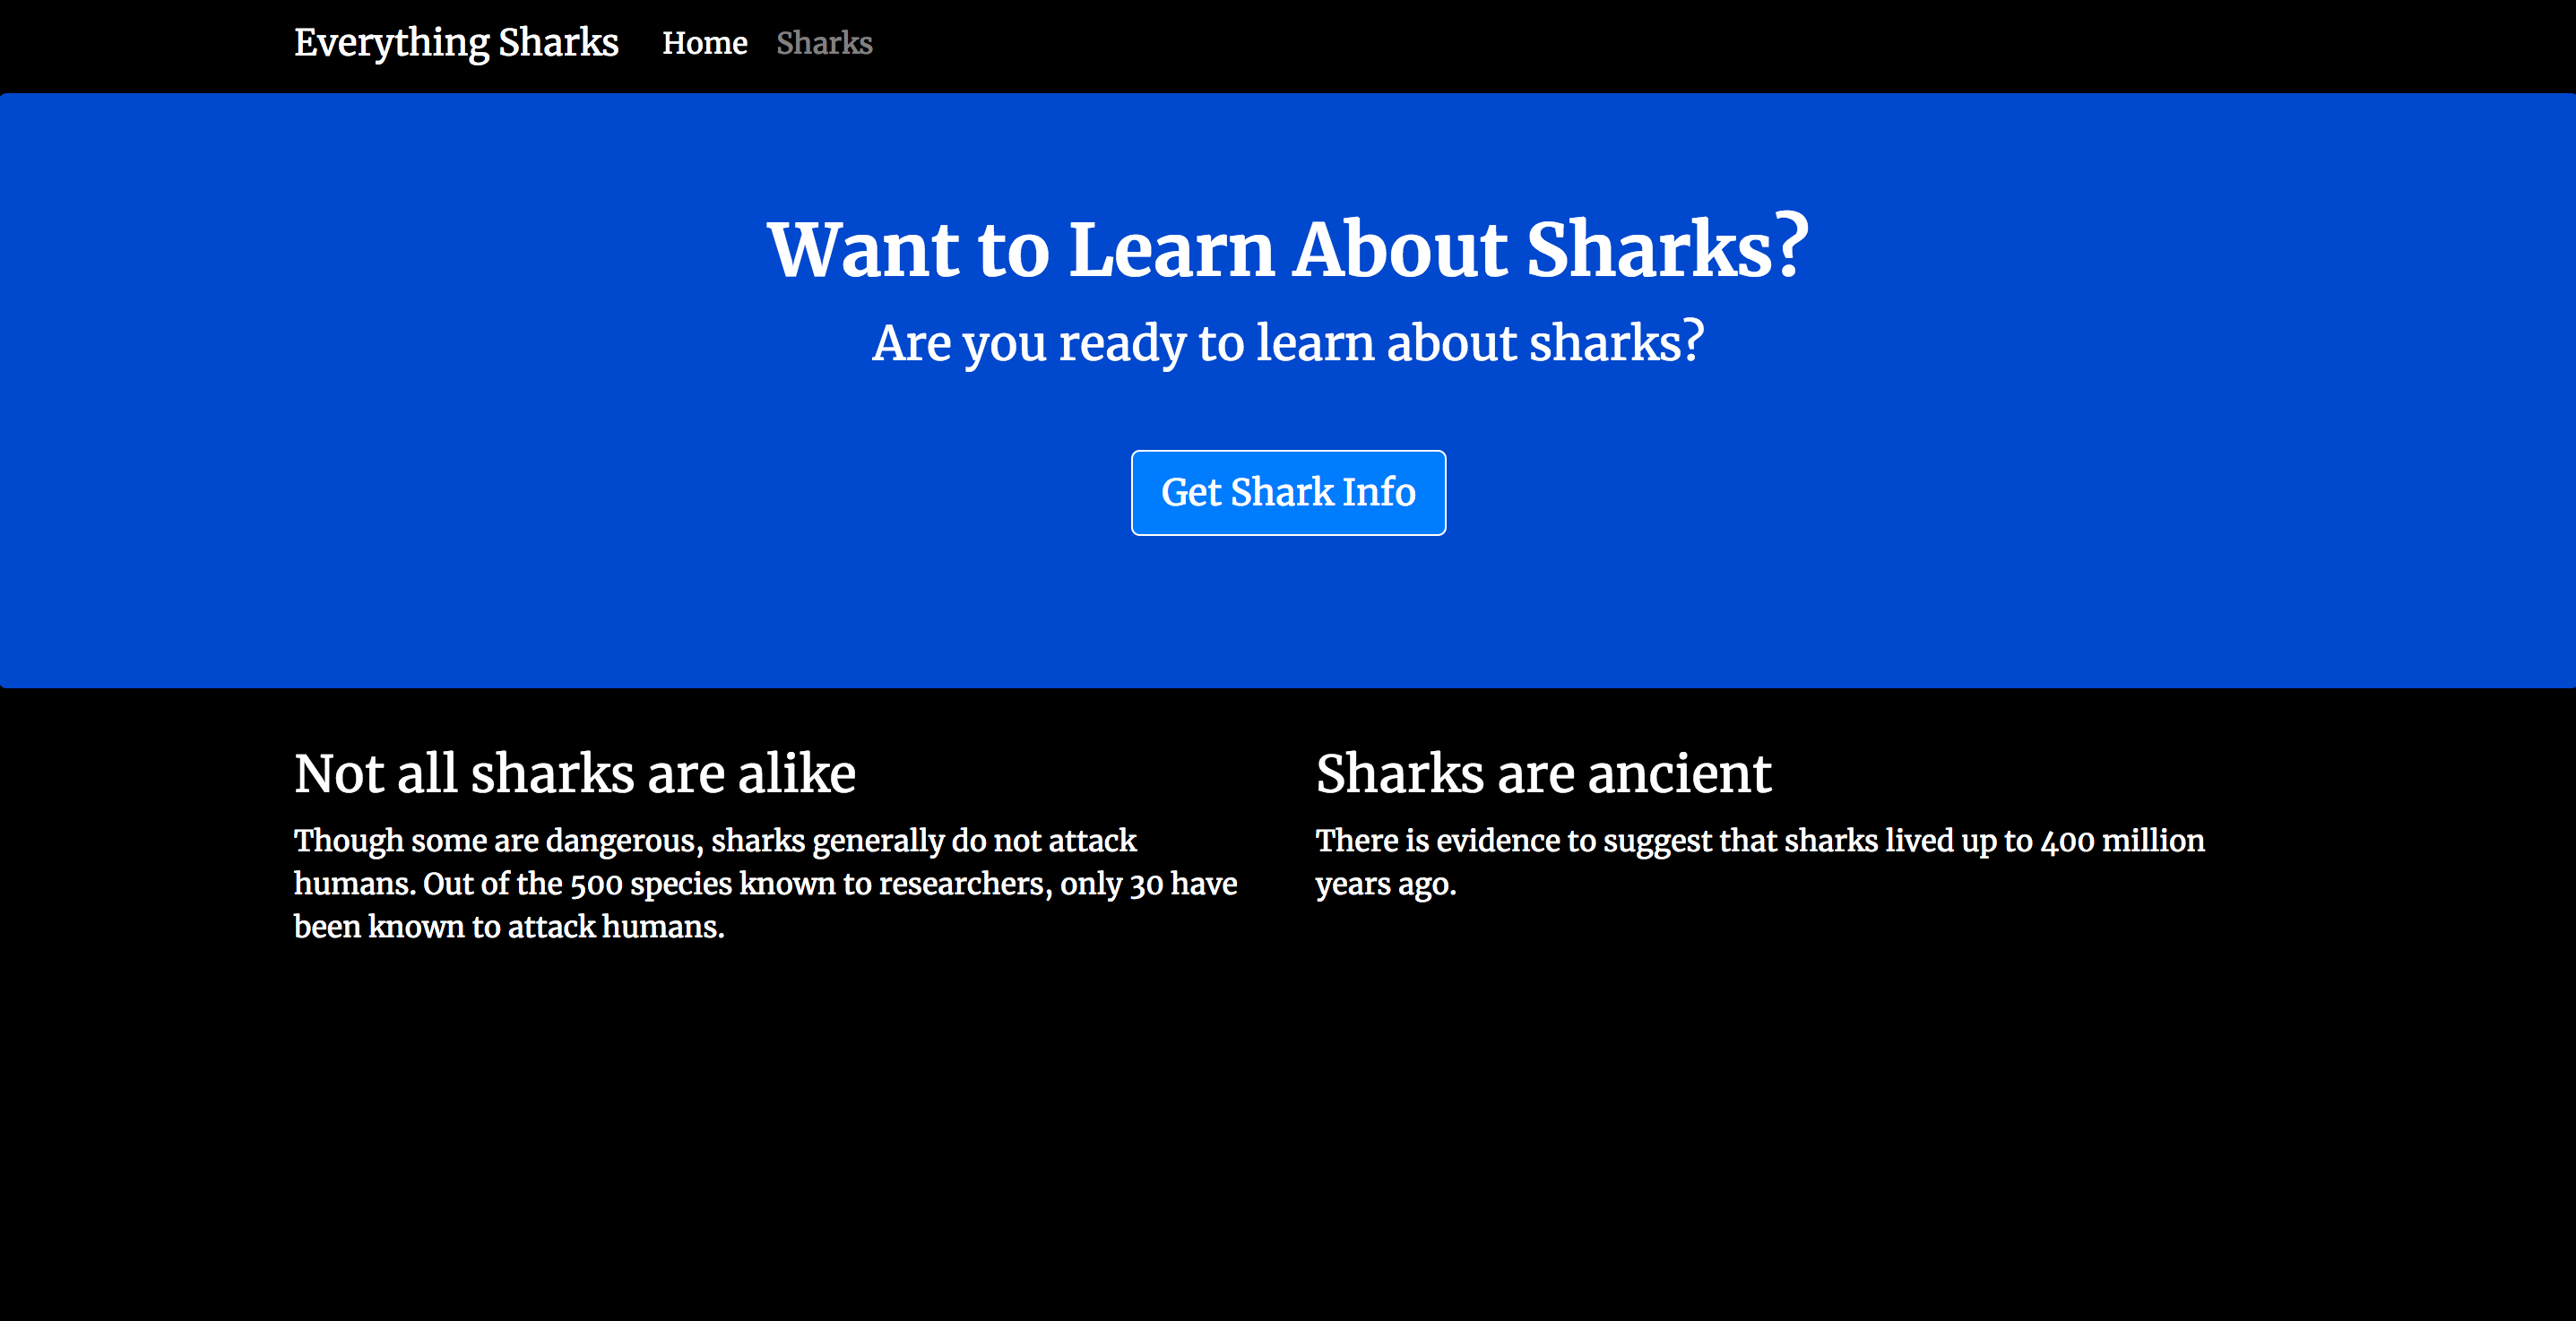
You have successfully deployed a serverless workload using Knative on your Kubernetes cluster.
Conclusion
In this tutorial, you deployed a serverless workload using Knative. You created a Knative Service resource using the kn CLI tool and via YAML files. This resource deployed a Node.js application on your Kubernetes cluster, which you accessed using the Route URL.
For more about the features that Knative offers, like Autoscaling of pods, gradual rollout of traffic to revision, and the Eventing component, visit the official Knative documentation.
To continue building with DigitalOcean Kubernetes (DOKS), refer to our Kubernetes How-To documentation. You can also learn more about DOKS, such as features and availability. For DOKS troubleshooting, you can refer to our Kubernetes Support guides.
Thanks for learning with the DigitalOcean Community. Check out our offerings for compute, storage, networking, and managed databases.
About the author(s)
Avik Kundu is a Software Engineer at Red Hat. He is a full-stack developer, open-source contributor, and tech content creator.
Still looking for an answer?
This textbox defaults to using Markdown to format your answer.
You can type !ref in this text area to quickly search our full set of tutorials, documentation & marketplace offerings and insert the link!
 This work is licensed under a Creative Commons Attribution-NonCommercial- ShareAlike 4.0 International License.
Become a contributor for community
Get paid to write technical tutorials and select a tech-focused charity to receive a matching donation.

DigitalOcean Documentation
Full documentation for every DigitalOcean product.

Resources for startups and AI-native businesses
The Wave has everything you need to know about building a business, from raising funding to marketing your product.
The developer cloud
Scale up as you grow — whether you're running one virtual machine or ten thousand.

Start building today
From GPU-powered inference and Kubernetes to managed databases and storage, get everything you need to build, scale, and deploy intelligent applications.
