By Mark Drake, Justin Ellingwood and Kent Shultz
Not using Debian 11?
Choose a different version or distribution.
Introduction
Does your team need to privately and securely access internal resources from remote locations, across untrusted networks, as if they were connected to the private network? A Virtual Private Network (VPN) allows them to do just that. A VPN server acts as a single point of entry to your private network for remote users—and it’s a more flexible and appropriate solution than, say, an SSH jump server. It authenticates users and creates an encrypted tunnel between their devices and the private network, acting as their secure portal to not only that network, but also the wider internet, if you configure it so.
You might consider a commercial VPN, but you can also administer your own free VPN like the one in this tutorial. OpenVPN is a full-featured, open-source Secure Socket Layer (SSL) VPN solution that accommodates a wide range of configurations. In this tutorial, you will set up an OpenVPN server on a Debian 11 server and then configure access to it from Windows, macOS, Linux, iOS and/or Android.
Note: If you plan to set up an OpenVPN server on a DigitalOcean Droplet, be aware that we, like many hosting providers, charge for bandwidth overages. Please be mindful of how much bandwidth your VPN users are likely to consume, as everything they do on the internet while connected to the VPN will consume DigitalOcean bandwidth (assuming you opt to route all their traffic through the VPN).
See this page for more info.
Prerequisites
To complete this tutorial, you will need:
- Two Debian 11 servers: one to host your OpenVPN service, and one to serve as your certificate authority (CA).
- A non-root user with
sudoprivileges on both servers. You can follow our Debian 11 Initial Server Setup guide to set up a user with appropriate permissions. That tutorial will also set up a firewall, which is assumed to be in place on both servers throughout this guide. - Easy-RSA installed on both servers. This is the utility you will use to manage the certificates for your VPN. Follow Steps 1–2 of this guide on your VPN server, and follow Steps 1–3 on your CA server.
While it’s technically possible to run your CA from your OpenVPN server or your local machine, it is more secure to keep the CA—namely, its private key—on a separate server that is not continuously connected to the internet. Since you probably plan to keep your VPN server connected to the internet 24/7, it may be more vulnerable to compromise by attackers. You don’t want to keep your CA’s private key on such a public-facing server because if an attacker were to gain access to the private key, they could use it to sign new certificates, giving them access to your VPN. Per the official OpenVPN documentation, you should place your CA on a standalone server that is dedicated to importing and signing certificate requests.
Finally, note that if you disable password authentication while configuring these servers, you may run into difficulties when transferring files between them later on in this guide. To resolve this issue, you could re-enable password authentication on each server. Alternatively, you could generate an SSH keypair for each server, then add the OpenVPN server’s public SSH key to the CA machine’s authorized_keys file and vice versa. See How to Set Up SSH Keys on Debian 11 for instructions on how to perform either of these solutions.
When you have these prerequisites in place, you can move on to Step 1 of this tutorial.
Step 1 — Installing OpenVPN
To start off, update your VPN server’s package index and install OpenVPN. OpenVPN is available in Debian’s default repositories, so you can use apt for the installation:
- sudo apt update
- sudo apt install openvpn
That’s it. Since you already installed Easy-RSA on both servers as a prerequisite and initialized the CA as well, you’re ready to generate the VPN server’s certificate.
Step 2 — Creating the Server Certificate, Key, and Encryption Files
On the OpenVPN server, change to the /easy-rsa directory within your non-root user’s home directory and run the easyrsa script with the gen-req option followed by a common name for the machine. This could be anything you like but it can be helpful to make it something descriptive. Throughout this tutorial, the OpenVPN server’s common name will simply be “server”. Be sure to include the nopass option as well. Failing to do so will password-protect the request file, which could lead to permissions issues later on:
Note: If you choose a name other than “server” here, you will have to adjust some of the instructions below. For instance, when copying the generated files to the /etc/openvpn directory, you will have to substitute the correct names. You will also have to modify the /etc/openvpn/server.conf file later to point to the correct .crt and .key files.
- cd ~/easyrsa
- ./easyrsa gen-req server nopass
The script will prompt you for the common name that you want to appear in the certificate signing request (CSR). By default, it will show whatever name you passed to ./easyrsa gen-req (e.g., server). Type ENTER to accept the default name, or enter a different one.
This will create a private key for the server and a certificate request file called server.req. Copy the server key to the /etc/openvpn/ directory:
- sudo cp ~/easy-rsa/pki/private/server.key /etc/openvpn/
Using a secure method (like SCP, in the example below), transfer the server.req file to your CA machine:
- scp ~/easy-rsa/pki/reqs/server.req sammy@your_CA_ip:/tmp
Next, on your CA machine, navigate to the ~/easy-rsa directory:
- cd ~/easy-rsa
Using the easyrsa script, import the server.req file, following the file path with the common name you entered when creating the CSR:
- ./easyrsa import-req /tmp/server.req server
Then sign the request by running easyrsa with the sign-req option, followed by the request type and the common name. The request type can either be client or server, so for the OpenVPN server’s certificate request, be sure to use the server request type:
- ./easyrsa sign-req server server
In the output, you’ll be asked to verify that the request comes from a trusted source. Type yes and press ENTER to confirm this:
You are about to sign the following certificate.
Please check over the details shown below for accuracy. Note that this request
has not been cryptographically verified. Please be sure it came from a trusted
source or that you have verified the request checksum with the sender.

Request subject, to be signed as a server certificate for 825 days:

subject=
    commonName                = server


Type the word 'yes' to continue, or any other input to abort.
  Confirm request details: yes
If you encrypted your CA key while you were following the tutorial listed in the prerequisites, you’ll be prompted for your passphrase at this point.
Next, transfer the signed certificate back to your VPN server using a secure method:
- scp pki/issued/server.crt sammy@your_server_ip:/tmp
Transfer the ca.crt file to your VPN server as well:
- scp pki/ca.crt sammy@your_server_ip:/tmp
Your OpenVPN server needs ca.crt so that it knows it can trust the entity that signed server.crt.
Next, on your OpenVPN server, copy the server.crt and ca.crt files into your /etc/openvpn/ directory:
- sudo cp /tmp/{server.crt,ca.crt} /etc/openvpn/
Then navigate to your ~/easy-rsa directory:
- cd ~/easy-rsa
From there, create a strong Diffie-Hellman key to use during key exchange by typing:
- ./easyrsa gen-dh
This may take a few minutes to complete. Once it does, generate an HMAC signature to strengthen the server’s TLS integrity verification capabilities:
- sudo openvpn --genkey secret ta.key
When the command finishes, copy the two new files to your /etc/openvpn/ directory:
- sudo cp ~/easy-rsa/ta.key /etc/openvpn/
- sudo cp ~/easy-rsa/pki/dh.pem /etc/openvpn/
With that, all the certificate and key files needed by your server have been generated. You’re ready to create the corresponding certificates and keys that your client machine will use to access your OpenVPN server.
Step 3 — Generating a Client Certificate and Key Pair
Although you can generate a private key and certificate request on your client machine and then send it to the CA to be signed, this guide outlines a process for generating the certificate request on the VPN server. The benefit of this is that we can create a server script that will automatically generate client configuration files that contain all of the required keys, certificates, and configuration options in a single file. Normally, the main client configuration file would specify the file names of separate key and certificate files, and then you’d have to distribute multiple files to each client. But it’s much better to include the full body of the keys and certificate within the main configuration file itself so you can streamline the process of joining the VPN. You will generate that single client configuration file in Step 8.
In this step, you will first generate the client key and certificate pair. If you have more than one client, you can repeat this process for each one. Please note, though, that you will need to pass a unique name value to the script for every client. Throughout this tutorial, the first certificate/key pair is referred to as client1.
On your VPN server, get started by creating a directory structure within your home directory to store the client certificate and key files:
- mkdir -p ~/client-configs/keys
Since you will store your clients’ certificate/key pairs and configuration files in this directory, you should lock down its permissions now as a security measure:
- chmod -R 700 ~/client-configs
Next, navigate back to the ~/easy-rsa directory and run the easyrsa script with the gen-req and nopass options, along with the common name for the client:
- cd ~/easy-rsa
- ./easyrsa gen-req client1 nopass
Press ENTER to confirm the common name. Then, copy the client1.key file to the /client-configs/keys/ directory you created earlier:
- cp pki/private/client1.key ~/client-configs/keys/
Next, transfer the client1.req file to your CA machine using a secure method:
- scp pki/reqs/client1.req sammy@your_CA_ip:/tmp
On your CA machine, navigate to the ~/easy-rsa directory and import the certificate request:
- cd ~/easy-rsa
- ./easyrsa import-req /tmp/client1.req client1
Then sign the request as you did for the server in the previous step. This time, though, be sure to specify the client request type:
- ./easyrsa sign-req client client1
At the prompt, enter yes to confirm that you intend to sign the certificate request and that it came from a trusted source:
OutputType the word 'yes' to continue, or any other input to abort.
  Confirm request details: yes
Again, if you encrypted your CA key, you’ll be prompted for your passphrase here.
This will create a client certificate file named client1.crt. Transfer this file back to the server:
- scp pki/issued/client1.crt sammy@your_server_ip:/tmp
On your OpenVPN server, copy the client certificate to the /client-configs/keys/ directory:
- cp /tmp/client1.crt ~/client-configs/keys/
Next, copy the ca.crt and ta.key files to the /client-configs/keys/ directory as well:
- sudo cp ~/easy-rsa/ta.key ~/client-configs/keys/
- sudo cp /etc/openvpn/ca.crt ~/client-configs/keys/
With that, your server and client’s certificates and keys have all been generated and are stored in the appropriate directories on your server. There are still a few actions that need to be performed with these files, but those will come in Step 8. For now, you can move on to configuring OpenVPN on your server.
Step 4 — Configuring the OpenVPN Service
Now that both your client and server certificates and keys have been generated, you can begin configuring the OpenVPN service to use these credentials.
Start by copying a sample OpenVPN configuration file into the configuration directory to use as a basis for your setup:
- sudo cp /usr/share/doc/openvpn/examples/sample-config-files/server.conf /etc/openvpn/
Open the server configuration file in your preferred text editor:
- sudo nano /etc/openvpn/server.conf
Find the HMAC section by looking for the tls-auth directive. This line should already be uncommented, but if isn’t then remove the “;” to uncomment it.
tls-auth ta.key 0 # This file is secret
Next, find the section on cryptographic ciphers by looking for the commented out cipher lines. The AES-256-CBC cipher offers a good level of encryption and is well supported. Again, this line should already be uncommented, but if it isn’t then just remove the “;” preceding it:
cipher AES-256-CBC
Below this, add an auth directive to select the HMAC message digest algorithm. For this, SHA256 is a good choice:
auth SHA256
Next, find the line containing a dh directive which defines the Diffie-Hellman parameters. Because of some recent changes made to Easy-RSA, the filename for the Diffie-Hellman key may be different than what is listed in the example server configuration file. If necessary, change the file name listed here by removing the 2048 so it aligns with the key you generated in the previous step:
dh dh.pem
Finally, find the user and group settings and remove the “;” at the beginning of each to uncomment these lines:
user nobody
group nogroup
The changes you’ve made to the sample server.conf file up to this point are necessary in order for OpenVPN to function. The changes outlined below are optional, though they too are needed for many common use cases.
Push DNS Changes to Redirect All Traffic Through the VPN (Optional)
The settings above will create the VPN connection between the two machines, but will not force any connections to use the tunnel. If you wish to use the VPN to route all of your traffic, you will likely want to push the DNS settings to the client computers.
There are a few directives in the server.conf file that you must change to enable this functionality. Find the redirect-gateway section and remove the semicolon “;” from the beginning of the redirect-gateway line to uncomment it:
push "redirect-gateway def1 bypass-dhcp"
Just below this, find the dhcp-option section. Again, remove the “;” from in front of both lines to uncomment them:
push "dhcp-option DNS 208.67.222.222"
push "dhcp-option DNS 208.67.220.220"
This will assist clients in reconfiguring their DNS settings to use the VPN tunnel as the default gateway.
Adjust the Port and Protocol (Optional)
By default, the OpenVPN server uses port 1194 and the UDP protocol to accept client connections. If you need to use a different port because of restrictive network environments that your clients might be in, you can change the port option. If you are not hosting web content on your OpenVPN server, port 443 is a popular choice since it is usually allowed through firewall rules.
# Optional!
port 443
Oftentimes, the protocol is restricted to that port as well. If so, change proto from UDP to TCP:
# Optional!
proto tcp
If you do switch the protocol to TCP, you will need to change the explicit-exit-notify directive’s value from 1 to 0, as this directive is only used by UDP. Failing to do so while using TCP will cause errors when you start the OpenVPN service:
# Optional!
explicit-exit-notify 0
If you have no need to use a different port and protocol, it is best to leave these three settings as their defaults.
Point to Non-Default Credentials (Optional)
If you selected a different name during the ./easyrsa gen-req command for the server certificate in Step 2, modify the cert and key lines that you see to point to the appropriate .crt and .key files. If you used the default name, “server”, this is already set correctly:
cert server.crt
key server.key
When you are finished, save and close the file.
After going through and making whatever changes to your server’s OpenVPN configuration are required for your specific use case, you can begin making some changes to your server’s networking.
Step 5 — Adjusting the Server Networking Configuration
There are some aspects of the server’s networking configuration that need to be tweaked so that OpenVPN can correctly route traffic through the VPN. The first of these is IP forwarding, a method for determining where IP traffic should be routed.
Adjust your server’s default IP forwarding setting by modifying the /etc/sysctl.conf file:
- sudo nano /etc/sysctl.conf
Inside, look for the commented line that sets net.ipv4.ip_forward. Remove the “#” character from the beginning of the line to uncomment this setting:
net.ipv4.ip_forward=1
Save and close the file when you are finished.
To read the file and adjust the values for the current session, type:
- sudo sysctl -p
Outputnet.ipv4.ip_forward = 1
If you followed the Debian 11 Initial Server Setup guide listed in the prerequisites, you should have a UFW firewall in place. Regardless of whether you use the firewall to block unwanted traffic (which you almost always should do), for this guide you need a firewall to manipulate some of the traffic coming into the server. Some of the firewall rules must be modified to enable masquerading, an iptables concept that provides on-the-fly dynamic network address translation (NAT) to correctly route client connections.
Before opening the firewall configuration file to add the masquerading rules, you must first find the public network interface of your machine. To do this, type:
- ip route | grep default
Your public interface is the string following “dev” in the command’s output. For example, the output below shows an interface named eth0, which is highlighted:
Outputdefault via 203.0.113.1 dev eth0 proto static
When you have the interface associated with your default route, open the /etc/ufw/before.rules file to add the relevant configuration:
- sudo nano /etc/ufw/before.rules
UFW rules are typically added using the ufw command. Rules listed in the before.rules file, though, are read and put into place before the conventional UFW rules are loaded. Towards the top of the file, add the highlighted lines below. This will set the default policy for the POSTROUTING chain in the nat table and masquerade any traffic coming from the VPN. Remember to replace eth0 in the -A POSTROUTING line below with the interface you found in the above command:
#
# rules.before
#
# Rules that should be run before the ufw command line added rules. Custom
# rules should be added to one of these chains:
#   ufw-before-input
#   ufw-before-output
#   ufw-before-forward
#

# START OPENVPN RULES
# NAT table rules
*nat
:POSTROUTING ACCEPT [0:0]
# Allow traffic from OpenVPN client to eth0 (change to the interface you discovered!)
-A POSTROUTING -s 10.8.0.0/8 -o eth0 -j MASQUERADE
COMMIT
# END OPENVPN RULES

# Don't delete these required lines, otherwise there will be errors
*filter
. . .
Save and close the file when you are finished.
Next, you need to tell UFW to allow forwarded packets by default as well. To do this, open the /etc/default/ufw file:
- sudo nano /etc/default/ufw
Inside, find the DEFAULT_FORWARD_POLICY directive and change the value from DROP to ACCEPT:
DEFAULT_FORWARD_POLICY="ACCEPT"
Save and close the file when you are finished.
Next, adjust the firewall itself to allow traffic to OpenVPN. If you did not change the port and protocol in the /etc/openvpn/server.conf file, you will need to open up UDP traffic to port 1194. If you modified the port and/or protocol, substitute the values you selected here.
Also, in case you didn’t add the SSH port when completing the prerequisite tutorial, add it here as well:
- sudo ufw allow 1194/udp
- sudo ufw allow OpenSSH
After adding those rules, disable and re-enable UFW to restart it and load the changes from all of the files you’ve modified:
- sudo ufw disable
- sudo ufw enable
Your server is now configured to correctly handle OpenVPN traffic.
Step 6 — Starting and Enabling the OpenVPN Service
You’re finally ready to start the OpenVPN service on your server. This is done using the systemd utility systemctl:
- sudo systemctl start openvpn@server
This starts the openvpn service using /etc/openvpn/server.conf as the configuration file. If you had specified openvpn@server2 instead, for example, systemd would have used the file name /etc/openvpn/server2.conf when starting the service.
Double-check that the service has started successfully by typing:
- sudo systemctl status openvpn@server
If everything went well, your output will look something like this:
Output● openvpn@server.service - OpenVPN connection to server
   Loaded: loaded (/lib/systemd/system/openvpn@.service; disabled; vendor preset: enabled)
   Active: active (running) since Wed 2022-12-21 03:39:24 UTC; 29s ago
     Docs: man:openvpn(8)
           https://community.openvpn.net/openvpn/wiki/Openvpn24ManPage
           https://community.openvpn.net/openvpn/wiki/HOWTO
 Main PID: 3371 (openvpn)
   Status: "Initialization Sequence Completed"
    Tasks: 1 (limit: 3587)
   Memory: 1.2M
   CGroup: /system.slice/system-openvpn.slice/openvpn@server.service
           └─3371 /usr/sbin/openvpn --daemon ovpn-server --status /run/openvpn/server.status 10 --cd /etc/openvpn --config /etc/openvpn/server.conf --writepid /run/openvpn/
You can also check that the OpenVPN tun0 interface is available by typing:
- ip addr show tun0
This will output a configured interface:
Output3: tun0: <POINTOPOINT,MULTICAST,NOARP,UP,LOWER_UP> mtu 1500 qdisc pfifo_fast state UNKNOWN group default qlen 100
    link/none
    inet 10.8.0.1 peer 10.8.0.2/32 scope global tun0
       valid_lft forever preferred_lft forever
    inet6 fe80::dd60:3a78:b0ca:1659/64 scope link stable-privacy
       valid_lft forever preferred_lft forever
After starting the service, enable it so that it starts automatically at boot:
- sudo systemctl enable openvpn@server
Your OpenVPN service is now up and running. Before you can start using it, though, you must first create a configuration file for the client machine. This tutorial already went over how to create certificate/key pairs for clients, and the next step will demonstrate how to create an infrastructure that will generate client configuration files.
Step 7 — Creating the Client Configuration Infrastructure
Creating configuration files for OpenVPN clients can be somewhat involved, as every client must have its own config and each must align with the settings outlined in the server’s configuration file. Rather than writing a single configuration file that can only be used on one client, this step outlines a process for building a client configuration infrastructure that you can use to generate config files on-the-fly. You will first create a “base” configuration file, then run a script that will generate unique client config files using the base config file plus a client’s unique certificate and keys.
Get started by creating a new directory on your OpenVPN server where you will store client configuration files within the client-configs directory you created earlier:
- mkdir -p ~/client-configs/files
Next, copy an example client configuration file into the client-configs directory to use as your base configuration:
- cp /usr/share/doc/openvpn/examples/sample-config-files/client.conf ~/client-configs/base.conf
Open this new file in your text editor:
- nano ~/client-configs/base.conf
Inside, locate the remote directive. This points the client to your OpenVPN server address—the public IP address of your OpenVPN server. If you decided to change the port that the OpenVPN server is listening on, you will also need to change 1194 to the port you selected:
. . .
# The hostname/IP and port of the server.
# You can have multiple remote entries
# to load balance between the servers.
remote your_server_ip 1194
. . .
Be sure that the protocol matches the value you are using in the server configuration:
proto udp
Next, uncomment the user and group directives by removing the “;” at the beginning of each line:
# Downgrade privileges after initialization (non-Windows only)
user nobody
group nogroup
Find the directives that set the ca, cert, and key files. Comment out these directives since you will append the full contents of the certificate and key files to the base file shortly:
# SSL/TLS parms.
# See the server config file for more
# description.  It's best to use
# a separate .crt/.key file pair
# for each client.  A single ca
# file can be used for all clients.
#ca ca.crt
#cert client.crt
#key client.key
Similarly, comment out the tls-auth directive, as you will add ta.key directly into the client configuration file:
# If a tls-auth key is used on the server
# then every client must also have the key.
#tls-auth ta.key 1
Mirror the cipher and auth settings that you set in the /etc/openvpn/server.conf file:
cipher AES-256-CBC
auth SHA256
Next, add the key-direction directive somewhere in the file. You must set this to “1” for the VPN to function correctly on the client machine:
key-direction 1
Finally, add a few commented-out lines. Although you can include these directives in every client configuration file, you only need to enable them for Linux clients that ship with an /etc/openvpn/update-resolv-conf file. This script uses the resolvconf utility to update DNS information for Linux clients.
# script-security 2
# up /etc/openvpn/update-resolv-conf
# down /etc/openvpn/update-resolv-conf
If your client is running Linux and has an /etc/openvpn/update-resolv-conf file, uncomment these lines from the client’s configuration file after it has been generated.
Save and close the file when you are finished.
Next, create a simple script that will create a new configuration file containing your certificate, key, encryption files, and the base configuration in the ~/client-configs/files directory. Open a new file called make_config.sh within the ~/client-configs directory:
- nano ~/client-configs/make_config.sh
Inside, add the following content, making sure to change sammy to your server’s non-root user account:
#!/bin/bash

# First argument: Client identifier

KEY_DIR=/home/sammy/client-configs/keys
OUTPUT_DIR=/home/sammy/client-configs/files
BASE_CONFIG=/home/sammy/client-configs/base.conf

cat ${BASE_CONFIG} \
    <(echo -e '<ca>') \
    ${KEY_DIR}/ca.crt \
    <(echo -e '</ca>\n<cert>') \
    ${KEY_DIR}/${1}.crt \
    <(echo -e '</cert>\n<key>') \
    ${KEY_DIR}/${1}.key \
    <(echo -e '</key>\n<tls-auth>') \
    ${KEY_DIR}/ta.key \
    <(echo -e '</tls-auth>') \
    > ${OUTPUT_DIR}/${1}.ovpn
Save and close the file when you are finished.
Before moving on, be sure to mark this file as executable by typing:
- chmod 700 ~/client-configs/make_config.sh
This script will make a copy of the base.conf file you made, collect all the certificate and key files you’ve created for your client, extract their contents, append them to the copy of the base configuration file, and export all of this content into a new client configuration file. This means that, rather than having to manage the client’s configuration, certificate, and key files separately, all the required information is stored in one place. The benefit of this is that if you ever need to add a client in the future, you can just run this script from a central location to quickly create the config filethat contains all the necessary information in a single, easy-to-distribute file.
Please note that any time you add a new client, you will need to generate new keys and certificates for it before you can run this script and generate its configuration file. You will get some practice using this script in the next step.
Step 8 — Generating Client Configurations
If you followed along with the guide, you created a client certificate and key named client1.crt and client1.key, respectively, in Step 3. You can generate a config file for these credentials by moving into your ~/client-configs directory and running the script you made at the end of the previous step:
- cd ~/client-configs
- sudo ./make_config.sh client1
This will create a file named client1.ovpn in your ~/client-configs/files directory:
- ls ~/client-configs/files
Outputclient1.ovpn
You need to transfer this file to the device you plan to use as the client. For instance, this could be your local computer or a mobile device.
While the exact applications used to accomplish this transfer will depend on your device’s operating system and your personal preferences, a dependable and secure method is to use SFTP (SSH file transfer protocol) or SCP (Secure Copy) on the backend. This will transport your client’s VPN authentication files over an encrypted connection.
Here is an example SFTP command using the client1.ovpn example that you can run from your local computer (macOS or Linux). It places the .ovpn file in your home directory:
- sftp sammy@your_server_ip:client-configs/files/client1.ovpn ~/
Here are several tools and tutorials for securely transferring files from the server to a local computer:
Step 9 — Installing the Client Configuration
This section covers how to install a client VPN profile on Windows, macOS, Linux, iOS, and Android. None of these client instructions are dependent on one another, so feel free to skip to whichever is applicable to your device.
The OpenVPN connection will have the same name as whatever you called the .ovpn file. In regards to this tutorial, this means that the connection is named client1.ovpn, aligning with the first client file you generated.
Windows
Installing
Download the OpenVPN client application for Windows from OpenVPN’s Downloads page. Choose the appropriate installer version for your version of Windows.
Note: OpenVPN needs administrative privileges to install.
After installing OpenVPN, copy the .ovpn file to:
C:\Program Files\OpenVPN\config
You may not be able to transfer the file directly to this location if you are not running the file transfer program (e.g., WinSCP) as an administrator. You may either run it as an administrator, or transfer the file to your non-administrative user’s home directory and then copy it to C:\Program Files\OpenVPN\config locally, approving the copy to an administrative location when prompted.
When you launch OpenVPN, it will automatically see the profile and make it available.
You must run OpenVPN as an administrator each time it’s used, even by administrative accounts. To do this without having to right-click and select Run as administrator every time you use the VPN, you must preset this from an administrative account. This also means that standard users will need to enter the administrator’s password to use OpenVPN. On the other hand, standard users can’t properly connect to the server unless the OpenVPN application on the client has admin rights, so the elevated privileges are necessary.
To set the OpenVPN application to always run as an administrator, right-click on its shortcut icon and go to Properties. At the bottom of the Compatibility tab, click the button to Change settings for all users. In the new window, check Run this program as an administrator and click Apply.
Connecting
Each time you launch the OpenVPN GUI, Windows will ask if you want to allow the program to make changes to your computer. Click Yes. Launching the OpenVPN client application only puts the applet in the system tray so that you can connect and disconnect the VPN as needed; it does not actually make the VPN connection.
Once OpenVPN is started, initiate a connection by going into the system tray applet and right-clicking on the OpenVPN applet icon. This opens the context menu. Select client1 at the top of the menu (that’s your client1.ovpn profile) and choose Connect.
A status window will open showing the log output while the connection is established, and a message will show once the client is connected.
Disconnect from the VPN the same way: Go into the system tray applet, right-click the OpenVPN applet icon, select the client profile and click Disconnect.
macOS
Installing
Tunnelblick is a free, open source OpenVPN client for macOS. You can download the latest disk image from the Tunnelblick Downloads page. Double-click the downloaded .dmg file and follow the prompts to install.
Towards the end of the installation process, Tunnelblick will ask if you have any configuration files. Answer I have configuration files and let Tunnelblick finish. Open a Finder window and double-click client1.ovpn. Tunnelblick will install the client profile. Administrative privileges are required.
Connecting
Launch Tunnelblick by double-clicking the Tunnelblick icon in the Applications folder. Once Tunnelblick has been launched, there will be a Tunnelblick icon in the menu bar at the top right of the screen for controlling connections. Click on the icon, and then the Connect client1 menu item to initiate the VPN connection.
Linux
Installing
If you are using Linux, there are a variety of tools that you can use depending on your distribution. Your desktop environment or window manager might also include connection utilities.
The most universal way of connecting, however, is to just use the OpenVPN software.
On Debian, you can install it just as you did on the server by typing:
- sudo apt update
- sudo apt install openvpn
On CentOS you can enable the EPEL repositories and then install it by typing:
- sudo yum install epel-release
- sudo yum install openvpn
Configuring
Check to see if your distribution includes an /etc/openvpn/update-resolv-conf script:
- ls /etc/openvpn
Outputupdate-resolv-conf
Next, edit the OpenVPN client configuration file you transferred:
- nano client1.ovpn
If you were able to find an update-resolv-conf file, uncomment the three lines you added to adjust the DNS settings:
script-security 2
up /etc/openvpn/update-resolv-conf
down /etc/openvpn/update-resolv-conf
If you are using CentOS, change the group directive from nogroup to nobody to match the distribution’s available groups:
group nobody
Save and close the file.
Now, you can connect to the VPN by just pointing the openvpn command to the client configuration file:
- sudo openvpn --config client1.ovpn
This should connect you to your VPN.
iOS
Installing
From your iPhone or iPad’s App Store, search for and install OpenVPN Connect, the official iOS OpenVPN client. Then follow this support article from Apple to transfer your client1.ovpn file from your local machine to your iOS device, copying it to the OpenVPN application specifically.
Now launch the OpenVPN app on the iOS device. It should see that there is a new profile ready to import. Tap ADD to add it.

Connecting
OpenVPN is now ready to use with the new profile. Start the connection by tapping CONNECT. When you do, iOS will notify you that OpenVPN would like to add VPN configurations via your system Settings. Tap Allow and use FaceID or TouchID to authorize the changes.
Note: The VPN switch under Settings > General > VPN & Device Management > VPN might successfully toggle your connection on and off, but it is best to use the switch in the OpenVPN Connect app
Android
Installing
Open the Google Play Store. Search for and install Android OpenVPN Connect, the official Android OpenVPN client application.
You can transfer the .ovpn profile by connecting the Android device to your computer by USB and copying the file over. Alternatively, if you have an SD card reader, you can remove the device’s SD card, copy the profile onto it and then insert the card back into the Android device.
Connecting
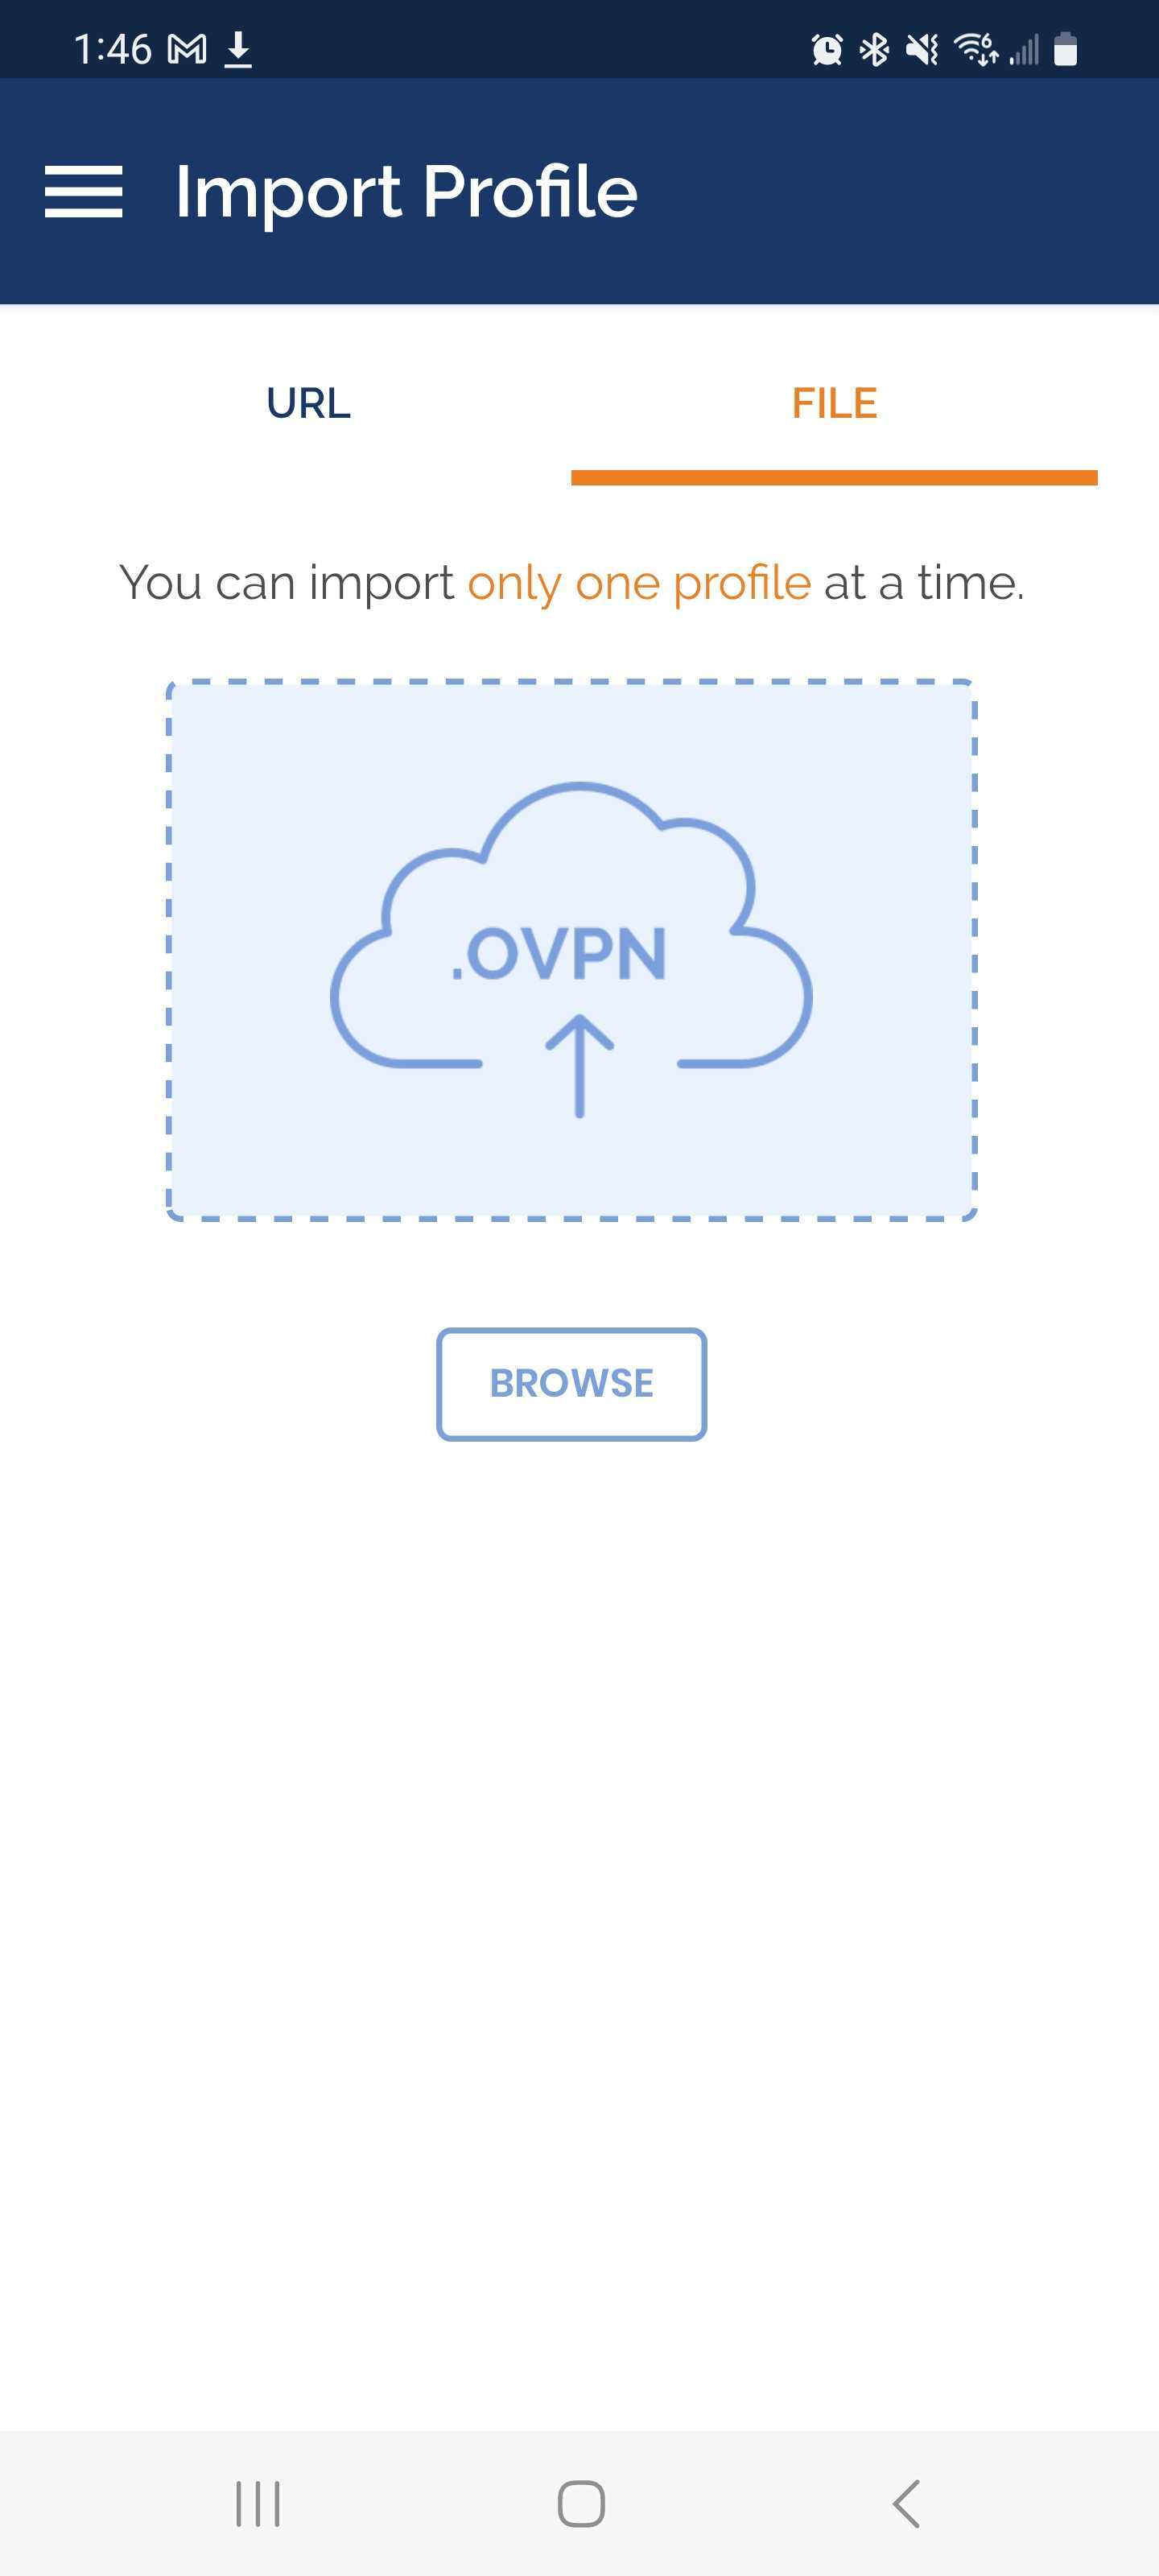
When you sStart the OpenVPN app, it begins on the Import Profile screen. Tap the FILE tab and then tap BROWSE to find and select the client1.ovpn file.
After you select the file, the app will prompt you to import the profile. Tap OK.
On the Imported Profile screen, check the Connect after import checkbox and then tap ADD in the upper right corner.

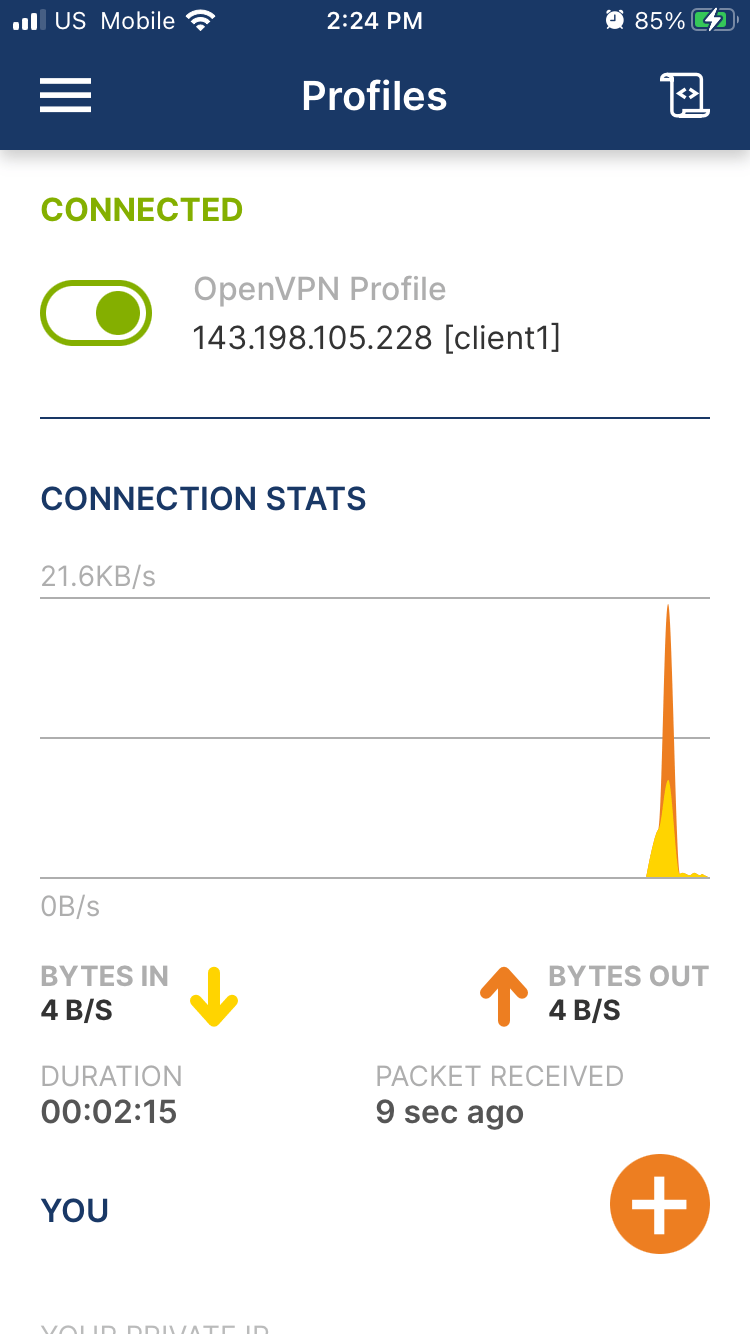
You’ll be asked if you trust the OpenVPN application. Choose OK to initiate the connection. To disconnect from the VPN, toggle the switch on the Profile page.
Step 10 — Testing Your VPN Connection (Optional)
Note: This method for testing your VPN connection will only work if you opted to route all your traffic through the VPN in Step 4 via the optional section Push DNS Changes to Redirect All Traffic Through the VPN.
Once everything is installed, a simple check confirms everything is working properly. Without having a VPN connection enabled, open a browser and go to DNSLeakTest.
The site will return the IP address assigned by your internet service provider and as you appear to the rest of the world. To check your DNS settings through the same website, click on Extended Test and it will tell you which DNS servers you are using.
Now connect the OpenVPN client to your OpenVPN server and refresh the browser. A completely different IP address (that of your VPN server) should now appear, and this is how you appear to the world. Again, DNSLeakTest’s Extended Test will check your DNS settings and confirm you are now using the DNS resolvers pushed by your VPN.
Remember: if you opted to route all VPN client traffic through your OpenVPN server, and your OpenVPN server is running on a DigitalOcean Droplet, then everything your VPN clients do on the internet while connected to the VPN will consume DigitalOcean bandwidth. If you have many active clients, you may incur bandwidth overages.
Step 11 — Revoking Client Certificates
Occasionally, you may need to revoke a client certificate to prevent further access to the OpenVPN server.
To do so, navigate to the ~/easy-rsa directory on your CA machine:
- cd ~/easy-rsa
Next, run the easyrsa script with the revoke option, followed by the client name you wish to revoke:
- ./easyrsa revoke client2
This will ask you to confirm the revocation by entering yes:
OutputPlease confirm you wish to revoke the certificate with the following subject:

subject=
    commonName                = client2


Type the word 'yes' to continue, or any other input to abort.
  Continue with revocation: yes
If your CA private key is protected with a passphrase, enter it when prompted.
After confirming the action, the CA will fully revoke the client’s certificate. However, your OpenVPN server currently has no way to check whether any clients’ certificates have been revoked and the client will still have access to the VPN. To correct this, create a certificate revocation list (CRL) on your CA machine (entering your CA passphrase again, if necessary):
- ./easyrsa gen-crl
This will generate a file called crl.pem. Securely transfer this file to your OpenVPN server:
- scp ~/easy-rsa/pki/crl.pem sammy@your_server_ip:/tmp
On your OpenVPN server, copy this file into your /etc/openvpn/ directory:
- sudo cp /tmp/crl.pem /etc/openvpn
Next, open the OpenVPN server configuration file:
- sudo nano /etc/openvpn/server.conf
At the bottom of the file, add the crl-verify option, which will instruct the OpenVPN server to check the certificate revocation list that we’ve created each time a connection attempt is made:
. . .
crl-verify crl.pem
Save and close the file.
Finally, restart OpenVPN to implement the certificate revocation:
- sudo systemctl restart openvpn@server
The client should no longer be able to successfully connect to the server using the old credential.
To revoke additional clients, follow this process:
- Revoke the certificate with the
./easyrsa revoke client_namecommand - Generate a new CRL
- Transfer the new
crl.pemfile to your OpenVPN server and copy it to the/etc/openvpndirectory to overwrite the old list. - Restart the OpenVPN service.
You can use this process to revoke any certificates that you’ve previously issued for your server.
Conclusion
Your remote team members can now connect securely to your internal resources as if they were directly connected to the private network. With the introduction of your new VPN, you might consider moving certain resources that are currently accessible to the open internet—perhaps secured with something less robust (e.g., HTTP basic authentication) than the public-key infrastructure you just set up—onto your private network and behind the VPN. With just one server and some open-source software, you have taken a big step towards protecting your critical data and infrastructure.
Another kind of security and privacy tool similar to a VPN is a web proxy. Like a VPN, a web proxy acts as a middleman between end users and the internet resource they want to access, providing anonymity to end users. Although a web proxy is only meant for web traffic and does not provide encryption, it may still be a worthwhile tool for your team to use when the VPN is unnecessary. If you’re curious, check out our tutorial How To Set Up Squid Proxy for Private Connections on Ubuntu 22.04.
Thanks for learning with the DigitalOcean Community. Check out our offerings for compute, storage, networking, and managed databases.
About the author(s)
Former Technical Writer at DigitalOcean. Focused on SysAdmin topics including Debian 11, Ubuntu 22.04, Ubuntu 20.04, Databases, SQL and PostgreSQL.
Former Senior Technical Writer at DigitalOcean, specializing in DevOps topics across multiple Linux distributions, including Ubuntu 18.04, 20.04, 22.04, as well as Debian 10 and 11.
Still looking for an answer?
This textbox defaults to using Markdown to format your answer.
You can type !ref in this text area to quickly search our full set of tutorials, documentation & marketplace offerings and insert the link!
Thank you very much for this tutorial.
I followed it and created script make_config.sh but the script created empty ovpn file.
In case anybody encounters this issue, using heredoc worked for me:
cat << EOF > ${OUTPUT_DIR}/${1}.ovpn
$(cat ${BASE_CONFIG})
$(echo -e '\n<ca>\n')
$(cat ${KEY_DIR}/ca.crt)
$(echo -e '</ca>\n<cert>\n')
$(cat ${KEY_DIR}/${1}.crt)
$(echo -e '</cert>\n<key>\n')
$(cat ${KEY_DIR}/${1}.key)
$(echo -e '</key>\n<tls-auth>\n')
$(cat {KEY_DIR}/ta.key)
$(echo -e '</tls-auth>')
EOF
This is a brilliant guide. I made it aaaaall the way to step 2.
Thank you. Keep up the good work
 This work is licensed under a Creative Commons Attribution-NonCommercial- ShareAlike 4.0 International License.
Become a contributor for community
Get paid to write technical tutorials and select a tech-focused charity to receive a matching donation.

DigitalOcean Documentation
Full documentation for every DigitalOcean product.

Resources for startups and AI-native businesses
The Wave has everything you need to know about building a business, from raising funding to marketing your product.
The developer cloud
Scale up as you grow — whether you're running one virtual machine or ten thousand.

Start building today
From GPU-powered inference and Kubernetes to managed databases and storage, get everything you need to build, scale, and deploy intelligent applications.
