By Tania Rascia and Lisa Tagliaferri

Introduction
Object storage is a popular and scalable method of storing and serving static assets such as audio, images, text, PDFs, and other types of unstructured data. Cloud providers offer object storage in addition to traditional local or block storage, which is used to store dynamic application files and databases. Read Object Storage vs. Block Storage to learn about the use cases and differences between the two.
Spaces is a simple object storage service offered by DigitalOcean. In addition to being able to login and upload, manage, and delete stored files through a control panel, you can also access your DigitalOcean Space through the command line and the Spaces API.
In this tutorial, we will create a Node.js application that allows a user to upload a file to their DigitalOcean Space by submitting a form on the front-end of a website.
Prerequisites
To follow along with this tutorial, you will need:
- A DigitalOcean Space, along with an access key and secret access key to your account. Read How To Create a DigitalOcean Space and API Key to get up and running with a DigitalOcean account, create a Space, and set up an API key and secret.
- Node.js and npm installed on your computer. You can visit the Node.js Downloads to install the correct version for your operating system.
You should now have a DigitalOcean account, a Space with access key, and Node.js and npm installed on your computer.
Add Access Keys to Credentials File
DigitalOcean Spaces is compatible with the Amazon Simple Storage Service (S3) API, and we will be using the AWS SDK for JavaScript in Node.js to connect to the Space we created.
The first step is to create a credentials file, to place the access key and secret access key you obtained when you created your DigitalOcean Space. The file will be located at ~/.aws/credentials on Mac and Linux, or C:\Users\USERNAME\.aws\credentials on Windows. If you have previously saved AWS credentials, you can read about keeping multiple sets of credentials for further guidance.
Open your command prompt, make sure you’re in your Users directory, have access to an administrative sudo user, and create the .aws directory with the credentials file inside.
- sudo mkdir .aws && touch .aws/credentials
Open the file, and paste the following code inside, replacing your_access_key and your_secret_key with your respective keys.
[default]
aws_access_key_id=your_access_key
aws_secret_access_key=your_secret_key
Now your access to Spaces via the AWS SDK will be authenticated, and we can move on to creating the application.
Install Node.js Dependencies
To begin, create a directory in which you would like to place your Node.js application and navigate to the directory. For this demonstration, we will create our project in spaces-node-app in the sites directory.
- mkdir sites/spaces-node-app && cd sites/spaces-node-app
Create a new package.json file for your project. Paste the code below into the file.
{
  "name": "spaces-node-app",
  "version": "1.0.0",
  "main": "server.js",
  "scripts": {
    "start": "node server.js"
  },
  "license": "MIT"
}
This is a basic package.json file listing the name, version number, and license of our application. The scripts field will allow us to run a Node.js server by typing npm start instead of node server.js.
We will install all of our dependencies with the npm install command, followed by the names of the four dependencies in our project.
- npm install aws-sdk express multer multer-s3
After running this command, the package.json file should be updated. These dependencies will aid us in connecting to the DigitalOcean Spaces API, creating a web server, and handling file uploads.
aws-sdk— AWS SDK for JavaScript will allow us to access S3 through a JavaScript API.express— Express is a web framework that will allow us to quickly and efficiently set up a server.multer— Multer is middleware that will handle file uploads.multer-s3— Multer S3 extends file uploads to S3 object storage, and in our case, DigitalOcean Spaces.
Now that we have our project location and dependencies set up, we can set up the server and front-end views.
Note: npm install saves dependencies to the package.json file by default in current versions of Node. If you are running an older version of Node, you will have to add the --save flag to your npm install command to ensure that package.json gets updated.
Create the Front End of the Application
First, let’s create files for the public views of our application. This is what the user will see on the front end. Create a public directory in your project, with index.html, success.html, and error.html. All three of these files will have the below HTML skeleton, with different contents in the body. Write the following code into each file.
<!DOCTYPE html>
<html lang="en">

<head>
  <meta charset="utf-8">
  <meta name="viewport" content="width=device-width, initial-scale=1.0">

  <title>DigitalOcean Spaces Tutorial</title>

  <link rel="stylesheet" href="./style.css">
</head>

<body>

  <!-- contents will go here -->

</body>

</html>
Write an error message in the body of error.html.
...

<h1>Something went wrong!</h1>
<p>File was not uploaded successfully.</p>

...
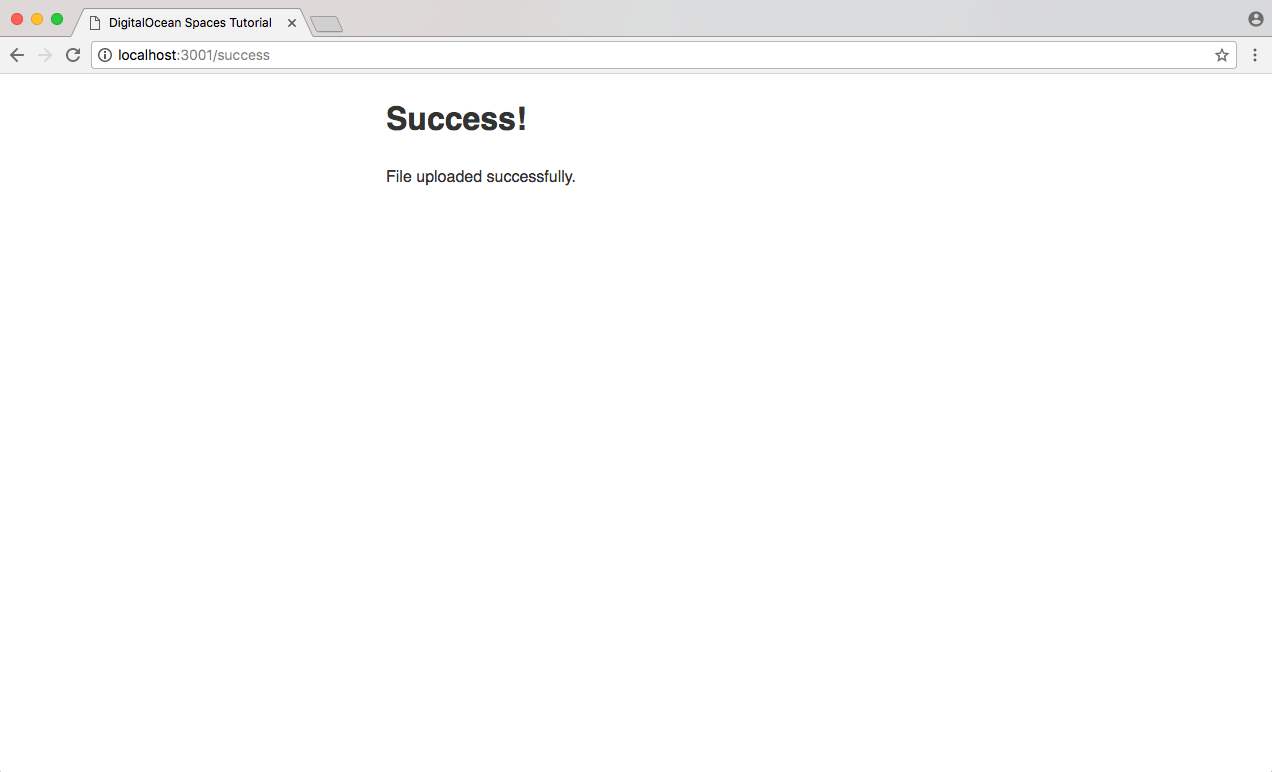
Write a success message in the body of success.html.
...

<h1>Success!</h1>
<p>File uploaded successfully.</p>

...
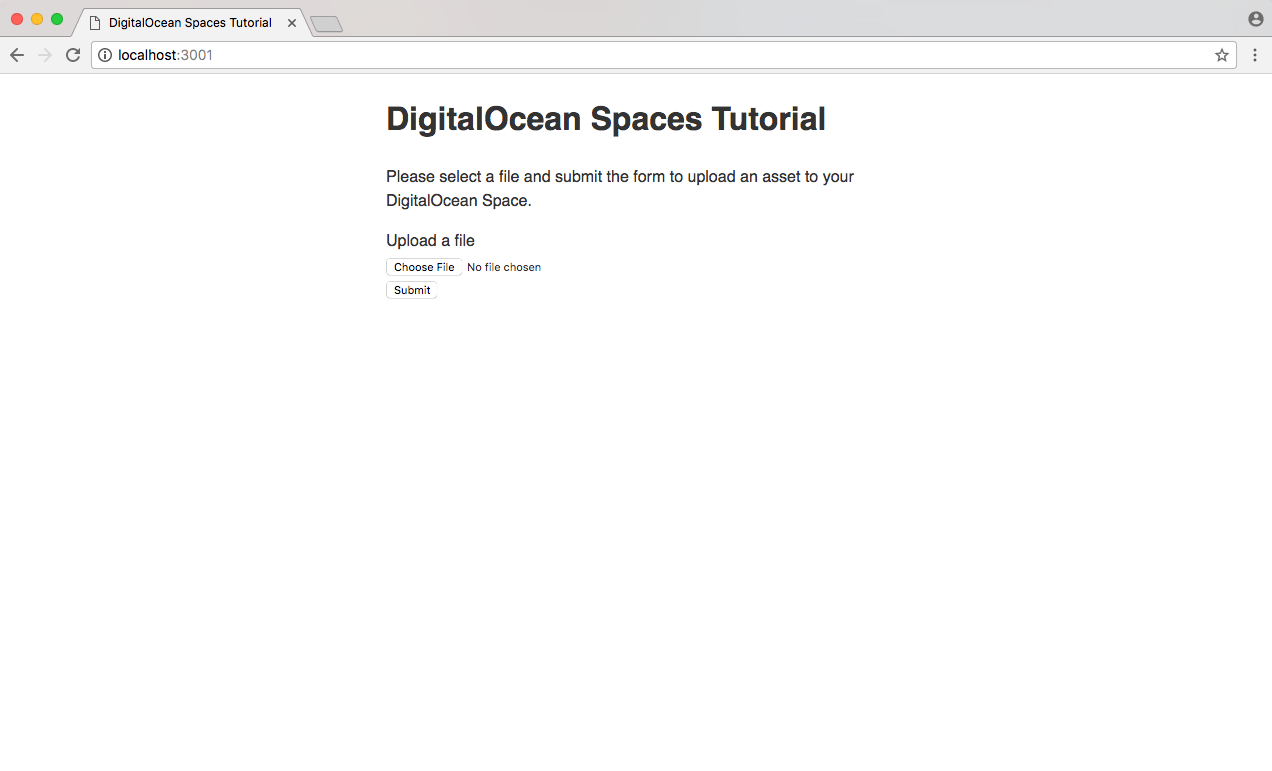
In index.html, we will create an HTML form with multipart/form-data. It will consist of a simple file upload input and a submit button.
...

<h1>DigitalOcean Spaces Tutorial</h1>

<p>Please select a file and submit the form to upload an asset to your DigitalOcean Space.</p>

<form method="post" enctype="multipart/form-data" action="/upload">
  <label for="file">Upload a file</label>
  <input type="file" name="upload">
  <input type="submit" class="button">
</form>

...
Finally, let’s create style.css and add just enough CSS to make the application easy to read.
html {
  font-family: sans-serif;
  line-height: 1.5;
  color: #333;
}

body {
  margin: 0 auto;
  max-width: 500px;
}

label,
input {
  display: block;
  margin: 5px 0;
}
With these three files, we have an upload form which makes up the main page of our small application, and we have success and error pages for the user.
Set Up an Express Server Environment
We’ve created all the files for the front end of our application, but we currently don’t have a server set up or any way to view them. We will set up a Node server with the Express web framework.
In the root directory of the project, create a server.js file. At the top, load in our four dependencies with require(). We will route our application through the app instance of express.
// Load dependencies
const aws = require('aws-sdk');
const express = require('express');
const multer = require('multer');
const multerS3 = require('multer-s3');

const app = express();
Our front end is located in the public directory, so set that configuration below the dependencies.
...

// Views in public directory
app.use(express.static('public'));
We will route index.html, success.html, and error.html relative to the root of the server.
...

// Main, error and success views
app.get('/', function (request, response) {
  response.sendFile(__dirname + '/public/index.html');
});

app.get("/success", function (request, response) {
  response.sendFile(__dirname + '/public/success.html');
});

app.get("/error", function (request, response) {
  response.sendFile(__dirname + '/public/error.html');
});
Finally, we will tell the server which port to listen on. In this example, 3001 is used, but you can set it to any available port.
...

app.listen(3001, function () {
  console.log('Server listening on port 3001.');
});
Save server.js and start the server. You can do this by running node server.js, or with npm start, the shortcut we set in package.json.
- npm start
Output> node server.js

Server listening on port 3001.
Navigate to http://localhost:3001, and you will see the upload form, since we set index.html to be the root of the server.
You can also navigate to http://localhost:3001/success and http://localhost:3001/error to ensure those pages are routing properly.
Upload a File to a Space with Multer
Now that we have our server environment up and running properly, the last step is to integrate the form with Multer and Multer S3 to make a file upload to Spaces.
You can use new aws.S3() to connect to the Amazon S3 client. For use with DigitalOcean Spaces, we’ll need to set a new endpoint to ensure it uploads to the correct location. At the time of writing, nyc3 is the only region available for Spaces.
In server.js, scroll back up to the top and paste the following code below the constant declarations.
...
const app = express();

// Set S3 endpoint to DigitalOcean Spaces
const spacesEndpoint = new aws.Endpoint('nyc3.digitaloceanspaces.com');
const s3 = new aws.S3({
  endpoint: spacesEndpoint
});
Using the example from the multer-s3 documentation, we will create an upload function, setting the bucket property to your unique Space name. Setting acl to public-read will ensure our file is accessible to the public; leaving this blank will default to private, making the files inaccessible from the web.
...

// Change bucket property to your Space name
const upload = multer({
  storage: multerS3({
    s3: s3,
    bucket: 'your-space-here',
    acl: 'public-read',
    key: function (request, file, cb) {
      console.log(file);
      cb(null, file.originalname);
    }
  })
}).array('upload', 1);
The upload function is complete, and our last step is to connect the upload form with code to send the file through and route the user accordingly. Scroll to the bottom of server.js, and paste this code right above the app.listen() method at the end of the file.
...
app.post('/upload', function (request, response, next) {
  upload(request, response, function (error) {
    if (error) {
      console.log(error);
      return response.redirect("/error");
    }
    console.log('File uploaded successfully.');
    response.redirect("/success");
  });
});
When the user clicks submit, a POST request goes through to /upload. Node is listening for this POST, and calls the upload() function. If an error is found, the conditional statement will redirect the user to the /error page. If it went through successfully, the user will be redirected to the /success page, and the file will be uploaded to your Space.
Here is the entire code for server.js.
// Load dependencies
const aws = require('aws-sdk');
const express = require('express');
const multer = require('multer');
const multerS3 = require('multer-s3');

const app = express();

// Set S3 endpoint to DigitalOcean Spaces
const spacesEndpoint = new aws.Endpoint('nyc3.digitaloceanspaces.com');
const s3 = new aws.S3({
  endpoint: spacesEndpoint
});

// Change bucket property to your Space name
const upload = multer({
  storage: multerS3({
    s3: s3,
    bucket: 'your-space-here',
    acl: 'public-read',
    key: function (request, file, cb) {
      console.log(file);
      cb(null, file.originalname);
    }
  })
}).array('upload', 1);

// Views in public directory
app.use(express.static('public'));

// Main, error and success views
app.get('/', function (request, response) {
  response.sendFile(__dirname + '/public/index.html');
});

app.get("/success", function (request, response) {
  response.sendFile(__dirname + '/public/success.html');
});

app.get("/error", function (request, response) {
  response.sendFile(__dirname + '/public/error.html');
});

app.post('/upload', function (request, response, next) {
  upload(request, response, function (error) {
    if (error) {
      console.log(error);
      return response.redirect("/error");
    }
    console.log('File uploaded successfully.');
    response.redirect("/success");
  });
});

app.listen(3001, function () {
  console.log('Server listening on port 3001.');
});
Stop the Node server by typing CONTROL + C in the command prompt, and restart it to ensure the new changes are applied.
- npm start
Navigate to the root of the project, select a file, and submit the form. If everything was set up properly, you will be redirected to the success page, and a public file will be available on your DigitalOcean Space.
Assuming the file you uploaded was test.txt, the URL of the file will be https://your-space-here.nyc3.digitaloceanspaces.com/test.txt.
Common reasons for an unsuccessful transaction would be wrong credentials, credentials file in the wrong location, or an incorrect bucket name.
Conclusion
Congratulations, you’ve set up a Node.js and Express application to upload static assets to object storage!
You can play around with the code of this DigitalOcean Spaces Node App by remixing the project here.
Additional precautions such as authentication must be taken to put this type of application into production, but this is a good starting point to make your web app functional with DigitalOcean Spaces. For more information about object storage, read An Introduction to DigitalOcean Spaces.
Thanks for learning with the DigitalOcean Community. Check out our offerings for compute, storage, networking, and managed databases.
About the author(s)
Software engineer and open source creator
Community and Developer Education expert. Former Senior Manager, Community at DigitalOcean. Focused on topics including Ubuntu 22.04, Ubuntu 20.04, Python, Django, and more.
Still looking for an answer?
This textbox defaults to using Markdown to format your answer.
You can type !ref in this text area to quickly search our full set of tutorials, documentation & marketplace offerings and insert the link!
How do you add credentials , it doesn’t seem to read ~/.aws/credentials. Is there a way to add them in server.js?
{ fieldname: ‘upload’, originalname: ‘audio.caf’, encoding: ‘7bit’, mimetype: ‘application/octet-stream’ } { Error: connect ETIMEDOUT 169.254.169.254:80 at Object._errnoException (util.js:1031:13) at _exceptionWithHostPort (util.js:1052:20) at TCPConnectWrap.afterConnect [as oncomplete] (net.js:1195:14) message: ‘Missing credentials in config’, errno: ‘ETIMEDOUT’, code: ‘CredentialsError’, syscall: ‘connect’, address: ‘169.254.169.254’, port: 80, time: 2017-11-29T15:03:24.389Z, originalError: { message: ‘Could not load credentials from any providers’, errno: ‘ETIMEDOUT’, code: ‘CredentialsError’, syscall: ‘connect’, address: ‘169.254.169.254’, port: 80, time: 2017-11-29T15:03:24.388Z, originalError: { errno: ‘ETIMEDOUT’, code: ‘ETIMEDOUT’, syscall: ‘connect’, address: ‘169.254.169.254’, port: 80, message: ‘connect ETIMEDOUT 169.254.169.254:80’ } }, storageErrors: [] }
Ah ok bucket shouldn’t be the full url to the bucket just the name you’ve assigned it. https://xyz.nyc3.digitaloceanspaces.com would be ‘xyz’
There is a lot more to work on from here:
- multi-part upload
- ensuring whole-uploads are within a size-bound & acceptable file-type
- limiting users to {x} concurrent uploads (likely requires dkvs like redis)
- integrating with nginx or similar frontend server for the service
- automating deploy
- dealing with versioning (if supported by DO spaces)
Just suggesting follow-up topics if anyone is interested.
the tutorial helped me a ton starting out with spaces and nodejs even tough my focus was more on uploading json objects from within node rather then posts.
one thing I had to google was, that if you want to put files in different folders, the folders name becomes part of the key.
in my case i have a recipes folder in my bucket so I had to Key : “recipes/” + recipeName
another thing that might be helpfull handling text documents is setting ContentType: ‘application/json’, ContentEncoding: ‘utf8’
I had follow your tutorial, but when upload to Spaces, it’s always set mimetype to 'application/octet-stream.
Lazy tutorial: literally copied from the AWS SDK documentation for credential set up. So DO now offers Windows and Mac servers does it?
Here is how to do it properly on a development environment: https://docs.aws.amazon.com/sdk-for-javascript/v2/developer-guide/setting-credentials-node.html
can i upload files to my space without using aws? if yes, then what are the other ways?
my other question is, here aws is npm package, so is it mandatory to have a aws subscription from amazon?
this is first time i use the digitalocen spaces, and i try to follow the tutorial and all work find for me. but i have an issue when sending a file that have 1mb it size, the response from server is ‘Error: Network Error’, please tell me what should i do? thanks
I’m not able to delete file in Spaces. Can you help?
Thanks, Josh
const deleteFileFromDOPromise = (fileUrl) => {
  const params = {
    Bucket: _Bucket_,
    Key: fileUrl,
  }

  return new Promise((resolve, reject) => {
    s3.deleteObject(params, (err, data) => {
      if(err) {
        reject(err);
      } else {
        resolve(data);
      }
    })
  })
}
 This work is licensed under a Creative Commons Attribution-NonCommercial- ShareAlike 4.0 International License.
Become a contributor for community
Get paid to write technical tutorials and select a tech-focused charity to receive a matching donation.

DigitalOcean Documentation
Full documentation for every DigitalOcean product.

Resources for startups and AI-native businesses
The Wave has everything you need to know about building a business, from raising funding to marketing your product.
The developer cloud
Scale up as you grow — whether you're running one virtual machine or ten thousand.

Start building today
From GPU-powered inference and Kubernetes to managed databases and storage, get everything you need to build, scale, and deploy intelligent applications.
