By Chris Sev and Andy Hattemer

はじめに
ノードアプリケーションを即急に作成する際、アプリケーションを手軽にテンプレート化する必要が時としてあります。
Jadeは、Expressがデフォルトとして使用するビューエンジンですが、Jade構文は多くのユースケースにとってあまりに複雑です。EJSはその代用としてよく機能し、セットアップが非常に簡単です。簡単なアプリケーションを作成し、EJSを使用してサイトの繰り返し部分(パーシャル)をインクルードし、データをビューに渡す方法を見てみましょう。
デモアプリのセットアップ
アプリケーション用に2ページ作成します。1ページはfull width、もう1ページはsidebarにします。
ファイル構造
アプリケーションに必要なファイルは以下のとおりです。viewsフォルダ内でテンプレートを作成します。その他はごく標準的なノードのフォルダです。
- views
----- partials
---------- footer.ejs
---------- head.ejs
---------- header.ejs
----- pages
---------- index.ejs
---------- about.ejs
- package.json
- server.js
package.jsonにはノードアプリケーション情報と必要な依存関係(expressとEJS)が、 server.jsにはExpressサーバーのセットアップと設定が保持されています。ここでは、ページへのルートを定義します。
ノードのセットアップ
package.jsonファイルを見て、プロジェクトをセットアップしましょう。
{
  "name": "node-ejs",
  "main": "server.js",
  "dependencies": {
    "ejs": "^3.1.5",
    "express": "^4.17.1"
  }
}
必要なのはExpressとEJSだけです。ここで、定義したばかりの依存関係をインストールします。先に進み実行します。
- npm install
すべての依存関係がインストールされたので、EJSを使用するようにアプリケーションを設定し、必要な2ページ、つまりindexページ(full width)とaboutページ(sidebar)へのルートをセットアップします。これらをすべてserver.jsファイルで行います。
// load the things we need
var express = require('express');
var app = express();

// set the view engine to ejs
app.set('view engine', 'ejs');

// use res.render to load up an ejs view file

// index page
app.get('/', function(req, res) {
    res.render('pages/index');
});

// about page
app.get('/about', function(req, res) {
    res.render('pages/about');
});

app.listen(8080);
console.log('8080 is the magic port');
ここではアプリケーションを定義し、ポート8080で表示するように設定します。また、app.set('view engine', 'ejs');を使用して、EJSをExpressアプリケーションのビューエンジンとしてセットアップします。res.render()をどのように使用してビューをユーザーに送信するかに注目してください。注目すべき点として、ビューを求めてres.render()はviewsフォルダを検索します。したがって、フルパスがviews/pages/indexなので、pages/indexとだけ定義します。
サーバー起動
先に進み、次を入力してサーバーを起動します。
- node server.js
これで、アプリケーションがブラウザ上のhttp://localhost:8080とhttp://localhost:8080/aboutで表示されます。アプリケーションがセットアップされたので、ビューファイルを定義し、EJSがどのように機能するか確認します。
EJSパーシャルの作成
多くのアプリケーションと同様に、構築時に再利用されるコードがたくさんあります。これらのコードをパーシャルと呼び、サイト全体で使用する3ファイル、head.ejs、header.ejs、footer.ejsを定義します。早速これらのファイルを作成しましょう。
<meta charset="UTF-8">
<title>EJS Is Fun</title>

<!-- CSS (load bootstrap from a CDN) -->
<link rel="stylesheet" href="https://cdnjs.cloudflare.com/ajax/libs/twitter-bootstrap/4.5.2/css/bootstrap.min.css">
<style>
    body { padding-top:50px; }
</style>
<nav class="navbar navbar-expand-lg navbar-light bg-light">
  <a class="navbar-brand" href="/">EJS Is Fun</a>
  <ul class="navbar-nav mr-auto">
    <li class="nav-item">
      <a class="nav-link" href="/">Home</a>
    </li>
    <li class="nav-item">
      <a class="nav-link" href="/about">About</a>
    </li>
  </ul>
</nav>
<p class="text-center text-muted">© Copyright 2020 The Awesome People</p>
EJSパーシャルをビューに追加する
ここにパーシャルが定義されました。あとはビューに追加するだけです。index.ejsとabout.ejsに移動し、include構文を使用してパーシャルを追加します。
EJSパーシャルをインクルードする構文
EJSパーシャルを別のファイルに埋め込むには<%- include('RELATIVE/PATH/TO/FILE') %>を使用します。
- 単に
<%ではなくハイフンを付けて<%-とするのは、EJSに生のHTMLをレンダリングするように指示するためです。 - パーシャルへのパスは、現在のファイルからの相対パスで示します。
<!DOCTYPE html>
<html lang="en">
<head>
    <%- include('../partials/head'); %>
</head>
<body class="container">

<header>
    <%- include('../partials/header'); %>
</header>

<main>
    <div class="jumbotron">
        <h1>This is great</h1>
        <p>Welcome to templating using EJS</p>
    </div>
</main>

<footer>
    <%- include('../partials/footer'); %>
</footer>

</body>
</html>
これで、定義されたビューをブラウザのhttp://localhost:8080で見ることができます。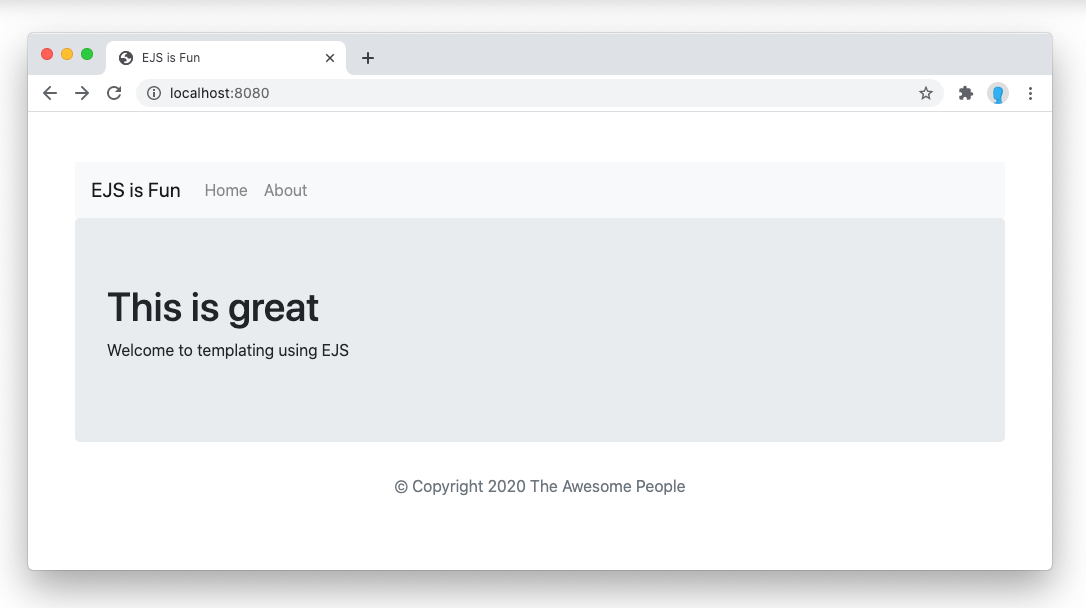
aboutページにはブートストラップサイドバーも追加し、パーシャルがどのように構築され、さまざまなテンプレートやページで再利用されるのかを見ていきます。
<!DOCTYPE html>
<html lang="en">
<head>
    <%- include('../partials/head'); %>
</head>
<body class="container">

<header>
    <%- include('../partials/header'); %>
</header>

<main>
<div class="row">
    <div class="col-sm-8">
        <div class="jumbotron">
            <h1>This is great</h1>
            <p>Welcome to templating using EJS</p>
        </div>
    </div>

    <div class="col-sm-4">
        <div class="well">
            <h3>Look I'm A Sidebar!</h3>
        </div>
    </div>

</div>
</main>

<footer>
    <%- include('../partials/footer'); %>
</footer>

</body>
</html>
http://localhost:8080/aboutを表示すると、サイドバー付きのaboutページが確認できます。
これで、EJSを使用してノードアプリケーションからビューにデータを渡せます。
ビューとパーシャルにデータを渡す
基本的な変数と一覧を定義してホームページに渡しましょう。server.jsファイルに戻り、app.get('/')ルート内に次を追加します。
// index page
app.get('/', function(req, res) {
    var mascots = [
        { name: 'Sammy', organization: "DigitalOcean", birth_year: 2012},
        { name: 'Tux', organization: "Linux", birth_year: 1996},
        { name: 'Moby Dock', organization: "Docker", birth_year: 2013}
    ];
    var tagline = "No programming concept is complete without a cute animal mascot.";

    res.render('pages/index', {
        mascots: mascots,
        tagline: tagline
    });
});
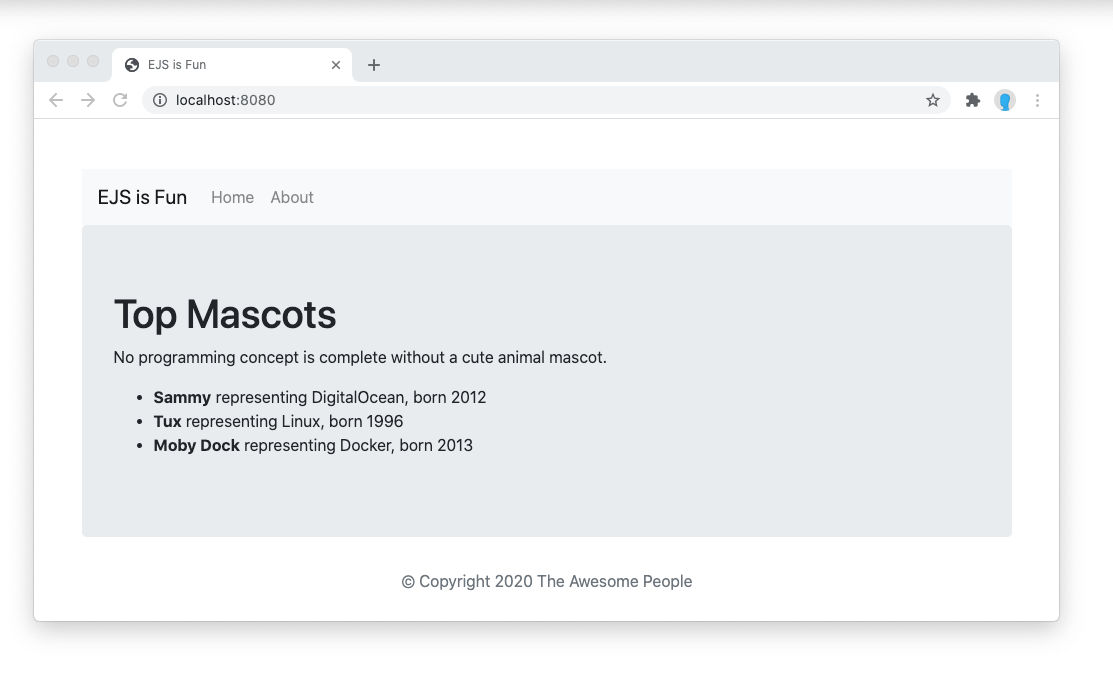
mascotという一覧とtaglineという簡単な文字列を作成しました。index.ejsファイルに移動してこれらを使ってみましょう。
EJSで単一の変数をレンダリング
変数を1つだけechoするために使うのは、<%= tagline %>だけです。これをindex.ejsファイルに追加しましょう。
...
<h2>Variable</h2>
<p><%= tagline %></p>
...
EJSでデータをループさせる
データをループさせるには、.forEachを使用します。これをビューファイルに追加しましょう。
...
<ul>
    <% mascots.forEach(function(mascot) { %>
        <li>
            <strong><%= mascot.name %></strong>
            representing <%= mascot.organization %>, born <%= mascot.birth_year %>
        </li>
    <% }); %>
</ul>
...
追加した新しい情報がブラウザで表示されています。
データをEJSのパーシャルに渡す
EJSパーシャルは、親ビューと全く同じデータにアクセスできます。ただし、パーシャルで変数を参照している場合、パーシャルを使用するすべてのビューでそれを定義する必要があるので注意してください。さもないとエラーになります。
次のようなinclude構文でもEJSパーシャルに変数を定義したり渡したりできます。
...
<header>
    <%- include('../partials/header', {variant:'compact'}); %>
</header>
...
しかしここでも、変数が定義されたと仮定することには注意が必要です。
必ずしも定義されていないかもしれないパーシャルの変数を参照し、初期値を付与したい場合、次のように入力します。
...
<em>Variant: <%= typeof variant != 'undefined' ? variant : 'default' %></em>
...
上記では、EJSコードは、変数が定義されていればその値を、定義されていなければデフォルト値をレンダリングします。
Thanks for learning with the DigitalOcean Community. Check out our offerings for compute, storage, networking, and managed databases.
About the author(s)
Founder of scotch.io. Slapping the keyboard until good things happen.
Then: Learned to build the internet on DigitalOcean Community. Now: Building DigitalOcean Community on the internet.
Still looking for an answer?
This textbox defaults to using Markdown to format your answer.
You can type !ref in this text area to quickly search our full set of tutorials, documentation & marketplace offerings and insert the link!
 This work is licensed under a Creative Commons Attribution-NonCommercial- ShareAlike 4.0 International License.
Become a contributor for community
Get paid to write technical tutorials and select a tech-focused charity to receive a matching donation.

DigitalOcean Documentation
Full documentation for every DigitalOcean product.

Resources for startups and AI-native businesses
The Wave has everything you need to know about building a business, from raising funding to marketing your product.
The developer cloud
Scale up as you grow — whether you're running one virtual machine or ten thousand.

Start building today
From GPU-powered inference and Kubernetes to managed databases and storage, get everything you need to build, scale, and deploy intelligent applications.
